
Introduction
This manual provides comprehensive instructions for the operation, maintenance, and troubleshooting of your JVSCAM C8 Digital Camera. Please read this manual thoroughly before using the camera to ensure proper functionality and to maximize your user experience. The JVSCAM C8 is a compact and portable digital camera designed for capturing high-quality photos and videos, featuring autofocus, digital zoom, and various creative filters.
What's in the Box
Upon opening the package, please verify that all the following items are included:
- JVSCAM C8 Digital Camera
- 32GB TF Card
- Type-C USB Cable
- Card Reader
- Lanyard
- User Manual (this document)
- Storage Bag
- Lens Cloth

Figure 1: Included accessories with the JVSCAM C8 Digital Camera, including the camera, 32GB TF card, Type-C cable, card reader, lanyard, and storage bag.
Product Overview
Familiarize yourself with the physical components of your camera:
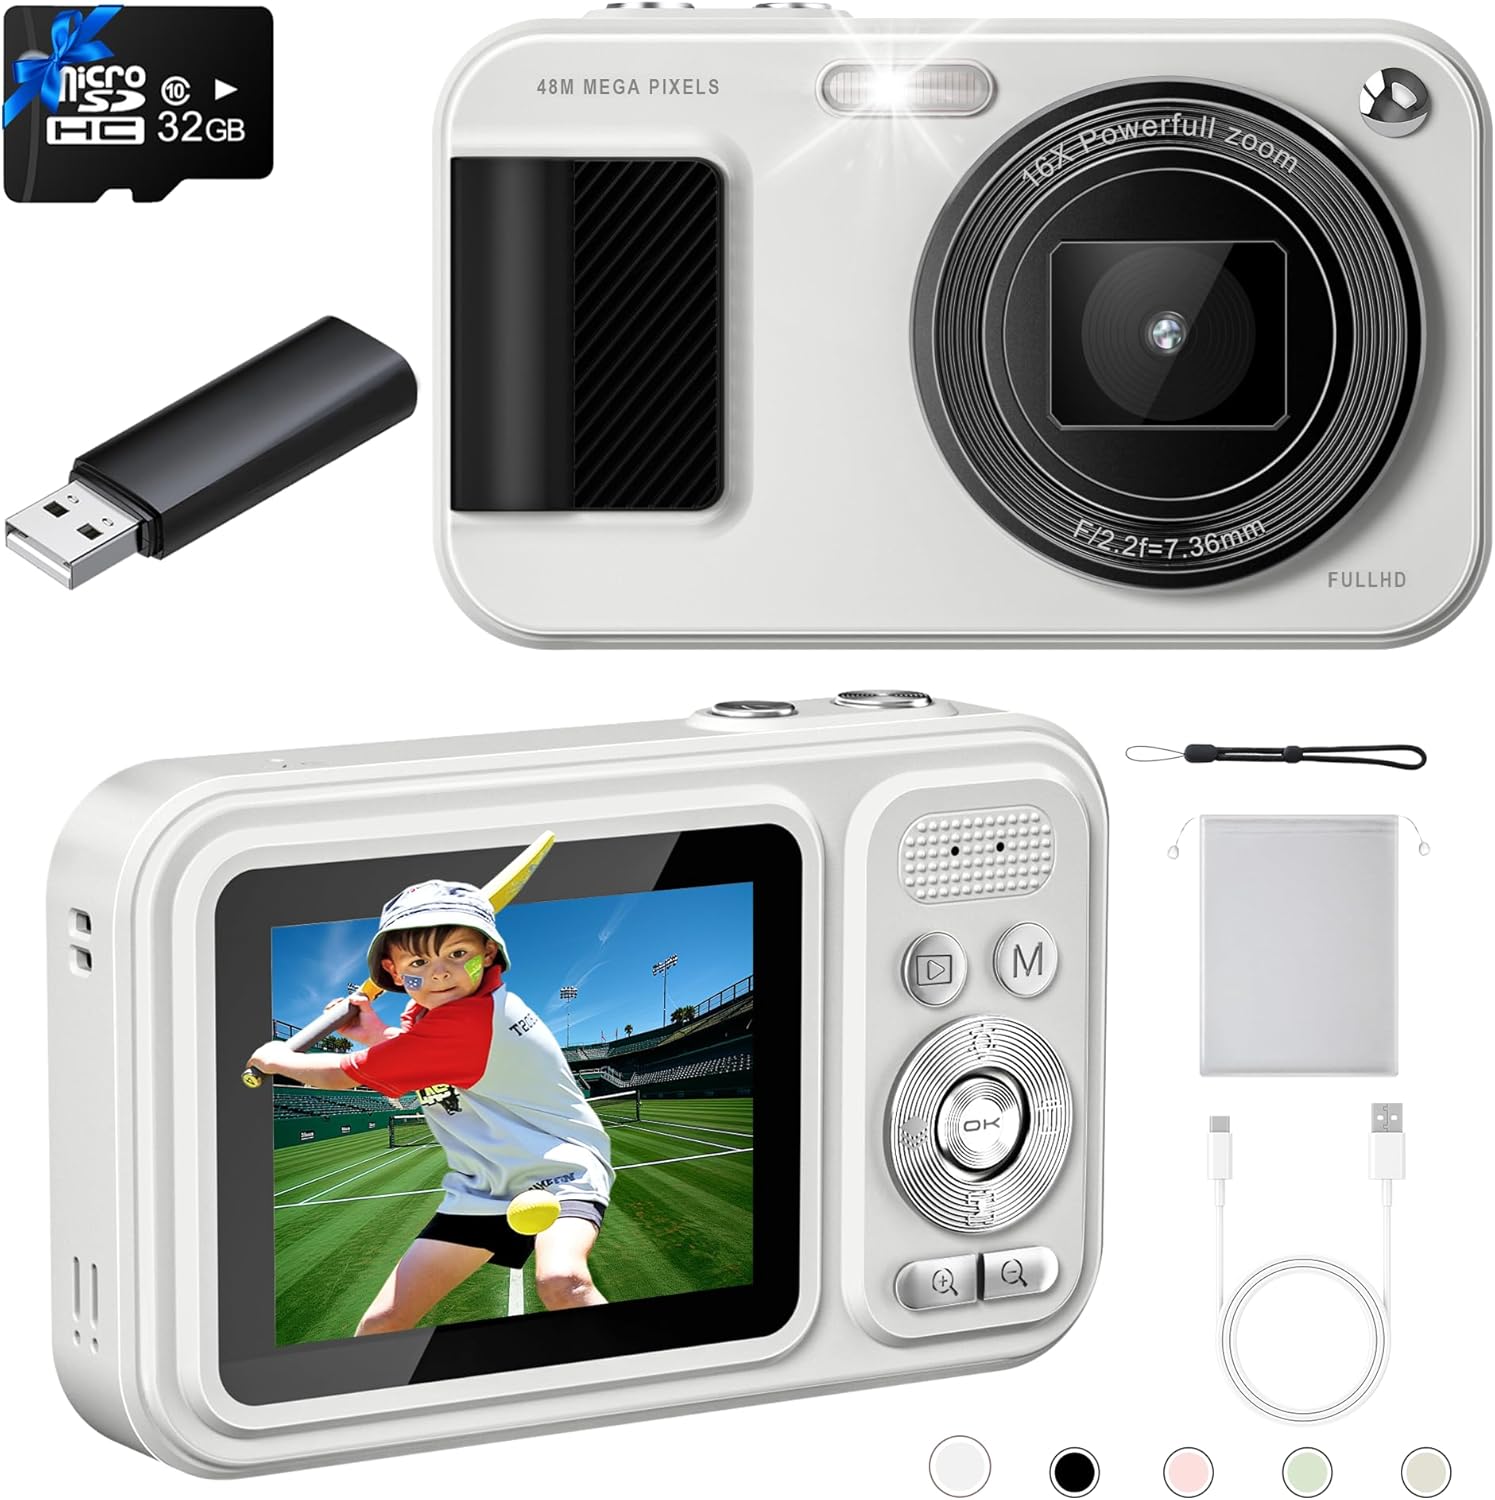
Figure 2: Front and rear views of the JVSCAM C8 Digital Camera, showcasing the lens, flash, display screen, and control buttons.
Key Components:
- Lens: Captures images and videos.
- Flash: Provides illumination in low-light conditions.
- Display Screen: Shows live view, menus, and playback.
- Control Buttons: Navigate menus, adjust settings, and operate functions.
- Shutter Button: Initiates photo capture or video recording.
- Microphone: Records audio during video capture.
- USB Port (Type-C): For charging and data transfer.
- Memory Card Slot: For inserting the 32GB TF card.
Setup
1. Charging the Battery
The camera has a built-in 1500mAh rechargeable battery. Before first use, fully charge the camera.
- Connect the supplied Type-C USB cable to the camera's USB port.
- Connect the other end of the cable to a USB power adapter (not included) or a computer's USB port.
- The charging indicator light will illuminate. Once fully charged, the light will change or turn off.
- A full charge provides over 180 minutes of continuous shooting.

Figure 3: The camera features a 1500mAh battery, supporting over 30,000 photos or 240 minutes of continuous video recording.
2. Inserting the Memory Card
The camera comes with a 32GB TF (MicroSD) card. Ensure it is properly inserted before use.
- Locate the memory card slot on the side of the camera.
- Insert the 32GB TF card into the slot with the gold contacts facing down, until it clicks into place.
- To remove, gently push the card inward until it springs out.
3. Attaching the Lanyard
Attach the included lanyard to prevent accidental drops.
- Thread the thin loop of the lanyard through the lanyard hole on the camera body.
- Pass the larger end of the lanyard through the loop and pull tight to secure.
Operating Instructions
Power On/Off
- To power on, press and hold the power button located on the top of the camera for a few seconds.
- To power off, press and hold the power button again until the screen turns off.
- Utilize the Auto-off function in settings to conserve battery life.
Taking Photos
- Power on the camera. The display will show the live view.
- Autofocus: Gently press the shutter button halfway down. The camera will automatically focus, indicated by the focus frame changing from red to green.
- Once focused, press the shutter button all the way down to capture the 48MP photo.

Figure 4: The autofocus feature ensures clear images by adjusting the lens when the shutter button is half-pressed.
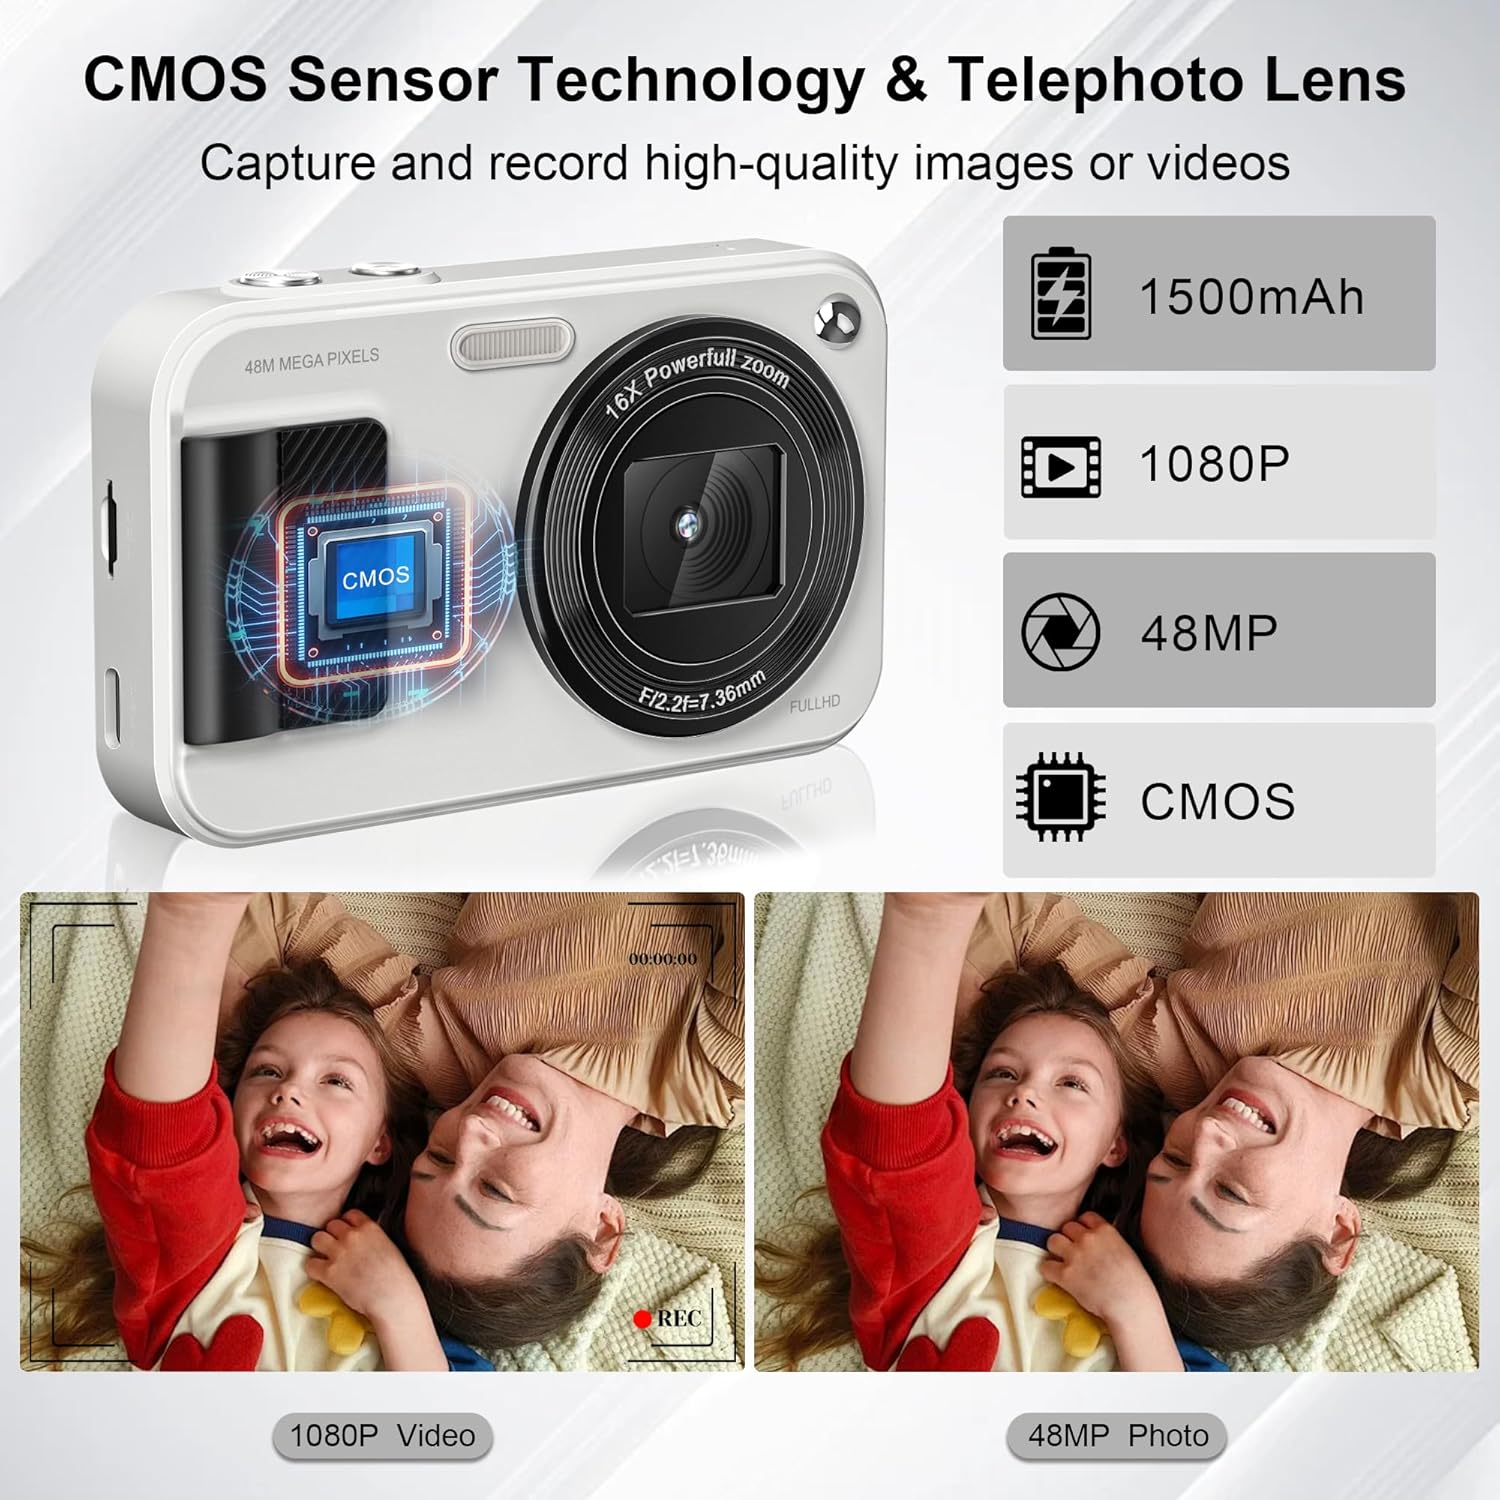
Figure 5: Equipped with a CMOS image sensor and telephoto lens, the camera captures vivid 48MP photos and smooth 1080P videos.
Video Recording
- In camera mode, press the 'Mode' button (M) to switch to video recording mode.
- Press the shutter button to start recording FHD 1080P video. The recording indicator will appear on the screen.
- Press the shutter button again to stop recording.
- The camera includes a built-in microphone for audio capture during videos.
Zoom Function
- Use the '+' and '-' buttons on the control pad to adjust the 16x digital zoom.
- Zoom in with '+' and zoom out with '-'.

Figure 6: The camera offers 16x digital zoom for capturing distant subjects, anti-shake for stable images, and smile/face detection for optimal portraits.
Special Features
- 22 Filters: Access various filter effects through the menu to enhance your photos.
- Anti-Shake: This function helps reduce blur caused by camera movement.
- Smile Detection: The camera can automatically detect smiles and capture photos.
- Timed Shooting (Self-Timer): Set a delay (2s, 5s, 10s) before the photo is taken. Ideal for group shots.
- Continuous Shooting: Capture multiple photos in quick succession by holding down the shutter button.
- Built-in LED Light: Ensures clear photos even in low-light conditions. Activate via the control buttons.

Figure 7: Utilize the self-timer for delayed shots (2s, 5s, 10s) and continuous shooting for capturing action sequences.

Figure 8: Explore 22 built-in filter effects to add creative touches to your photos, and use the fill light for improved illumination.
Connecting to Computer (Transferring Files)
You can transfer photos and videos to your computer or phone using the provided card reader or Type-C cable.
- Using the Card Reader: Remove the TF card from the camera and insert it into the supplied card reader. Plug the card reader into your computer's USB port. The card will appear as a removable drive, allowing you to copy files.
- Using the Type-C Cable: Connect the camera directly to your computer using the Type-C USB cable. The camera may appear as a removable disk or prompt you to select a connection mode (e.g., Mass Storage). Select the appropriate mode to access your files.
Maintenance
- Cleaning: Use the provided lens cloth to gently wipe the lens and screen. For stubborn smudges, use a specialized camera lens cleaning solution. Do not use abrasive materials or harsh chemicals.
- Battery Care: To prolong battery life, avoid exposing the camera to extreme temperatures. Charge the battery regularly, even if the camera is not in frequent use.
- Storage: When not in use, store the camera in the provided storage bag in a cool, dry place away from direct sunlight and moisture.
Troubleshooting
| Problem | Possible Cause / Solution |
|---|---|
| Camera does not power on. | Battery may be depleted. Charge the battery fully. Ensure the power button is pressed and held sufficiently. |
| Cannot take photos/videos. | Memory card may be full or not inserted correctly. Check card insertion or delete unnecessary files. Ensure sufficient battery charge. |
| Images are blurry. | Ensure autofocus is engaged (shutter button half-pressed until green frame appears). Check for smudges on the lens and clean if necessary. Use anti-shake feature. |
| Flash is not working. | Check flash settings in the menu; ensure it's set to 'On' or 'Auto'. |
| Cannot transfer files to computer. | Ensure the camera is connected properly via Type-C cable or the card reader is functioning. Try a different USB port or cable. Check computer's device manager for recognition. |
Specifications
| Feature | Detail |
|---|---|
| Photo Resolution | 48 Megapixels |
| Video Resolution | FHD 1080P |
| Image Sensor | CMOS |
| Zoom | 16x Digital Zoom |
| Battery Capacity | 1500mAh Lithium Ion (included) |
| Storage | 32GB TF Card (included) |
| Dimensions (L x W x H) | 4.13 x 2.51 x 0.91 inches |
| Item Weight | 4.2 ounces |
| Material | Metal and Plastic |
| Special Features | Autofocus, Anti-Shake, 22 Filters, Smile Detection, Timed/Continuous Shooting, Self-Timer, Built-in LED Light, Webcam Function |

Figure 9: The compact size and light weight (0.26 lbs) make the JVSCAM C8 highly portable.
Warranty and Support
Your JVSCAM C8 Digital Camera is covered by a two-year satisfactory warranty from the date of purchase.
If you encounter any issues or have questions regarding your camera, please contact JVSCAM customer support. Our staff is available to provide prompt assistance.
- Customer Support: Refer to the contact information provided on the product packaging or the official JVSCAM website.