
Introduction
This manual provides detailed instructions for the setup, operation, and maintenance of your Acouto 2K Mobile Monitor XC11 Pro. Please read this manual thoroughly before using the product to ensure proper functionality and to maximize your user experience. Keep this manual for future reference.

Image: The Acouto XC11 Pro 11-inch 2K Mobile Monitor, showcasing its compact design and display features like 2K WQHD resolution, 450 Nits brightness, 100% sRGB, HDR, IPS panel, and built-in speakers.
Product Features
- High-Resolution 2K Display: Experience vibrant and detailed visuals with a 2160 x 1440 QHD resolution. The IPS panel offers 100% sRGB color coverage and a 178-degree wide viewing angle, ensuring consistent image quality from various perspectives.
- Fast Response Time: A 3ms response time minimizes motion blur and ghosting, providing a smooth viewing experience, especially for fast-paced content like gaming.
- Eye Care Technology: Features Blue Light Reduction and Flicker-Free technology to reduce eye strain and fatigue during extended use, promoting comfort and productivity.
- Versatile Connectivity: Equipped with USB Type-C and Mini HDMI ports, allowing connection to a wide range of devices including laptops, smartphones, gaming consoles (PS5, Switch), cameras, and tablets. No additional drivers are required for most connections.
- Portable Design with Integrated Stand & VESA Mount: The monitor comes with a foldable smart case that doubles as a stand, supporting both vertical and horizontal orientations. It also features standard VESA 75mm screw holes on the back for wall mounts or monitor arms, optimizing space and viewing angles.
- Built-in Dual Speakers: Enjoy audio directly from the monitor without needing external speakers.

Image: Visual representation of the monitor's 2K QHD resolution (2160x1440), IPS panel, 100% sRGB color gamut, 450 cd/m2 brightness, 1500:1 contrast ratio, and 16.7 million display colors, highlighting its superior visual performance.

Image: Diagram illustrating the wide range of devices compatible with the Acouto XC11 Pro, including PS5, Nintendo Switch, smartphones, and PCs, connected via USB-C and Mini-HDMI ports for easy setup.
Setup
1. Package Contents
Before proceeding, please verify that all items are present in the package:
- Acouto XC11 Pro Mobile Monitor
- Smart Cover/Stand
- USB Type-C to Type-C Cable
- Mini HDMI to HDMI Cable
- USB Type-A to Type-C Power Cable
- Power Adapter
- User Manual (this document)
2. Connecting to a Device
The XC11 Pro supports two primary connection methods: USB Type-C and Mini HDMI.
- USB Type-C Connection (Single Cable Solution):
If your device (laptop, smartphone) supports DisplayPort Alternate Mode (DP Alt Mode) over USB Type-C, you can use a single USB Type-C to Type-C cable for both video signal and power.
- Connect one end of the USB Type-C to Type-C cable to the monitor's USB Type-C port (labeled for display/data).
- Connect the other end to your device's USB Type-C port that supports DP Alt Mode.
- The monitor should automatically detect the signal and power on. If not, connect the power adapter to the monitor's dedicated power USB Type-C port.

Image: A laptop connected to the Acouto XC11 Pro monitor via a single USB-C cable, demonstrating power and signal transmission. Note: The connecting device must support DP Alt Mode.
- Mini HDMI Connection:
For devices with an HDMI output (e.g., gaming consoles, older laptops), use the Mini HDMI port.
- Connect one end of the Mini HDMI to HDMI cable to the monitor's Mini HDMI port.
- Connect the other end to your device's HDMI output port.
- Connect the power adapter to the monitor's dedicated USB Type-C power port using the provided USB Type-A to Type-C power cable and power adapter. This connection requires external power.
3. Powering On
Once connected, press the power button on the side of the monitor to turn it on. The monitor will automatically detect the input signal.
4. Using the Smart Cover/Stand
The included smart cover can be folded into various positions to act as a stand, supporting the monitor in both landscape and portrait orientations. Adjust the fold to achieve your desired viewing angle.
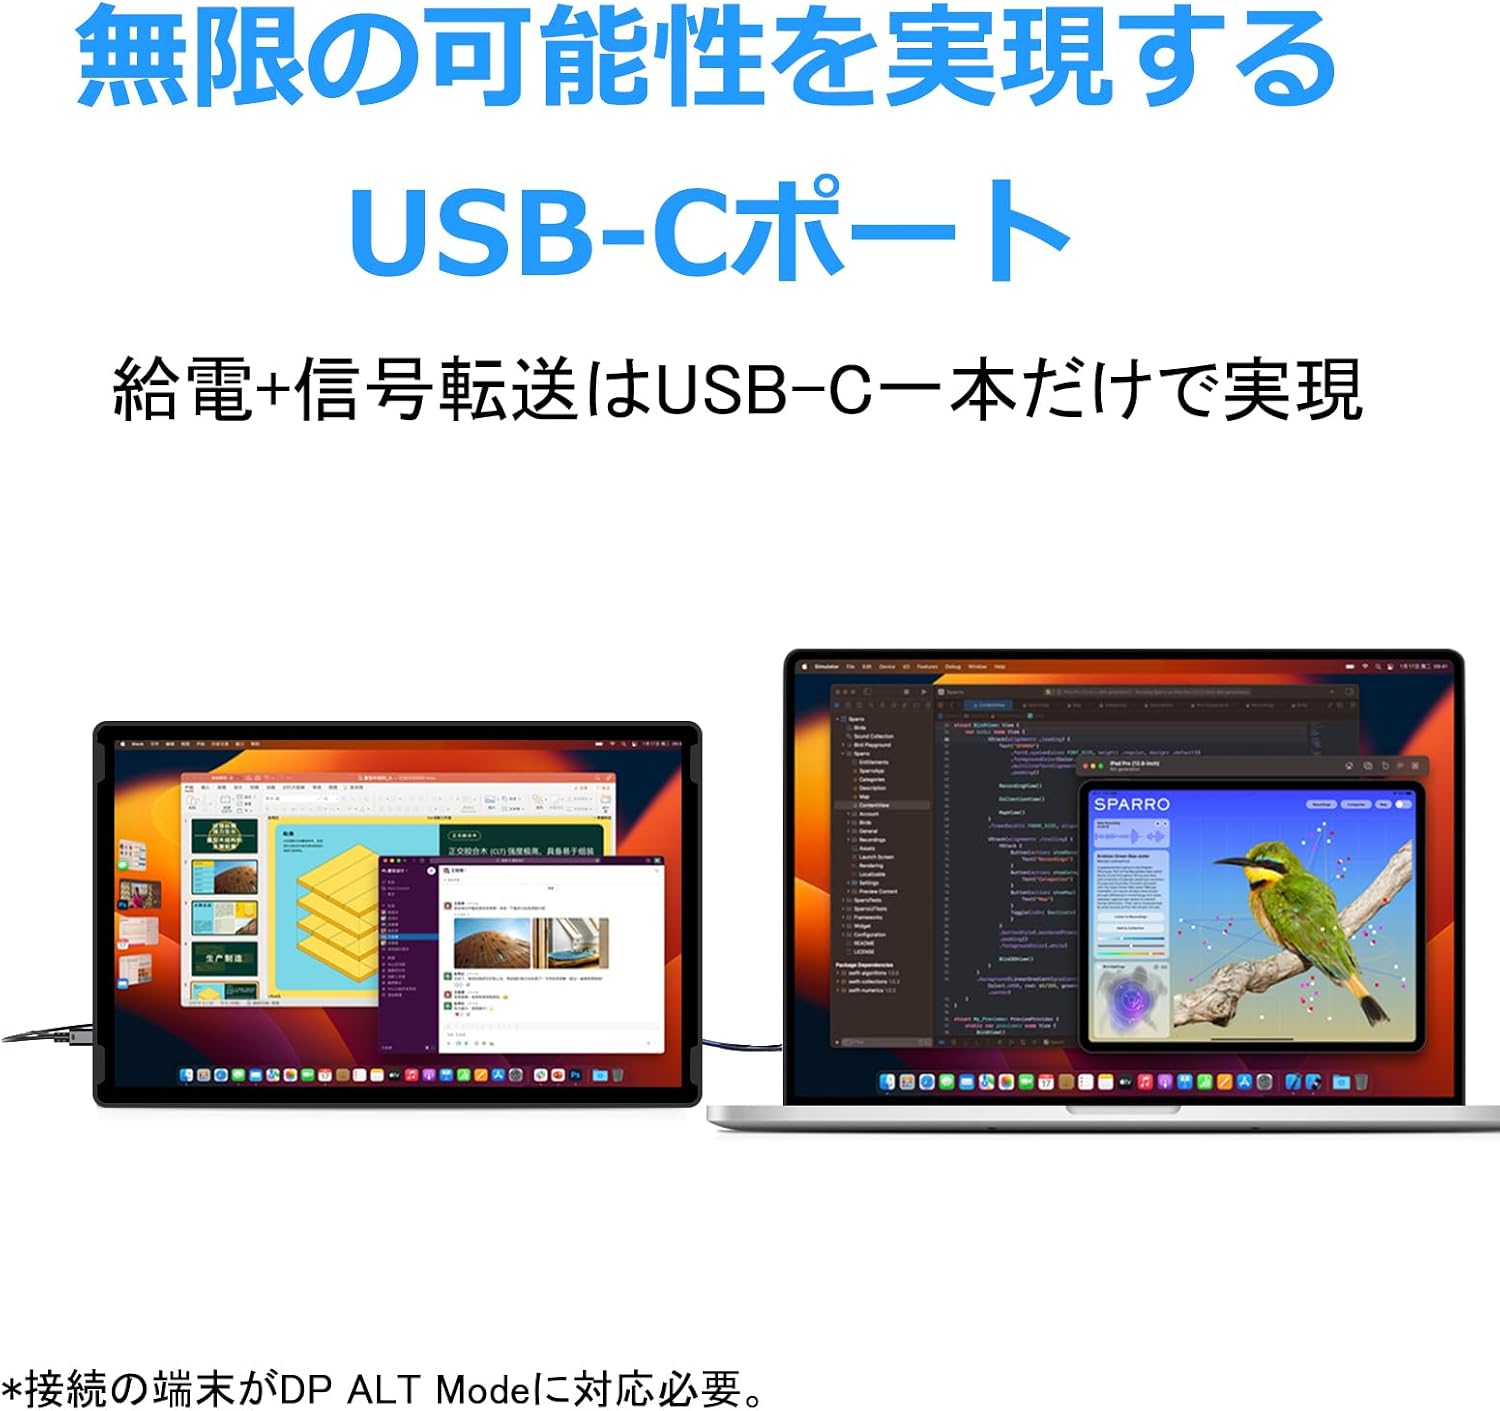
Image: The Acouto XC11 Pro monitor with its smart cover folded to create a stand, demonstrating adjustable viewing angles and the ability to rotate the display for portrait or landscape mode.
5. VESA Mounting
The monitor features VESA 75mm mounting holes on the back, allowing it to be attached to compatible wall mounts or monitor arms for flexible placement.
- Ensure the monitor is powered off and disconnected from all cables.
- Carefully remove the smart cover if attached.
- Align the VESA mounting holes on the monitor with your VESA-compatible bracket.
- Secure the monitor to the bracket using appropriate screws (not included with the monitor, typically provided with the VESA mount).

Image: The Acouto XC11 Pro monitor mounted on a VESA-compatible desk arm, illustrating its flexibility for various workspace configurations.
Operating Instructions
1. On-Screen Display (OSD) Menu
The OSD menu allows you to adjust various display settings. Use the menu/volume buttons located on the side of the monitor to navigate and select options.
- Press the Menu button (usually the top button) to open the OSD menu.
- Use the Up/Down buttons (often integrated with volume control) to navigate through menu options.
- Press the Menu button again to select an option or confirm a setting.
- Press the Exit button (often the bottom button or long-press Menu) to exit the OSD menu.

Image: A close-up view of the side of the Acouto XC11 Pro monitor, showing the menu/volume buttons, two Mini HDMI ports, two USB Type-C ports (one for power, one for data), and a 3.5mm headphone jack.
2. Common OSD Settings
- Brightness/Contrast: Adjust the display's luminance and contrast levels.
- Color Settings: Modify color temperature, hue, and saturation.
- Input Source: Manually select between USB Type-C and Mini HDMI inputs.
- Audio: Adjust volume or mute the built-in speakers.
- Eye Care Modes: Activate or adjust Blue Light Reduction and Flicker-Free settings.
- Aspect Ratio: Change the display's aspect ratio if needed.
3. Adjusting Display Orientation
The monitor supports both landscape and portrait modes. You can physically rotate the monitor when using a VESA mount or adjust the smart cover for portrait viewing. Ensure your connected device's operating system display settings are also configured for the desired orientation.
Maintenance
1. Cleaning the Monitor
- Always power off the monitor and disconnect all cables before cleaning.
- Use a soft, lint-free cloth slightly dampened with water or a mild, non-abrasive screen cleaner.
- Do not spray cleaning solution directly onto the screen.
- Avoid using harsh chemicals, alcohol, or abrasive materials, as these can damage the screen or casing.
2. Storage
When not in use for extended periods, store the monitor in a cool, dry place, away from direct sunlight and extreme temperatures. Use the smart cover to protect the screen from dust and scratches.
Troubleshooting
| Problem | Possible Cause | Solution |
|---|---|---|
| No image on screen |
|
|
| No sound from speakers |
|
|
| Flickering or distorted image |
|
|
| Monitor not receiving power |
|
|
Specifications
| Feature | Detail |
|---|---|
| Brand | Acouto |
| Model | XC11 Pro |
| Screen Size | 11 inches |
| Resolution | 2160 x 1440 (QHD) |
| Panel Type | IPS |
| Aspect Ratio | 3:2 |
| Brightness | 450 Nits |
| Contrast Ratio | 1500:1 |
| Color Gamut | 100% sRGB |
| Display Colors | 16.77 Million (8-bit) |
| Viewing Angle | 178° |
| Response Time | 3ms |
| Input Ports | 2x Mini HDMI, 2x USB Type-C (1x Power, 1x Data/Display) |
| Audio Output | 3.5mm Headphone Jack, Built-in Dual Speakers |
| Special Features | Blue Light Reduction, Flicker-Free, HDR, VESA 75mm Mount |
| Product Dimensions | 1 x 25.1 x 17.5 cm (10 x 251 x 175 mm) |
| Product Weight | 425 g |
Warranty and Support
1. Warranty Information
The Acouto XC11 Pro Mobile Monitor comes with a 3-year warranty from the date of purchase. This warranty covers manufacturing defects and malfunctions under normal use. Please retain your proof of purchase for warranty claims.
Note: The 3-year warranty applies to specific models. Please confirm your product's warranty details with your retailer or Acouto customer service.

Image: A customer service representative with a headset, symbolizing Acouto's commitment to customer support and the 3-year warranty.
2. Customer Support
For any inquiries, technical assistance, or warranty claims, please contact Acouto customer support through the following channels:
- LINE: Contact us via LINE for quick assistance.
- Email: Send your detailed query to our support email address.
Please visit the official Acouto website or your purchase platform for the most up-to-date contact information.