
QIQIAOB SV608
QIQIAOB Commercial Vacuum Sealer Instruction Manual
Model: SV608
1. Introduction
Welcome to the instruction manual for your new QIQIAOB Commercial Vacuum Sealer, Model SV608. This manual provides comprehensive guidance on the safe and efficient operation, maintenance, and troubleshooting of your appliance. Please read this manual thoroughly before first use and retain it for future reference.
For your safety, always follow the basic safety precautions outlined in this manual. This appliance is designed for household and light commercial food preservation purposes.
2. Product Overview
2.1 Key Features
- Versatile 10-in-1 sealing functions for various food types (Dry, Moist, Extra Moist modes).
- Adjustable vacuum pressure settings (Normal, Gentle).
- Patented easy-lock handle system for secure, one-handed operation.
- Powerful 95 kPa vacuum suction and 125 W power for rapid sealing (8-18 seconds).
- Enhanced vacuum silicone seal for durability and improved vacuum effect.
- Dual heat sealing strips (12mm widened) and 4-layer heating wire design for strong, consistent seals.
- Integrated bag roll storage and cutter for custom bag sizes.
- Real-time countdown display for sealing progress.
- Removable drip tray for easy cleaning and maintenance.
- Pulse vacuum function for delicate items.
2.2 Components and Controls
Familiarize yourself with the main components and control panel of your vacuum sealer.

Image: Exploded view of the vacuum sealer, highlighting key parts for user understanding.
- Countdown Display: Shows sealing progress.
- Built-in Cutter: For cutting custom bag lengths.
- Built-in Bag Storage: Holds vacuum sealer bag rolls.
- Durable Silicone Gasket: Ensures an airtight seal during vacuuming.
- Bag Positioning Clamp: Helps hold the bag in place.
- Vacuum Chamber: Area where air is removed from the bag.

Image: Control panel layout, illustrating buttons for different modes and functions.
The control panel features buttons for selecting modes (Dry, Moist, Damp), pressure settings (Gentle, Normal), and functions like Pulse Vacuum, Manual Seal, and Cancel. The digital display shows the sealing progress.
3. Setup
3.1 Unpacking and Initial Cleaning
Carefully remove the vacuum sealer from its packaging. Inspect the appliance for any signs of damage. Before first use, wipe down the exterior with a damp cloth. Ensure the vacuum chamber and sealing bar are clean and dry.
3.2 Power Connection
Plug the power cord into a standard electrical outlet (120V). The appliance is ready for use when the indicator lights illuminate.
3.3 Bag Roll Installation (Optional)
If using a bag roll, open the lid and place the roll into the built-in storage compartment. Pull the desired length of bag material over the sealing bar. Use the built-in cutter to create a custom-sized bag, then seal one end to form a pouch.

Image: Demonstrating the integrated bag roll storage and cutter for creating custom bag sizes.
4. Operating Instructions
4.1 Preparing Food and Bags
- Ensure the food item fits comfortably within the bag, leaving at least 3 inches of space from the open end for sealing.
- For moist foods, pre-freeze liquids or use the "Moist" or "Extra Moist" settings to prevent liquid from being drawn into the vacuum chamber.
- For delicate items, consider using the "Gentle" vacuum setting or the "Pulse" function for manual control.
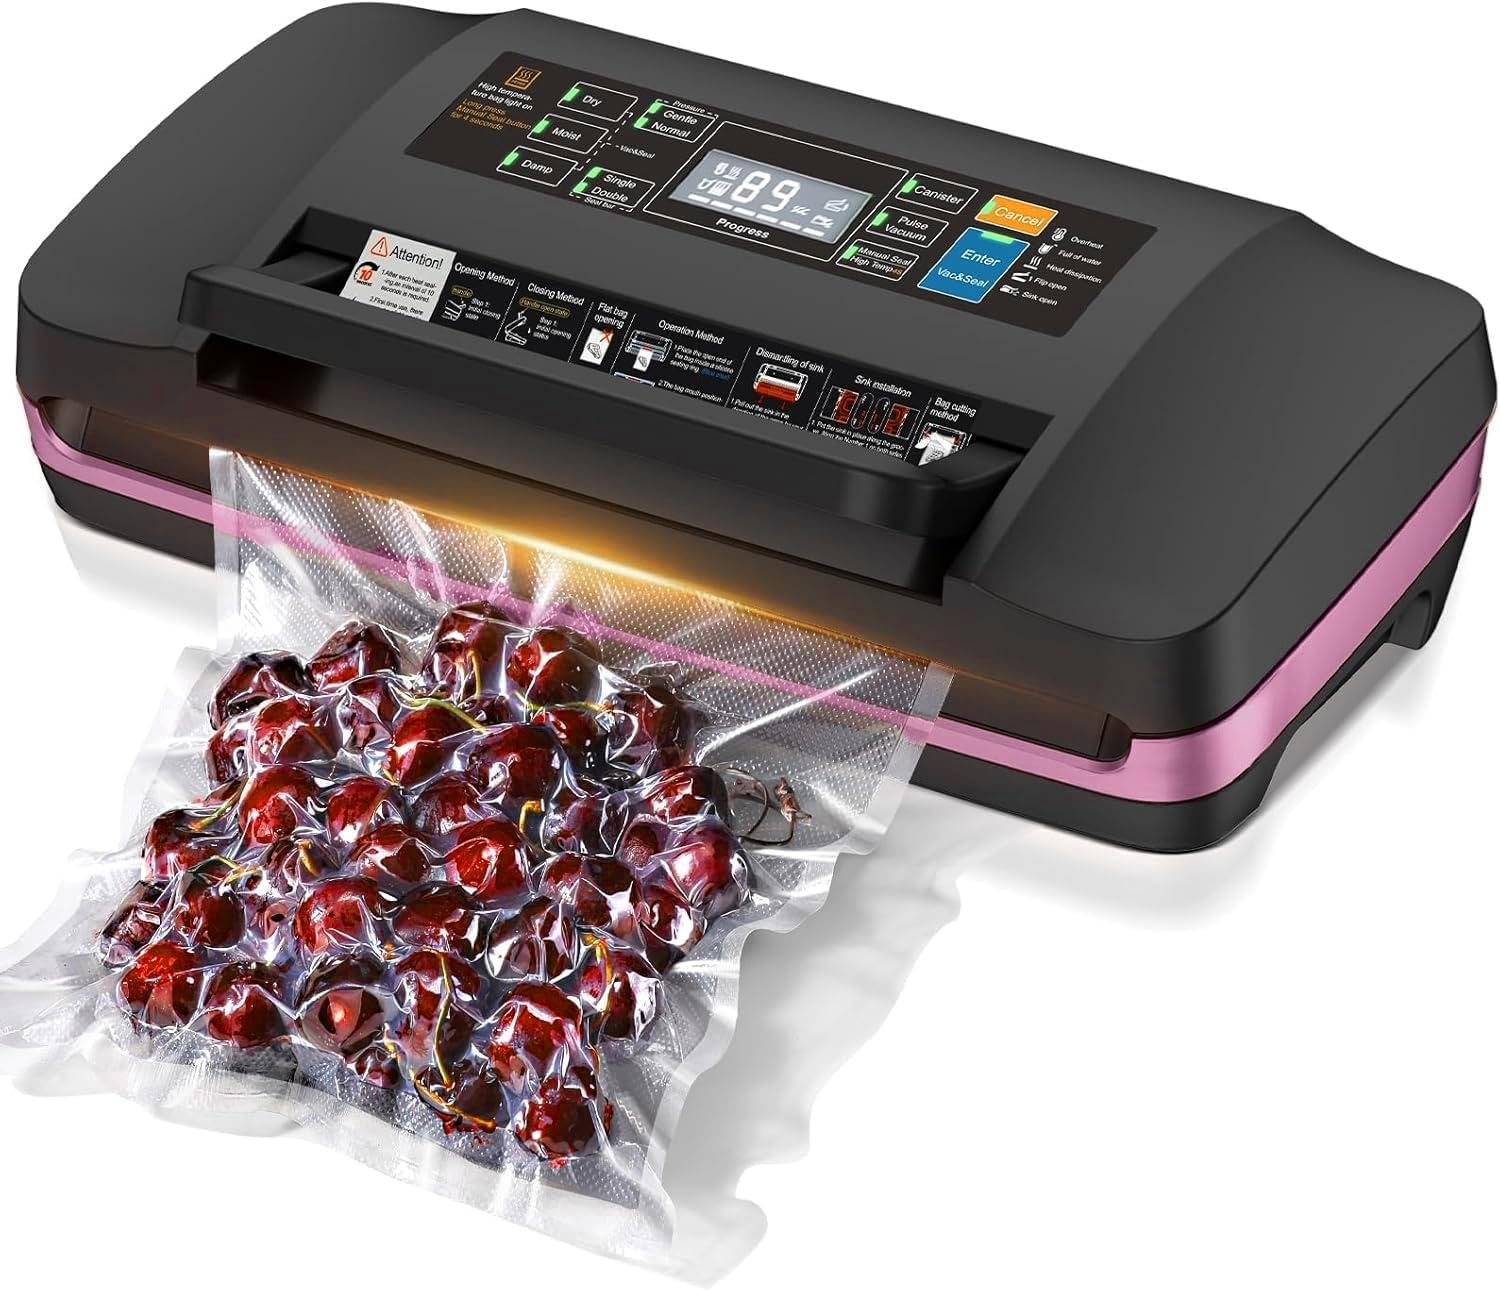
Image: The vacuum sealer actively sealing a bag of cherries, demonstrating its primary function.
4.2 Sealing Process
- Place the open end of the bag into the vacuum chamber, ensuring it lies flat across the sealing bar.
- Close the lid and press down firmly on the easy-lock handle until it clicks into place. This creates a secure seal.
- Select your desired mode (Dry, Moist, Extra Moist) and pressure setting (Normal, Gentle) using the control panel buttons.
- Press the "Vac&Seal" button to initiate the automatic vacuuming and sealing process. The countdown display will show progress.
- Once the process is complete, the machine will automatically release the lid. Open the lid and remove the sealed bag.
4.3 Manual Seal and Pulse Vacuum
- Manual Seal: To seal a bag without vacuuming, place the bag end over the sealing bar, close the lid, and press the "Manual Seal" button. This is useful for sealing bags of chips or other non-food items.
- Pulse Vacuum: For delicate items that could be crushed by full vacuum pressure, use the "Pulse Vacuum" button. Press and hold to vacuum, release to stop. Once desired vacuum is achieved, press "Enter" or "Seal" to seal the bag.
4.4 Double Heat Seal
The QIQIAOB vacuum sealer features a double heat seal for enhanced durability and freshness. After the initial seal, you may choose to perform a second seal by repositioning the bag slightly and repeating the sealing process, or by selecting the double seal option if available on the control panel (refer to the control panel image for specific button labels).

Image: Detailed view of the widened 12mm heating strap and a vacuum-sealed bag demonstrating the double heat seal for improved durability.
5. Maintenance and Cleaning
Regular cleaning and maintenance will ensure the longevity and optimal performance of your vacuum sealer.
5.1 Cleaning the Exterior
Wipe the exterior of the appliance with a soft, damp cloth. Do not immerse the unit in water or any other liquid. Avoid abrasive cleaners or scouring pads.
5.2 Cleaning the Drip Tray
The removable drip tray collects any excess liquids during the vacuuming process. To clean, pull out the sink in the direction of the arrow, then lift it upwards. Pour out any collected liquid and wash the tray with warm, soapy water. Rinse thoroughly and dry completely before reinserting.

Image: Step-by-step guide on removing and cleaning the removable drip tray, essential for hygiene and preventing liquid buildup.
5.3 Cleaning the Vacuum Chamber and Gaskets
Wipe the vacuum chamber and silicone gaskets with a damp cloth. Ensure no food particles or moisture remain, as this can affect sealing performance. The silicone gasket is designed for durability and typically does not require replacement under normal use.
5.4 Storage
When storing the appliance, it is recommended to leave the lid slightly ajar or unlocked. Storing the lid in a locked, closed position for extended periods can compress the sealing gaskets and potentially affect their long-term performance.
6. Troubleshooting
If you encounter issues with your vacuum sealer, refer to the following common problems and solutions:
| Problem | Possible Cause | Solution |
|---|---|---|
| Machine does not power on. | Not plugged in; power outlet issue. | Ensure the power cord is securely plugged into a working electrical outlet. |
| Bag does not vacuum properly. | Lid not properly locked; bag not positioned correctly; gasket dirty or damaged. | Ensure the lid is fully closed and locked. Reposition the bag so the open end is flat within the vacuum chamber. Clean the silicone gasket and vacuum chamber. |
| Bag does not seal. | Sealing bar dirty; bag material incompatible; overheating. | Clean the sealing bar. Ensure you are using compatible vacuum sealer bags. Allow the machine to cool down if it has been used continuously for a long period. |
| Vacuum is weak or inconsistent. | Moisture in drip tray; gasket issue; bag leakage. | Empty and clean the drip tray. Inspect the silicone gasket for damage or debris. Check the bag for any punctures or tears. |
| External vacuum attachment not working. | Hose not properly connected; canister/container not sealed. | Ensure the external vacuum hose is securely attached to both the machine and the accessory. Verify that the accessory (e.g., canister) is properly sealed. |
7. Specifications
| Feature | Detail |
|---|---|
| Brand | QIQIAOB |
| Model Number | SV608 |
| Color | Black |
| Dimensions (L x W x H) | 40.89 x 22.1 x 11.81 cm (16.1 x 8.7 x 4.65 inches) |
| Weight | 2.22 kg (4.9 lbs) |
| Power | 125-130 Watts |
| Voltage | 120V |
| Material | Acrylonitrile Butadiene Styrene (ABS) |
| Vacuum Pressure | 95 kPa |
| Sealing Time | 8-18 seconds (approx.) |
| Heat Seal Width | 12 mm (widened) |
| UPC | 744173176178 |
8. Warranty and Support
For warranty information or technical support, please contact QIQIAOB customer service through the retailer's platform or the official brand website. Please have your model number (SV608) and purchase date available when contacting support.
Related Documents - SV608
 |
Bedienungsanleitung für Vakuumiergeräte: Funktionen und Sicherheitshinweise Umfassende Anleitung zur Bedienung von Vakuumiergeräten, einschließlich Funktionen wie Trocken-, Feucht- und Nassmodus, Puls-Vakuum, manuelle Versiegelung und Hochtemperaturmodus. Enthält wichtige Sicherheitshinweise, Wartungstipps und Fehlerbehebung. |
 |
Thermo Scientific Smart-Vue & Smart-Tracker Wireless Monitoring Solutions for 868MHz Regions Explore Thermo Scientific's Smart-Vue and Smart-Tracker wireless monitoring solutions designed for laboratory environments. This document details features, architecture, technical specifications, ordering information, and services for continuous, real-time monitoring of critical parameters, ensuring data integrity and regulatory compliance. |
Ask a question about this manual
Ask about setup, troubleshooting, compatibility, parts, safety, or missing instructions. Manuals+ will review the question and use this page’s manual context to help answer it.