
1. Product Overview
The American Volt AV-1110X is a high-performance 10-11 inch electric radiator cooling fan designed for automotive applications. It features a powerful 180-watt motor capable of drawing 12 amps and producing 2550 CFM (Cubic Feet Per Minute) of airflow. This fan is versatile, configured as an air puller by default, but can be easily reversed to function as an air pusher, adapting to various cooling system requirements. The compact design measures 11.5 inches by 10.75 inches, with a thickness of 4 inches at the center and 1.4 inches at the edge, making it suitable for installations with limited space.
Key features include:
- 180-watt high-performance motor.
- 12-volt operation, drawing 12 amps.
- Generates 2550 CFM airflow.
- Reversible design for puller or pusher configuration.
- Includes 4 mounting bracket feet and a complete tie strap installation kit.
2. Safety Information
Read all instructions carefully before installation and operation. Failure to follow these instructions may result in property damage, personal injury, or electric shock.
- Electrical Safety: Always disconnect the vehicle's battery before performing any electrical work. Ensure all wiring connections are secure and properly insulated to prevent short circuits.
- Moving Parts: Keep hands, tools, and loose clothing away from the fan blades when the fan is connected to power. The fan blades can cause serious injury.
- Heat: Engine compartments can reach high temperatures. Allow the engine to cool before working on the cooling system.
- Proper Tools: Use appropriate tools for installation. Do not force components.
- Ventilation: Ensure adequate ventilation when working in enclosed spaces.
3. What's in the Box
Verify that all components are present before beginning installation:
- 1x American Volt 10-11 Inch Electric Radiator Cooling Fan
- 4x Mounting Bracket Feet
- 1x Complete Tie Strap Installation Kit (includes tie straps, springs, foam pads, and washers)

Image: The American Volt 10-11 inch electric radiator cooling fan, showing its overall design and blades.

Image: Four individual mounting bracket feet, typically used to secure the fan to a radiator.

Image: A complete tie strap installation kit, including four tie straps, springs, foam pads, and washers, alongside the mounting bracket feet.
4. Setup and Installation
This section outlines the general steps for installing your electric cooling fan. Specific vehicle requirements may vary. Professional installation is recommended if you are unsure about any steps.
4.1. Determine Airflow Direction (Puller vs. Pusher)
The fan is configured as an air puller by default, meaning it pulls air through the radiator towards the engine. To reverse the airflow to a pusher configuration (pushing air through the radiator away from the engine), you will need to reverse the polarity of the wiring connections. Additionally, the fan blades can often be flipped for optimal performance in a pusher setup, though this fan's straight blade design may not require blade reversal for effective operation in either direction, relying primarily on electrical polarity reversal.
- Puller Configuration: Mount the fan on the engine side of the radiator. Air flows from the front of the vehicle, through the radiator, and into the engine bay.
- Pusher Configuration: Mount the fan on the front side of the radiator (between the grille and the radiator). Air flows from the front of the vehicle, through the fan, and then through the radiator into the engine bay.
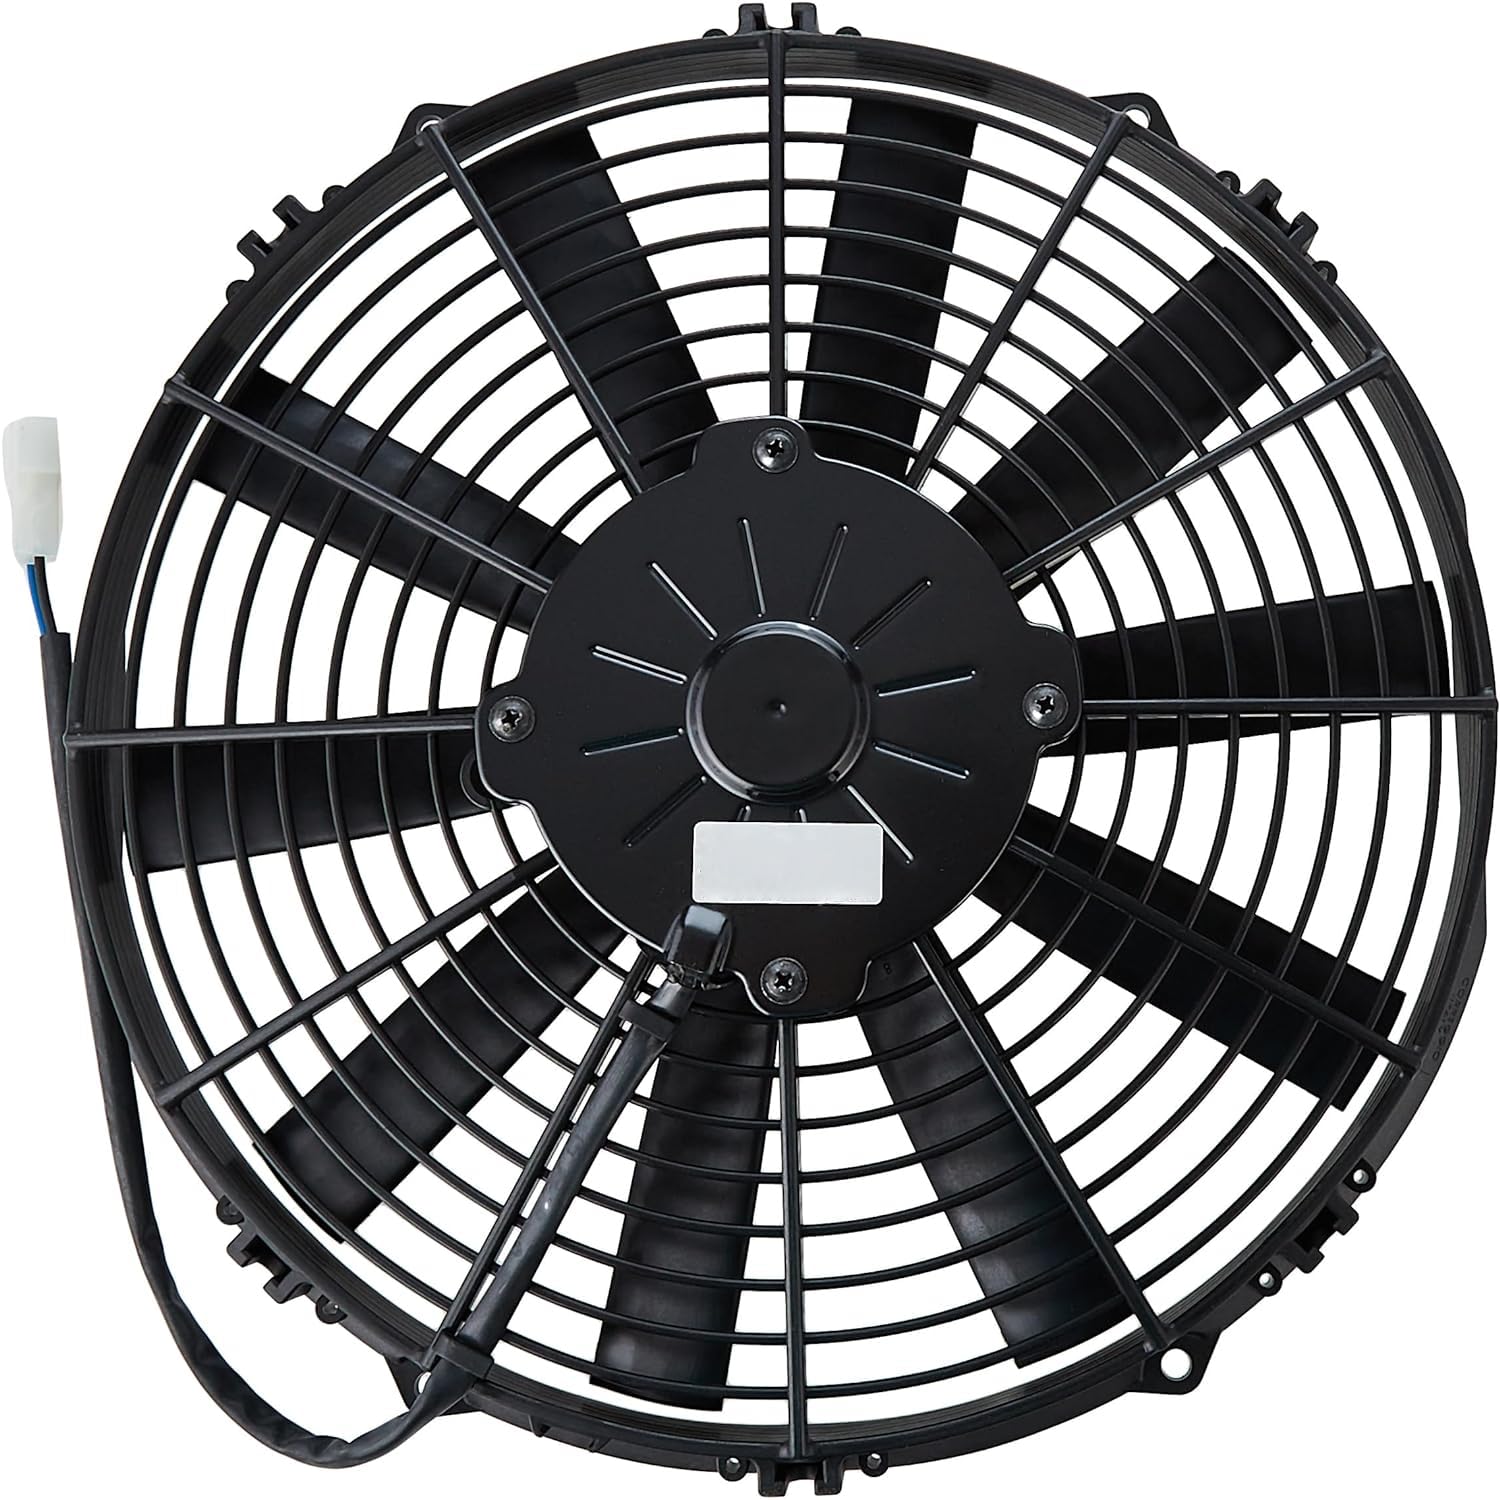
Image: A close-up view of the fan's motor and electrical wiring connection point, showing the blue and black wires.
4.2. Mounting the Fan
Use the provided mounting bracket feet and tie strap kit to secure the fan to your radiator.
- Position the fan against the radiator core in the desired location.
- Attach the four mounting bracket feet to the fan shroud.
- Thread the tie straps through the radiator fins and the mounting feet.
- Secure the tie straps with the provided washers and springs, ensuring the fan is held firmly but without excessive pressure that could damage the radiator fins.
- Trim any excess tie strap material.
4.3. Electrical Connections
The fan operates on a 12-volt DC system. Proper wiring is crucial for correct operation and safety.
- Disconnect Battery: Always disconnect the negative terminal of the vehicle's battery before making any electrical connections.
- Identify Wires: The fan typically has two wires: one positive (+) and one negative (-). Consult your vehicle's wiring diagram or a qualified technician if unsure.
- Connect Power: Connect the fan's positive wire to a switched 12V power source (e.g., a relay triggered by a temperature switch or ignition). Connect the negative wire to a good chassis ground.
- Fuse Protection: Install an appropriately rated inline fuse (e.g., 20-25 amp) on the positive power line to protect the circuit.
- Test: Reconnect the battery and test the fan's operation. Verify the airflow direction is as intended.
5. Operating Instructions
Once installed and wired correctly, the American Volt AV-1110X fan will operate automatically based on the control signal it receives (e.g., from a thermostat or ECU). Ensure your cooling system is properly filled and bled of air.
- The fan is designed to activate when the engine coolant reaches a predetermined temperature, assisting the primary cooling system.
- Monitor your vehicle's temperature gauge to ensure the cooling system is functioning correctly after installation.
- If the fan is wired to a manual switch, activate it as needed to maintain optimal engine temperature.
6. Maintenance
Regular maintenance helps ensure the longevity and efficient operation of your electric cooling fan.
- Cleaning: Periodically inspect the fan blades and shroud for accumulation of dirt, debris, or leaves. Clean gently with a soft brush or compressed air. Avoid using harsh chemicals that could damage plastic components.
- Wiring Inspection: Check all electrical connections for corrosion, fraying, or loose terminals. Ensure insulation is intact.
- Mounting Security: Verify that the fan remains securely mounted to the radiator. Tighten any loose fasteners if necessary.
- Blade Condition: Inspect fan blades for any cracks, chips, or damage. Damaged blades can cause imbalance and lead to premature motor failure.
7. Troubleshooting
If your American Volt AV-1110X fan is not operating as expected, consider the following common issues:
| Problem | Possible Cause | Solution |
|---|---|---|
| Fan does not turn on. |
|
|
| Low airflow or unusual noise. |
|
|
| Fan runs continuously. |
|
|
8. Specifications
| Feature | Detail |
|---|---|
| Brand | American Volt |
| Model Number | AV-1110X |
| Fan Size | 10-11 Inch Straight Blade |
| Motor Wattage | 180 Watts |
| Operating Voltage | 12 Volts DC |
| Current Draw | 12 Amps |
| Airflow (CFM) | 2550 Cubic Feet Per Minute |
| Product Dimensions | 11.5" x 10.75" x 4" (center thickness), 1.4" (edge thickness) |
| Material | Alloy Steel, Plastic |
| Item Weight | 5 Pounds |
| Airflow Direction | Reversible (Puller by default, configurable to Pusher) |
9. Warranty Information
American Volt products are manufactured to high-quality standards. For specific warranty terms and conditions, please refer to the warranty documentation included with your purchase or visit the official American Volt website. Keep your proof of purchase for any warranty claims.
10. Customer Support
If you have any questions, require technical assistance, or need to report an issue, please contact American Volt customer support. You can typically find contact information on the product packaging, the official American Volt website, or through your retailer.
For more information, visit the American Volt Store on Amazon.