1. Introduction
This instruction manual provides essential information for the safe and correct installation, operation, and maintenance of your mainlly JR-RX-12V Receiver and compatible remote control system for baby carriage accessories. Please read this manual thoroughly before use and retain it for future reference.
2. Product Overview
The mainlly JR-RX-12V is a 12-volt receiver designed for use with electric ride-on baby carriages. It functions as the central control unit, receiving signals from a compatible remote control to manage the vehicle's movement. The system includes the receiver and a remote control, which may be models such as JR1758-2S-AD, JR1758RX, or JR1810RX.

Image 2.1: Overview of the mainlly JR-RX-12V Receiver and its compatible remote control.
2.1 Receiver (JR-RX-12V)
The receiver is a compact electronic module responsible for interpreting commands from the remote control and relaying them to the vehicle's motors and other components. It typically features multiple ports for power input, motor connections, and other accessories.
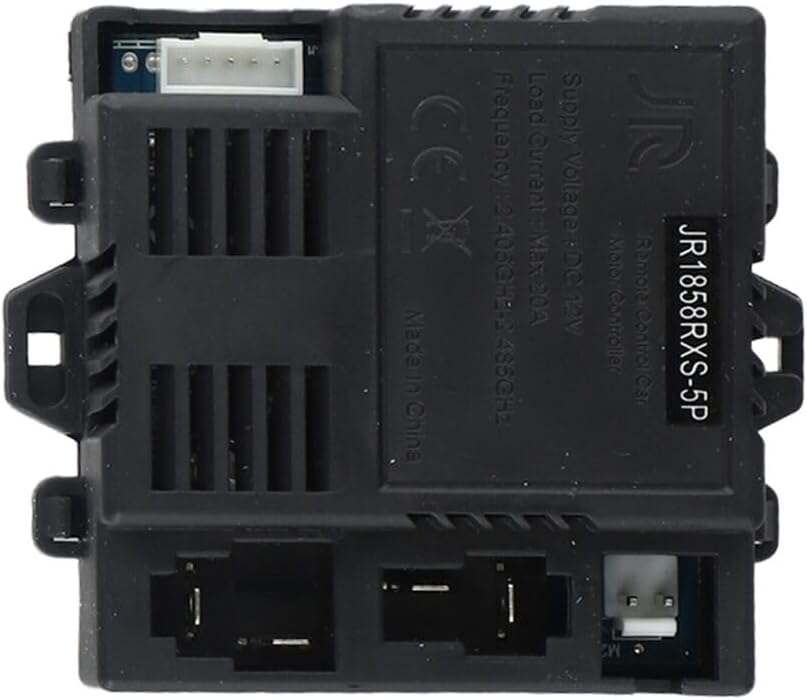
Image 2.2: Detailed view of the JR-RX-12V Receiver, showing connection ports and model number JR1858RXS-5P.
2.2 Remote Control
The remote control allows parents or guardians to operate the baby carriage remotely, providing an additional layer of safety and control. It features directional buttons, speed settings, and a parking function.

Image 2.3: Front view of the remote control, displaying directional, speed, and parking buttons.
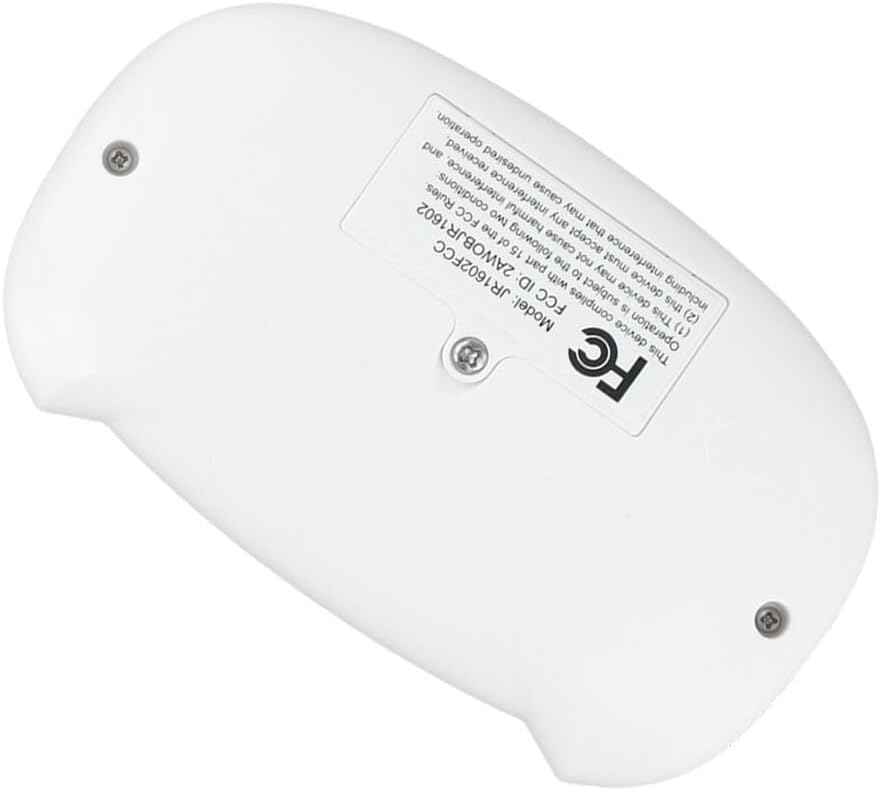
Image 2.4: Back view of the remote control, showing model JR1602FCC and FCC ID 2AIW8JR1602.
3. Safety Information
- Always ensure the receiver and remote control are securely installed and connected according to the vehicle's wiring diagram.
- Do not expose the receiver or remote control to water, moisture, or extreme temperatures.
- Keep the remote control out of reach of children when not in use to prevent unintended operation.
- Regularly inspect all connections for signs of wear or damage. Replace damaged components immediately.
- This device complies with Part 15 of the FCC Rules. Operation is subject to the following two conditions: (1) This device may not cause harmful interference, and (2) This device must accept any interference received, including interference that may cause undesired operation.
4. Setup and Installation
Installation of the JR-RX-12V receiver typically involves connecting it to the vehicle's power source, motors, and other control components. Refer to your specific baby carriage's wiring diagram for precise connection points.
4.1 Receiver Installation
- Disconnect Power: Before beginning installation, ensure the vehicle's main power source (battery) is disconnected to prevent electrical shorts or damage.
- Mount the Receiver: Securely mount the JR-RX-12V receiver in a dry, protected location within the vehicle, away from direct heat or moisture.
- Connect Power: Connect the receiver's power input (typically marked 'DC 12V' or similar) to the vehicle's 12V power supply. Observe correct polarity (positive to positive, negative to negative).
- Connect Motors: Connect the motor output wires from the receiver to the vehicle's drive motors. Ensure correct connections for forward and reverse operation.
- Connect Other Components: If applicable, connect steering motors, lights, or other accessories to the designated ports on the receiver.
4.2 Remote Control Pairing
After installing the receiver, the remote control must be paired with it to establish communication. The exact pairing procedure may vary slightly by remote control model, but a common method is as follows:
- Power On Vehicle: Ensure the vehicle's main power switch is turned ON.
- Activate Pairing Mode: On the remote control, press and hold the 'M' or 'Code' button (if present) or a combination of directional buttons (e.g., 'Forward' and 'Backward' simultaneously) for a few seconds until an indicator light on the remote starts flashing.
- Observe Receiver: The receiver's indicator light should also flash or change state, indicating it is in pairing mode.
- Confirm Pairing: Once the lights on both the remote and receiver stop flashing and remain solid, the pairing is successful. Test the remote control's functions.
- Troubleshooting: If pairing fails, turn off both the vehicle and remote, wait a few seconds, and repeat the process. Ensure the remote control has fresh batteries.
5. Operating Instructions
Once the receiver and remote control are paired, you can operate the baby carriage remotely.
5.1 Remote Control Functions
- Directional Buttons (Arrows):
- Up Arrow: Moves the vehicle forward.
- Down Arrow: Moves the vehicle backward.
- Left Arrow: Turns the vehicle left.
- Right Arrow: Turns the vehicle right.
- 'S' Button (Speed): Press to cycle through available speed settings (e.g., low, medium, high). The vehicle may indicate the current speed setting.
- 'P' Button (Parking/Brake): Press to engage the parking brake, stopping the vehicle immediately. Press again to release.
5.2 General Operation Tips
- Always operate the vehicle in a safe environment, away from hazards.
- Maintain a clear line of sight between the remote control and the vehicle.
- Avoid operating the vehicle beyond the effective range of the remote control.
6. Maintenance
- Cleaning: Wipe the receiver and remote control with a soft, dry cloth. Do not use harsh chemicals or abrasive cleaners.
- Battery Replacement (Remote Control): When the remote control's indicator light dims or its range decreases, replace the batteries. Refer to the remote control's battery compartment for the correct battery type and polarity.
- Storage: Store the receiver and remote control in a cool, dry place when not in use. If storing for extended periods, remove batteries from the remote control.
7. Troubleshooting
| Problem | Possible Cause | Solution |
|---|---|---|
| Vehicle does not respond to remote control. |
|
|
| Vehicle moves erratically or intermittently. |
|
|
| Remote control indicator light does not turn on. |
|
|
8. Specifications
- Receiver Model: JR-RX-12V (also identified as JR1858RXS-5P)
- Remote Control Model: JR1602FCC (compatible with JR1758-2S-AD, JR1758RX, JR1810RX systems)
- Supply Voltage: DC 12V
- Load Current: Max 20A
- Frequency: 2.405GHz - 2.485GHz
- Manufacturer: mainlly
- FCC ID (Remote Control): 2AIW8JR1602
9. Warranty and Support
For warranty information, technical support, or replacement parts, please contact your retailer or the manufacturer directly. Keep your purchase receipt as proof of purchase.


