
Introduction
This manual provides detailed instructions for the proper setup, operation, and maintenance of your FEDOUR Mini Aquarium Air Pump. Please read this manual thoroughly before use to ensure optimal performance and longevity of the product. This air pump is designed to provide oxygen and promote water movement in aquariums up to 20 gallons.

Image: The FEDOUR Mini Aquarium Air Pump connected to an air stone, producing bubbles in a fish tank. A goldfish is visible near the water surface.
Package Contents
Verify that all components are present in the package before proceeding with installation:
- 1 x FEDOUR Mini Aquarium Air Pump
- 1 x 4.9ft Air Tube
- 1 x Check Valve
- 1 x Air Stone
- 1 x Air Regulating Valve
- 1 x Suction Cup (for fixing the air tube)

Image: A visual representation of the FEDOUR Mini Aquarium Air Pump and its accessories, including the air stone, air tube, return valve, regulating valve, and suction cup.
Specifications
| Power | 2W |
| Voltage | 100-120V/60Hz (US Standard) |
| Pressure | 16 kPa |
| Air Volume | 24 GPH (1.5 L/min) |
| Dimensions (L x W x H) | 3.5 x 2.4 x 1.6 inches (9 x 6 x 4 cm) |
| Power Cable Length | 4.5 ft |
| Hose Length | 4.9 ft |
| Recommended Tank Size | Up to 20 gallons |
| Material | Plastic |
| Weight | 0.2 Kilograms |

Image: Detailed dimensions of the mini air pump, highlighting its compact size.
Setup Instructions
- Connect Air Tube: Attach one end of the 4.9ft air tube to the outlet nozzle of the air pump.
- Install Check Valve: Cut a section of the air tube and insert the check valve. Ensure the check valve is installed with the arrow pointing towards the air stone (away from the pump). This prevents water from flowing back into the pump during power outages.
- Install Air Regulating Valve: Insert the air regulating valve into the air tube, typically between the check valve and the air stone. This allows for adjustment of the air volume.
- Attach Air Stone: Connect the remaining end of the air tube to the air stone.
- Position Air Stone: Place the air stone at the desired location inside your aquarium.
- Secure Air Tube: Use the provided suction cup to secure the air tube along the back or side of the aquarium, keeping it tidy and preventing kinks.
- Position Air Pump: Place the air pump outside the aquarium, preferably above the water level to further prevent back siphoning. If the pump must be placed below the water level, ensure the check valve is correctly installed and functioning. The pump's silicone feet help absorb vibrations and minimize noise.
- Connect Power: Plug the power cable into a standard US electrical outlet.

Image: A visual guide to connecting the air pump, air tube, regulating valve, and check valve, emphasizing the correct direction for the check valve.
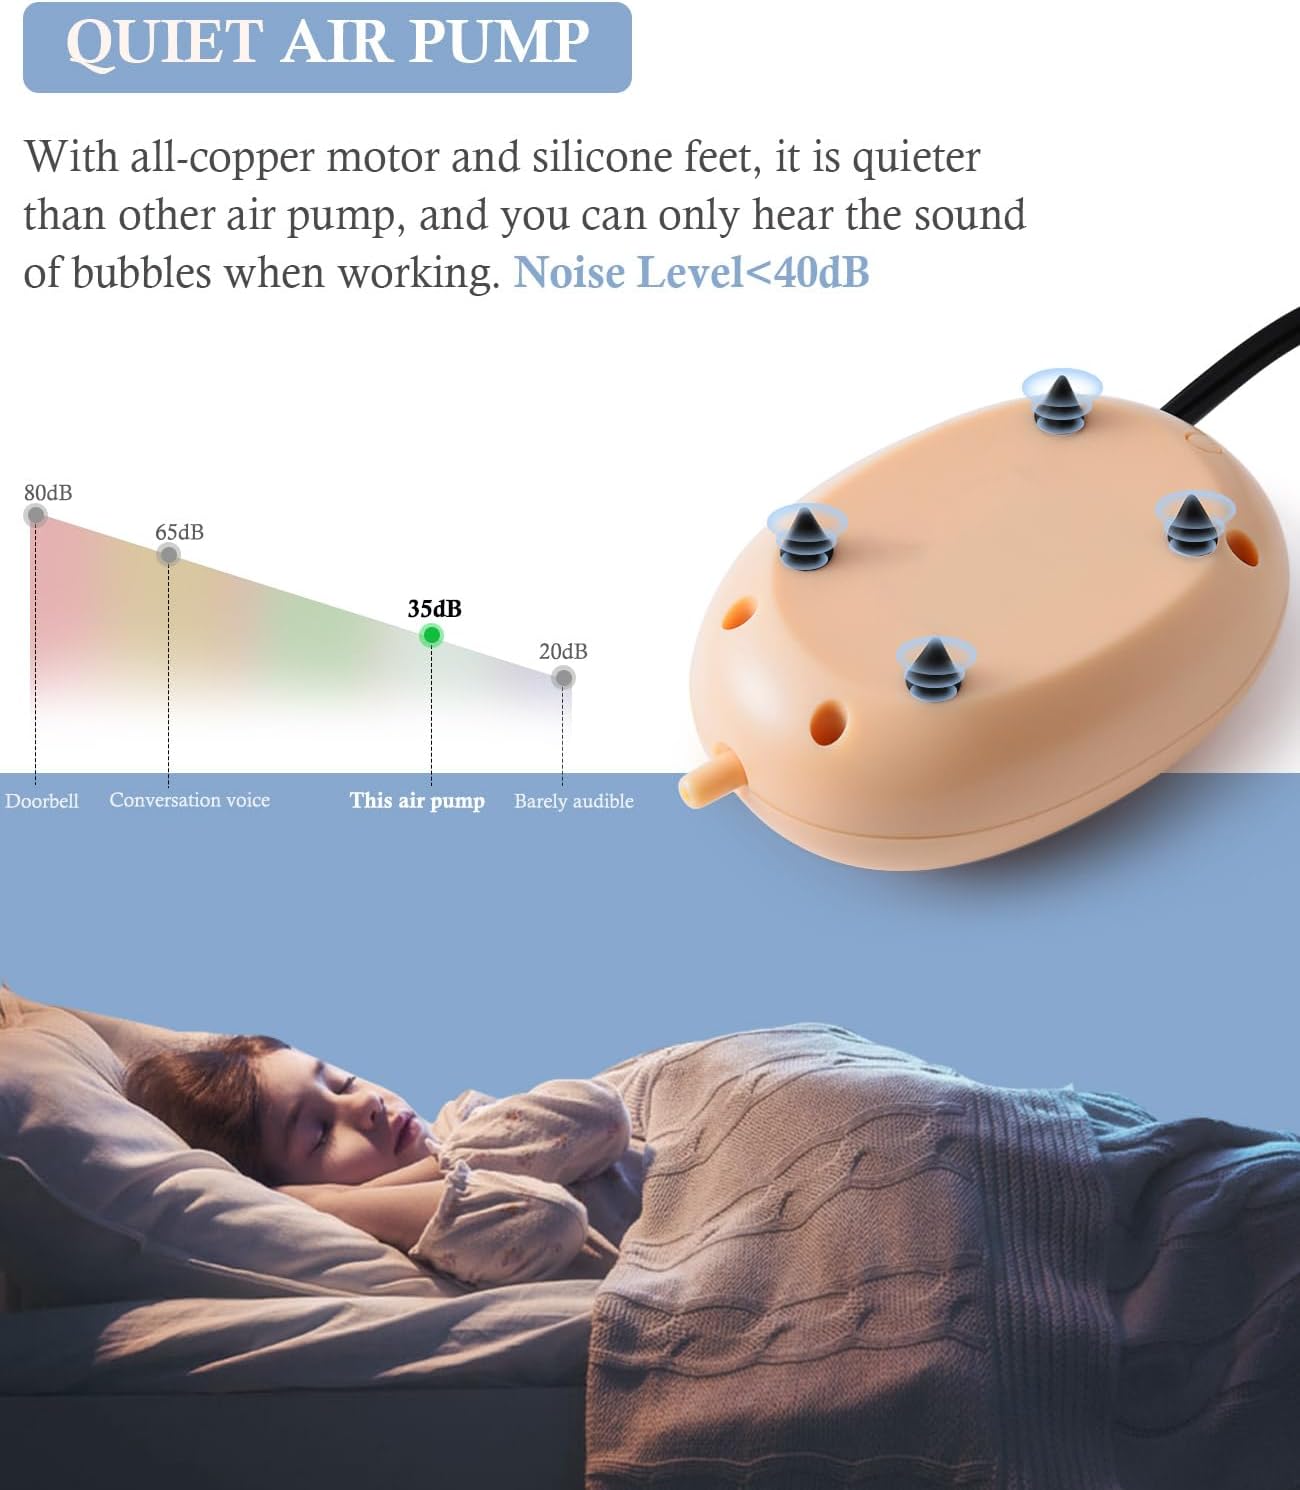
Image: An example of the FEDOUR Mini Aquarium Air Pump fully installed and operating in a small aquarium.
Operating Instructions
Once the air pump is set up and plugged in, it will begin to operate, providing oxygen to your aquarium. The air regulating valve allows you to control the intensity of the air bubbles.
- Adjusting Air Volume: Rotate the air regulating valve to increase or decrease the airflow. Turn it clockwise to reduce airflow and counter-clockwise to increase airflow. Adjust to achieve the desired bubble intensity for your aquarium inhabitants.
- Quiet Operation: The pump is designed with upgraded cone rubber feet to minimize noise. You should primarily hear the sound of bubbles in the water.

Image: A visual guide on using the regulating valve to adjust the air volume, illustrating the difference between low and high bubble output.

Image: Illustration of the air pump's low noise level (below 40dB), indicating it is quiet enough for a bedroom environment.
Maintenance
Regular maintenance ensures the efficient and long-lasting operation of your air pump:
- Air Stone Cleaning: Over time, air stones can become clogged with algae or mineral deposits, reducing airflow. Clean or replace the air stone regularly (e.g., monthly) to maintain optimal bubble production.
- Air Tube Inspection: Periodically check the air tube for kinks, blockages, or damage. Replace if necessary.
- Pump Placement: Ensure the pump is kept in a dry, well-ventilated area, away from direct sunlight or excessive heat. Do not submerge the pump in water.
- Check Valve Function: Occasionally verify that the check valve is functioning correctly to prevent water backflow.
Troubleshooting
| Problem | Possible Cause | Solution |
|---|---|---|
| No air or weak airflow |
|
|
| Pump is noisy |
|
|
| Water flowing back into pump |
|
|
Warranty and Support
The FEDOUR Mini Aquarium Air Pump comes with a 12-month warranty from the date of purchase.
If you encounter any problems or have questions regarding your product, please do not hesitate to contact our customer service team. Our after-sales service team is committed to responding within 24 hours to assist you.
For support, please visit the FEDOUR Store on Amazon or refer to your purchase documentation for direct contact information.

