
Planika GO-BIN-03
Planika BINO Outdoor Gas Fireplace - Instruction Manual
Model: GO-BIN-03 | Brand: Planika
Important Safety Information
Please read and understand all instructions and warnings before assembling, operating, or servicing this appliance. Failure to follow these instructions may result in fire, explosion, property damage, personal injury, or death.
- For outdoor use only. Do not use indoors or in an enclosed area.
- Keep children and pets away from the fireplace when in operation.
- Never leave the fireplace unattended when lit.
- Ensure adequate ventilation.
- Do not store or use gasoline or other flammable vapors and liquids in the vicinity of this or any other appliance.
- Always turn off the gas supply at the cylinder when the fireplace is not in use.
- Do not obstruct the flow of combustion and ventilation air.
- Use only the type of gas and gas supply pressure specified by the manufacturer.
Package Contents
Verify that all components are present and undamaged before assembly.
- Planika BINO Outdoor Gas Fireplace Unit
- Glass Shield
- Propane Gas Regulator and Hose
- Decorative Stones (Lava Rocks/Glass Media)
- Waterproof Fabric Cover
- Instruction Manual (this document)

Image: All components included with the Planika BINO Outdoor Gas Fireplace.
Setup and Assembly
Follow these steps for proper setup of your Planika BINO Outdoor Gas Fireplace.
1. Connecting the Gas Cylinder
- Ensure the gas cylinder valve is closed.
- Connect the gas regulator hose to the gas cylinder valve. Tighten securely with a wrench, ensuring no leaks.
- Carefully lift the fireplace unit and place it over the gas cylinder, ensuring the cylinder fits securely within the designated compartment.

Image: The internal compartment designed to discreetly house the gas cylinder.
Video: A detailed installation guide for the BINO Outdoor Gas Fireplace, demonstrating the connection of the gas cylinder and initial setup steps.
2. Placing Decorative Stones
- Open the bags of decorative stones.
- Evenly distribute the stones over the burner area.
- Ensure that the igniter and gas outlet are not covered by the stones to allow for proper ignition and flame distribution.
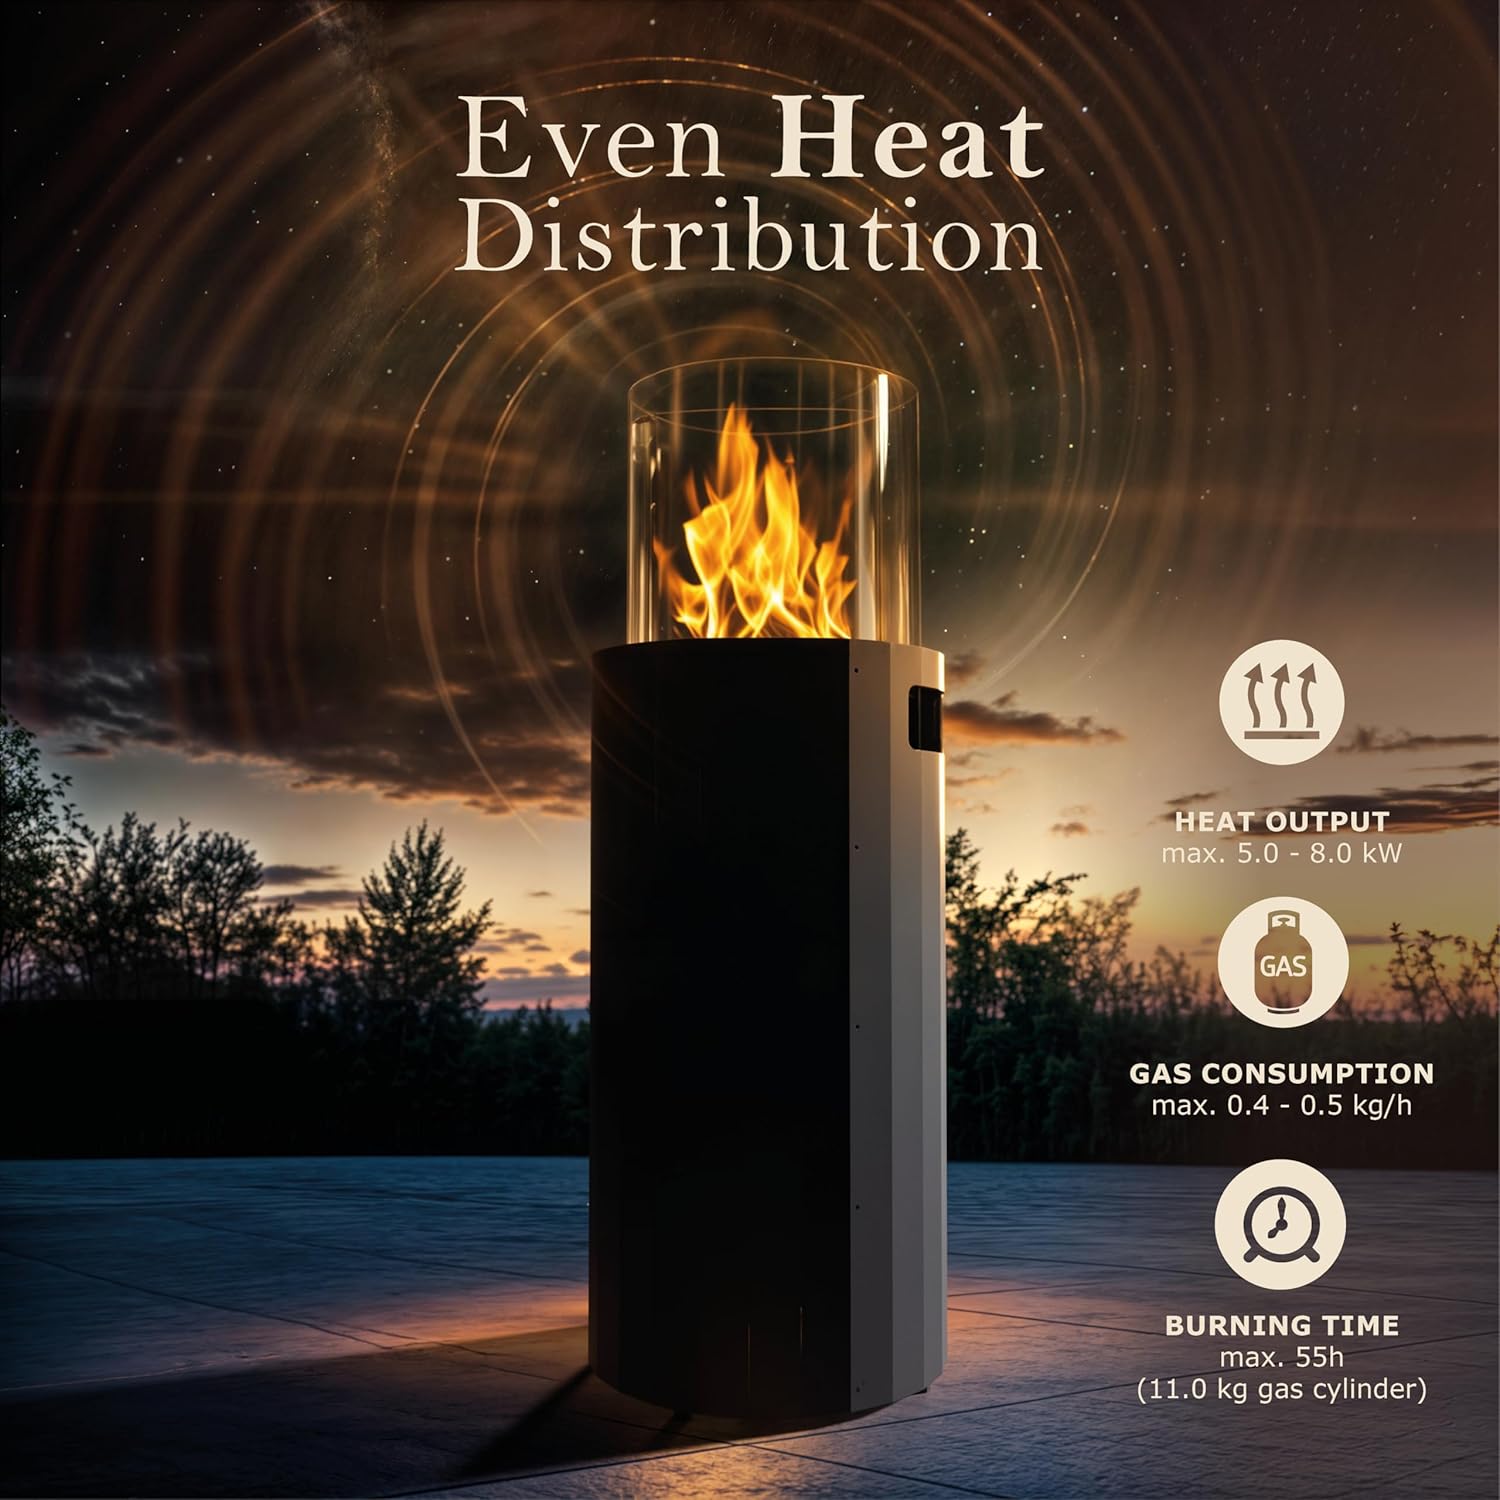
Image: Proper placement of decorative stones around the burner, ensuring the igniter is clear.
3. Placing the Glass Shield
- Carefully place the glass shield onto the top of the fireplace unit, aligning it with the designated grooves or supports.
- Ensure the glass shield is stable and securely seated before operation.

Image: Demonstrating the placement of the glass shield on the fireplace.
Operating Instructions
Learn how to safely light and operate your Planika BINO Outdoor Gas Fireplace.
1. Lighting the Fireplace
- Open the gas cylinder valve slowly.
- Press and turn the control knob to the 'ON' position.
- While holding the knob in, press the igniter button repeatedly until the flame ignites.
- Once lit, continue to hold the control knob for 10-15 seconds to allow the thermocouple to heat up and engage the safety valve. Release the knob; the flame should remain lit.

Image: A hand adjusting the flame regulator on the fireplace.
2. Adjusting the Flame
Rotate the control knob to adjust the flame height and heat output to your desired level. The flame can be adjusted from low to high.

Image: The vibrant flame visible through the glass shield, indicating operation.
3. Turning Off the Fireplace
- Turn the control knob to the 'OFF' position.
- Close the gas cylinder valve completely.
- Allow the fireplace to cool down completely before moving or covering.
Maintenance
Regular maintenance ensures the longevity and safe operation of your fireplace.
Cleaning
- Ensure the fireplace is completely cool before cleaning.
- Wipe exterior surfaces with a soft, damp cloth. Do not use abrasive cleaners.
- Clean the glass shield with a glass cleaner designed for fireplaces to remove any soot or residue.
- Periodically inspect the gas hose and connections for any signs of wear, cuts, or leaks.
Storage and Covering
When not in use, especially during adverse weather conditions or extended periods, use the provided waterproof fabric cover to protect the fireplace from elements.

Image: The fireplace protected by its waterproof cover, suitable for outdoor storage.
Troubleshooting
If you encounter issues with your fireplace, refer to the table below for common problems and solutions.
| Problem | Possible Cause | Solution |
|---|---|---|
| Fireplace does not light | Gas cylinder valve closed No gas in cylinder Igniter not sparking Thermocouple not heating | Open gas valve Replace or refill cylinder Check igniter connection/battery Hold control knob longer after ignition |
| Low flame or inconsistent flame | Low gas pressure Obstructed burner Gas hose kinked | Check gas cylinder level Clear debris from burner/stones Straighten gas hose |
| Gas smell detected | Gas leak | Immediately turn off gas supply. Do not operate. Check all connections for leaks using soapy water. If smell persists, contact a qualified technician. |
Specifications
| Feature | Detail |
|---|---|
| Brand | Planika |
| Model Name | BINO |
| Item Model Number | GO-BIN-03 |
| Power Source | Propane gas |
| Product Dimensions | 15.74"D x 15.74"W x 40.5"H |
| Material | Metal |
| Finish Type | Powder Coated |
| Heat Output | 27000 BTU per Hour |
| Special Feature | Portable |
| Color | Black |
| Room Type | Patio |
| Heating Coverage | 100 cm |
| Included Components | Waterproof Fabric Cover, Propane Gas Regulator |
| Shape | Round |
| Item Weight | 32.4 pounds |
Warranty and Support
For warranty information or technical support, please refer to the product packaging or contact Planika customer service. Keep your purchase receipt for warranty claims.
Related documentsGO-BIN-03


Ask a question about this manual
Ask about setup, troubleshooting, compatibility, parts, safety, or missing instructions. Manuals+ will review the question and use this page’s manual context to help answer it.