
1. Introduction
Thank you for choosing the EUGAD Rabbit Enclosure Model 0012TSL. This outdoor playpen is designed to provide a safe and spacious environment for small animals such as rabbits. It features a durable metal wire construction, a protective mesh cover, and an easy-access door. This manual provides essential information for proper assembly, safe operation, and effective maintenance of your enclosure.
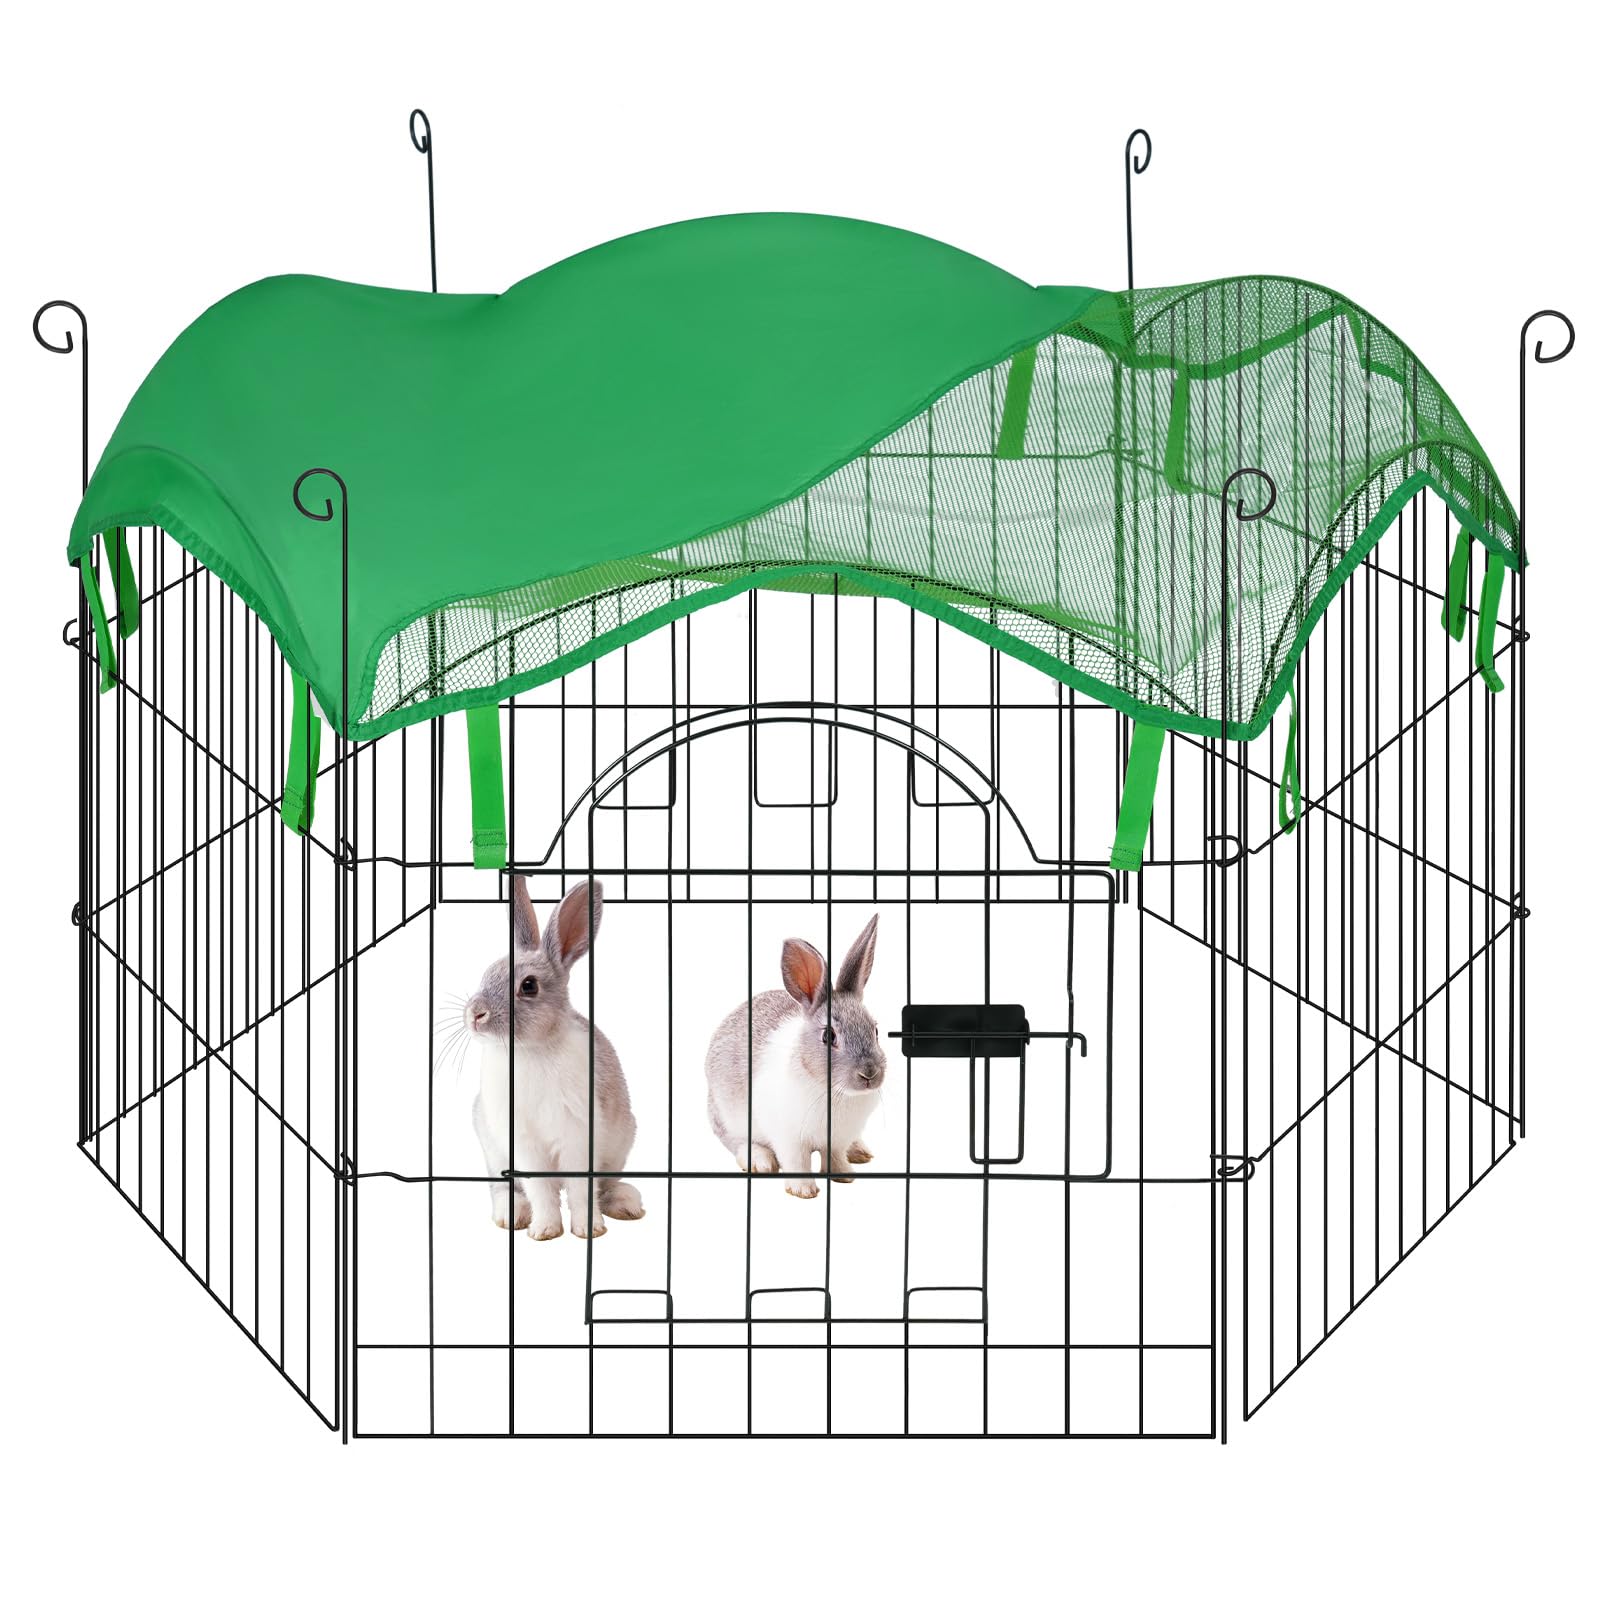
Figure 1: Assembled EUGAD Rabbit Enclosure Model 0012TSL.
2. Safety Instructions
- Read all instructions carefully before assembly and use.
- Ensure all components are securely fastened during assembly to prevent collapse or injury.
- This enclosure is intended for small animals. Verify that the wire spacing (4 cm) is suitable for your specific animal to prevent escape or injury. For very small animals, additional precautions may be necessary.
- Always supervise your pets while they are in the enclosure, especially during initial use.
- Place the enclosure on a flat, stable surface. Avoid uneven ground that could compromise stability.
- Do not allow children to climb on or play inside the enclosure.
- Regularly inspect the enclosure for any damage, sharp edges, or loose parts that could harm your pet.
3. Package Contents
Before beginning assembly, ensure all parts are present and undamaged. If any parts are missing or damaged, contact customer service.
- 6x Wire Mesh Panels (56x60 cm each)
- 1x Mesh Cover
- 6x Ground Stakes (Ø0.4x70 cm)
- 1x Instruction Manual
4. Setup Instructions
The EUGAD Rabbit Enclosure is designed for tool-free assembly. Follow these steps to set up your enclosure:
- Unpack Components: Carefully remove all panels, ground stakes, and the mesh cover from the packaging. Lay them out on a clean, flat surface to identify each part. One of the panels includes a hinged door with a latch.
- Connect Panels: Stand two wire mesh panels upright. Align the edges of the panels. Insert a ground stake through the interlocking loops on the vertical edges of the two panels. Push the stake firmly into the ground to secure the connection. Repeat this process for all six panels, forming your desired shape (e.g., hexagonal or rectangular). Ensure all panels are securely interlocked with the ground stakes.

Figure 2: Connecting panels with a ground stake.
- Secure to Ground: Once all panels are connected and the desired shape is formed, ensure the ground stakes are fully inserted into the ground for maximum stability.
- Attach Mesh Cover: Unfold the mesh cover and place it over the top of the assembled enclosure. Secure the cover to the enclosure panels using the integrated fasteners or clips, ensuring it is taut and fully covers the opening to prevent animals from escaping or predators from entering.

Figure 3: Attaching the mesh cover.
- Check Door Latch: Verify that the door on one of the panels opens and closes smoothly and that the latch mechanism functions correctly to secure the door.
To disassemble the enclosure, simply remove the ground stakes between the panels. The panels can then be folded flat for easy storage or transport.
5. Operating Instructions
- Placement: Position the enclosure in a safe, shaded area of your garden or lawn, away from direct sunlight or harsh weather conditions. Ensure the ground is level.
- Access Door: Use the hinged door with its latch for easy access to your pet for feeding, cleaning, or interaction. Always ensure the door is securely latched when your pet is inside.

Figure 4: Door latch detail.
- Supervision: While the enclosure provides a secure space, constant supervision is recommended, especially for new pets or in areas with potential predators.
- Water and Food: Always provide fresh water and appropriate food for your pet within the enclosure.
6. Maintenance
- Cleaning: Regularly clean the enclosure using a mild pet-safe detergent and water. Rinse thoroughly and allow to dry completely before returning your pet. The metal wire is coated with anti-rust paint, but proper drying helps maintain its condition.
- Inspection: Periodically check all connections, panels, and the mesh cover for any signs of wear, damage, or rust. Replace any damaged parts immediately to ensure the safety and integrity of the enclosure.
- Storage: When not in use, disassemble the enclosure and store it in a dry place to prolong its lifespan.
7. Troubleshooting
- Enclosure is unstable: Ensure all ground stakes are fully inserted into the ground and that the enclosure is placed on a flat, level surface. Check that all panel connections are tight.
- Pet escaping: Verify that the wire spacing (4 cm) is appropriate for your pet's size. For very small or young animals, the spacing may be too wide, requiring additional mesh or supervision. Ensure the mesh cover is securely attached and the door latch is fully engaged.
- Difficulty connecting panels: Ensure the loops on the panel edges are aligned correctly before inserting the ground stakes. Apply gentle pressure to push the stakes through.
8. Specifications
| Feature | Specification |
|---|---|
| Model Number | 0012TSL |
| Material | Iron with anti-rust paint |
| Panel Dimensions (L x H) | 56 x 60 cm (each panel) |
| Wire Interval | 4 cm |
| Frame Wire Diameter | 3.5 mm |
| Horizontal Wire Diameter | 3 mm |
| Vertical Wire Diameter | 2.5 mm |
| Ground Stake Dimensions | Ø0.4 x 70 cm |
| Assembled Dimensions (Hexagonal) | Approx. Ø 114 cm, Height 60 cm |
| Net Weight | 3.7 kg |
| Targeted Species | Rabbit (ensure suitability for specific animal size) |
| Assembly Required | Yes |
9. Warranty and Support
Warranty information for the EUGAD Rabbit Enclosure Model 0012TSL was not provided in the product data. For specific warranty details or technical support, please refer to the product packaging or contact EUGAD customer service directly through their official website or the retailer where the product was purchased.