1. Introduction
The JBL Stage 2 200P is a 300W powered subwoofer designed to enhance the low-frequency performance of your home audio system. Engineered at JBL's Acoustic Engineering Center of Excellence in Northridge, California, this subwoofer is part of the Stage series, delivering deep and powerful bass. It features a front-firing 10-inch (250mm) Polycellulose low-frequency woofer and dual rear-firing tuned ports for optimal bass response. A comprehensive set of controls allows for seamless integration into various audio setups.
2. Key Features
- 10-inch (250mm) Polycellulose Ribbed Cone Low-Frequency Woofer: Delivers robust and accurate bass.
- 150W RMS (300W Dynamic) Amplifier: Provides ample power for dynamic low-frequency reproduction.
- Dual Rear-Firing Tuned Ports: Enhances bass output and extension.
- Crossover, Level, and Phase Control: Allows for precise adjustment and integration with main speakers.
3. Package Contents
Ensure all items are present upon unboxing:
- JBL Stage 2 200P Powered Subwoofer
- Power Cord
- User Manual (this document)
4. Setup
4.1. Placement
The placement of your subwoofer significantly impacts its performance. Experiment with different locations to find the best bass response in your listening area. Generally, placing the subwoofer in a corner can enhance bass output, while placing it along a wall can provide a more balanced sound. Avoid placing it directly against a wall or in a cabinet without proper ventilation.
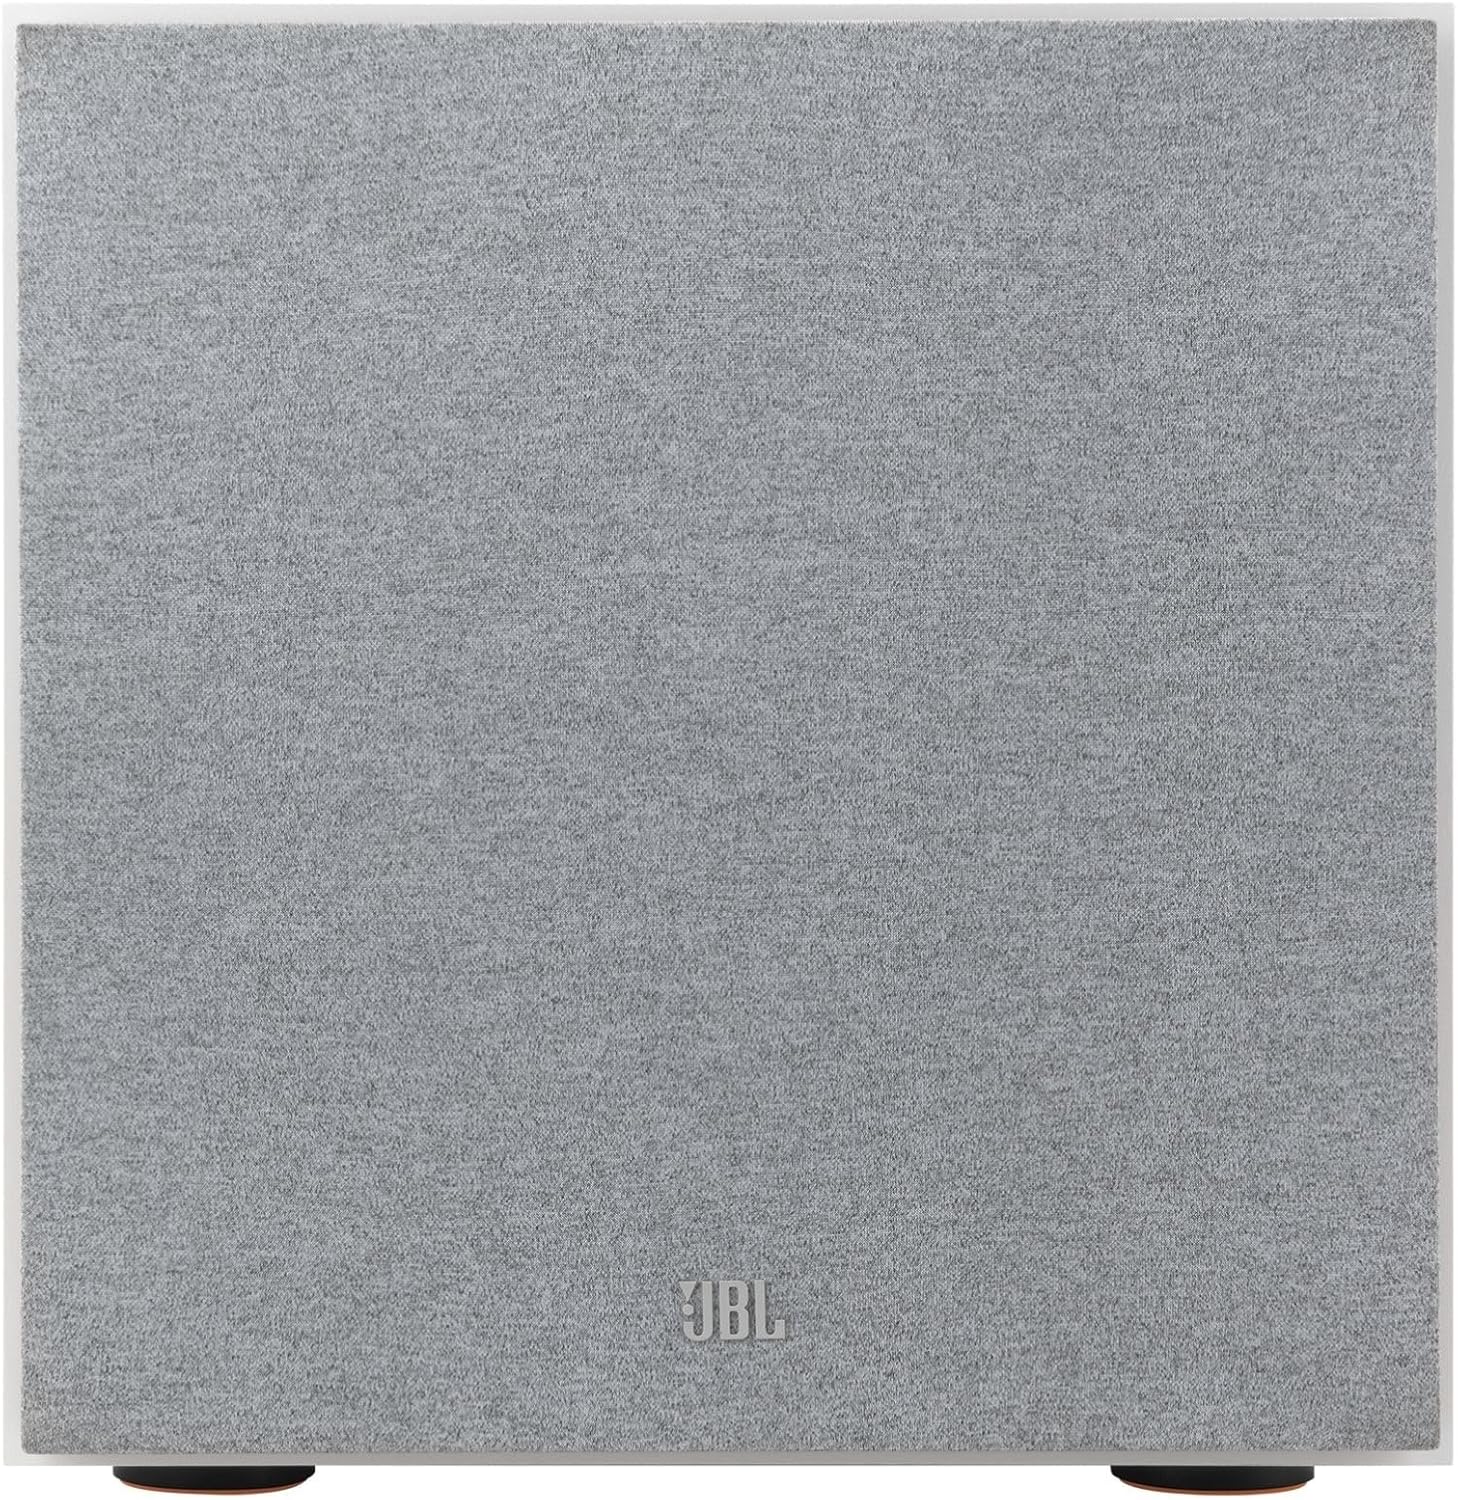
Figure 1: Front view of the JBL Stage 2 200P Subwoofer. This image shows the subwoofer's front grille, which can be removed to reveal the woofer cone.

Figure 2: Front view of the JBL Stage 2 200P Subwoofer with the grille removed, highlighting the 10-inch Polycellulose ribbed cone woofer.
4.2. Connections
Connect the subwoofer to your audio receiver or amplifier using an LFE (Low-Frequency Effects) output or stereo RCA outputs. For optimal performance, use a dedicated subwoofer output from your receiver.
- LFE Input: If your receiver has an LFE output, connect a single RCA cable from the receiver's LFE output to the subwoofer's LFE input.
- Line-Level Inputs: If your receiver does not have an LFE output, connect RCA cables from the receiver's stereo pre-out (left and right) to the subwoofer's Line-Level inputs.
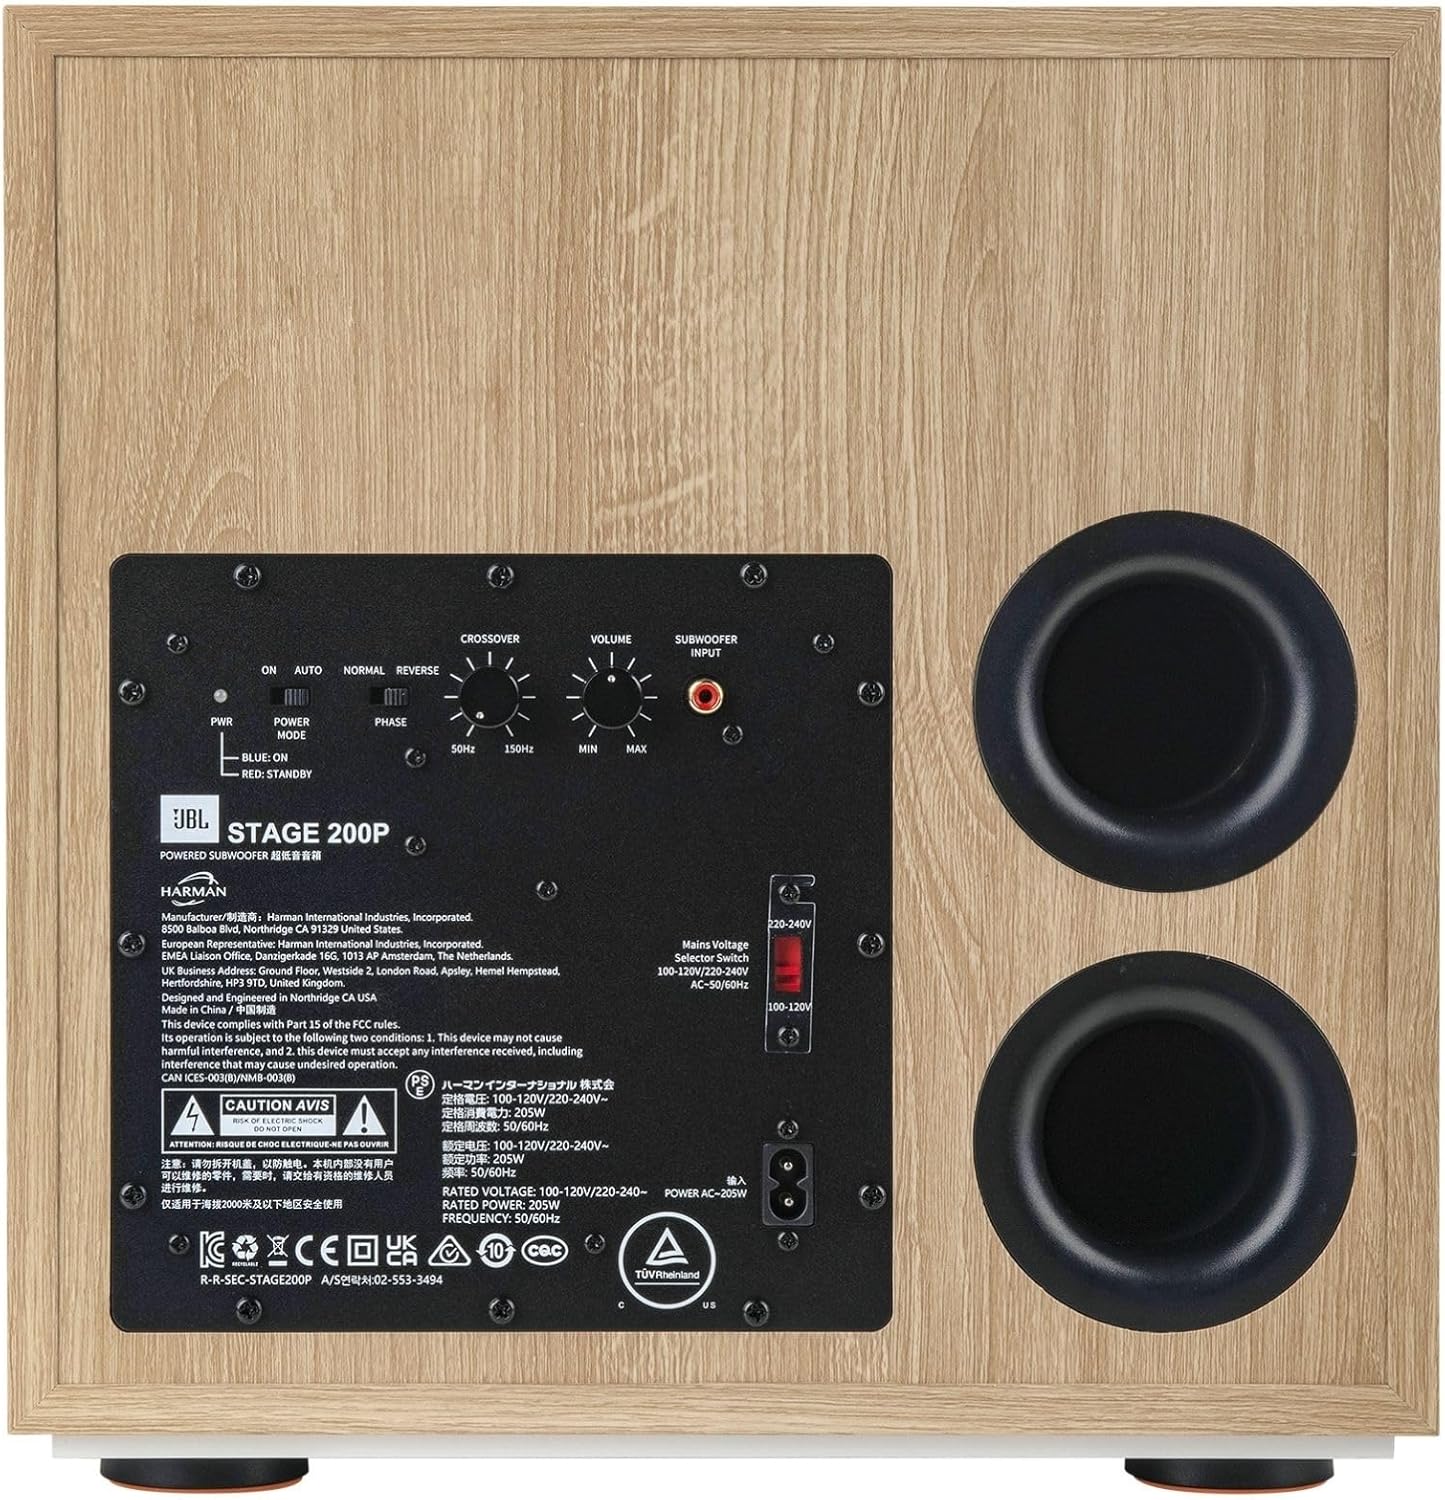
Figure 3: Rear view of the JBL Stage 2 200P Subwoofer, displaying the control panel, input/output connections, and dual rear-firing tuned ports.
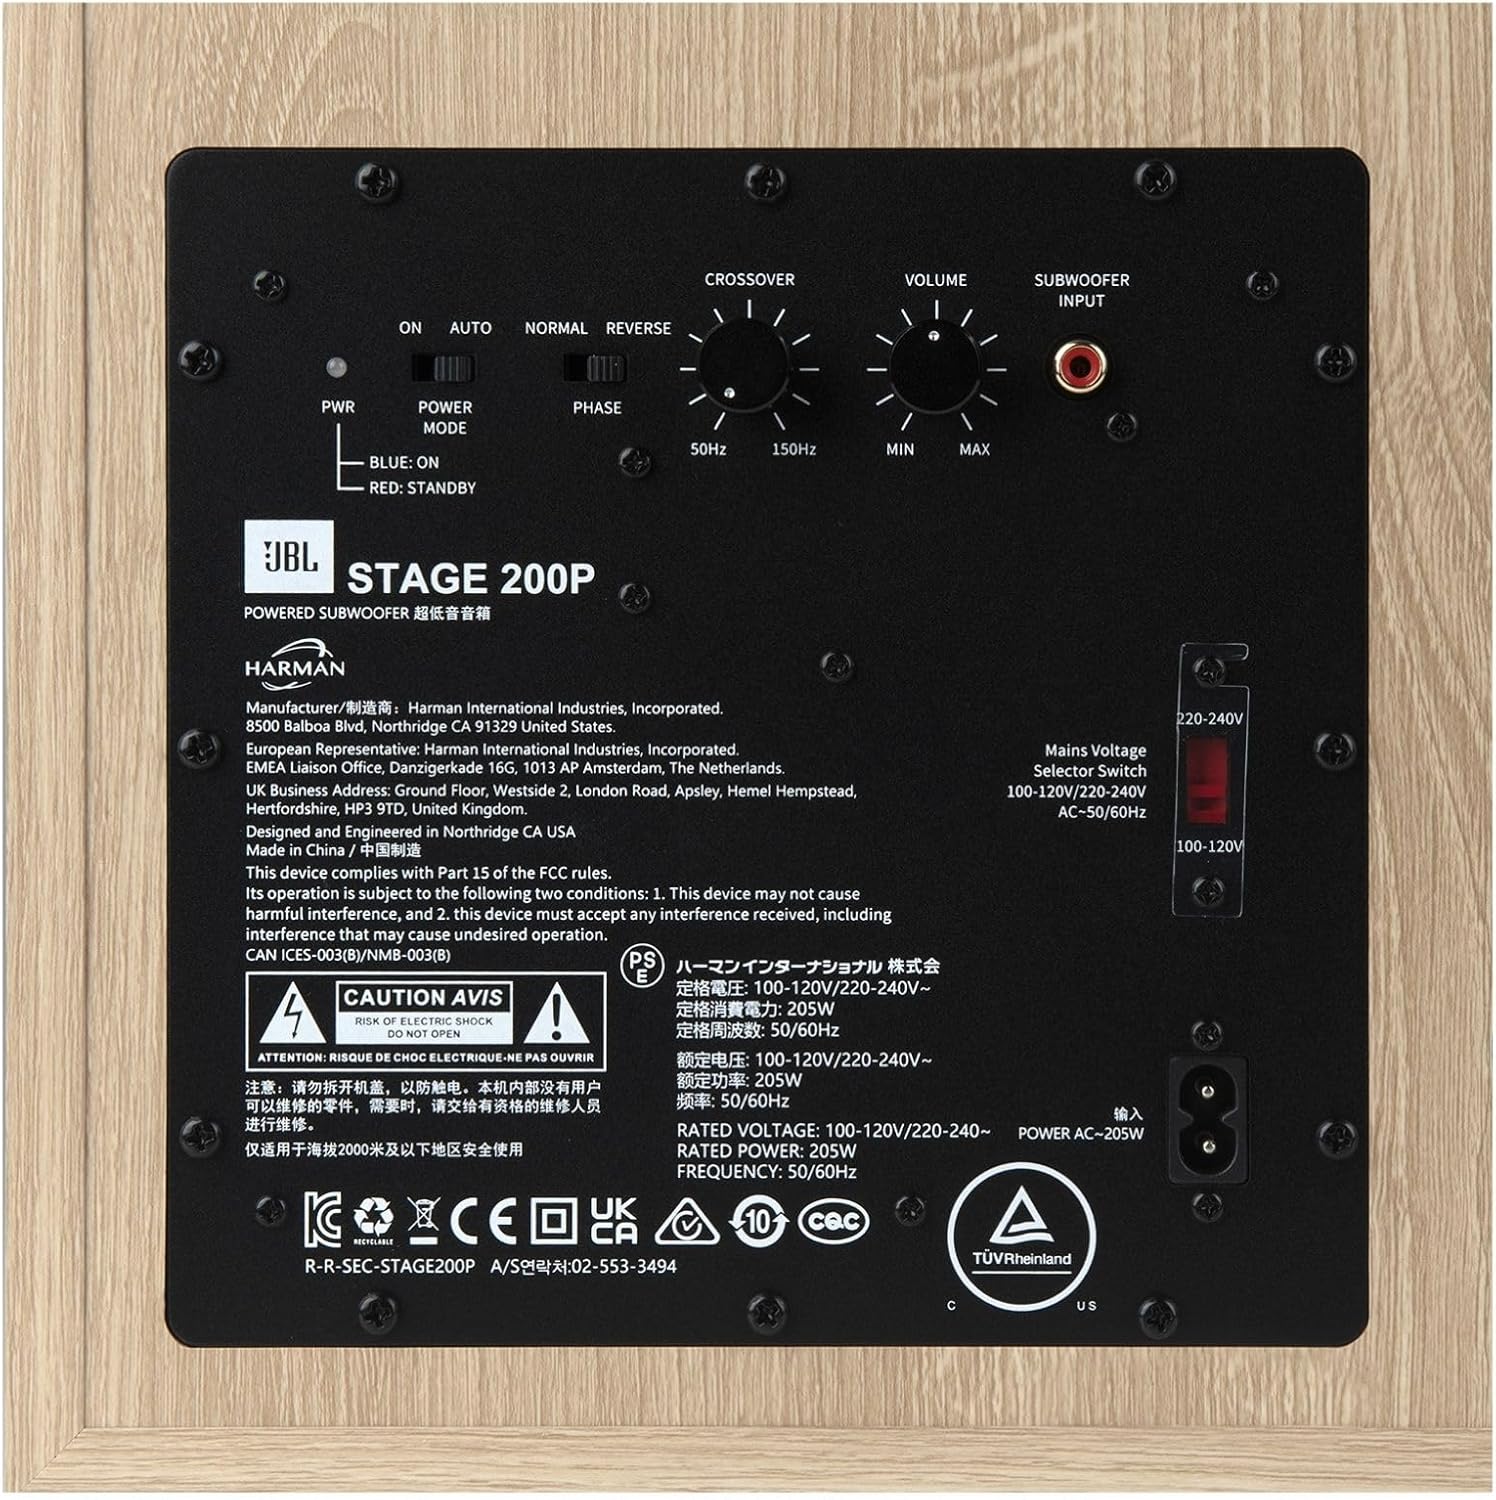
Figure 4: Detailed view of the rear control panel, illustrating the Crossover, Volume, Phase, and Power Mode settings for system integration.
4.3. Power Connection
Once audio connections are made, connect the supplied power cord to the subwoofer's power input and then to a suitable AC wall outlet. The subwoofer features a power mode switch (On/Auto/Normal/Reverse) for convenient operation.
5. Operation
5.1. Controls Overview
The rear panel of the JBL Stage 2 200P subwoofer provides several controls for fine-tuning its performance:
- Volume (Level) Control: Adjusts the overall output level of the subwoofer. Start with a low setting and gradually increase until the bass blends seamlessly with your main speakers.
- Crossover Control: Sets the upper frequency limit for the subwoofer. Frequencies above this setting will be sent to your main speakers. Adjust this to match the low-frequency capabilities of your main speakers. A common starting point is 80 Hz.
- Phase Control (0°/180°): Adjusts the phase of the subwoofer's output relative to your main speakers. Experiment with both settings to find the one that provides the most impactful and coherent bass.
- Power Mode Switch (On/Auto/Normal/Reverse):
- On: The subwoofer remains continuously on.
- Auto: The subwoofer automatically turns on when an audio signal is detected and enters standby mode after a period of inactivity.
- Normal/Reverse: These settings might refer to specific phase adjustments or power-saving modes. Refer to the detailed manual for specific model functionality.
5.2. Initial Adjustment
- Set the Volume control to its minimum position.
- Set the Crossover control to approximately 80 Hz, or as recommended by your main speaker manufacturer.
- Set the Phase switch to 0°.
- Set the Power Mode to "Auto" for convenience.
- Play some audio with significant bass content.
- Gradually increase the Volume control until the bass output is balanced with your main speakers.
- Experiment with the Phase switch (0° vs. 180°) to determine which setting provides the most natural and impactful bass in your listening position.
- Further fine-tune the Crossover and Volume controls to achieve optimal integration and desired bass response.
6. Maintenance
- Cleaning: Use a soft, dry cloth to clean the subwoofer cabinet. Avoid using abrasive cleaners, waxes, or solvents.
- Ventilation: Ensure adequate ventilation around the subwoofer to prevent overheating. Do not block the rear ports or place the unit in an enclosed space without airflow.
- Handling: When moving the subwoofer, lift it carefully from the base. Avoid dropping or subjecting it to strong impacts.
7. Troubleshooting
| Problem | Possible Cause | Solution |
|---|---|---|
| No sound from subwoofer |
|
|
| Weak or distorted bass |
|
|
| Humming or buzzing noise |
|
|
8. Specifications
| Feature | Detail |
|---|---|
| Brand | JBL |
| Model Name | Stage 200P |
| Speaker Type | Subwoofer |
| Mounting Type | Floor Standing |
| Speaker Size | 10 Inches |
| Woofer Diameter | 10 Inches |
| Audio Driver Type | Dynamic Driver |
| Speaker Maximum Output Power | 300 Watts |
| Frequency Response | 150 Hz (Upper limit, adjustable via crossover) |
| Connectivity Technology | Wired (Line-Level LFE Input) |
| Audio Output Mode | Surround |
| Control Method | Touch (referring to physical knobs/switches) |
| Material | Paper, Plastic (referring to cone and cabinet materials) |
| Color | Latte |
| Product Dimensions (D x W x H) | 15.2"D x 13.8"W x 14.2"H |
| Item Weight | 31.7 pounds (14.4 Kilograms) |
| Power Source | Corded Electric |
| Warranty Type | Limited |
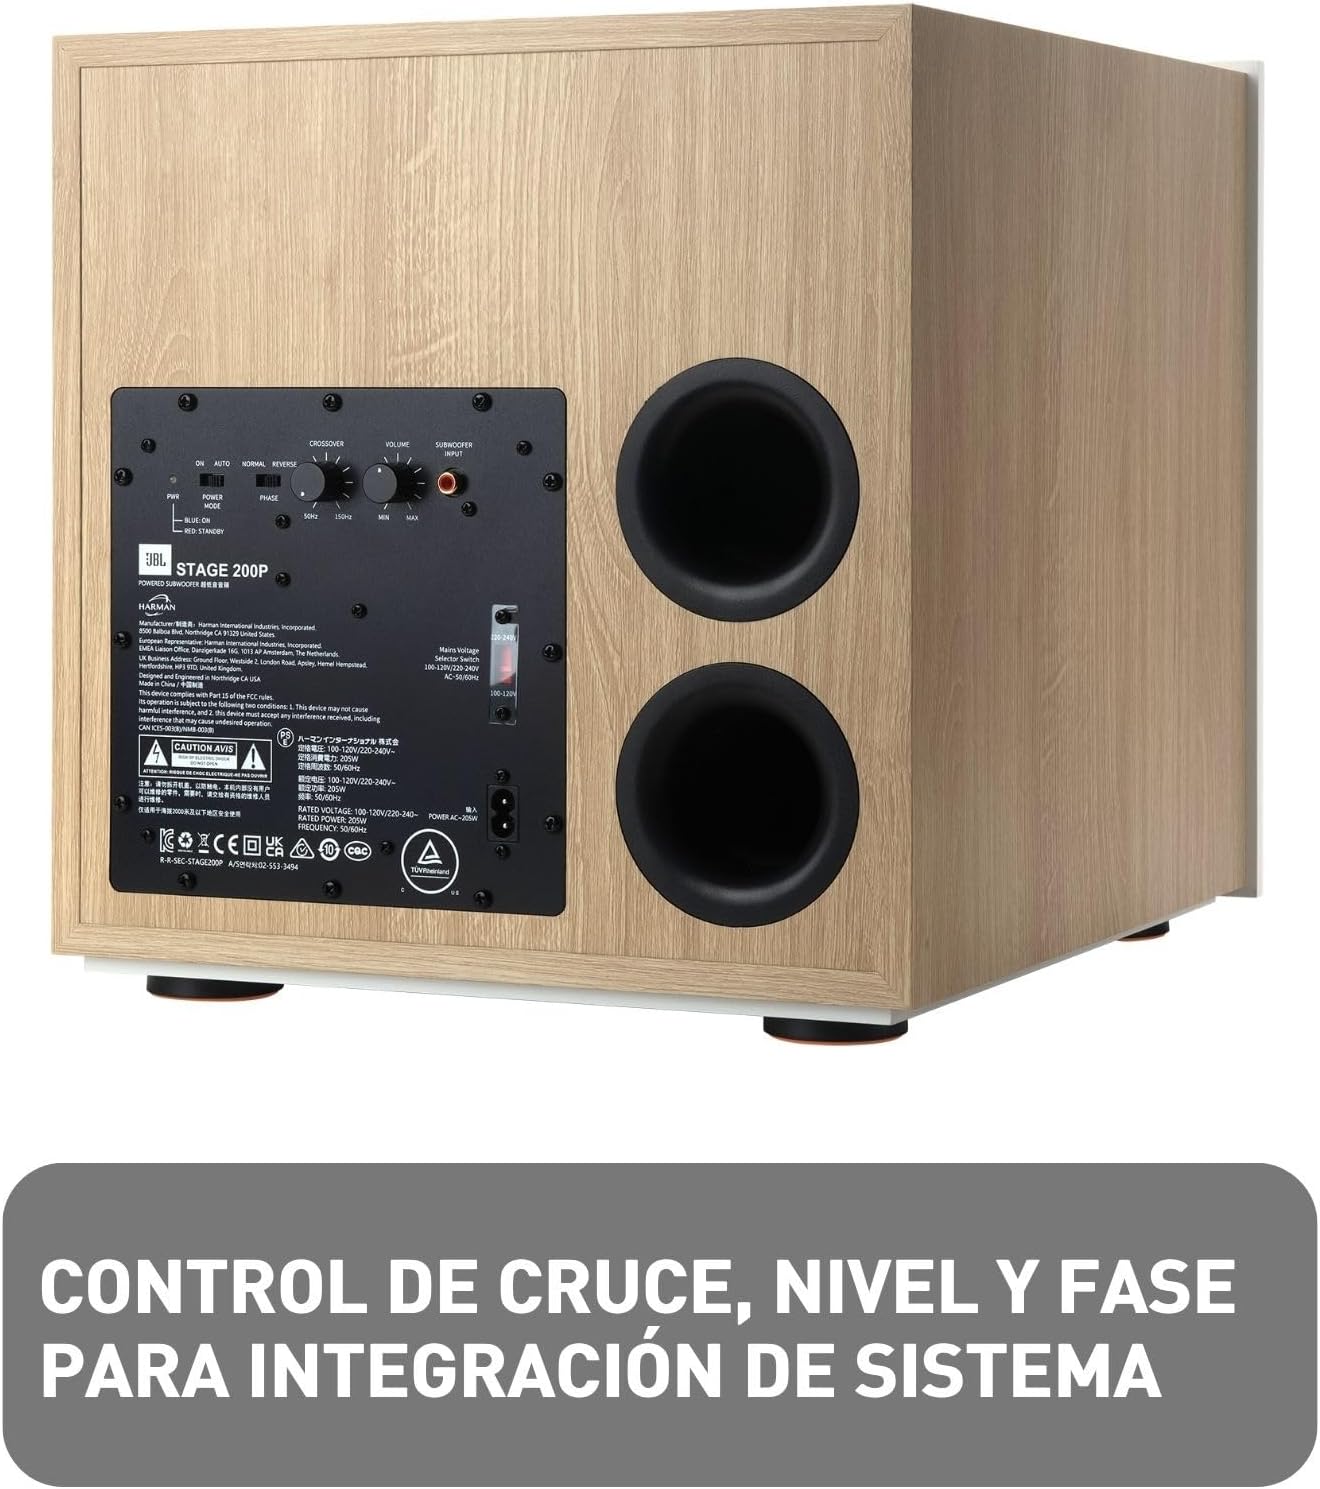
Figure 5: Side view of the subwoofer illustrating its physical dimensions.
9. Warranty & Support
The JBL Stage 2 200P Powered Subwoofer comes with a limited warranty. For detailed information regarding warranty terms, conditions, and duration, please refer to the warranty card included in your product packaging or visit the official JBL website. For technical support, troubleshooting assistance, or service inquiries, please contact JBL customer support through their official channels.
You can visit the official JBL Store for more information: JBL Store on Amazon


