1. Important Safety Instructions
Please read all instructions carefully before using the appliance and retain them for future reference. Failure to follow these instructions may result in electric shock, fire, or serious injury.
- Ensure the voltage indicated on the appliance corresponds to your mains voltage.
- Do not immerse the appliance, power cord, or plug in water or any other liquid.
- Always unplug the appliance from the power outlet before cleaning and when not in use.
- Keep the appliance out of reach of children.
- Do not operate the appliance with a damaged cord or plug, or after the appliance malfunctions or has been damaged in any manner.
- Use only accessories recommended by the manufacturer.
- Avoid contact with hot surfaces, especially the steam wand and portafilter during operation.
- This appliance is for household use only.
2. Product Overview
Familiarize yourself with the components of your Jocca Espresso Coffee Machine.

Figure 1: Front view of the Jocca Espresso Coffee Machine, showing the main unit, portafilter, and included measuring spoon with tamper.

Figure 2: Detailed front view highlighting the control panel with ON/OFF button, coffee brewing button, and steam function button.

Figure 3: Side view of the machine, showing the portafilter handle and the steam wand.

Figure 4: Rear view, illustrating the removable water tank on the right side of the appliance.
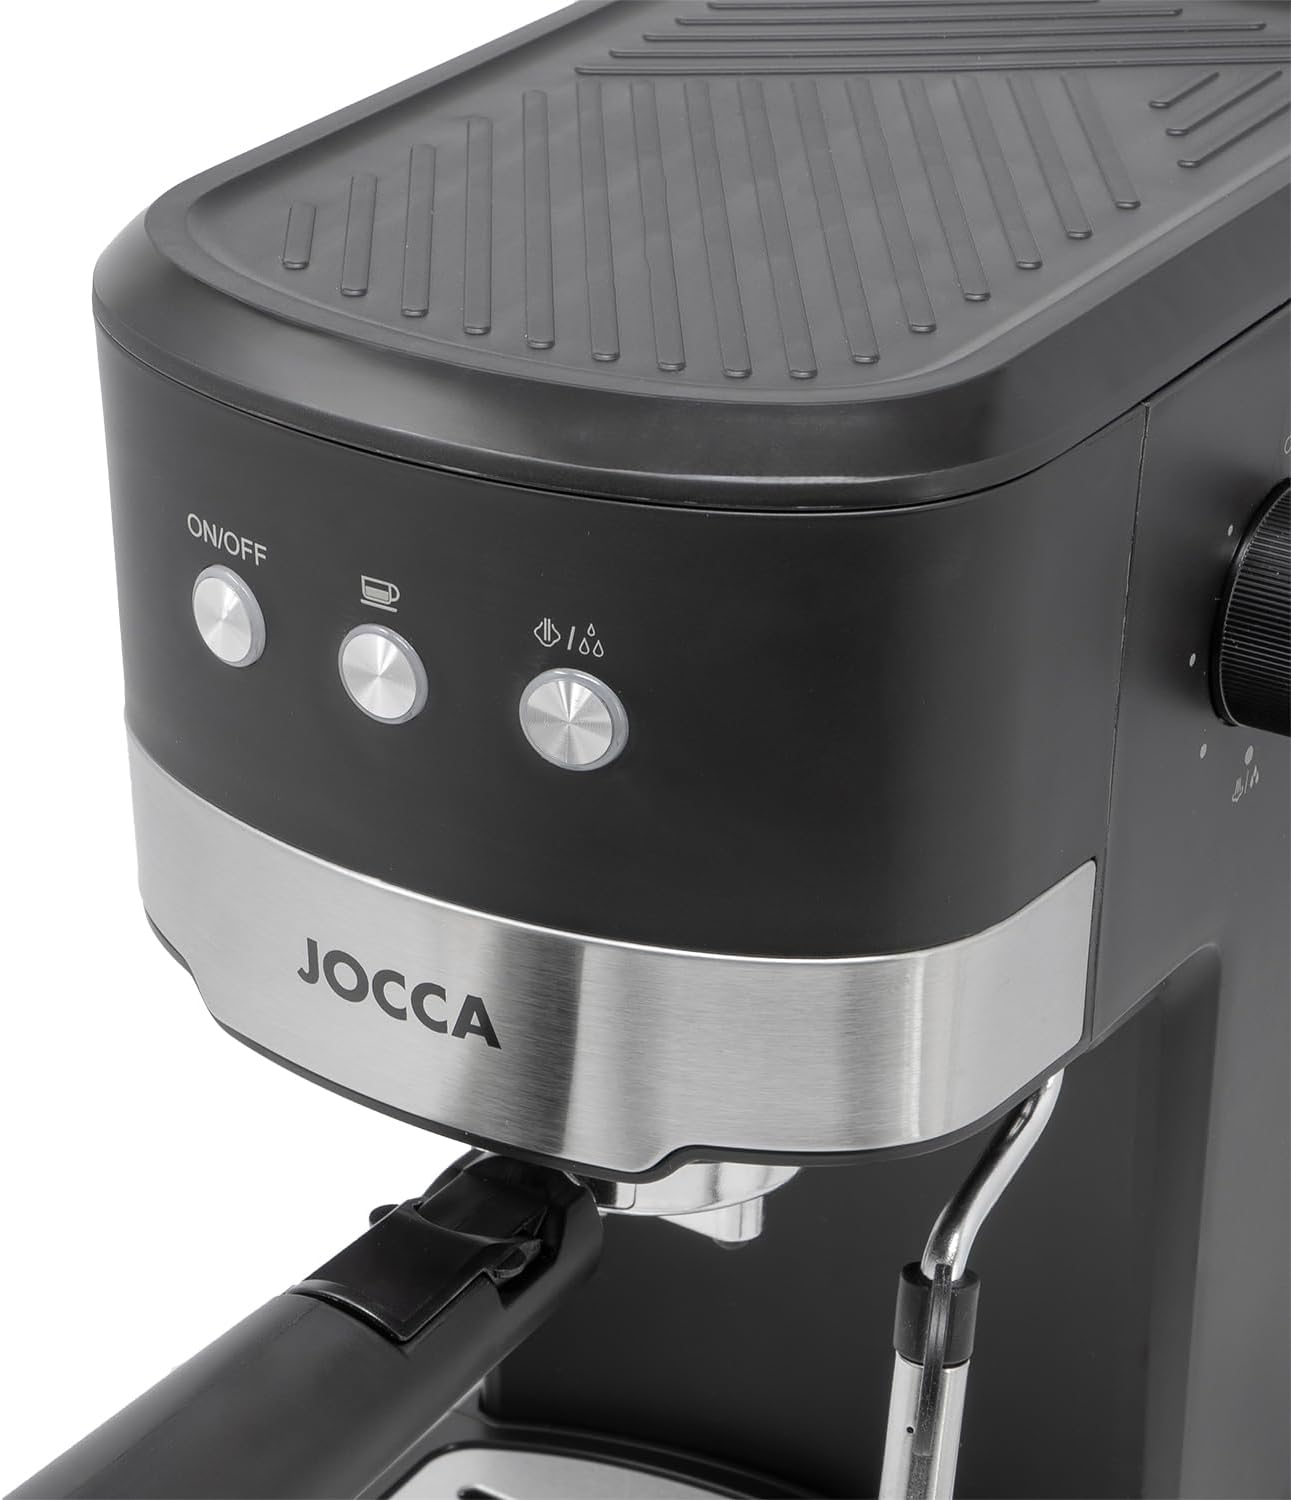
Figure 5: Close-up of the water tank with its lid open, ready for filling.

Figure 6: The portafilter, designed for holding ground coffee, with its handle.
Components List:
- Water Tank (1.25L, removable)
- Control Panel (ON/OFF, Coffee, Steam buttons)
- Portafilter with Double Outlet
- Steam Wand with Protective Sleeve
- Drip Tray (removable)
- Measuring Spoon with Tamper
- Steam Control Knob
3. Setup and First Use
3.1 Unpacking
- Carefully remove all packaging materials.
- Check that all components listed in Section 2 are present and undamaged.
- Clean the water tank, portafilter, and drip tray with warm soapy water, then rinse thoroughly.
3.2 Filling the Water Tank
- Remove the water tank from the back of the machine.
- Fill the tank with fresh, cold water up to the MAX level indicator. Do not overfill.
- Place the water tank back into its position, ensuring it is securely seated.
3.3 Initial Priming (Before First Coffee)
Before brewing your first coffee, it is important to prime the system to ensure proper operation and clean any manufacturing residues.
- Ensure the water tank is filled.
- Plug the appliance into a suitable power outlet.
- Press the ON/OFF button. The indicator light will illuminate.
- Place a large cup or container under the portafilter outlet.
- Press the coffee brewing button. Water will start to flow out. Let it run for approximately 30 seconds, then press the button again to stop.
- Turn the steam control knob to activate the steam wand. Let steam release for 15-20 seconds, then turn the knob off.
- Repeat steps 5 and 6 once more. Your machine is now primed and ready for use.
4. Operating Instructions
4.1 Making Espresso
- Ensure the water tank is filled and the machine is plugged in and turned ON.
- Place the desired filter basket (single or double shot) into the portafilter.
- Using the included measuring spoon, add ground espresso coffee to the filter basket. For a single shot, use one level spoon; for a double shot, use two.
- Use the tamper end of the spoon to gently press the coffee grounds evenly. Do not over-compress.
- Attach the portafilter to the brewing head by aligning it and twisting firmly to the right until secure.
- Place one or two espresso cups on the drip tray directly under the portafilter's double outlet.
- Press the coffee brewing button. The machine will start extracting espresso.
- Once the desired amount of espresso is brewed (typically 25-30ml per shot), press the coffee brewing button again to stop the flow.
- Carefully remove the portafilter by twisting it to the left. Dispose of the used coffee grounds.

Figure 7: The espresso machine actively brewing coffee into two separate cups, demonstrating its double outlet feature.
4.2 Frothing Milk (Steam Function)
The adjustable steam wand allows you to create frothed milk for cappuccinos and lattes.
- Ensure the water tank is filled and the machine is turned ON.
- Press the steam function button. The indicator light will illuminate, indicating the machine is heating up for steam. Wait until the light stabilizes, signaling it's ready.
- Fill a stainless steel frothing pitcher with cold milk (do not fill more than one-third).
- Position the steam wand just below the surface of the milk.
- Slowly turn the steam control knob to release steam. Move the pitcher up and down to incorporate air and create foam.
- Once the milk has reached the desired temperature and consistency, turn the steam control knob off.
- Immediately wipe the steam wand with a damp cloth to prevent milk residue from drying.

Figure 8: Detailed view of the steam wand and the rotary control knob for steam activation and intensity.
5. Maintenance and Cleaning
Regular cleaning ensures optimal performance and extends the lifespan of your espresso machine.
5.1 Daily Cleaning
- Portafilter and Filter Basket: After each use, remove the portafilter, discard coffee grounds, and rinse thoroughly under running water.
- Drip Tray: Empty and rinse the drip tray daily. It is removable for easy cleaning.
- Steam Wand: Immediately after frothing milk, wipe the steam wand with a damp cloth. Briefly activate the steam function to clear any internal milk residue.
- Exterior: Wipe the exterior of the machine with a soft, damp cloth. Do not use abrasive cleaners or scourers.
5.2 Descaling
Depending on water hardness and frequency of use, descaling should be performed every 2-3 months to prevent mineral buildup.
- Prepare a descaling solution according to the descaler manufacturer's instructions.
- Fill the water tank with the descaling solution.
- Place a large container under the portafilter and steam wand.
- Turn on the machine and run half of the solution through the coffee brewing cycle.
- Then, activate the steam function and release the remaining solution through the steam wand.
- Turn off the machine and let it sit for 15-20 minutes.
- Rinse the water tank thoroughly and fill it with fresh water.
- Run several cycles of fresh water through both the coffee brewing head and the steam wand to rinse out any descaling solution residue.
6. Troubleshooting
Refer to this section for common issues and their solutions.
| Problem | Possible Cause | Solution |
|---|---|---|
| No coffee flow | Water tank empty; Clogged filter basket; Machine not primed; Mineral buildup. | Fill water tank; Clean filter basket; Perform initial priming; Descale the machine. |
| Coffee brews too slowly | Coffee grounds too fine or over-tamped; Clogged filter basket; Mineral buildup. | Use coarser grind or less pressure when tamping; Clean filter basket; Descale the machine. |
| Coffee brews too quickly / watery | Coffee grounds too coarse or under-tamped; Insufficient coffee. | Use finer grind or more pressure when tamping; Add more coffee. |
| No steam from wand | Steam wand clogged; Machine not heated to steam temperature; Water tank empty. | Clean steam wand; Wait for steam indicator light to stabilize; Fill water tank. |
| Machine leaks water | Water tank not seated correctly; Portafilter not securely attached. | Re-seat water tank; Re-attach portafilter firmly. |
If the problem persists after attempting these solutions, please contact customer support.
7. Specifications
| Brand | Jocca |
| Model Number | 2377 |
| Power | 1100 Watts |
| Pressure | 20 Bars |
| Water Tank Capacity | 1.25 Liters |
| Voltage | 220-240V, 50Hz |
| Material | Copper (internal components), Plastic/Metal (exterior) |
| Dimensions (L x W x H) | 19 x 25 x 34 cm (approx.) |
| Weight | 3.8 Kilograms |
| Special Features | Milk Frother, Removable Water Tank, Removable Drip Tray, Double Outlet Portafilter |
8. Warranty and Support
This product is covered by a manufacturer's warranty. Please refer to the warranty card included in your product packaging for specific terms and conditions.
For technical support, spare parts, or warranty claims, please contact Jocca customer service through their official website or the retailer where the product was purchased.
Note: Specific warranty details and contact information may vary by region.


