
1. Introduction
This manual provides essential instructions for the assembly, operation, and maintenance of your TRIUMPHKEY Gaming Desk. This desk is designed to enhance your gaming or work setup with integrated LED lighting, convenient power outlets, and USB charging ports. Please read this manual thoroughly before assembly and use to ensure proper function and safety.

Image 1.1: Fully assembled TRIUMPHKEY Gaming Desk with monitor, PC, and accessories.
2. Safety Information
Assembly is required for this product. To prevent potential damage or personal injury, please adhere strictly to the assembly instructions provided in the separate assembly guide. Ensure all components are securely fastened before use. Do not overload the desk or its shelves. Keep liquids away from electrical components.
3. Package Contents
Verify that all parts listed in the assembly guide are present before beginning assembly. Typical contents include:
- Desk panels (main desktop, monitor stand, upper shelves)
- Metal frame components
- Assembly hardware (screws, bolts, nuts, Allen wrench)
- LED light strip with remote control
- Integrated power strip with 2 AC outlets and 2 USB ports
- Pegboard and hooks
- Instruction manual and assembly guide

Image 3.1: Dimensional diagram of the gaming desk, illustrating various components and their sizes.
4. Assembly Instructions
Refer to the dedicated assembly guide included in your package for detailed, step-by-step instructions. Ensure you have adequate space and the necessary tools (usually an Allen wrench is provided). Follow the diagrams carefully, paying attention to the orientation of each part. Do not overtighten screws during initial assembly; tighten all fasteners once the desk is fully assembled and stable.
5. Operating Instructions
5.1. LED Lighting System
The desk features an integrated LED light strip (118 cm long) to create an immersive atmosphere. Use the provided remote control to:
- Turn the lights ON/OFF.
- Select from 7 main colors.
- Adjust brightness levels.
- Choose from multiple dynamic modes (e.g., flash, fade, jump, static).
Adjusting the lighting can help reduce eye strain and improve concentration during extended use.

Image 5.1: Overview of LED lighting features, including dynamic modes and remote control.
5.2. Integrated Power Outlets and USB Charging Ports
The desk includes a built-in power strip with 2 standard AC power outlets and 2 USB charging ports (5V/2A). This allows for convenient charging of smartphones, gaming devices, or other electronics directly from your desk.
- Connect the desk's main power cord to a wall outlet.
- Plug your devices into the AC outlets or USB ports as needed.

Image 5.2: Detail of the integrated power outlets and USB charging ports.
5.3. Upper Shelf and Pegboard
The desk features a 2-level upper shelf and a versatile pegboard with 4 hooks. The upper shelf provides space for action figures, books, or other display items, while the pegboard can be used to hang headphones, tools, keys, or for decorative purposes.

Image 5.3: The DIY pegboard feature, demonstrating its use for organizing accessories.
5.4. Monitor Stand
The separate monitor stand is designed to provide an ergonomic viewing height, helping to prevent neck and back pain during long sessions. Place your monitor directly on the stand.
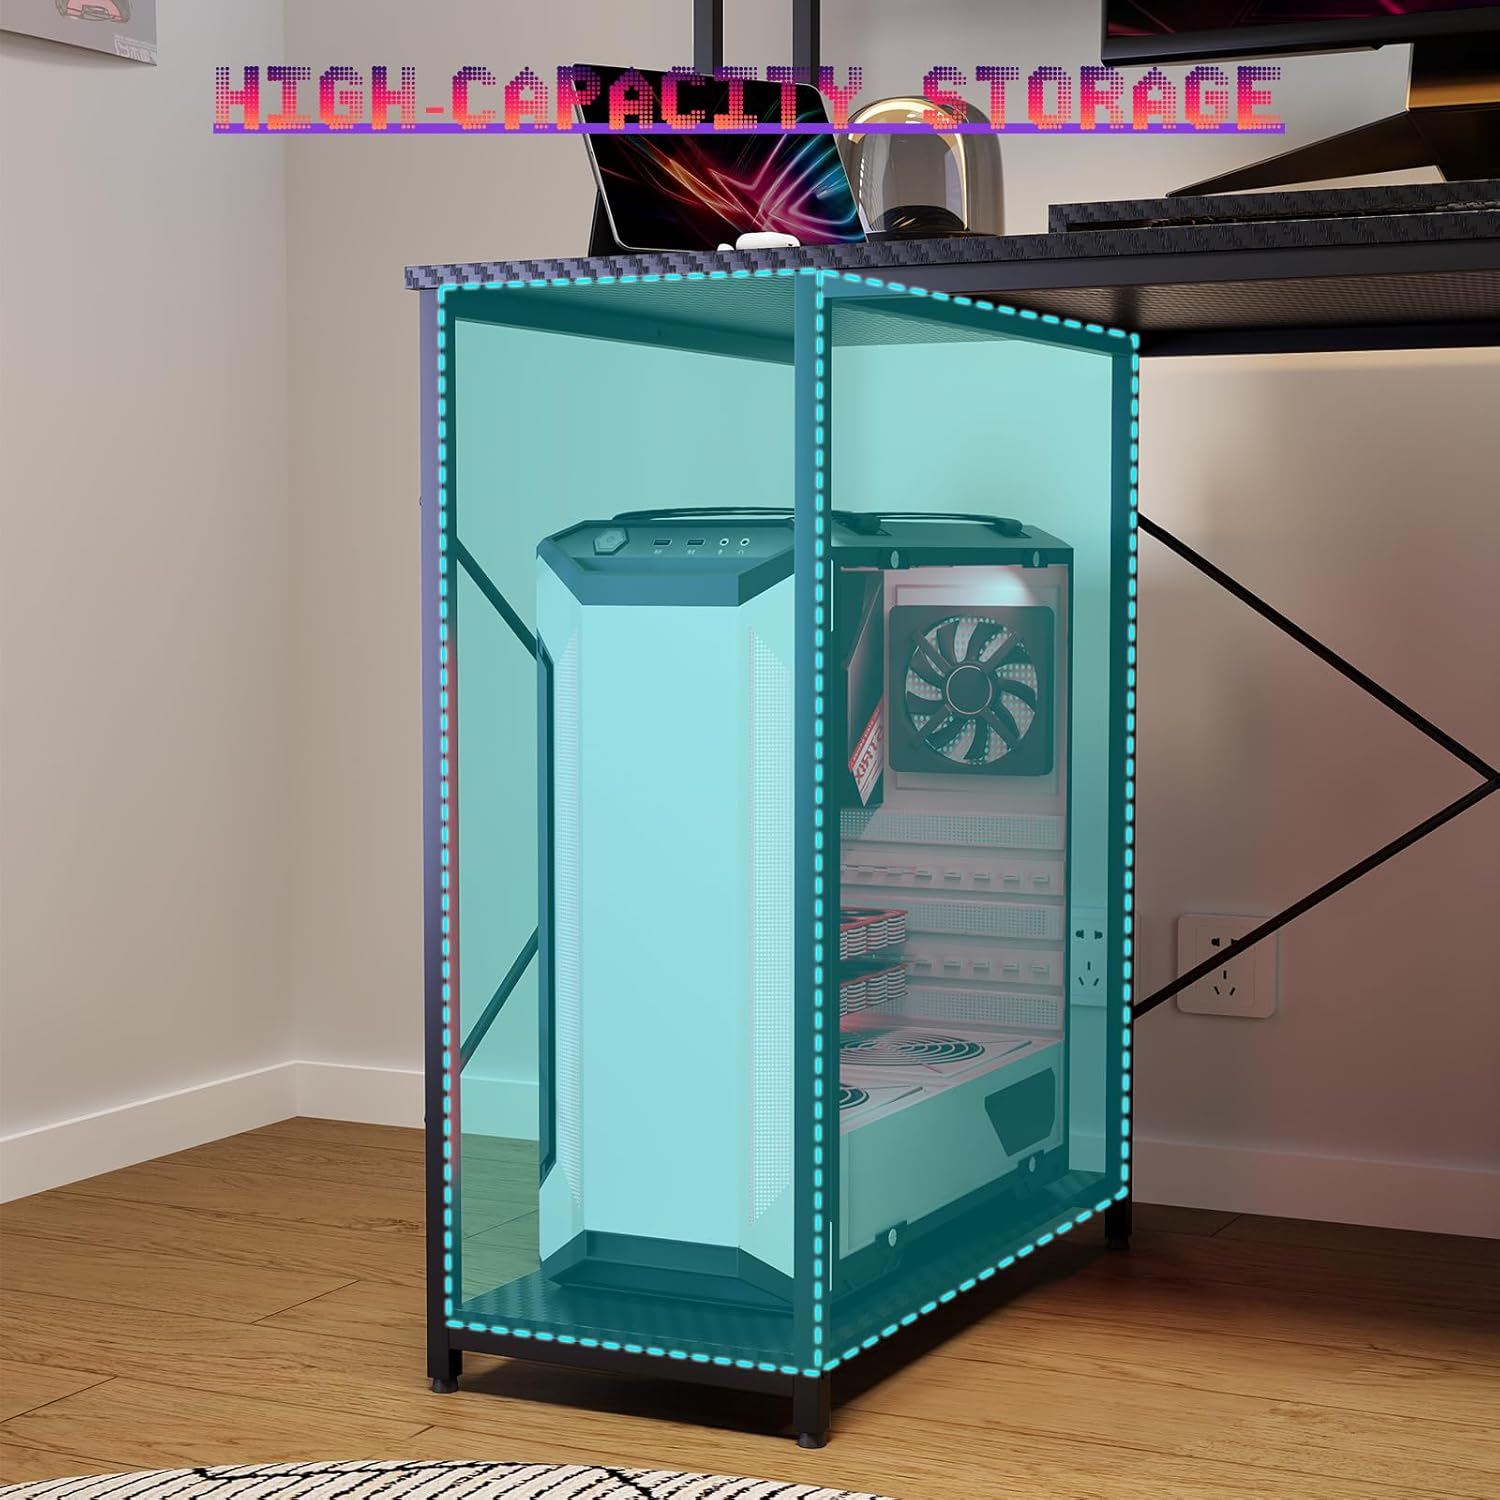
Image 5.4: Ergonomic benefits of using the monitor stand for improved posture.
6. Maintenance
To maintain your gaming desk in optimal condition:
- Cleaning: Wipe surfaces with a soft, damp cloth. Avoid harsh chemicals or abrasive cleaners that may damage the finish.
- Dusting: Regularly dust the desk and LED strip to ensure clear light output and prevent dust buildup in electrical components.
- Fasteners: Periodically check all screws and bolts to ensure they remain tight. Retighten if necessary.
- Cable Management: Organize cables to prevent tangles and reduce strain on power cords.
7. Troubleshooting
If you encounter issues with your gaming desk, refer to the following common problems and solutions:
| Problem | Possible Cause | Solution |
|---|---|---|
| LED lights do not turn on. | Power cord not connected; remote control battery depleted; LED strip connection loose. | Ensure the desk's power cord is plugged in. Check remote battery. Verify LED strip is securely connected to the power source. |
| Power outlets or USB ports are not working. | Desk's main power cord unplugged; circuit breaker tripped. | Confirm the desk is plugged into a live wall outlet. Check your home's circuit breaker. |
| Desk feels wobbly. | Loose fasteners; uneven floor. | Tighten all assembly screws and bolts. Adjust the desk's leveling feet if present, or place shims under legs on an uneven floor. |
8. Specifications
| Feature | Detail |
|---|---|
| Brand | TRIUMPHKEY |
| Model | TRIUMPHKEY (120x60x162cm) |
| Color | Black |
| Dimensions (L x W x H) | 120 cm x 60 cm x 162 cm |
| Weight | 29.6 kg |
| Material | Engineered Wood, Metal Frame |
| Special Features | Integrated LED Lighting (118cm strip, 7 colors, multiple modes), 2 AC Power Outlets, 2 USB Charging Ports (5V/2A), Monitor Stand, Upper Storage Shelves, DIY Pegboard with Hooks |
| Desk Design | Computer Desk / Gaming Desk |
| Style | Modern |
9. Warranty and Support
For warranty information or technical support, please refer to the documentation provided with your purchase or contact TRIUMPHKEY customer service directly. Ensure you have your purchase details and product model number readily available when contacting support.
