Product Overview
This manual provides instructions for the XDFDRF 2.04.0620 Golf Cart Charging Power Cord. This 120V, 3-pin charging cable is designed to provide efficient power to compatible golf carts. Please read this manual thoroughly before use to ensure proper operation and safety.
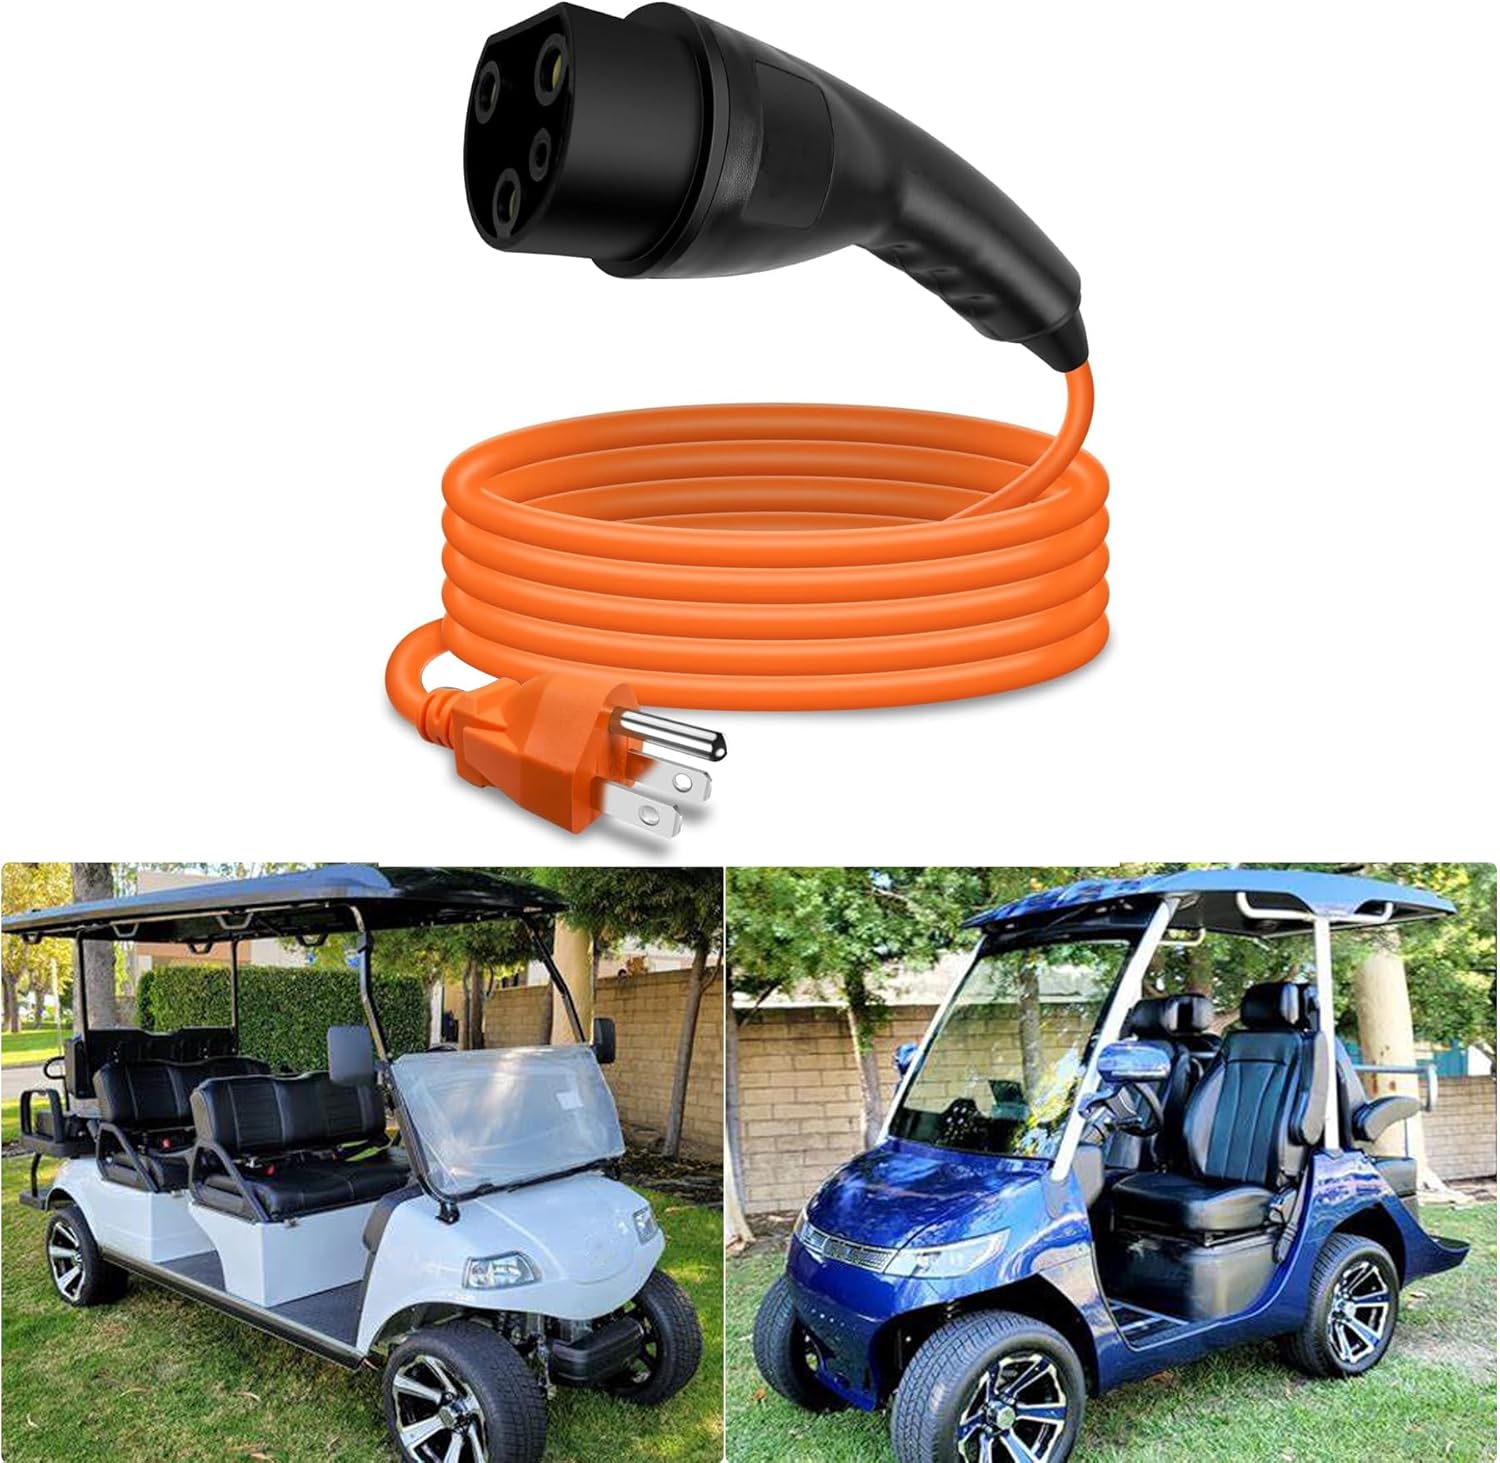
Image: The XDFDRF 2.04.0620 Golf Cart Charging Power Cord, shown coiled and connected, alongside two different models of golf carts.
Key Features:
- 120V standard plug for wall outlets.
- 3-pin connector for golf cart charging ports.
- 10-foot cord length for convenient reach.
- Constructed with high-quality pure copper connectors and wear-resistant external materials.
- Designed for efficient and reliable charging.
Compatibility
The XDFDRF 2.04.0620 Golf Cart Charging Power Cord is compatible with a range of golf cart models. Please verify your golf cart's charging port type (ST-031016-PZ receptacle) before use.
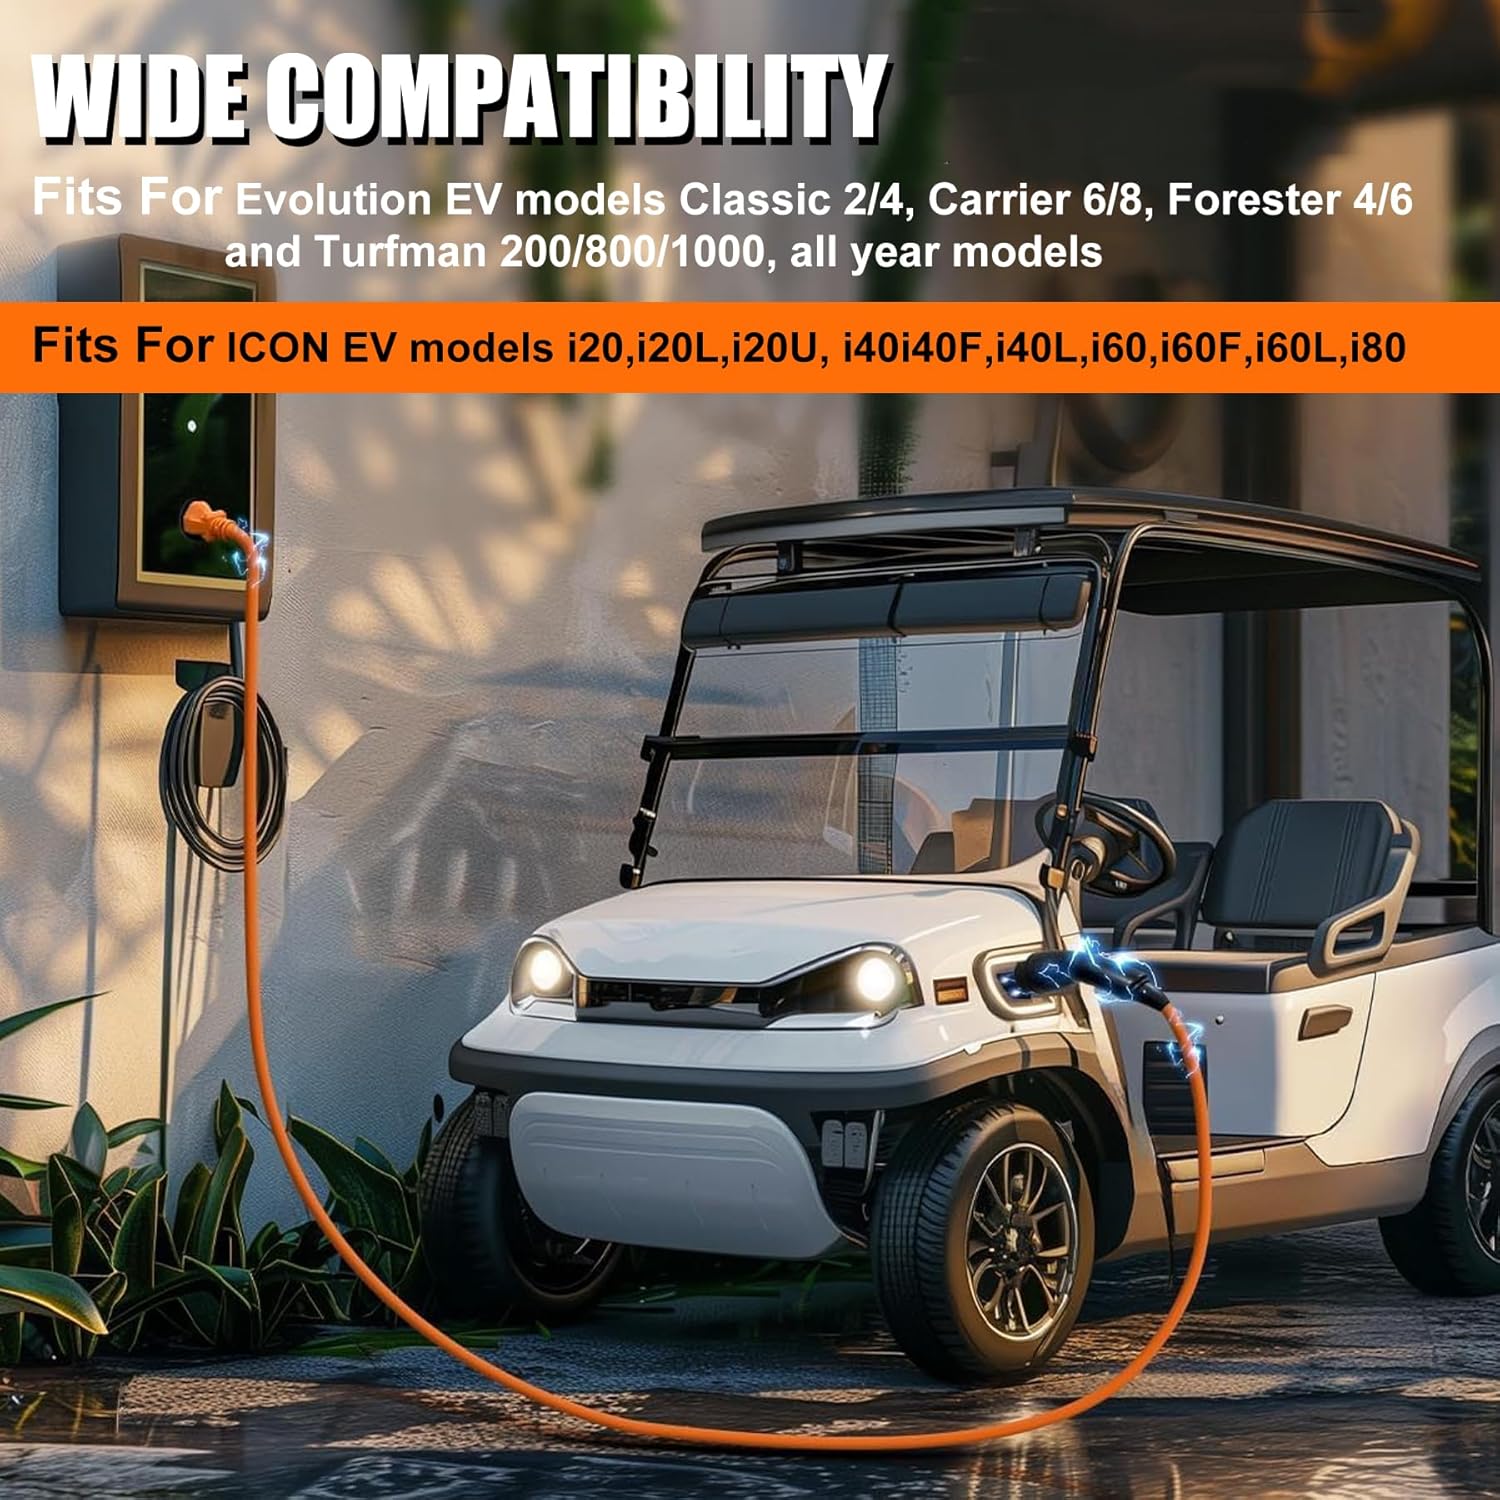
Image: A golf cart being charged by the power cord, highlighting its broad compatibility with various models.
Compatible Models:
- Evolution Golf Carts: D2, D3, D5 models, Classic 2/4, Carrier 6/8, Forester 4/6, Turfman 200/800/1000, Ranger 2 and 2/4, MAVERICK 2 and 2/4.
- ICON Golf Carts: i20, i20L, i20U, i40F, i40L, i60, i60F, i60L, i80.
- Other Models: Gorilla Rides EV G Series, Venom D and Villager models, Legion S models L models, and Mammoth.
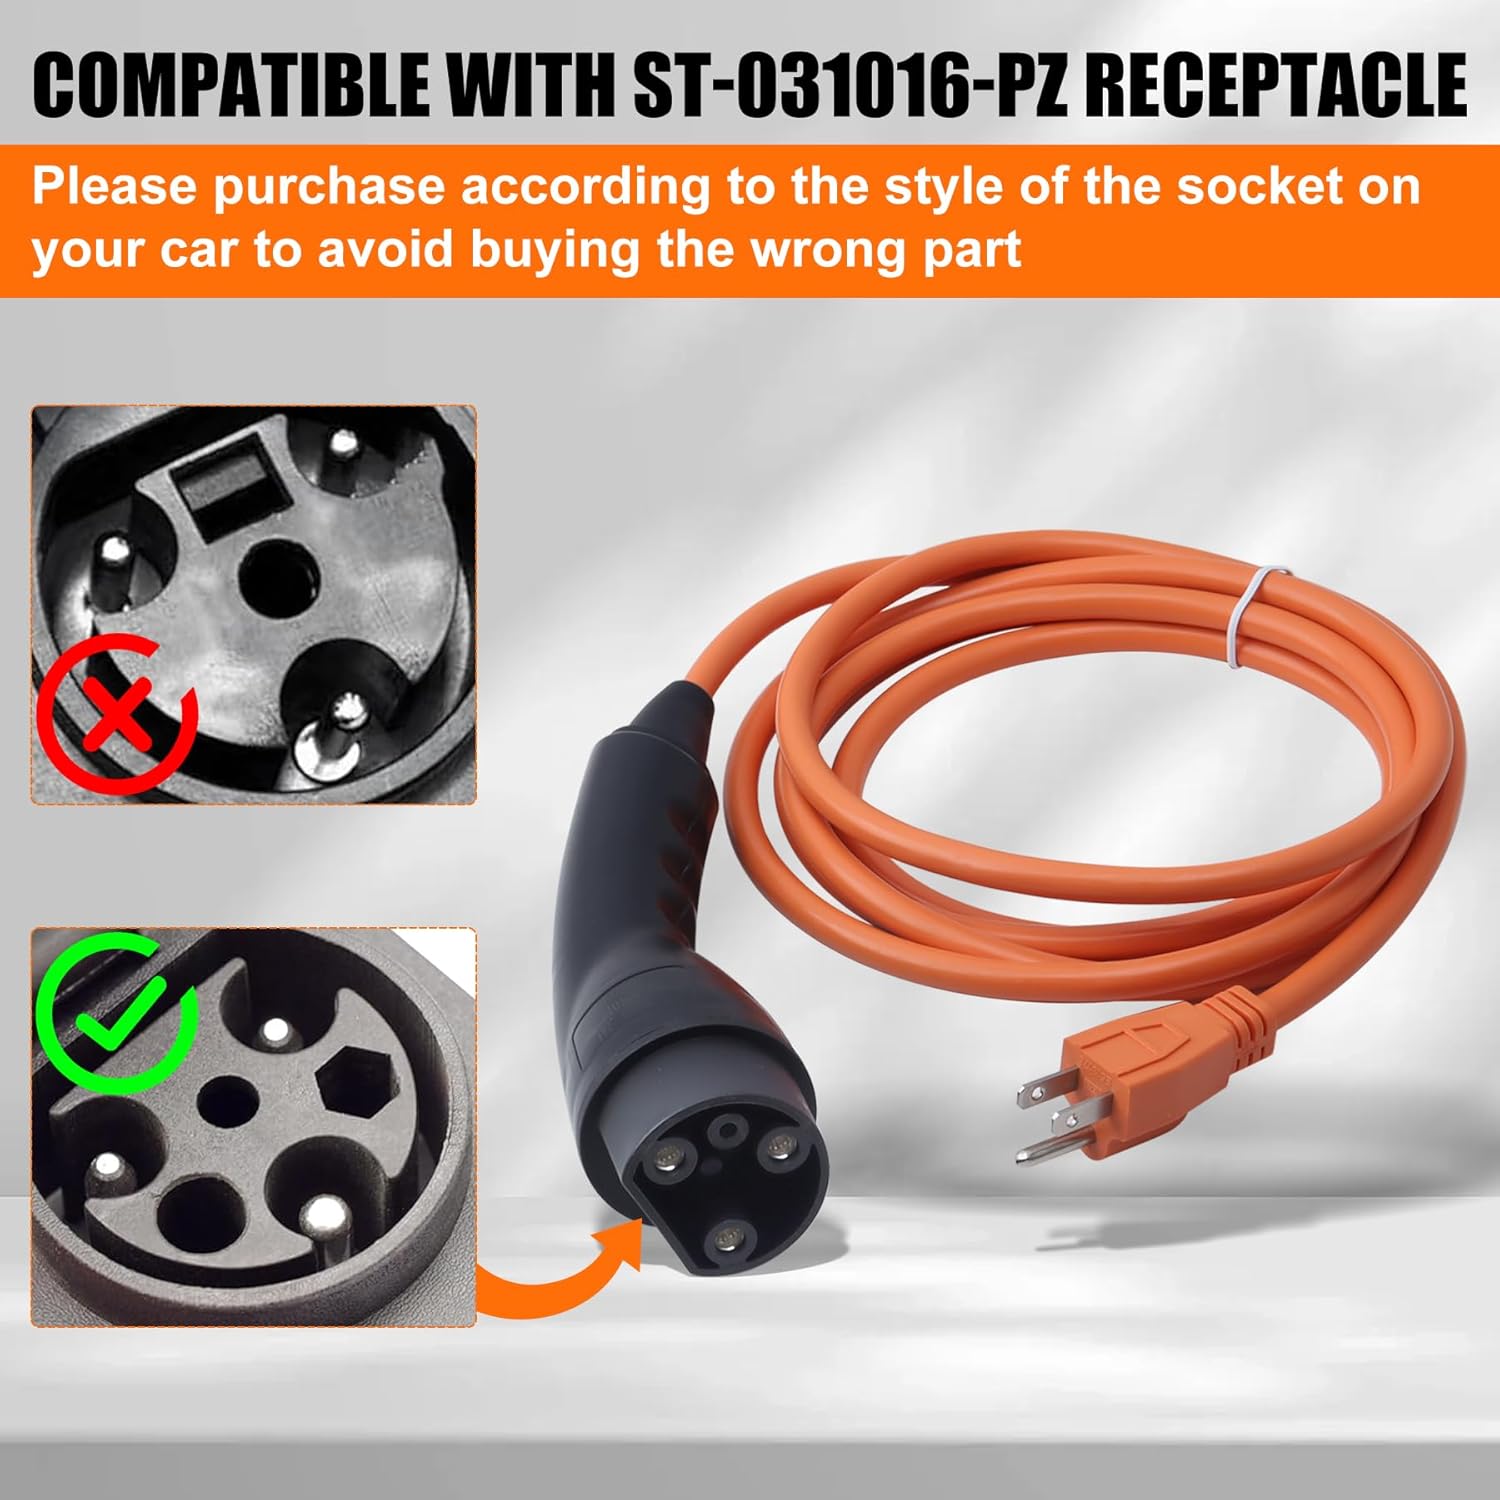
Image: A visual guide showing the correct ST-031016-PZ receptacle type for compatibility, alongside an incompatible type.
Setup Instructions
Follow these steps to properly connect and begin charging your golf cart:
- Inspect the Cord: Before each use, visually inspect the entire charging cord for any signs of damage, such as cuts, fraying, or bent pins. Do not use the cord if any damage is observed.
- Connect to Golf Cart: Insert the 3-pin connector end of the charging cord firmly into the charging port on your golf cart. Ensure it is fully seated and secure.
- Connect to Power Outlet: Plug the 120V standard plug into a grounded wall outlet. Ensure the outlet is functioning correctly and provides stable power.
- Verify Connection: Once both ends are connected, check for any charging indicator lights on your golf cart or charger (if applicable) to confirm that charging has begun.

Image: A golf cart connected to a wall outlet via the XDFDRF charging cord, illustrating the ease and speed of the charging process.
Video Guide:
Video: A demonstration of the XDFDRF 2.04.0620 Golf Charging Power Cord, showcasing its features and compatibility with Evolution golf carts.
Operating Instructions
Once the charging cord is properly connected, the golf cart's internal charging system will manage the charging process. Observe the following guidelines:
- Charging Duration: Charging times may vary depending on the golf cart's battery level and capacity. Refer to your golf cart's manual for specific charging duration recommendations.
- Disconnection: Once charging is complete, first unplug the 120V standard plug from the wall outlet, then disconnect the 3-pin connector from the golf cart's charging port. Always pull directly on the plug housing, not the cable itself, to prevent damage.
- Environmental Conditions: Avoid charging in extreme temperatures or wet conditions. The cord is designed for durability but should not be exposed to harsh elements unnecessarily.
Care and Maintenance
Proper care and maintenance will extend the life of your charging cord:
- Cleaning: Wipe the cord and connectors with a dry, clean cloth to remove dirt or debris. Do not use harsh chemicals or abrasive cleaners.
- Storage: Store the charging cord in a cool, dry place, away from direct sunlight and extreme temperatures. Coil the cord loosely to prevent kinks or damage.
- Regular Inspection: Periodically inspect the cord for any signs of wear, tear, or damage. Pay close attention to the connectors and the cable insulation.
- Avoid Over-bending: Do not bend the cord sharply or place heavy objects on it, as this can damage the internal wiring.
Troubleshooting
If you encounter issues with your charging cord, refer to the table below for common problems and solutions:
| Issue | Possible Cause | Solution |
|---|---|---|
| Golf cart not charging. | Loose connection, no power from outlet, damaged cord. | Ensure both ends of the cord are securely plugged in. Test the wall outlet with another device. Inspect the cord for visible damage; if damaged, discontinue use and replace. |
| Slow charging. | Inconsistent power supply, golf cart battery issues. | Ensure the wall outlet provides stable 120V power. Consult your golf cart's manual for battery diagnostics if the issue persists. |
| Cord feels warm during charging. | Normal operation (slight warmth is expected), or potential overload. | A slight warmth is normal. If the cord becomes excessively hot, immediately unplug it and discontinue use. Contact support if concerned. |
Product Specifications
Detailed specifications for the XDFDRF 2.04.0620 Golf Cart Charging Power Cord:
| Specification | Detail |
|---|---|
| Model Number | 2.04.0620 |
| Input Voltage | 120 Volts |
| Output Compatibility | Designed for 48V golf carts |
| Connector Type (Golf Cart) | 3-pin (compatible with ST-031016-PZ receptacle) |
| Connector Type (Wall Plug) | Type A (Standard US 2-prong with ground) |
| Cord Length | 10 feet |
| Materials | High-quality pure copper connectors, wear-resistant external materials |
| Item Weight | 1.61 pounds |
| Package Dimensions | 10.71 x 10.16 x 2.44 inches |

Image: An illustration of the high-quality manufacturing process, highlighting the pure copper connectors and wear-resistant exterior materials used in the cord.
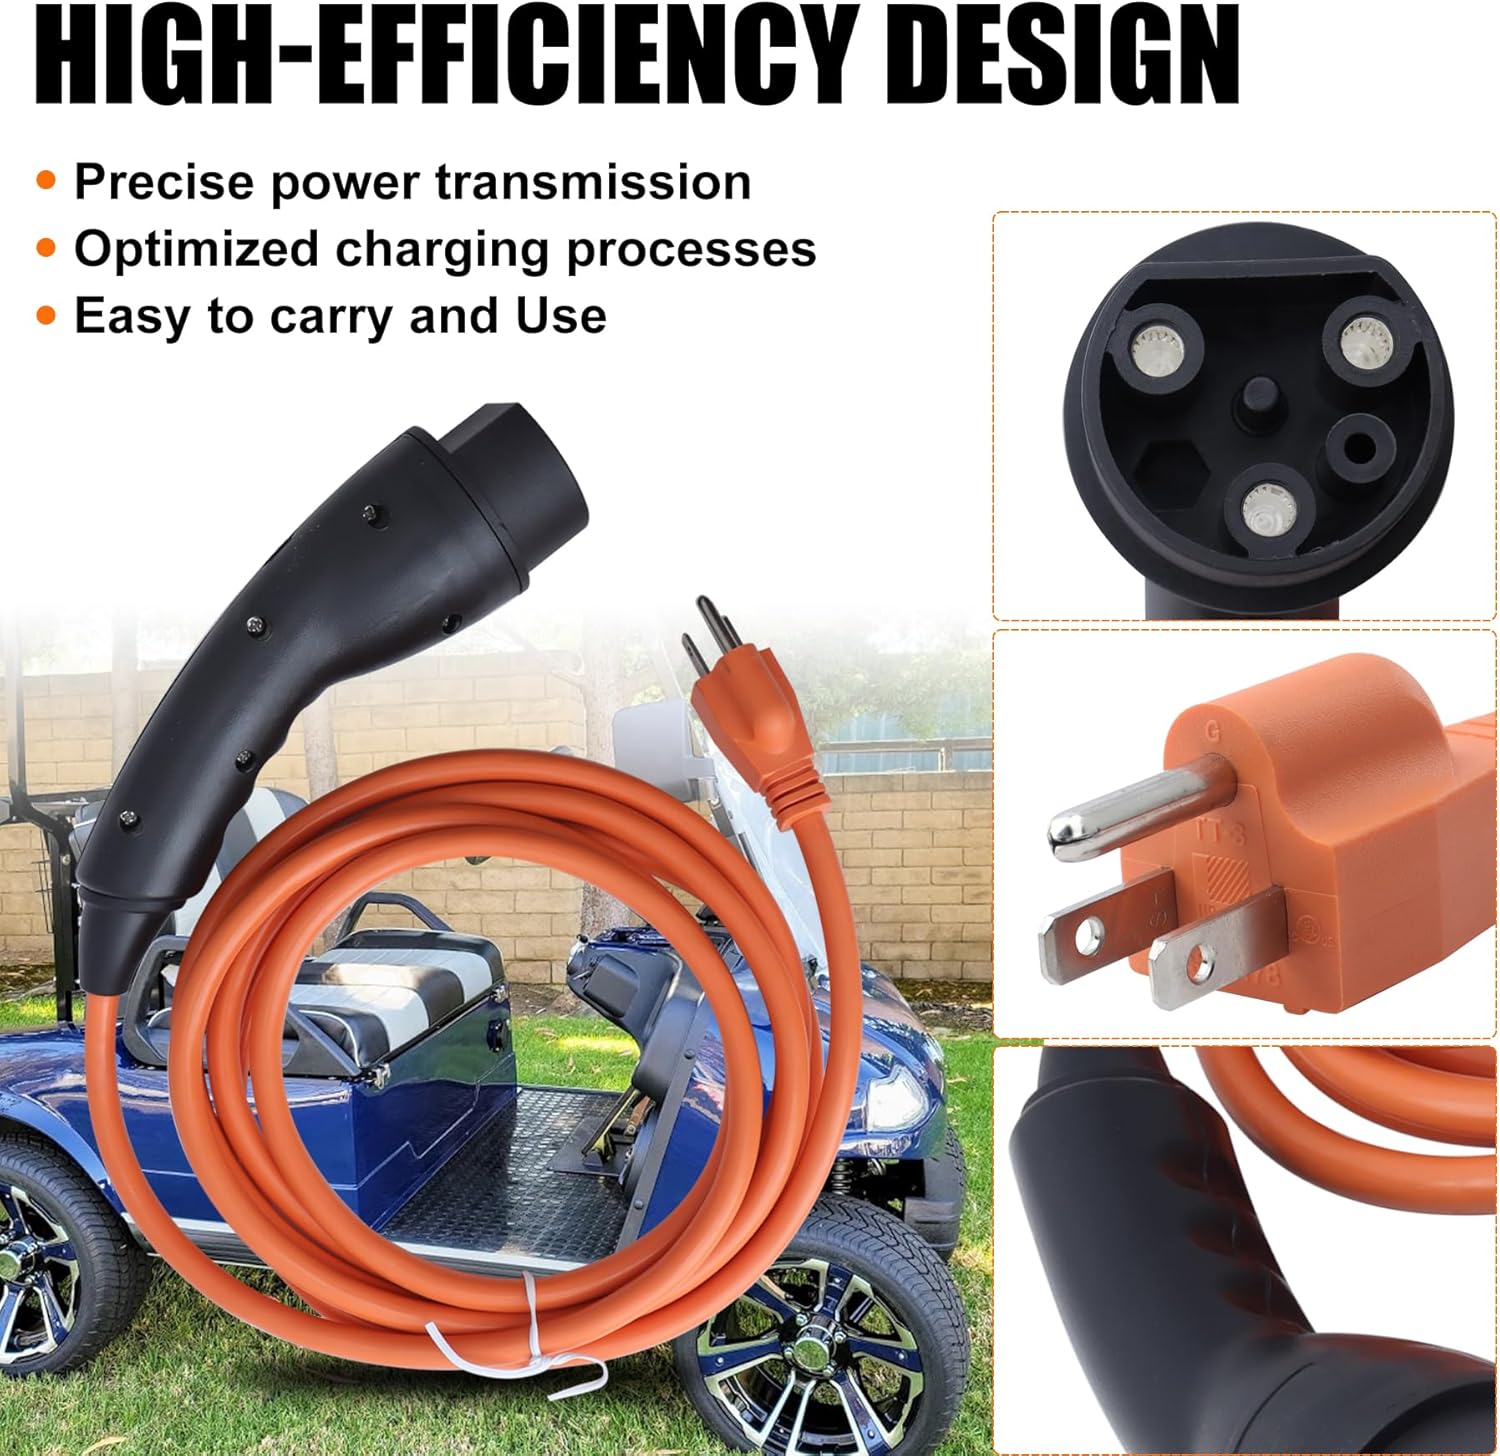
Image: Close-up images of the 3-pin golf cart connector and the 120V wall plug, demonstrating the high-efficiency design for precise power transmission.
Warranty and Support
Warranty Information:
This XDFDRF charging power cord comes with a 1-year warranty from the date of purchase. This warranty covers manufacturing defects and material flaws under normal use.
If you experience any issues with your product within the warranty period, please contact XDFDRF directly through the Amazon messaging system to apply for a carefree replacement or refund. Please provide your order number and a description of the issue for prompt assistance.
Customer Support:
For any questions, concerns, or technical assistance not covered in this manual, please reach out to XDFDRF customer support. You can typically find contact information on the product packaging or through your purchase history on Amazon.


