
1. Introduction
This manual provides detailed instructions for the proper use, setup, and maintenance of the GZLMMY V519 OBD2 Car Code Reader. The V519 is a multifunctional vehicle fault diagnostic instrument designed to assist in identifying and clearing engine fault codes in compatible vehicles.
Important Compatibility Note: This product supports international universal OBD protocol vehicles manufactured after 2012. For vehicles manufactured before 2012, please verify compatibility. The product is not compatible with new energy vehicles, hybrid vehicles, or vehicle types that do not comply with the OBD2 agreement.
2. Product Overview
2.1 Package Contents
- 1 x V519 Fault Detector Unit
- 1 x User Manual
2.2 Key Features
- Reads and clears engine fault codes.
- Displays vehicle fault freeze frame data.
- Checks I/M Readiness status.
- Retrieves vehicle information (VIN, CIN, CVN).
- Views live data stream.
- Reads battery voltage.
- Supports Mode 6 and Mode 8 diagnostics.
- Performs O2 sensor test.
- Built-in DTC lookup library (35,901 DTCs).
- Playback function for recorded data.
- Printing function for diagnostic reports.
- Supports 9 standard OBD II/EOBD protocols.
- 2.8-inch color screen (240 x 320 resolution).
- Plug and Play operation, no external battery required.
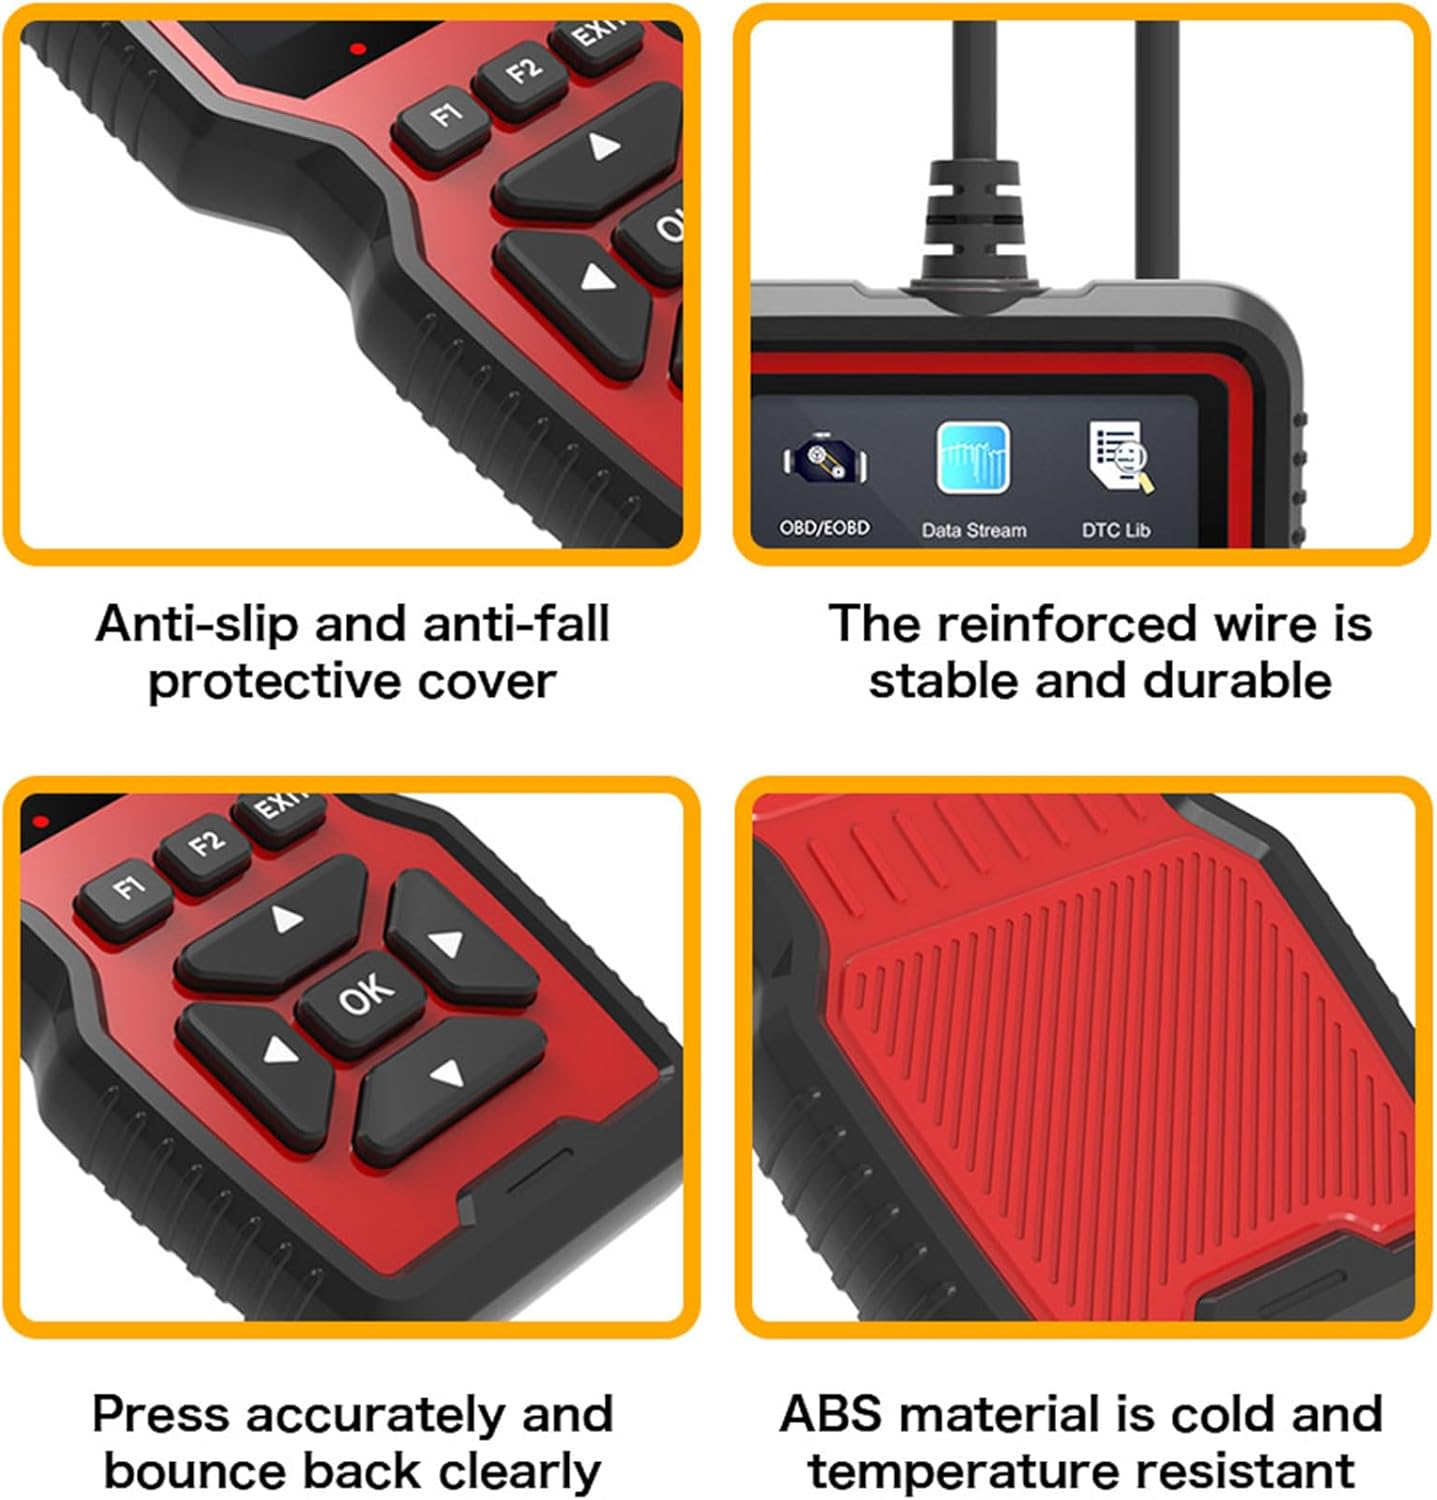
- Durable ABS material and reinforced wire.
2.3 Product Layout and Interface

The V519 features a user-friendly interface with a clear color screen and tactile buttons for easy navigation. The 16-pin interface cable connects directly to your vehicle's OBD-II port.
3. Setup
3.1 Initial Connection
To begin using the V519, locate your vehicle's OBD-II diagnostic port. This port is typically located under the dashboard on the driver's side, but its exact position may vary by vehicle model. Once located, firmly plug the V519's 16-pin connector into the vehicle's OBD-II port.

3.2 Powering On
The V519 is a plug-and-play device and does not require an external battery or charger. It draws power directly from your vehicle through the OBD-II Data Link Connector. Once connected, turn your vehicle's ignition to the 'ON' position (engine off or running, depending on the desired diagnostic function) to power on the V519.
3.3 Language Selection
The V519 supports multiple languages. You can select your preferred language from the 'Setup' menu on the device. The supported languages include English, German, French, Spanish, Italian, Russian, Dutch, Chinese, Japanese, and Portuguese.

4. Operating Instructions
Use the directional arrow buttons (Up, Down, Left, Right) to navigate through the menu options on the V519's screen. Press the 'OK' button to confirm a selection or enter a submenu. The 'EXIT' button is used to return to the previous screen or exit a function.
4.1 Reading Trouble Codes (DTCs)
- From the main menu, navigate to and select 'OBD/EOBD' or 'Read DTC'.
- The device will scan the vehicle's engine control unit (ECU) for stored diagnostic trouble codes.
- A list of detected DTCs and their descriptions will be displayed on the screen.
4.2 Clearing Trouble Codes
Clearing trouble codes will turn off the Check Engine Light (MIL) and reset all monitor status. It is recommended to fix the underlying issue before clearing codes.
- After reading codes, or from the main menu, navigate to and select 'Clear DTC'.
- A confirmation prompt will appear. Select 'YES' to proceed with clearing the codes.
- The device will confirm if the codes have been successfully erased.

4.3 Viewing Live Data Stream
This function allows you to view real-time operational data from the vehicle's sensors and components.
- From the main menu, select 'Data Stream' or 'Live Data'.
- A list of available data parameters will be displayed. Select the parameters you wish to monitor.
- The device will show the real-time values of the selected parameters.
4.4 I/M Readiness Status
This function checks the readiness of the emission-related monitoring systems on the vehicle. It is useful for determining if the vehicle is ready for an emissions test.
- From the main menu, select 'I/M Readiness'.
- The device will display the status of various monitors (e.g., Misfire Monitor, Fuel System Monitor, O2 Sensor Monitor) as 'OK' (completed) or 'INC' (incomplete).
4.5 Vehicle Information
This function retrieves the vehicle's information, including Vehicle Identification Number (VIN), Calibration ID (CALID), and Calibration Verification Number (CVN).
- From the main menu, select 'Vehicle Info'.
- The device will display the available vehicle information.
4.6 O2 Sensor Test
This function monitors and tests the functionality of the oxygen sensors in the vehicle.
- From the main menu, select 'O2 Sensor'.
- Follow the on-screen prompts to perform the O2 sensor test.
4.7 Mode 6 & 8 Diagnostics
The V519 supports advanced diagnostic modes:
- Mode 6: On-Board Monitoring Test Results for Non-Continuously Monitored Systems. This allows access to the results of specific diagnostic monitoring tests of components/systems that are not continuously monitored.
- Mode 8: Control of On-Board System, Test or Component. This mode enables the control of the operation of an on-board system, test, or component away from the vehicle's normal operation.
Navigate to 'Mode 6' or 'Mode 8' from the main menu to access these functions.
4.8 Battery Voltage Reading
The V519 can display the current voltage of your vehicle's battery.
- From the main menu, select 'Voltage'.
- The current battery voltage will be displayed on the screen.
4.9 DTC Lookup
The V519 has a built-in DTC library to help you understand the meaning of diagnostic trouble codes.
- From the main menu, select 'DTC Lib'.
- Enter the DTC you wish to look up using the directional buttons and 'OK'.
- The device will display the definition of the code.
4.10 Playback Function
The playback function allows you to review previously recorded diagnostic data.
- From the main menu, select 'Review' or 'Playback'.
- Choose the recorded data set you wish to review.
5. Maintenance
5.1 Software Update and Printing
The V519 supports software updates and the printing of diagnostic reports via a computer connection.
- Log in to elm327.com to download the V519 Product Tool software.
- After successful download, connect the V519 to your computer using a Type-C data cable.
- Double-click the 'V519ProductTool' application to launch it.
- Select 'Update Firmware/Review Datastream' as required within the software.
- You can then finish upgrading the firmware or printing diagnostic reports.

5.2 Cleaning and Storage
- Clean the device with a soft, damp cloth. Do not use abrasive cleaners or solvents.
- Store the V519 in a dry, cool place, away from direct sunlight and extreme temperatures.
- Ensure the cable is not kinked or damaged during storage.
6. Troubleshooting
6.1 Common Issues and Solutions
- Device does not power on: Ensure the V519 is securely connected to the vehicle's OBD-II port and the vehicle's ignition is in the 'ON' position. Check the vehicle's battery voltage.
- No connection / Yellow light on: If the yellow indicator light is on, it signifies a connection issue. Verify the OBD-II cable is properly seated in both the device and the vehicle's port. Ensure the vehicle's ignition is on.
- Cannot read codes / Red light on: If the red indicator light is on, it indicates that fault codes are being read. This is normal during the diagnostic process. If no codes are displayed, ensure the vehicle is OBD2 compliant and the ignition is on.
- Connection successful / Green light on: A green indicator light signifies a successful connection to the vehicle's ECU.
- Device freezes or malfunctions: Disconnect the device from the vehicle, wait a few seconds, and then reconnect it. If the issue persists, try updating the device firmware via the V519 Product Tool.
6.2 Compatibility Notes
As stated in the introduction, the V519 is designed for universal OBD protocol vehicles after 2012. It is not compatible with new energy vehicles, hybrid vehicles, or vehicles that do not adhere to the OBD2 standard. Attempting to use the device on incompatible vehicles may result in incorrect readings or device malfunction.
7. Specifications
| Feature | Specification |
|---|---|
| Product Model | V519 |
| Operating Voltage | 12-16V |
| Operating Environment Temperature | -20~65℃ (-4~149℉) |
| Storage Temperature | -30~70℃ (-22~158℉) |
| Supported Languages | English, German, French, Spanish, Italian, Russian, Dutch, Chinese, Japanese, Portuguese |
| Screen Size | 2.8 inches |
| Screen Resolution | 240 x 320 pixels |
| Power Source | Wired Electric (via OBD-II port) |
| UPC | 799748222255 |
8. Warranty and Support
GZLMMY is committed to providing quality products. While specific warranty details are not provided in this manual, please retain your purchase receipt for any warranty claims. For technical support, troubleshooting assistance, or inquiries regarding product updates, please contact GZLMMY customer service through the retailer or official support channels.
Regular software updates are available to ensure optimal performance and compatibility. Please refer to Section 5.1 for instructions on updating your device.