
1. Introduction
The LUMINTOP Thor Mini is a compact, high-performance LEP (Laser Excited Phosphor) flashlight designed for powerful illumination over long distances. Featuring advanced laser technology, it delivers a concentrated beam with a maximum range of 700 meters and a brightness of 350 lumens. This device is built for durability, offering IPX8 waterproofing and convenient USB-C recharging for its included 18350 Li-ion battery.
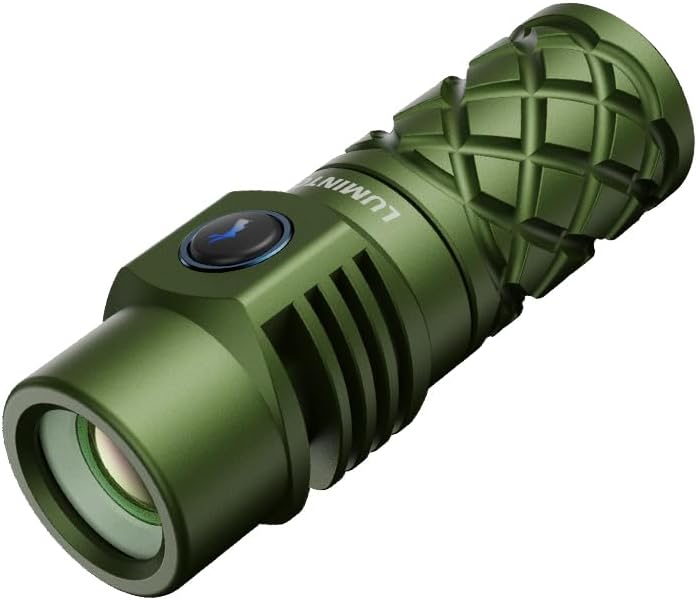
Image: LUMINTOP Thor Mini LEP Flashlight.
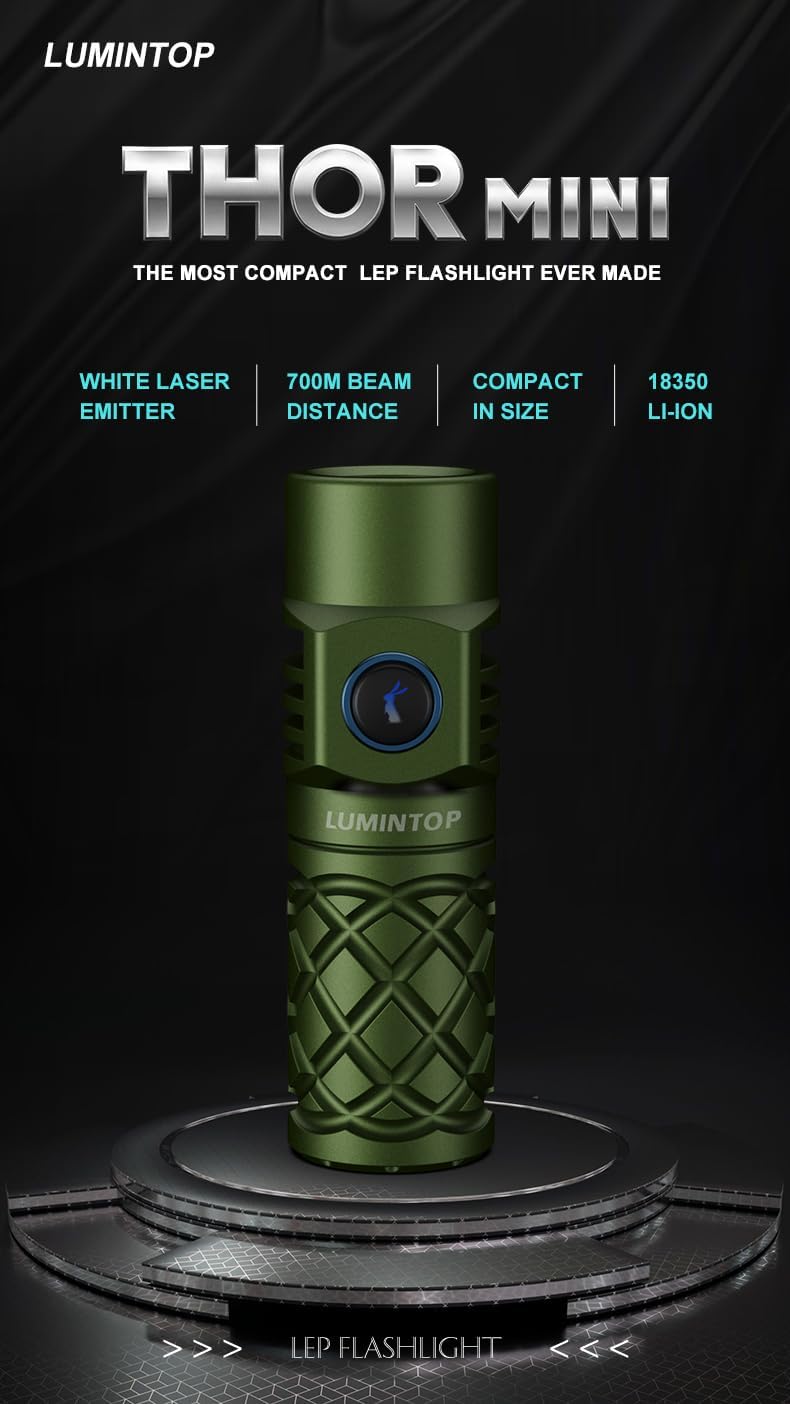
Image: Key features of the Thor Mini flashlight.
2. Safety Information
WARNING: This device utilizes a white laser emitter. Direct exposure to the beam can cause severe eye injury. Observe the following safety precautions:
- Do not point the flashlight directly at eyes, people, animals, or reflective surfaces.
- Avoid looking directly into the beam.
- Keep out of reach of children.
- Do not disassemble the flashlight; this may expose you to hazardous laser radiation.
- Use only the recommended 18350 Li-ion battery.

Image: Thor Mini's powerful beam with a safety warning.
3. Package Contents
Please check the package for the following items:
- LUMINTOP Thor Mini LEP Flashlight
- 1 x 18350 Lithium Ion Battery
4. Setup
4.1 Battery Installation
- Unscrew the tail cap of the flashlight.
- Insert the included 18350 Li-ion battery with the positive (+) end facing towards the head (lens) of the flashlight.
- Screw the tail cap back on securely until it is finger-tight.

Image: Thor Mini and its 18350 Li-ion battery.
4.2 Initial Charging
The Thor Mini supports USB-C charging. A full charge takes approximately 3 hours.
- Locate the USB-C charging port on the flashlight body.
- Connect a USB-C charging cable (not included) to the flashlight's port and to a compatible USB power source (e.g., wall adapter, power bank, computer USB port).
- The indicator light on the side switch will illuminate to show charging status. It typically turns red while charging and green when fully charged.
5. Operating Instructions
The Thor Mini features a convenient side switch with a backlit light for easy operation in the dark.

Image: E-Switch with backlit light for easy operation.
5.1 Basic Operation
- Turn On: Single click the side switch.
- Change Brightness: While the flashlight is on, single click the side switch to cycle between Low (50 Lumens) and High (250 Lumens) modes.
- Turn Off: Press and hold the side switch for approximately 1 second.
5.2 Special Modes
The Thor Mini includes Strobe and SOS functions. Specific activation sequences for these modes are typically detailed in the full product manual. Please refer to the manufacturer's website for comprehensive instructions if needed.
5.3 Lock-out Mode
The lock-out mode prevents accidental activation, conserving battery and preventing unintended light emission.
- Activate Lock-out: While the flashlight is off, quickly click the side switch 4 times. The flashlight may blink to confirm activation.
- Deactivate Lock-out: Quickly click the side switch 4 times again. The flashlight will turn on in the last used mode.

Image: Lock-out mode activation.
5.4 Battery Check
This function allows you to check the current battery voltage.
- Activate Battery Check: While the flashlight is off, quickly click the side switch 3 times.
- Interpret Blinks: The emitter will blink to indicate the voltage. For example, 3 blinks followed by 8 blinks signifies 3.8V.

Image: Battery check function.
6. Maintenance
- Cleaning: Wipe the flashlight body with a soft, damp cloth. Do not use abrasive cleaners or solvents.
- O-Rings: Periodically inspect and lubricate the O-rings with silicone grease to maintain the IPX8 waterproof seal. Replace damaged O-rings promptly.
- Battery Care: Remove the battery if the flashlight will not be used for an extended period. Store batteries in a cool, dry place.
- Waterproof Rating: The Thor Mini is IPX8 waterproof, capable of working underwater up to 2 meters in sealed condition. Ensure the tail cap is securely tightened before exposure to water.
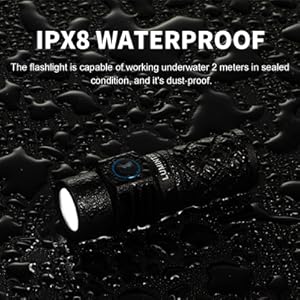
Image: IPX8 Waterproof feature.
7. Troubleshooting
| Problem | Possible Cause | Solution |
|---|---|---|
| Flashlight does not turn on | Battery incorrectly installed or depleted; Lock-out mode active. | Ensure battery is inserted correctly with positive end towards the head. Recharge the battery. Deactivate Lock-out mode (4 quick clicks). |
| Light is dim or flickers | Low battery charge; Loose connections; Dirty contacts. | Recharge the battery. Ensure tail cap is tightened. Clean battery contacts and flashlight body contacts with a clean cloth. |
| Water ingress | Tail cap not securely tightened; Damaged O-rings. | Ensure tail cap is fully tightened. Inspect O-rings for damage and replace if necessary. Apply silicone grease to O-rings. |
8. Specifications
| Parameter | Low | High | Strobe/SOS |
|---|---|---|---|
| Output | 50 Lumen | 250 Lumen | 120 Lumen |
| Runtime | 1H 30Min | 90S+1H 20Min | / |
| Distance | 700m (Max) | ||
| Intensity | 122500cd (Max) | ||
| Impact Resistance | 1m | ||
| Waterproof | IPX8, underwater 2m | ||
| Light Source | White Laser Emitter | ||
| Size | 25*78mm | ||
| Power | 8.4W (Max) | ||
| Battery | 1 X 18350 Li-ion (included) | ||
Note: The above parameters are lab-tested using an 18350 Li-ion battery and may vary due to environmental differences and battery conditions. Runtime on High mode is accumulated due to over-heat protection settings.
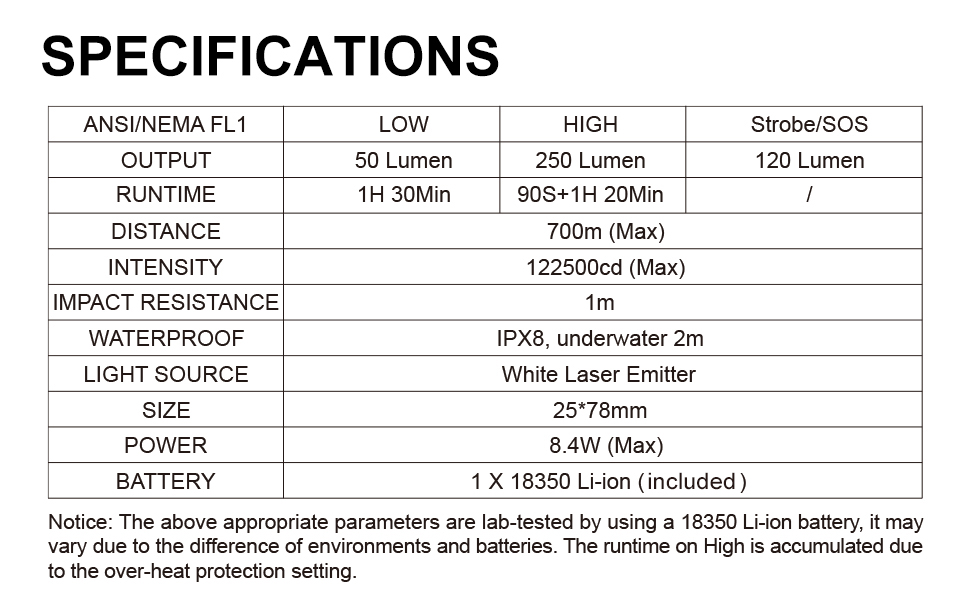
Image: Detailed product specifications.

Image: High-Quality Built features of the Thor Mini.
9. Warranty and Support
For detailed warranty information, please refer to the warranty card included with your purchase or visit the official LUMINTOP website. For technical support, product inquiries, or service, please contact LUMINTOP customer service through their official channels.
You can visit the LUMINTOP store on Amazon for more information: LUMINTOP Store


