
1. Introduction
This instruction manual provides essential information for the proper installation, operation, and maintenance of your Generic Sim Rig Cup Holder (Standard). Please read this manual thoroughly before use to ensure optimal performance and longevity of the product.
2. Product Overview
The Generic Sim Rig Cup Holder is designed to integrate seamlessly with various aluminum profile sim rigs, specifically 4040, 1515, or 8020 profiles. It provides a secure and convenient location for your beverage during sim racing sessions. This Standard size is suitable for common mugs, cans, and thermoses.
Key Features:
- Versatile Design: Compatible with 4040, 1515, or 8020 aluminum profile rigs.
- Secure Placement: Keeps your drink stable and within reach.
- Durable Build: Crafted with precision for reliable performance.
- Made in the USA.
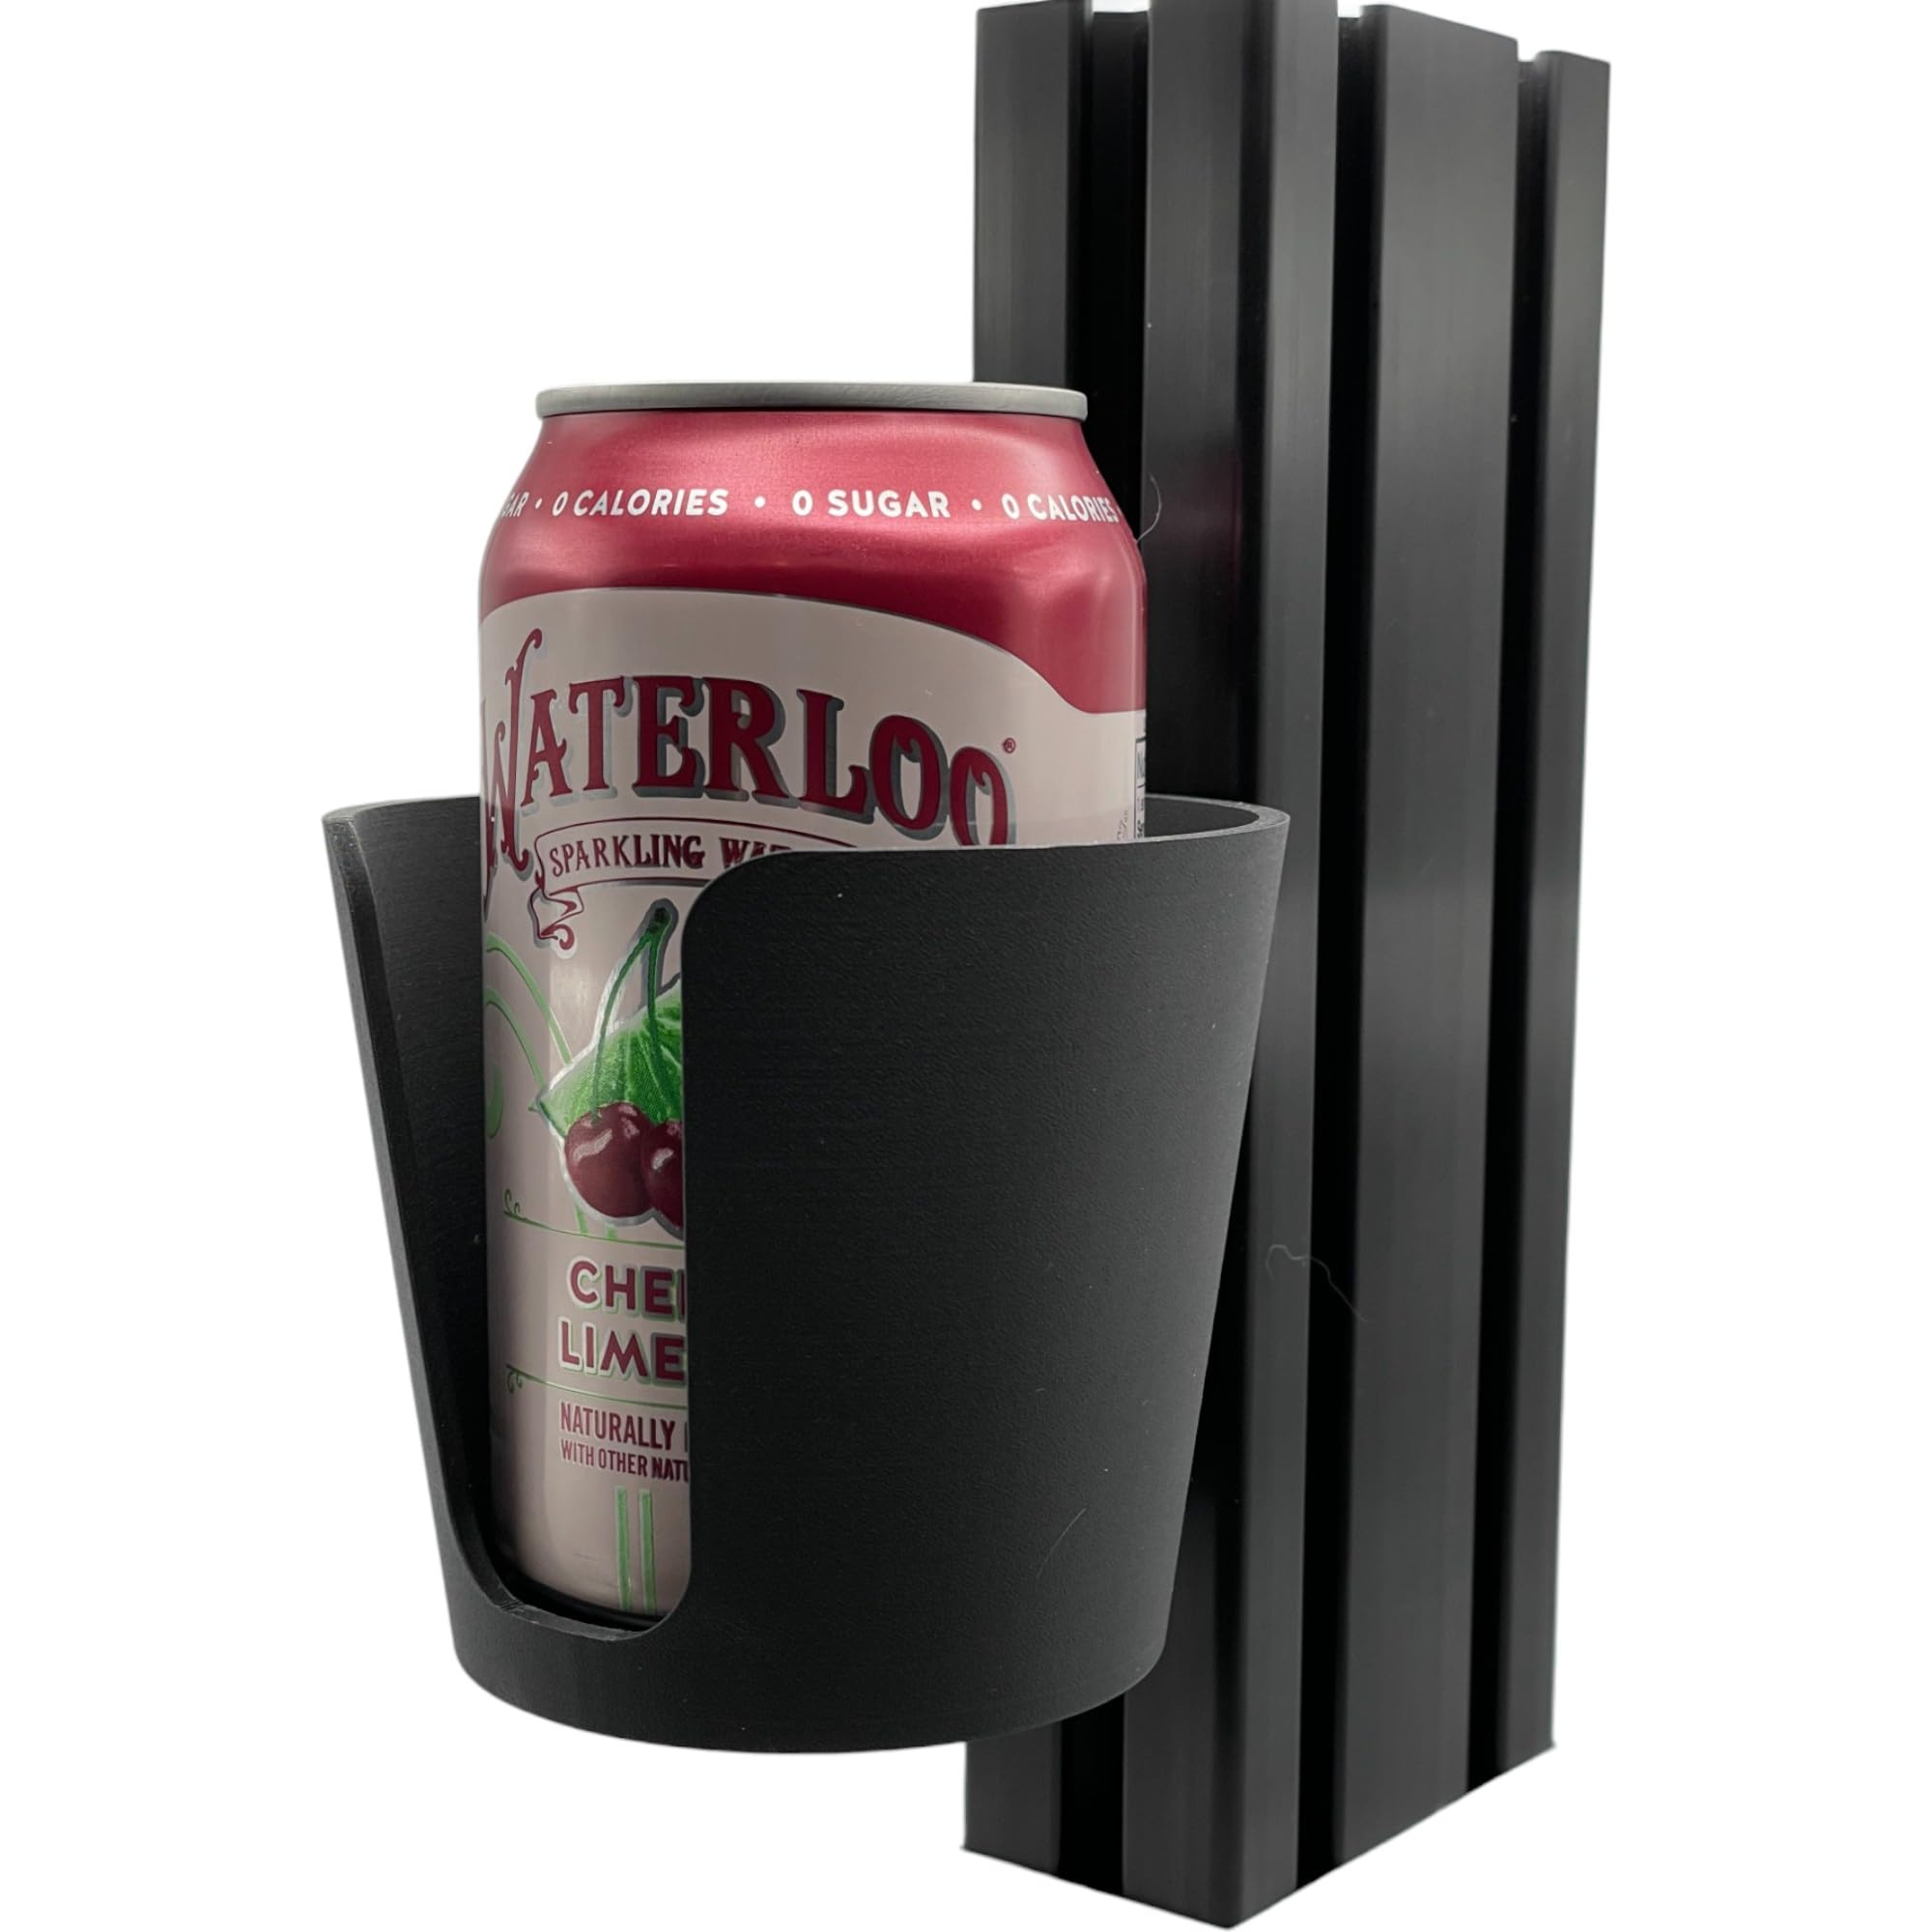
Figure 2.1: Generic Sim Rig Cup Holder (Standard) mounted on an aluminum profile.
3. Package Contents
Please verify that all components are present in the package:
- 1 x Sim Rig Cup Holder (Standard)
- 2 x M6 Bolts
- 2 x M6 T-Nuts
4. Setup and Installation
The cup holder is designed for straightforward installation on 4040, 1515, or 8020 aluminum profile rigs using the included M6 bolts and T-nuts.
- Identify Mounting Location: Choose a suitable location on your sim rig's aluminum profile where the cup holder will be easily accessible and not interfere with your racing setup.
- Insert T-Nuts: Slide the two M6 T-nuts into the channel of your aluminum profile at the desired mounting point.
- Position Cup Holder: Align the mounting holes on the back of the cup holder with the T-nuts in the profile.
- Secure with Bolts: Insert the two M6 bolts through the cup holder's mounting holes and into the T-nuts. Tighten the bolts securely using an appropriate tool (not included) until the cup holder is firmly attached and does not wobble. Do not overtighten.

Figure 4.1: Cup holder mounted on an aluminum profile.

Figure 4.2: Rear view illustrating the mounting points for bolts and T-nuts.
5. Operating Instructions
Once installed, the cup holder is ready for use. Simply place your beverage into the holder. The Standard size is designed to accommodate most standard-sized cans, bottles, mugs, and thermoses.

Figure 5.1: Beverage placed in the cup holder.
6. Maintenance
To ensure the longevity and appearance of your cup holder, follow these simple maintenance guidelines:
- Cleaning: Wipe the cup holder periodically with a soft, damp cloth to remove dust or spills. Avoid using abrasive cleaners or solvents, as these may damage the material.
- Inspection: Regularly check the mounting bolts to ensure they remain tight. If the cup holder feels loose, re-tighten the M6 bolts.
7. Troubleshooting
| Problem | Possible Cause | Solution |
|---|---|---|
| Cup holder feels loose after installation. | M6 bolts are not sufficiently tightened. | Re-tighten the M6 bolts securely. Ensure T-nuts are properly seated in the aluminum profile channel. |
| Beverage does not fit in the cup holder. | Beverage container is too large for the Standard size. | Verify the size of your beverage container. This is the Standard size cup holder, designed for typical cans, mugs, and thermoses. A Large size variant is available for bigger containers. |
8. Specifications
- Model Number: 001
- Material: Metal
- Color: Black
- Product Dimensions (L x W x H): 1" x 1" x 1" (Note: These dimensions are as provided and may represent packaging or a general placeholder.)
- Compatibility: 4040, 1515, or 8020 aluminum profile rigs
- Included Components: One cup holder, 2 M6 bolts, 2 M6 T-nuts
9. Warranty and Support
Specific warranty information for this Generic product is not provided in the available documentation. For any support inquiries or further assistance, please refer to the seller or retailer from whom the product was purchased.


