
Amico U1560ACC
Amico 6.0A USB Outlet (6-Pack) with 2 Type C & 1 Type A Ports, 15 Amp Tamper-Resistant Receptacle - Instruction Manual
Model: U1560ACC
Introduction
This manual provides detailed instructions for the safe installation, operation, and maintenance of your Amico 6.0A USB Outlet. Please read this manual thoroughly before installation and retain it for future reference. This product features two USB Type-C ports, one USB Type-A port, and two standard 15 Amp AC receptacles, designed for convenient charging and power access.
Safety Information
WARNING: To avoid fire, shock, or death, turn off power at the circuit breaker or fuse box and test that power is off before wiring. Installation should be performed by a qualified electrician or a knowledgeable individual familiar with electrical wiring.
- Always disconnect power before working on electrical circuits.
- Ensure all wiring connections are secure and comply with local electrical codes.
- This device is designed for indoor use only.
- The tamper-resistant feature helps prevent foreign objects from being inserted into the receptacle openings, enhancing safety, especially in households with children.
- Constructed with UL94 flame-resistant material for enhanced safety and durability.
- Do not use with devices requiring more than 15 Amps for AC outlets or exceeding 30W (5V DC, 6.0A) for USB ports. Not suitable for charging laptops.
Package Contents
- Amico 6.0A USB Outlet (6-Pack)
- Wall Plates (6 included)
- Instruction Manual (this document)

Image: The Amico 6.0A USB Outlet, showing the product itself, its packaging, and multiple units, highlighting the included wall plate.
Product Features
- USB 2C+1A Ports: Features two USB Type-C ports and one USB Type-A port for versatile device charging.
- Stable Power Supply: Compatible with Apple and Samsung protocols, BC1.2, and other standard USB charging protocols. (Note: Not suitable for laptops).
- Enhanced Security: Tamper-Resistant (TR) outlets prevent foreign objects from being inserted. Constructed with UL94 flame-resistant material.
- High-Speed Charging: USB ports deliver a combined output of 5V DC at 6.0 Amps (30 Watts total) for efficient charging.

Image: A detailed diagram illustrating the two USB Type-C ports (5V DC, max 3.0A each) and one USB Type-A port (5V DC, max 2.4A), with a total output of 30W, 6.0 Amp.

Image: The Amico USB outlet installed in a wall, with cables connected to charge multiple devices, emphasizing the total output of 6.0A 30W and compatibility with Apple, Samsung, and Android devices.
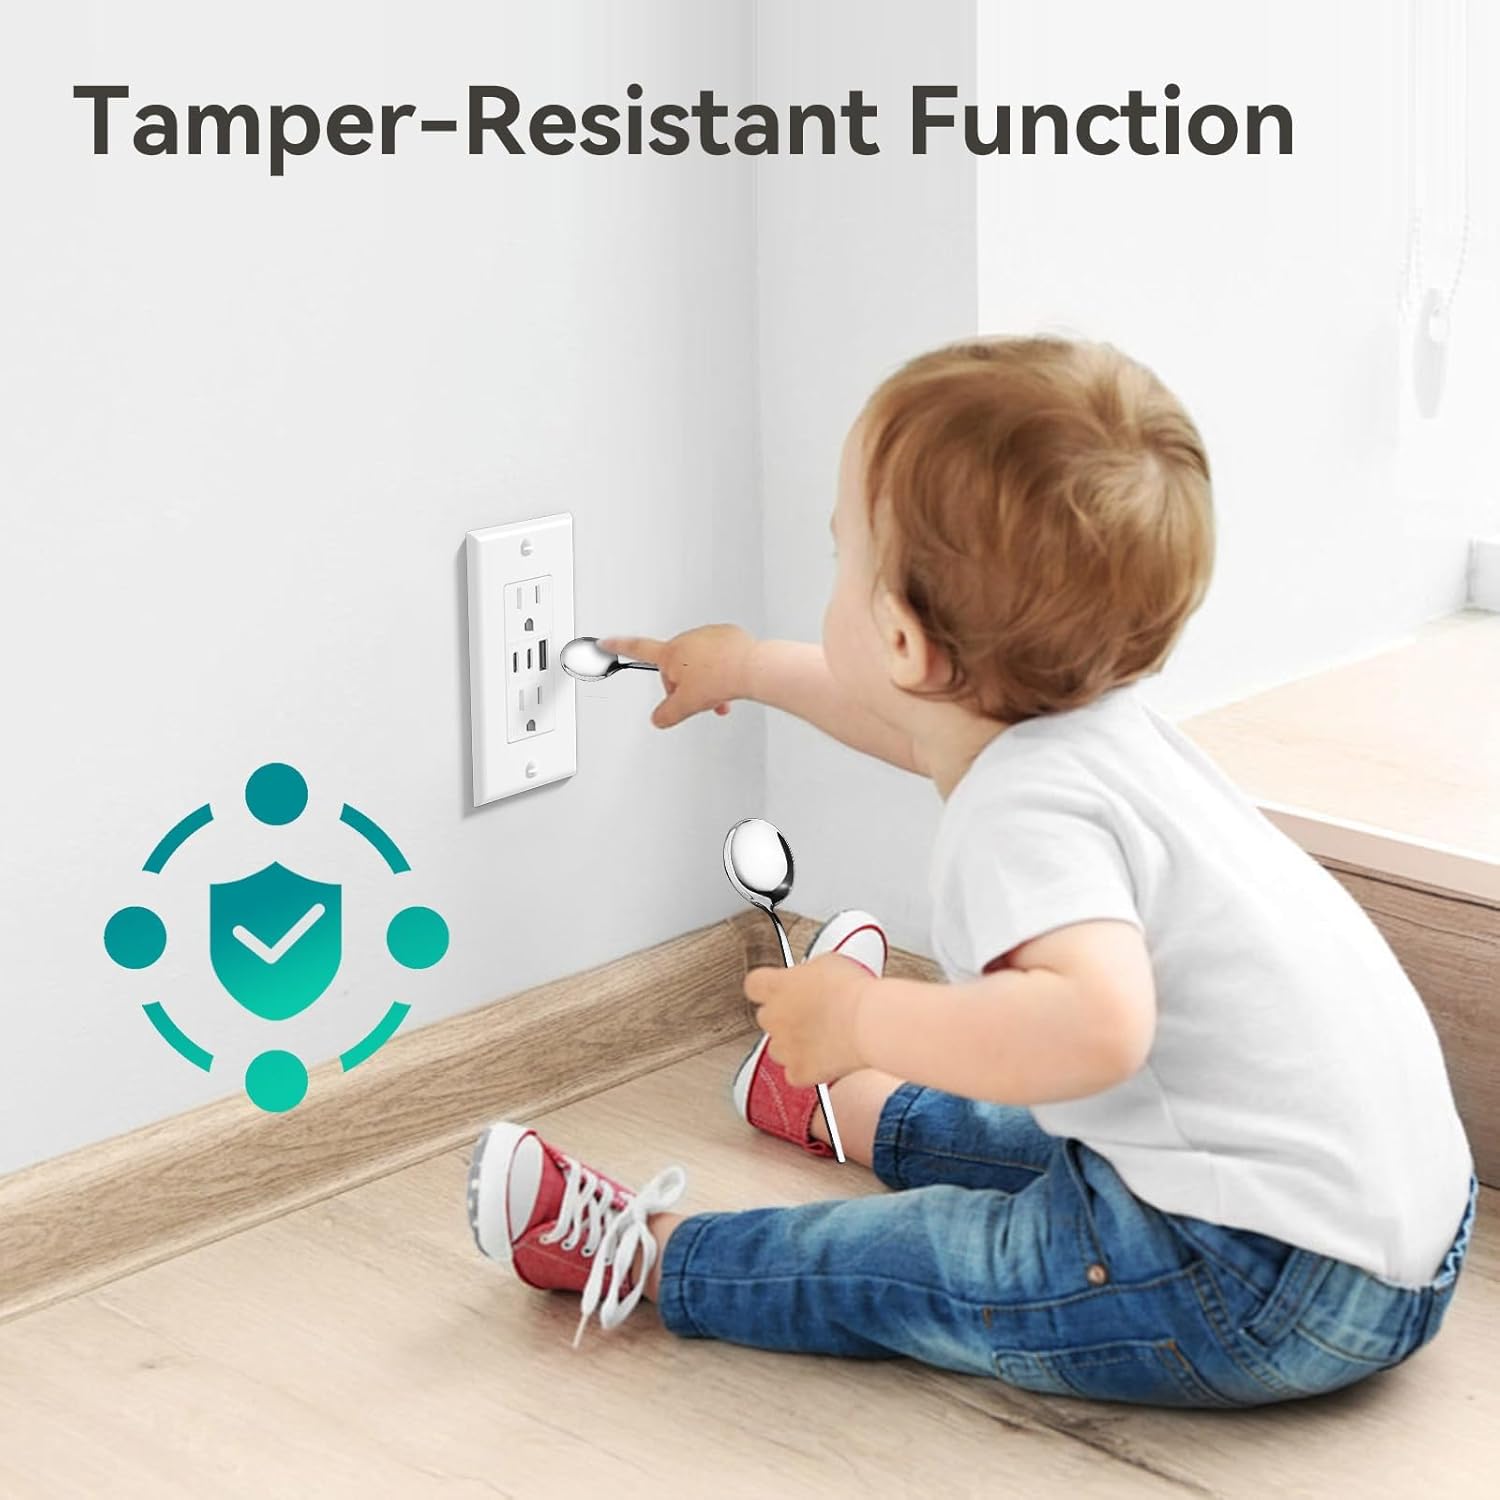
Image: A child attempting to insert a spoon into the outlet, demonstrating the tamper-resistant function for safety.

Image: Technical drawing showing the dimensions of the Amico USB outlet (4.58" H x 2.81" W x 1.2" D) and a comparison highlighting its 12% thinner profile compared to other similar products.
Specifications
| Brand | Amico |
| Model Number | U1560ACC |
| AC Outlet Rating | 15 Amp, 125V AC |
| USB Output (Total) | 5V DC, 6.0 Amps (30 Watts) |
| USB Type-C Output | 5V DC, max 3.0A per port |
| USB Type-A Output | 5V DC, max 2.4A per port |
| Material | Copper, UL94 Flame-Resistant Plastic |
| Color | White |
| Certifications | ETL Listed |
Installation Instructions
Important: Before beginning installation, ensure the power to the circuit is turned off at the circuit breaker or fuse box. If you are unsure about any steps, consult a qualified electrician.
Video Guide: Amico 6.0A USB Outlet Installation
Video: This video demonstrates the unboxing, features, and step-by-step installation process for the Amico 6.0A USB Outlet, including wiring methods and final setup.
Step-by-Step Installation
- Prepare Outlets and Tools:
Ensure power is off at the circuit breaker. Gather necessary tools such as screwdrivers, wire strippers, and electrical tape. Identify the Line (Hot Terminal - Brass), Line (White Terminal - Silver), and Grounding (Green) screws on the back of the USB outlet.

Image: A diagram illustrating the wiring terminals on the back of the outlet, indicating the Hot (Brass), Neutral (Silver), and Ground (Green) connections.
- Select a Wiring Method:
You can choose between two wiring methods:
- Screw Terminal Wiring: Strip approximately 3/5" (15mm) of insulation from the wire. Loop the wire clockwise around the appropriate screw terminal (Brass for Hot, Silver for Neutral, Green for Ground) and tighten securely.
- Back Wire Holes: For solid wires, strip approximately 4/5" (20mm) of insulation. Insert the stripped wire directly into the back wire holes corresponding to the correct terminal (Hot, Neutral, Ground) and ensure it is firmly seated.

Image: A wiring diagram detailing the recommended strip gauge for side wire (screw terminal) at 3/5" (15mm) and back wire holes at 4/5" (20mm).
- Install the USB Outlet and Wall Plate:
Once wired, carefully push the outlet into the wall box. Secure it with the mounting screws. Attach the included wall plate over the installed outlet. Restore power at the circuit breaker and test the functionality of both AC receptacles and USB ports.

Image: The Amico USB outlet installed in a wall, with a smartphone and wireless earbuds charging via the USB ports, demonstrating its practical use.

Image: The Amico USB outlet installed in a wall, with a tablet charging via a USB port and a desk lamp plugged into an AC receptacle, showcasing its dual functionality.
Operating Instructions
- AC Receptacles: Insert standard 2-prong or 3-prong plugs into the top and bottom AC outlets. Ensure devices do not exceed the 15 Amp rating.
- USB Charging Ports: Connect your USB-C compatible devices to the two USB Type-C ports, or your USB-A compatible devices to the single USB Type-A port. The total combined output for all USB ports is 30W (5V DC, 6.0A).
- The outlet automatically detects the connected device to deliver optimal charging speed within its specifications.
Maintenance
- Clean the outlet and wall plate with a soft, dry cloth. Do not use liquid cleaners or aerosols.
- Periodically check for any loose connections or signs of damage. If damage is observed, discontinue use and consult a qualified electrician for replacement.
- Ensure the area around the outlet is free from obstructions to allow for proper heat dissipation.
Troubleshooting
- No Power from AC Outlets:
- Check the circuit breaker or fuse box to ensure power is on.
- Verify that the outlet is properly wired.
- No Power from USB Ports:
- Ensure the device is properly connected to the USB port.
- Try a different USB cable or device to rule out cable/device issues.
- Confirm the total power draw of connected USB devices does not exceed 30W (6.0A).
- Slow USB Charging:
- Ensure your device and cable support fast charging protocols.
- The total 30W output is shared among all three USB ports. Charging multiple high-power devices simultaneously may result in slower charging for each.
- If issues persist, contact Amico customer support.
Warranty and Support
Amico provides a 3-Year Product Support for this USB outlet. All Amico USB outlets are ETL certified to high standards. For any concerns or assistance, our customer support team is available to address your inquiries within 12 hours.
Please visit the Amico Store on Amazon for more information or to contact support.
Ask a question about this manual
Ask about setup, troubleshooting, compatibility, parts, safety, or missing instructions. Manuals+ will review the question and use this page’s manual context to help answer it.