1. Introduction
This manual provides instructions for the proper use, application, and maintenance of the PROFLO PFC301 5.5 oz Tube and Tile Caulk. This product is designed for sealing joints and gaps in tile and other surfaces, offering a durable and resistant finish.
2. Safety Information
WARNING: Always read and follow all instructions and safety precautions on the product label before use. This product may contain chemicals known to the State of California to cause cancer and birth defects or other reproductive harm. For more information, visit www.P65Warnings.ca.gov.
- Ensure adequate ventilation during application.
- Avoid prolonged skin contact. Wear protective gloves.
- Wear eye protection to prevent accidental splashes.
- Keep out of reach of children and pets.
- Do not ingest. If swallowed, seek immediate medical attention.
3. Product Features
- Fast curing for efficient project completion.
- Durable and resistant finish for long-lasting seals.
- Suitable for various applications, including kitchen and bath.
- VOC CARB non-chem curing (n.a) < 1.5%.
4. Setup and Preparation
- Surface Preparation: Ensure all surfaces are clean, dry, and free of dust, grease, old caulk, or any loose debris. For best adhesion, surfaces should be structurally sound.
- Open the Tube: Cut the tip of the nozzle at a 45-degree angle to the desired bead size. A smaller opening will produce a finer bead, while a larger opening will produce a wider bead.
- Load Caulk Gun: Puncture the inner seal of the caulk tube using the rod on the caulk gun or a long nail. Insert the tube into a standard caulk gun.
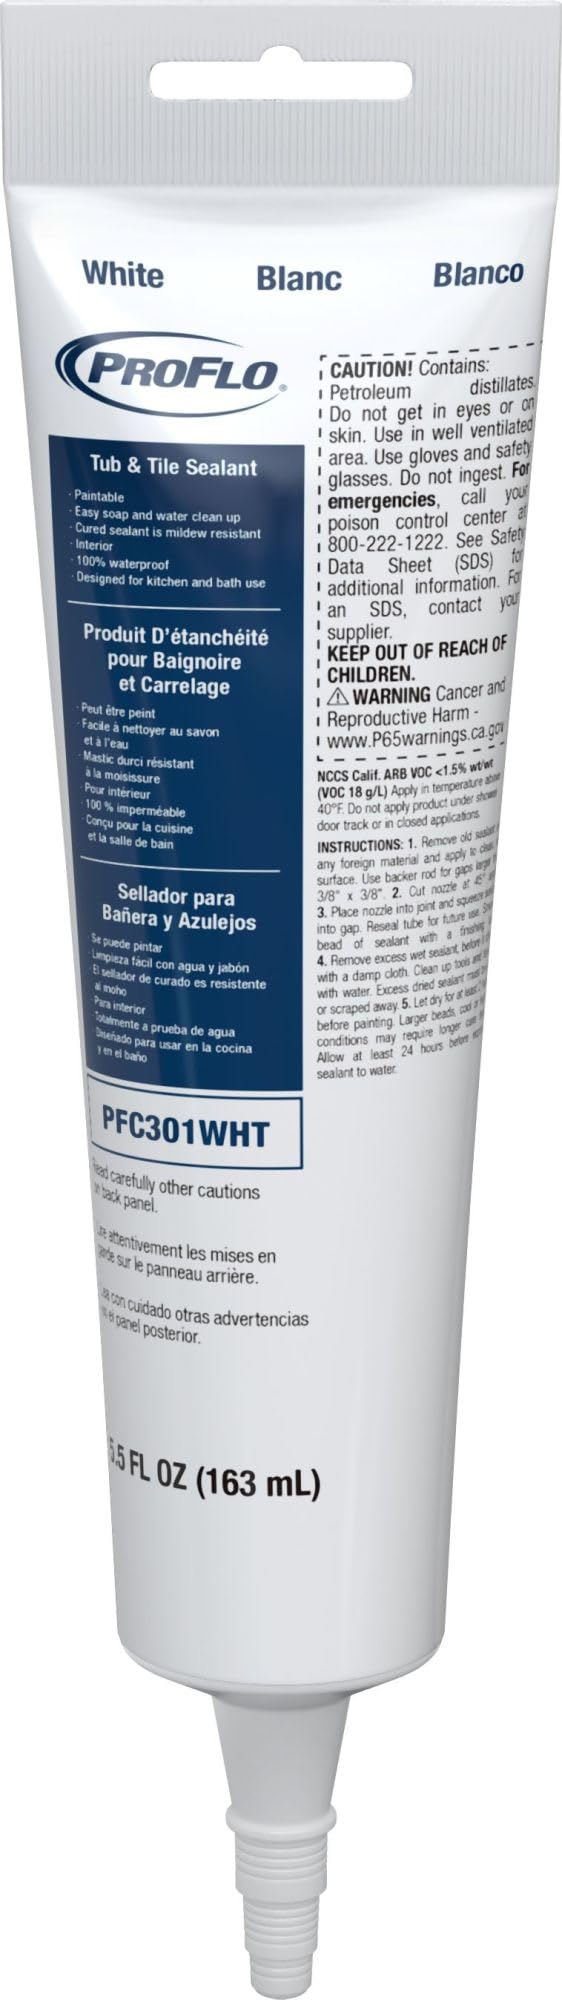
Figure 1: PROFLO PFC301 5.5 oz Tube and Tile Caulk. Ensure the nozzle is cut correctly for desired bead size.
5. Operating and Application
- Apply Caulk: Hold the caulk gun at a 45-degree angle to the joint. Apply steady, even pressure to the trigger, moving the gun smoothly along the joint to create a continuous bead.
- Tooling the Caulk: Immediately after applying, use a caulk tool, a wet finger, or a damp cloth to smooth the caulk bead. This helps to ensure good adhesion and a professional finish. Remove any excess caulk promptly.
- Curing Time: Allow the caulk to cure according to the instructions on the product label. Curing times can vary based on humidity, temperature, and bead thickness. Avoid exposing the freshly applied caulk to water or heavy stress during the initial curing period.

Figure 2: Example of a kitchen counter and sink area, a common application for tile and tube caulk. Ensure surfaces are clean and dry before application.
6. Maintenance and Cleaning
- Tool Cleaning: Clean tools and any excess wet caulk immediately with water. Once cured, caulk may be more difficult to remove.
- Surface Cleaning: Cured caulk can be cleaned with mild soap and water. Avoid abrasive cleaners or harsh chemicals that may damage the caulk.
- Storage: Store unused caulk in a cool, dry place with the nozzle sealed tightly to prevent drying. For best results, use within the recommended shelf life.
7. Troubleshooting
- Poor Adhesion: Ensure surfaces were clean, dry, and free of contaminants before application. Roughening smooth surfaces slightly may improve adhesion.
- Uneven Bead: Practice applying caulk on a scrap surface to achieve a consistent pressure and speed. Ensure the nozzle cut is appropriate for the gap size.
- Slow Curing: High humidity or low temperatures can extend curing times. Ensure adequate ventilation and maintain recommended environmental conditions. Thick beads of caulk will also take longer to cure.
8. Specifications
| Brand | PROFLO |
| Model Number | PFC301 |
| Color | White |
| Item Weight | 0.62 Pounds (9.92 ounces) |
| Item Form | Paste |
| Surface Recommendation | Tile |
| Manufacturer | PROFLO |
| ASIN | B0BQ15DNHC |
9. Warranty Information
PROFLO products are manufactured to high-quality standards. For specific warranty details regarding the PFC301 caulk, please refer to the product packaging or contact PROFLO customer support directly. Keep your purchase receipt as proof of purchase.
10. Support and Contact
If you have any questions or require further assistance with your PROFLO PFC301 caulk, please refer to the contact information provided on the product packaging or visit the official PROFLO website for customer support resources.


