
EasySMX X05
EasySMX X05 Wireless Gamepad User Manual
Comprehensive instructions for setup, operation, and maintenance of your EasySMX X05 Wireless Gamepad.
Product Overview
The EasySMX X05 is a versatile wireless gamepad designed for an enhanced gaming experience across multiple platforms. It features Hall Effect joysticks and triggers for precise control, customizable RGB lighting, and multiple connectivity options including 2.4GHz wireless, Bluetooth, and wired modes.
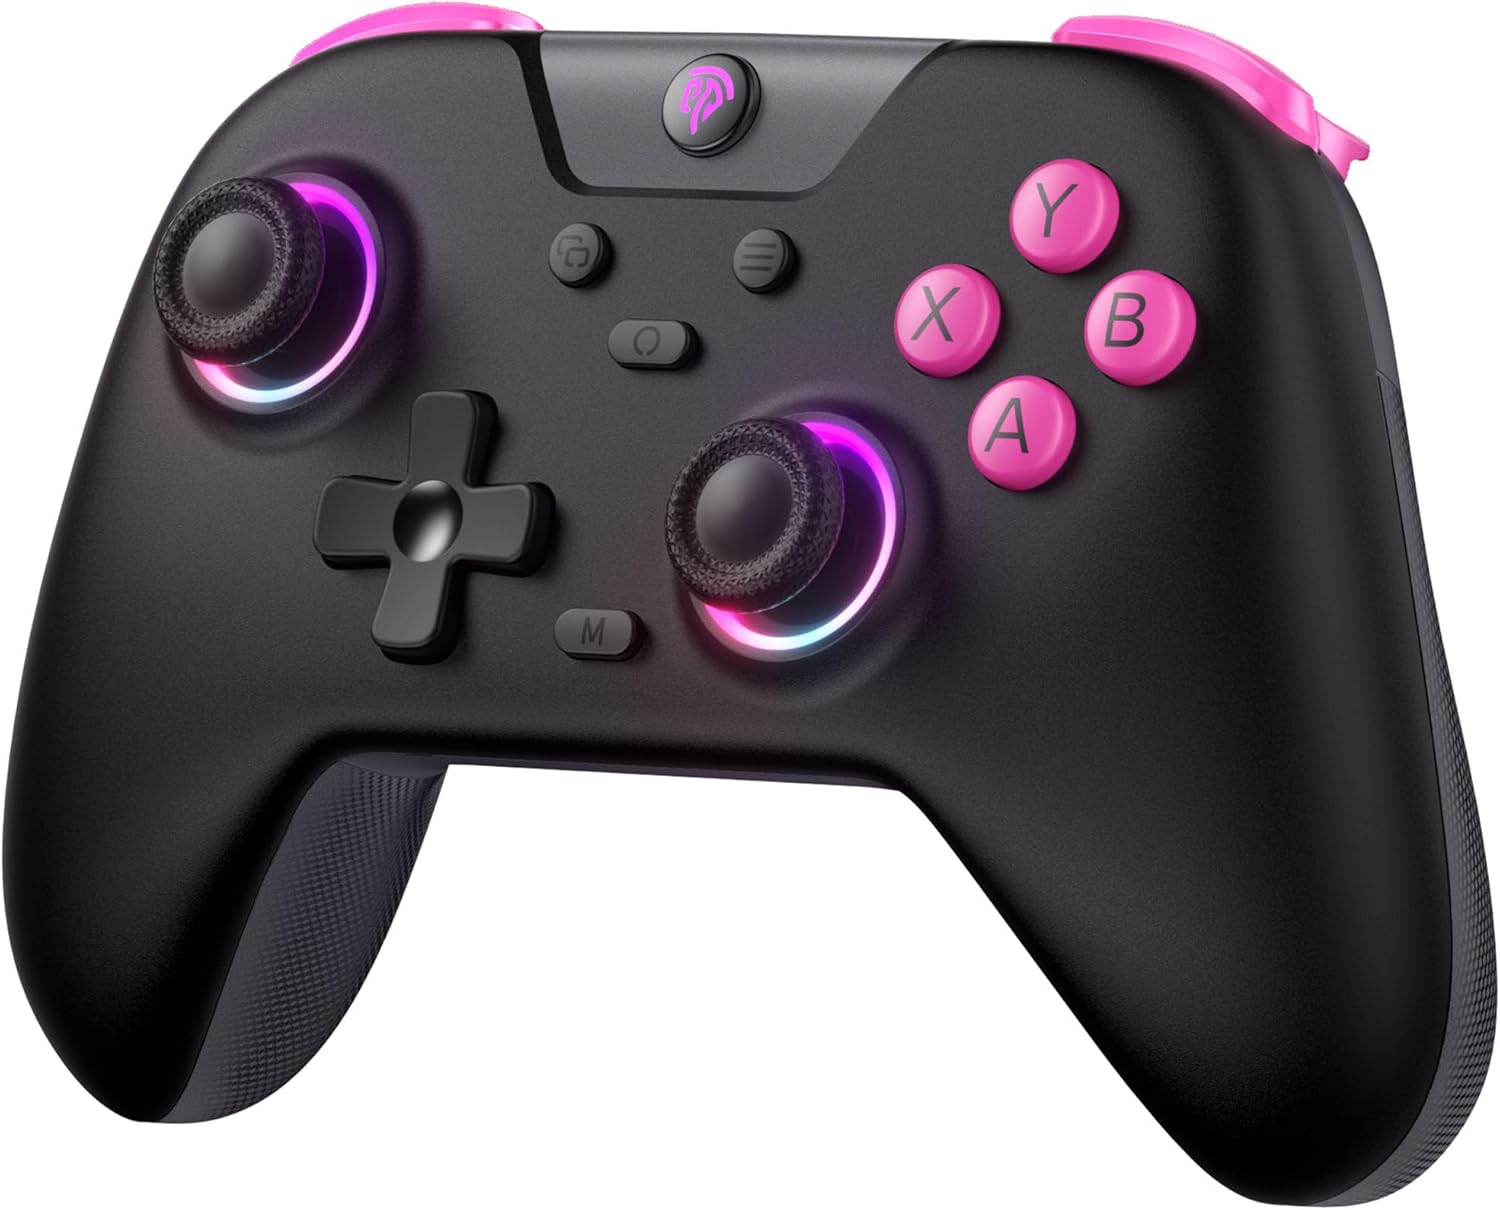
Image: Front view of the EasySMX X05 Wireless Gamepad in black with pink accents and illuminated joysticks.
Key Features
- Multi-Platform Compatibility: Works with PC Windows, Switch, Android, iOS, Tablets, and Tesla.
- RGB Lighting: Features cool RGB lighting on joysticks and grips with 7 color combinations and 5 lighting modes (Brightness, Breathing, Colorful, Fade, Off).
- Triple Connectivity Modes: Supports 2.4GHz wireless (via dongle for PC), Bluetooth (for Switch, Android, iOS, Tablet), and wired USB connection.
- Hall Effect Technology: Equipped with Hall Effect joysticks and triggers for precise control, eliminating physical wear and stick drift, and providing a response time of less than 0.1ms.
- Long Battery Life: Built-in 750mAh lithium battery offers over 20 hours of gameplay.
- Programmable Buttons: Two programmable buttons (M1, M2) at the bottom for custom macros.
- Ergonomic Design: Comfortable grip suitable for extended gaming sessions.
- Adjustable Vibration: 5 levels of vibration intensity for immersive feedback.
- Turbo Function: Customizable turbo settings for rapid button presses.
Package Contents
Please check the package for the following items:
- EasySMX X05 Wireless Gamepad
- 2.4GHz USB Dongle
- USB-C Charging Cable
- User Manual
Controller Layout
Familiarize yourself with the buttons and features of your EasySMX X05 Gamepad.
Image: Detailed view of the EasySMX X05 Gamepad, highlighting its various buttons and joysticks.
- A/B/X/Y Buttons: Standard action buttons.
- D-Pad: Directional pad for precise movement.
- Left/Right Analog Sticks: Hall Effect joysticks for smooth, drift-free control.
- LB/RB Buttons: Left and Right Bumper buttons.
- LT/RT Triggers: Left and Right Hall Effect Triggers for accurate pressure sensing.
- HOME Button: Power on/off, system menu access.
- +/- Buttons: System specific functions (e.g., Start/Select).
- Screenshot Button: Capture screenshots (Switch).
- M Button: Macro/Programmable button.
- M1/M2 Buttons: Programmable back buttons.
- Mode Switch Toggle: Located on the back, for switching between NS (Switch), BT (Bluetooth), and 2.4G modes.
Charging the Controller
The EasySMX X05 Gamepad comes with a built-in 750mAh rechargeable lithium battery. Before first use, it is recommended to fully charge the controller.
- Connect the supplied USB-C charging cable to the controller's USB-C port and the other end to a USB power source (e.g., PC, USB wall adapter).
- The LED indicators on the controller will show charging status. Typically, they will blink while charging and turn solid when fully charged.
- A full charge takes approximately 2-3 hours.
- The controller can be used in wired mode while charging.

Image: Illustration highlighting the 750mAh battery capacity of the gamepad.
Connectivity Modes and Setup
The EasySMX X05 supports three connection methods: 2.4GHz wireless, Bluetooth, and wired.

Image: Diagram showing the multi-platform compatibility of the EasySMX X05 gamepad, including Switch, PC, Android, iOS, and Tesla.
1. 2.4GHz Wireless Mode (for PC, Tesla, Smart TV)
- Set the mode switch toggle on the back of the controller to "2.4G".
- Insert the 2.4GHz USB dongle into an available USB port on your PC, Tesla, or Smart TV.
- Press the HOME button on the controller to power it on. The controller will automatically connect to the dongle. The indicator lights will become solid once connected.
2. Bluetooth Mode (for Switch, Android, iOS, Tablets)
- Set the mode switch toggle on the back of the controller to "BT".
- For Nintendo Switch:
- On your Switch, go to "System Settings" > "Controllers and Sensors" > "Change Grip/Order".
- Press and hold the HOME button on the EasySMX X05 controller for 3 seconds until the indicator lights start flashing rapidly.
- The Switch will detect the controller. Once paired, the indicator light will become solid.
- For Android/iOS/Tablets:
- Enable Bluetooth on your device.
- Press and hold the HOME button on the EasySMX X05 controller for 3 seconds until the indicator lights start flashing rapidly.
- On your device's Bluetooth settings, search for "EasySMX X05" (or similar) and select it to pair.
- Once paired, the indicator light will become solid.
3. Wired Mode (for PC, Android TV, Steam Deck)
- Set the mode switch toggle on the back of the controller to "NS" (or any mode, as wired connection overrides wireless).
- Connect the USB-C charging cable to the controller's USB-C port and the other end to a USB port on your PC, Android TV, or Steam Deck.
- The controller will be automatically recognized as a wired gamepad.
Operating Instructions
RGB Lighting Adjustment
The EasySMX X05 features customizable RGB lighting on its joysticks and grips.

Image: Visual representation of the gamepad's stylish RGB lighting effects, showing 7 color combinations and 5 diverse lighting modes.
- Press the RGB button (usually a dedicated button near the HOME button or a combination) to cycle through different lighting modes (e.g., Brightness, Breathing, Colorful, Fade, Off).
- Refer to the specific button combination in your physical manual for detailed RGB control.
Vibration Adjustment
Adjust the intensity of the vibration feedback for a personalized gaming experience.
- The controller supports 5 levels of vibration intensity (0%, 25%, 50%, 75%, 100%).
- Typically, vibration intensity can be adjusted by holding a specific button (e.g., Turbo or M button) and pressing the D-pad Up/Down. Consult your physical manual for the exact combination.
Turbo Function Setup
The Turbo function allows for rapid, automatic pressing of a button, useful for certain in-game actions.

Image: Instructions on how to set up and disable the Turbo function for various buttons (A/B/X/Y/LB/LT/RB/RT).
- To Activate Turbo: Press and hold the M button, then press the desired action button (A/B/X/Y/LB/LT/RB/RT) once. The button will now continuously activate when held down.
- To Deactivate Turbo: Press and hold the M button, then press the same action button again. The Turbo function for that button will be turned off.
Power Management
- Manual Power Off: Press and hold the HOME button for 5 seconds to turn off the controller.
- Automatic Power Off: The controller will automatically power off after 5 minutes of inactivity to conserve battery.

Image: Illustration showing the automatic power-off feature of the gamepad after 5 minutes of inactivity.
Advanced Features
Hall Effect Joysticks and Triggers
The EasySMX X05 utilizes Hall Effect technology for its joysticks and triggers, providing superior durability and precision compared to traditional potentiometer-based components.
- Eliminates Physical Damage: Magnetic sensors replace physical contacts, reducing wear and tear.
- Prevents Stick Drift: Ensures consistent and accurate input over time.
- Fast Response Time: Triggers offer a response time of less than 0.1ms.

Image: Exploded view illustrating the internal components of a Hall Effect joystick, emphasizing its durability and precision.

Image: Cross-section view of a Hall Effect trigger, showing its magnetic sensing mechanism and precise response.
Programmable Back Buttons (M1/M2)
The M1 and M2 buttons on the back of the controller can be programmed to perform complex actions with a single press.
- To Program: Press and hold the M button, then press the M1 or M2 button. The indicator light will blink. Now press the sequence of buttons you wish to assign (e.g., A, B, X). Press M1 or M2 again to save the macro.
- To Clear: Press and hold the M button, then press the M1 or M2 button twice.
- Refer to your physical manual for specific programming steps and limitations.
Rocker Caps
The controller may come with or support additional rocker caps to enhance joystick feel and precision.

Image: Close-up of the joysticks with optional rocker caps, designed to increase precision and smoothness of operation.
- Increase precision and smoothness of operation.
- Reduce the difficulty of manipulating the joystick.
- Extend the life of the joystick.
Maintenance and Care
- Cleaning: Use a soft, dry cloth to clean the controller. Do not use harsh chemicals or abrasive materials.
- Storage: Store the controller in a cool, dry place away from direct sunlight and extreme temperatures.
- Battery Care: To prolong battery life, avoid fully discharging the battery frequently. Charge the controller regularly, even if not in use for extended periods.
- Avoid Drops: Protect the controller from drops and impacts, which can damage internal components.
Troubleshooting
| Problem | Possible Solution |
|---|---|
| Controller does not power on. | Ensure the controller is charged. Connect it to a power source using the USB-C cable. |
| Controller does not connect wirelessly. |
|
| Input lag or disconnections. |
|
| Buttons or joysticks are unresponsive. |
|
| Vibration not working. |
|
Specifications
| Feature | Detail |
|---|---|
| Model Number | X05 |
| Brand | EasySMX |
| Connectivity | 2.4GHz Wireless, Bluetooth, Wired (USB-C) |
| Compatible Devices | PC (Windows), Nintendo Switch, Android, iOS, Tablets, Tesla, Android TV |
| Battery Capacity | 750 mAh Lithium Battery |
| Battery Life | > 20 hours (approx.) |
| Charging Time | 2-3 hours (approx.) |
| Joystick Type | Hall Effect Joysticks |
| Trigger Type | Hall Effect Triggers |
| RGB Lighting | 7 colors, 5 modes |
| Vibration | Adjustable (5 levels) |
| Programmable Buttons | M1, M2 (back buttons) |
| Dimensions (L x W x H) | 7.5 x 11.9 x 16.5 cm (approx.) |
| Number of Buttons | 14 |
Warranty and Support
EasySMX products typically come with a manufacturer's warranty. For specific warranty details, return policies, or technical support, please refer to the official EasySMX website or contact their customer service directly.
- Official Website: Visit the EasySMX Official Website for product registration, FAQs, and support resources.
- Customer Service: Contact EasySMX customer support for any issues not covered in this manual.
- Purchase Platform Support: For return or exchange inquiries, please contact the retailer where you purchased the product.
Related documentsX05


Ask a question about this manual
Ask about setup, troubleshooting, compatibility, parts, safety, or missing instructions. Manuals+ will review the question and use this page’s manual context to help answer it.