Introduction
This manual provides essential instructions for the safe operation, setup, and maintenance of your TIMEONIA C10 Mini Drone. Please read this manual thoroughly before operating the drone to ensure proper function and to prevent damage or injury. Keep this manual for future reference.

Image: The TIMEONIA C10 Mini Drone with its remote controller, spare propellers, batteries, USB charging cable, screwdriver, and protective case.
Package Contents
Verify that all items listed below are present in your package:
- Mini Drone (C10) x 1
- Remote Controller x 1
- Rechargeable Battery x 2
- USB Charging Cable x 1
- Screwdriver x 1
- Instruction Manual x 1
- Spare Propeller x 1 set
- Protective Case x 1
Safety Guidelines
Adhere to the following safety precautions to ensure safe operation and prevent damage or injury:
- Operate the drone in open areas, away from people, animals, buildings, and obstacles.
- Maintain a safe distance from the drone during flight.
- Do not operate in strong winds or adverse weather conditions.
- Ensure batteries are fully charged and correctly installed.
- Supervise children during drone operation.
- Do not modify the drone or its components.
- Follow all local regulations regarding drone operation.
Setup
1. Charging Batteries
Connect the rechargeable drone battery to the USB charging cable and plug it into a USB power source (e.g., computer, USB wall adapter). The indicator light will show charging status. Ensure the battery is fully charged before first use.
2. Installing Drone Battery
Insert the charged battery into the drone's battery compartment. Ensure it clicks securely into place.
3. Installing Remote Controller Batteries
Open the battery compartment on the back of the remote controller. Insert 3 AA batteries (included) according to the polarity markings. Close the compartment securely.
4. Propeller Installation (if necessary)
If propellers are not pre-installed, attach them according to the markings (A and B) on the propellers and motor shafts. Use the provided screwdriver to secure them. Ensure they are firmly attached but not overtightened.
5. App Download and Connection
Download the official TIMEONIA drone application from your device's app store. Power on the drone and your smartphone's Wi-Fi. Connect to the drone's Wi-Fi network (usually named "DRONE_XXXXXX"). Open the app to establish a connection for real-time video transmission and advanced controls.
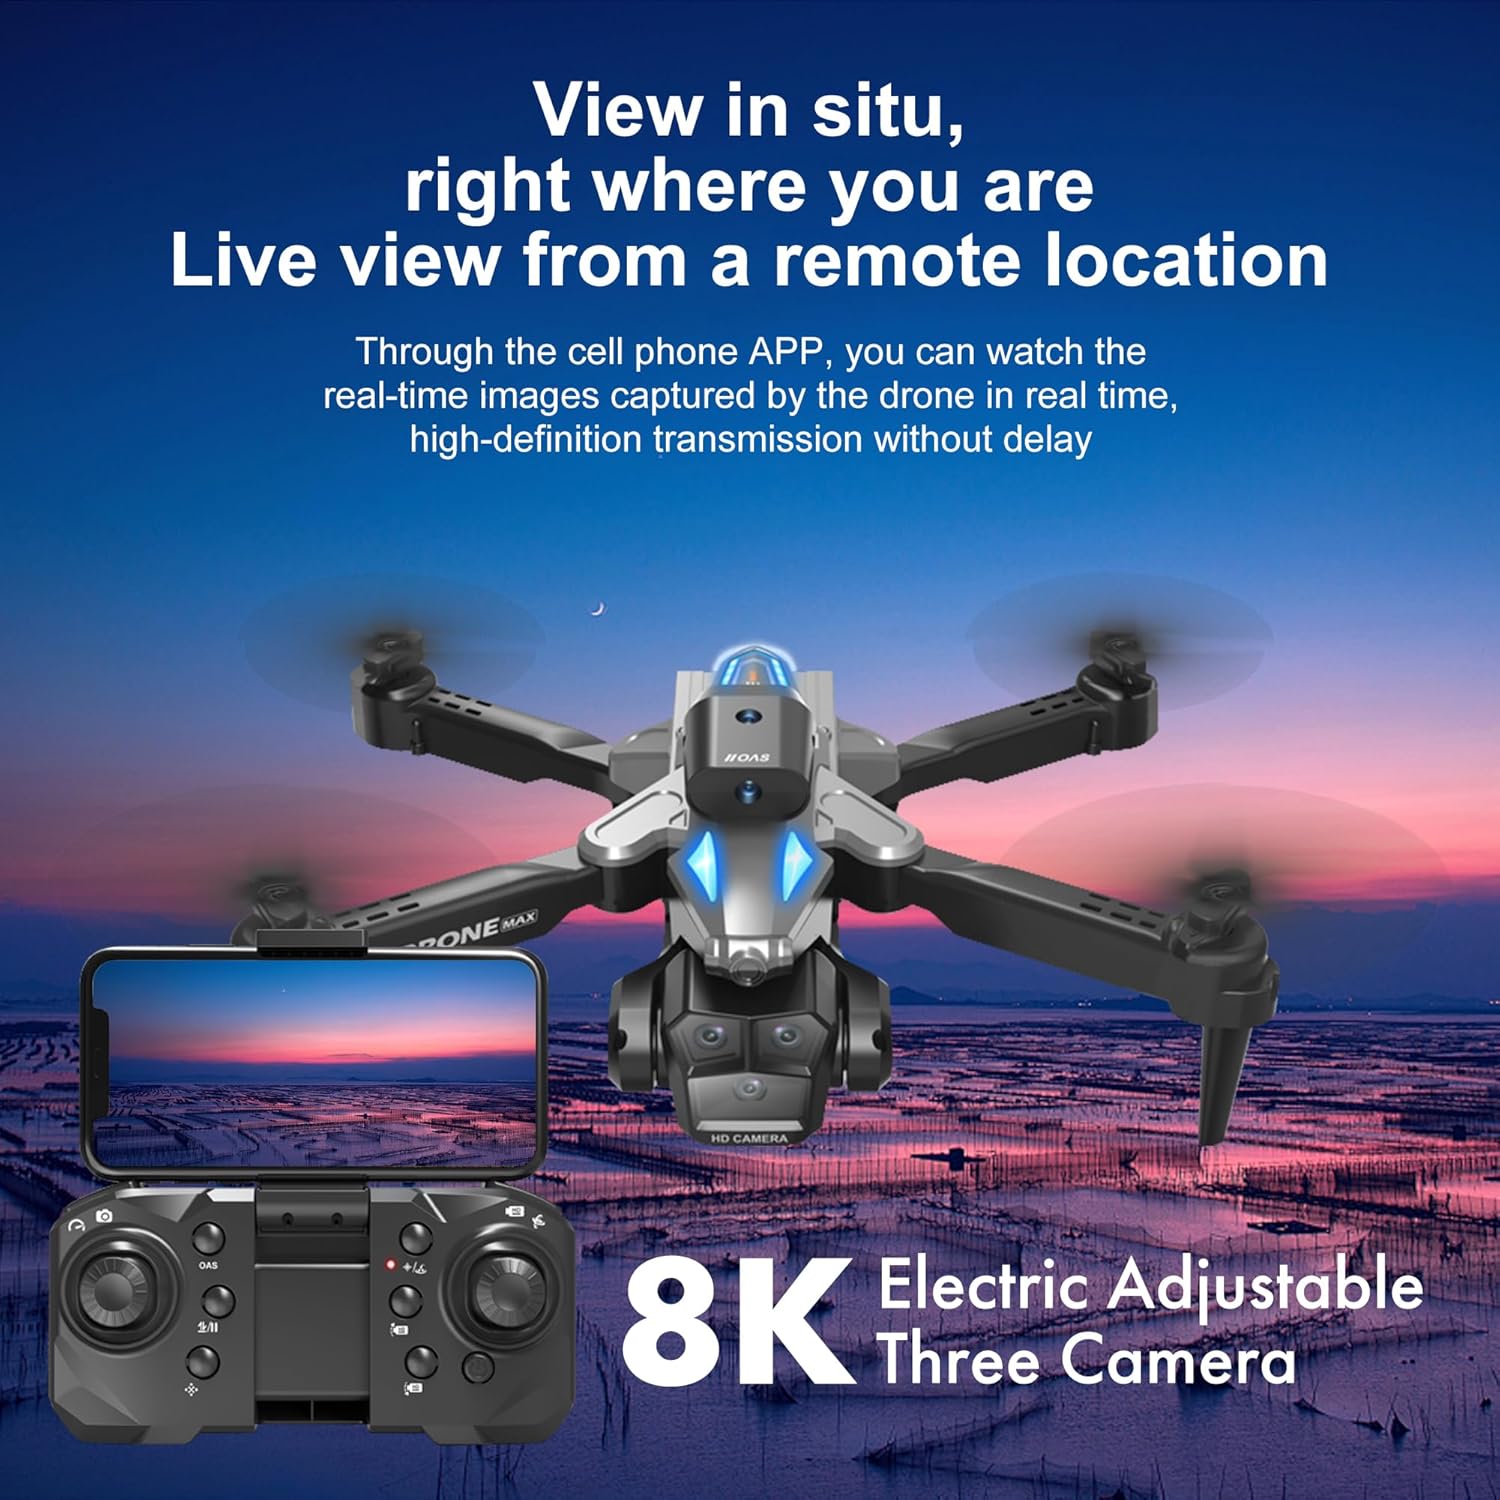
Image: The drone's remote controller with a smartphone mounted, showing the live video feed from the drone's camera via the mobile application.
6. Calibration
Place the drone on a flat, level surface. Power on the drone and then the remote controller. Follow the instructions in the manual or app to perform gyroscope and compass calibration. This ensures stable flight.
Operating Instructions
1. Basic Flight Controls
- Takeoff/Landing: Press the One-Key Takeoff/Landing button on the remote or in the app.
- Altitude Control: Use the left joystick (throttle) to ascend or descend.
- Directional Control: Use the right joystick to move forward, backward, left, or right.
- Rotation: Use the left joystick (yaw) to rotate the drone left or right.
- Speed Adjustment: The drone features multiple speed modes. Use the speed button on the remote to switch between modes (e.g., low, medium, high).
2. Obstacle Avoidance
The C10 drone is equipped with four-direction obstacle avoidance sensors. These sensors help prevent collisions by detecting obstacles and automatically adjusting the flight path. This feature is particularly useful for beginners.

Image: The drone in flight, illustrating its omni-directional obstacle avoidance system with red beams indicating sensor detection.
3. 360° Flips and Aerial Stunts
To perform a 360° flip, press the dedicated flip button on the remote controller, then push the right joystick in the desired direction (forward, backward, left, or right). Ensure sufficient altitude and clear surroundings before attempting flips.

Image: A TIMEONIA C10 drone executing a 360-degree flip maneuver in the air, with a scenic mountain and lake background.
4. Camera Operation
The C10 drone features HD dual cameras with 1080p resolution, a 120° wide-angle lens, and up to 50x digital zoom. The camera angle can be adjusted remotely via the controller or the app.
- Photo/Video Capture: Use the dedicated buttons on the remote or within the app to take photos or start/stop video recording.
- Real-time Transmission: View the live camera feed on your connected smartphone via the app.
- Adjustable Camera: The camera's vertical angle can be adjusted during flight for optimal framing.

Image: A detailed view of the drone's camera module, emphasizing its capabilities including 90-degree remote control adjustment, 120-degree wide-angle view, and 50x zoom.
5. One-Button Return
Press the One-Button Return button on the remote controller, and the drone will automatically fly back towards its takeoff point. Ensure the drone has a clear path for return.
Maintenance
1. Cleaning
Gently wipe the drone and remote controller with a soft, dry cloth. Do not use harsh chemicals or solvents. Keep the camera lens clean for optimal image quality.
2. Propeller Replacement
If a propeller is damaged, replace it with a spare propeller from the package. Use the provided screwdriver to carefully remove the damaged propeller and install the new one, ensuring correct orientation (A or B).
3. Battery Care and Storage
- Store batteries in a cool, dry place, away from direct sunlight and extreme temperatures.
- Do not overcharge or over-discharge batteries.
- If storing for extended periods, charge batteries to approximately 50% capacity.
- Remove batteries from the drone and remote controller when not in use.
4. General Storage
Store the drone and its accessories in the provided protective case to prevent damage from dust and impacts.
Troubleshooting
| Problem | Possible Cause | Solution |
|---|---|---|
| Drone does not power on. | Battery not charged or incorrectly installed. | Ensure drone battery is fully charged and securely inserted. |
| Remote controller does not respond. | Remote batteries are low or incorrectly installed. | Replace or correctly install AA batteries in the remote controller. |
| Drone unstable during flight. | Improper calibration; damaged propellers. | Perform gyroscope and compass calibration. Check and replace any damaged propellers. |
| Cannot connect to drone Wi-Fi. | Drone not powered on; Wi-Fi interference; incorrect network selected. | Ensure drone is on. Restart drone and smartphone. Try connecting in a less congested Wi-Fi environment. Verify correct Wi-Fi network name. |
| Poor camera image quality or lag. | Low light conditions; Wi-Fi interference; dirty lens. | Operate in well-lit conditions. Minimize Wi-Fi interference. Clean the camera lens. |
| Obstacle avoidance not working. | Sensors obstructed or dirty; operating in complex environments. | Clean sensors. Ensure operation in environments suitable for obstacle avoidance. |
Specifications
| Brand | TIMEONIA |
| Model Name | C10 |
| Special Features | 360 Degree Flip, Integrated Camera, Obstacle Avoidance, One Button Return, Speed Adjustment |
| Age Range (Description) | Kid (Beginner Skill Level) |
| Color | Grey |
| Video Capture Resolution | 1080p |
| Connectivity Technology | App, Bluetooth, Wi-Fi |
| Included Components | Mini Drone, Remote Controller, Rechargeable Battery (x2), USB Charging Cable, Screwdriver, Instruction Manual, Spare Propeller, Protective Case |
| Item Weight | 1.32 Pounds |
| Battery Capacity | 1.8 Amp Hours (Drone Battery) |
| Remote Control Batteries | 3 AA batteries (included) |
| Product Dimensions | 12.4"L x 10.23"W x 1.96"H |
| Material | Plastic |
Warranty and Support
Warranty Information
For specific warranty details, please refer to the warranty card included in your product packaging or contact the seller directly. Warranty terms typically cover manufacturing defects but may not cover damage resulting from misuse, accidents, or unauthorized modifications.
Customer Support
If you encounter any issues not covered in this manual or require further assistance, please contact TIMEONIA customer support or the retailer from whom you purchased the product. Please have your model number (C10) and purchase information ready when contacting support.