
1. Introduction
This manual provides detailed instructions for the installation, operation, and maintenance of your SOVMIKU CQ3 4G LTE Cellular Security Camera. Please read this manual thoroughly before using the product to ensure proper function and safety. The CQ3 is a wireless outdoor security camera designed for areas without Wi-Fi access, utilizing 4G LTE cellular connectivity and solar power for continuous operation.

Image 1.1: SOVMIKU CQ3 4G LTE Cellular Security Camera with integrated solar panel.
2. Package Contents
Verify that all items are present in your package:
- Camera body
- Mounting bracket
- Solar panel
- USB charging cable
- User manual
- Mounting screws and anchors
- Pre-installed SIM card and 32GB Micro SD card

Image 2.1: Visual representation of the SOVMIKU CQ3 package contents.
3. Setup Guide
3.1. App Installation
The SOVMIKU CQ3 camera operates with the Vicohome application. Download the Vicohome app from the Google Play Store (for Android devices) or the Apple App Store (for iOS devices).
3.2. SIM Card and SD Card Installation
The camera comes with a pre-installed SIM card and a 32GB Micro SD card. Ensure they are securely seated in their respective slots. The camera supports Micro SD cards up to 128GB for local storage.
- Locate the SIM card and SD card slots, typically protected by a rubber cover on the camera body.
- Gently open the cover and ensure the cards are correctly inserted.
- Close the cover firmly to maintain the IP65 waterproof rating.

Image 3.1: Detail of the pre-installed SIM and SD card slots.
3.3. Initial Power-Up and Pairing
- Press and hold the power button on the camera to turn it on.
- Open the Vicohome app on your smartphone.
- Follow the in-app instructions to add a new device. This typically involves scanning a QR code on the camera or selecting the model from a list.
- Ensure the camera is connected to the 4G LTE network. The app will guide you through this process.
3.4. Mounting the Camera and Solar Panel
The camera and solar panel are designed for outdoor wall-mount installation. Choose a location that provides optimal sunlight exposure for the solar panel and a clear view for the camera.
- Install the Camera Mount: Secure the camera mounting bracket to your desired location using the provided screws and anchors.
- Attach the Camera: Fix the camera body onto the installed bracket.
- Install the Solar Panel Mount: Choose a location for the solar panel that receives direct sunlight for most of the day. Secure its mount.
- Lock the Solar Panel: Attach the solar panel to its mount and adjust its angle to maximize sun exposure. Connect the solar panel cable to the camera's charging port.

Image 3.2: Installation steps for the SOVMIKU CQ3 camera and solar panel.
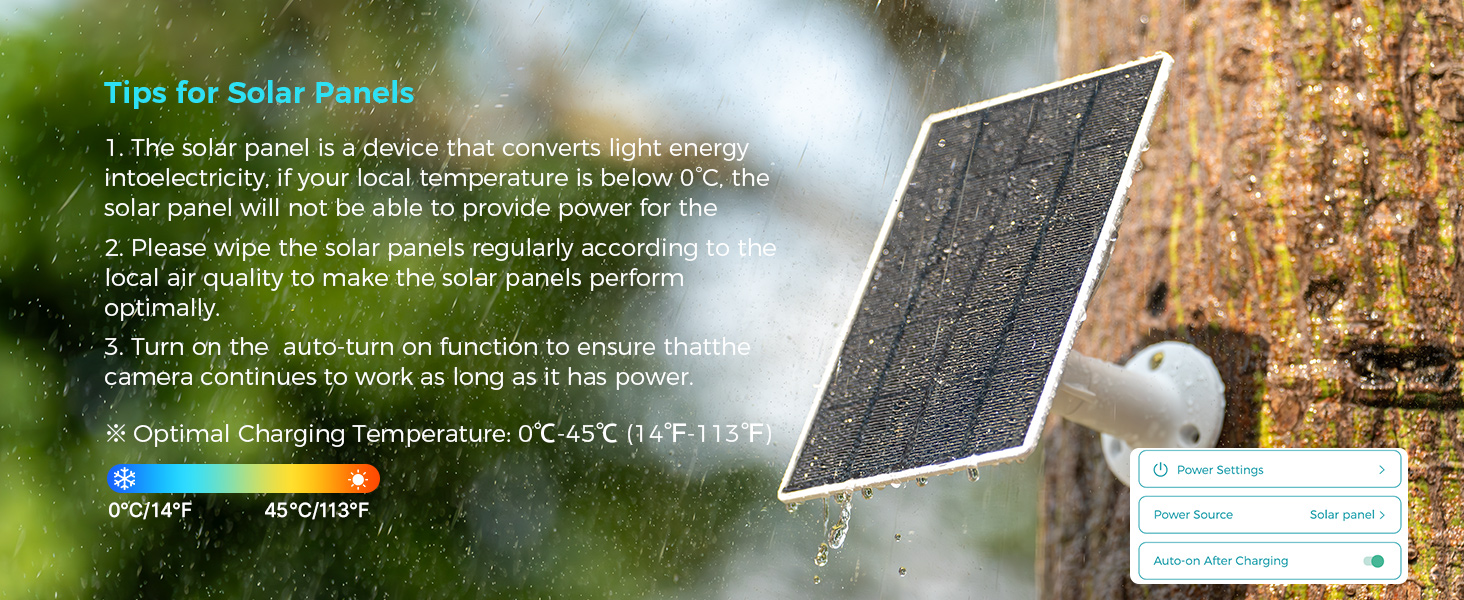
Image 3.3: Guide for optimal solar panel placement to ensure maximum sunlight exposure.
4. Operating Instructions
4.1. Live View and Pan/Tilt Control
Access the Vicohome app to view live footage from your camera. The CQ3 features 355° pan and 90° tilt capabilities, allowing you to adjust the camera's viewing angle remotely through the app.

Image 4.1: Live view interface in the Vicohome app with pan and tilt controls.
4.2. Two-Way Audio
The camera supports two-way audio communication. Use the microphone and speaker functions within the Vicohome app to listen to the camera's surroundings and speak through the camera.

Image 4.2: Demonstrating two-way audio communication via the camera.
4.3. Motion Detection and Alerts
The CQ3 camera is equipped with a Passive Infrared (PIR) sensor for motion detection. When motion is detected, the camera will trigger recording and send push notifications to your smartphone via the Vicohome app. You can configure alert settings within the app.
- PIR Sensor: The PIR sensor is always active. Upon detecting a warm body (human or animal), it activates the camera and, if configured, the spotlight at night.
- Alerts: Enable push notifications in the Vicohome app to receive real-time alerts on your phone or connected smartwatch.

Image 4.3: Motion detection feature with app notification example.
4.4. Night Vision
The camera offers both infrared night vision and color night vision. When the environment is dark, the camera can automatically switch to night vision mode. The integrated spotlight enables full-color night vision for clearer images.

Image 4.4: Example of color night vision in a low-light outdoor setting.
4.5. Alarms (Flashlight & Audible)
The CQ3 camera includes flashlight and audible alarm functions that can be activated upon motion detection. These features can deter intruders and alert nearby individuals.
- Flashlight Alarm: If enabled, the device's spotlight will automatically flash when the motion sensor is triggered.
- Audible Alarm: If enabled, the camera will emit an audible siren when motion is detected.

Image 4.5: Visual representation of the flashlight and audible alarm functions.
4.6. Multi-Device Support and User Sharing
The Vicohome app allows you to manage up to 50 cameras simultaneously. You can also share camera access with up to 10 different users, setting specific permissions for each. Up to three accounts can view the camera feed concurrently.

Image 4.6: Multi-device support and user sharing features within the Vicohome app.
5. Maintenance
5.1. Solar Panel Care
To ensure optimal performance and charging efficiency, regularly clean the solar panel. Dust, dirt, and debris can reduce its energy conversion rate.
- Wipe the solar panels regularly with a soft, damp cloth according to local air quality.
- Ensure the solar panel is installed in a location that receives maximum direct sunlight.
- Optimal charging temperature range: 0°C to 45°C (14°F to 113°F).

Image 5.1: Important tips for solar panel maintenance.
5.2. Battery Management
The CQ3 camera features a built-in 9000mAh battery, charged by the solar panel. A full charge can power the camera for up to 60 days, depending on usage and environmental factors.
- The camera will automatically turn on after charging if the battery was fully depleted.
- Monitor battery levels through the Vicohome app.

Image 5.2: Battery capacity and estimated operational duration.
5.3. Waterproofing
The camera has an IP65 waterproof rating, making it suitable for outdoor use. Ensure all ports and covers are securely closed to maintain this protection.

Image 5.3: The camera's IP65 waterproof design.
6. Troubleshooting
6.1. Common Issues and Solutions
- Camera not connecting to 4G LTE:
Ensure the SIM card is correctly inserted and activated. Check cellular signal strength in the camera's location via the app. If using your own SIM, verify it is compatible with the camera and has an active data plan. - Battery not charging:
Verify the solar panel is clean and positioned to receive direct sunlight. Check the connection cable between the solar panel and the camera. Ensure the ambient temperature is within the optimal charging range (0°C to 45°C). - No motion detection alerts:
Check the motion detection settings in the Vicohome app to ensure alerts are enabled. Verify the camera has a clear view of the area and the PIR sensor is not obstructed. - Video recording issues:
Ensure the Micro SD card is properly inserted and not full. Format the SD card through the app if necessary. Check the camera's cellular data connection for cloud recording issues. - Two-way audio not working:
Check microphone and speaker permissions for the Vicohome app on your phone. Ensure the camera's microphone and speaker are not obstructed.
6.2. Important Notes on Recording Duration
The camera typically records video clips of a specific duration (e.g., 1 minute) when motion is detected. There might be a brief delay before subsequent recordings are triggered after an initial event. This is a design characteristic and not a malfunction. For continuous monitoring, consider reviewing your recording settings and storage options.
7. Specifications
| Feature | Specification |
|---|---|
| Model Name | CQ3 |
| Indoor/Outdoor Usage | Outdoor |
| Connectivity Technology | Wireless (4G LTE Cellular) |
| Power Source | Solar Powered |
| Battery Capacity | 9000 mAh (2 Lithium Ion batteries included) |
| Video Capture Resolution | 2K |
| Maximum Webcam Image Resolution | 3 MP |
| Frame Rate | 15 FPS |
| Video Encoding | MPEG-4 (H.265+ efficient encoding) |
| Storage | 32GB Micro SD card included (supports up to 128GB) |
| International Protection Rating | IP65 (Waterproof) |
| Special Features | Waterproof, Two-Way Audio, Color Night Vision, Motion Detection, 360 Degree Coverage |
| Control Method | App (Vicohome) |
| Compatible Devices | iOS & Android |
| Item Dimensions (L x W x H) | 7 x 7 x 5 inches |
| Item Weight | 1.35 pounds |
8. Warranty and Support
8.1. Exchange Policy
SOVMIKU offers a 180-day exchange policy. If you are not satisfied with the product, you can submit an exchange request, and a solution will be provided within 24 hours.

Image 8.1: Overview of the 180-day exchange policy.
8.2. Customer Support
For any questions, technical assistance, or support, please contact SOVMIKU customer service. You can reach us via telephone or email. We aim to respond to all email inquiries within 12 hours.
- Email: Sovmiku@163.com
- Facebook: Sovmiku
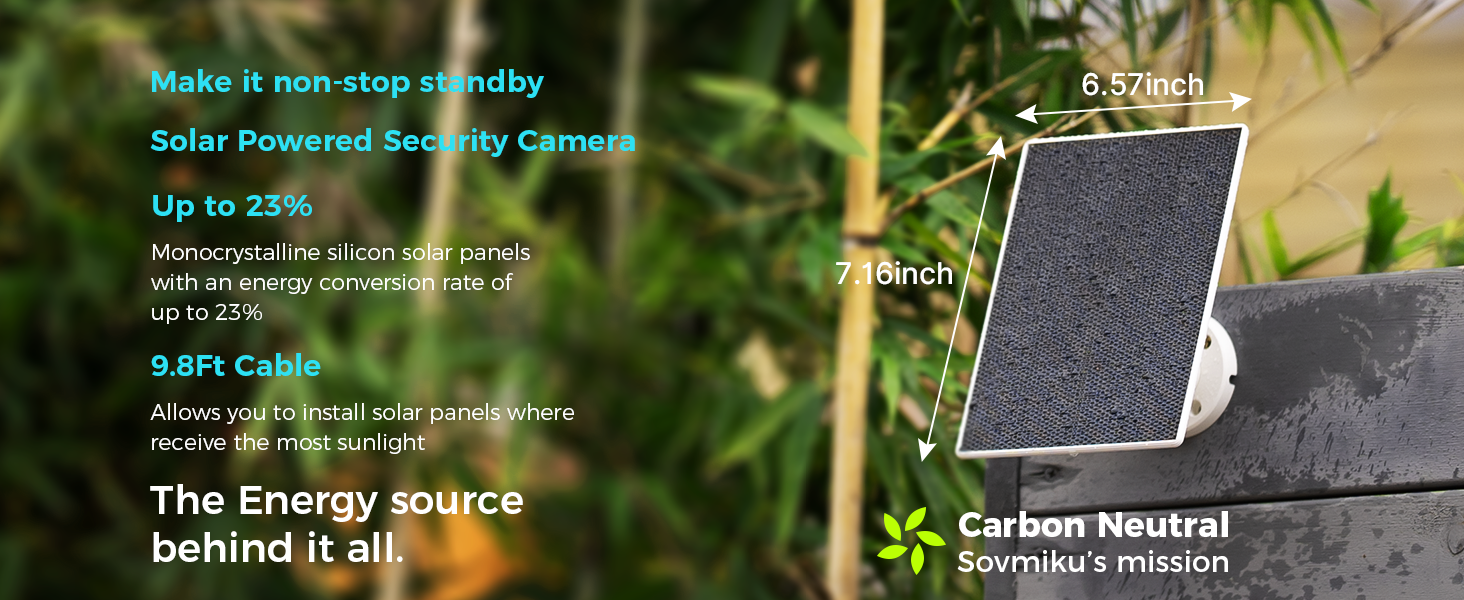
Image 8.2: QR code for accessing support and guide videos.