1. Introduction
Thank you for choosing the Ovsuqu JPT MOPA 200W Fiber Laser Engraving and Cutting Machine. This manual provides essential information for the safe and efficient operation, setup, and maintenance of your new laser system. Please read this manual thoroughly before operating the machine to ensure proper usage and to prevent damage or injury.
This machine is designed for high-precision engraving and cutting on various materials, particularly metals, utilizing a JPT MOPA M7 200W fiber laser source. It offers capabilities for deep engraving, fine marking, and color marking on stainless steel.

Figure 1: Ovsuqu JPT MOPA 200W Fiber Laser Engraving and Cutting Machine with rotary axis.
2. Safety Information
WARNING: This product contains a Class II laser. Avoid direct exposure to the laser beam. Always wear appropriate laser safety goggles during operation.
- Laser Class: Class II, 0.874mW Output Power. FDA Accession Number: 2420799-000.
- Eye Protection: Always wear OD7+ laser safety goggles to protect your eyes from laser radiation. Never look directly into the laser beam or at reflections.
- Ventilation: Ensure adequate ventilation in the work area to dissipate fumes and particles generated during engraving and cutting.
- Material Safety: Only engrave or cut materials approved for laser processing. Some materials can produce toxic fumes or catch fire.
- Emergency Stop: Familiarize yourself with the location and operation of the emergency stop button.
- Power Supply: Connect the machine to a properly grounded power outlet. Do not operate with damaged power cords.
- Supervision: Never leave the machine unattended during operation.
3. Package Contents
Verify that all items listed below are included in your package. If any items are missing or damaged, please contact customer support.

Figure 2: Visual representation of the included components.
- JPT Fiber Laser Machine (Main Unit)
- JPT Laser Source (YDFLP-E2-200-M7-M-R)
- D80 Rotary Axis
- OD7+ Goggles (Laser Safety Glasses)
- Foot Switch
- Power Cable
- USB Flash Drive (with Software & Manual)
- Wrench & Position Strip Set
- Data Line (USB Cable)
4. Product Components
Understanding the main components of your laser machine is crucial for proper setup and operation.
4.1 JPT MOPA M7 200W Laser Source
The heart of the system, providing a high-quality fiber output for deep engraving and marking.

Figure 3: JPT MOPA M7 200W Laser Source (Model YDFLP-E2-200-M7-M-R).
4.2 Galvo Scanner Head
Responsible for directing the laser beam with high precision and speed.
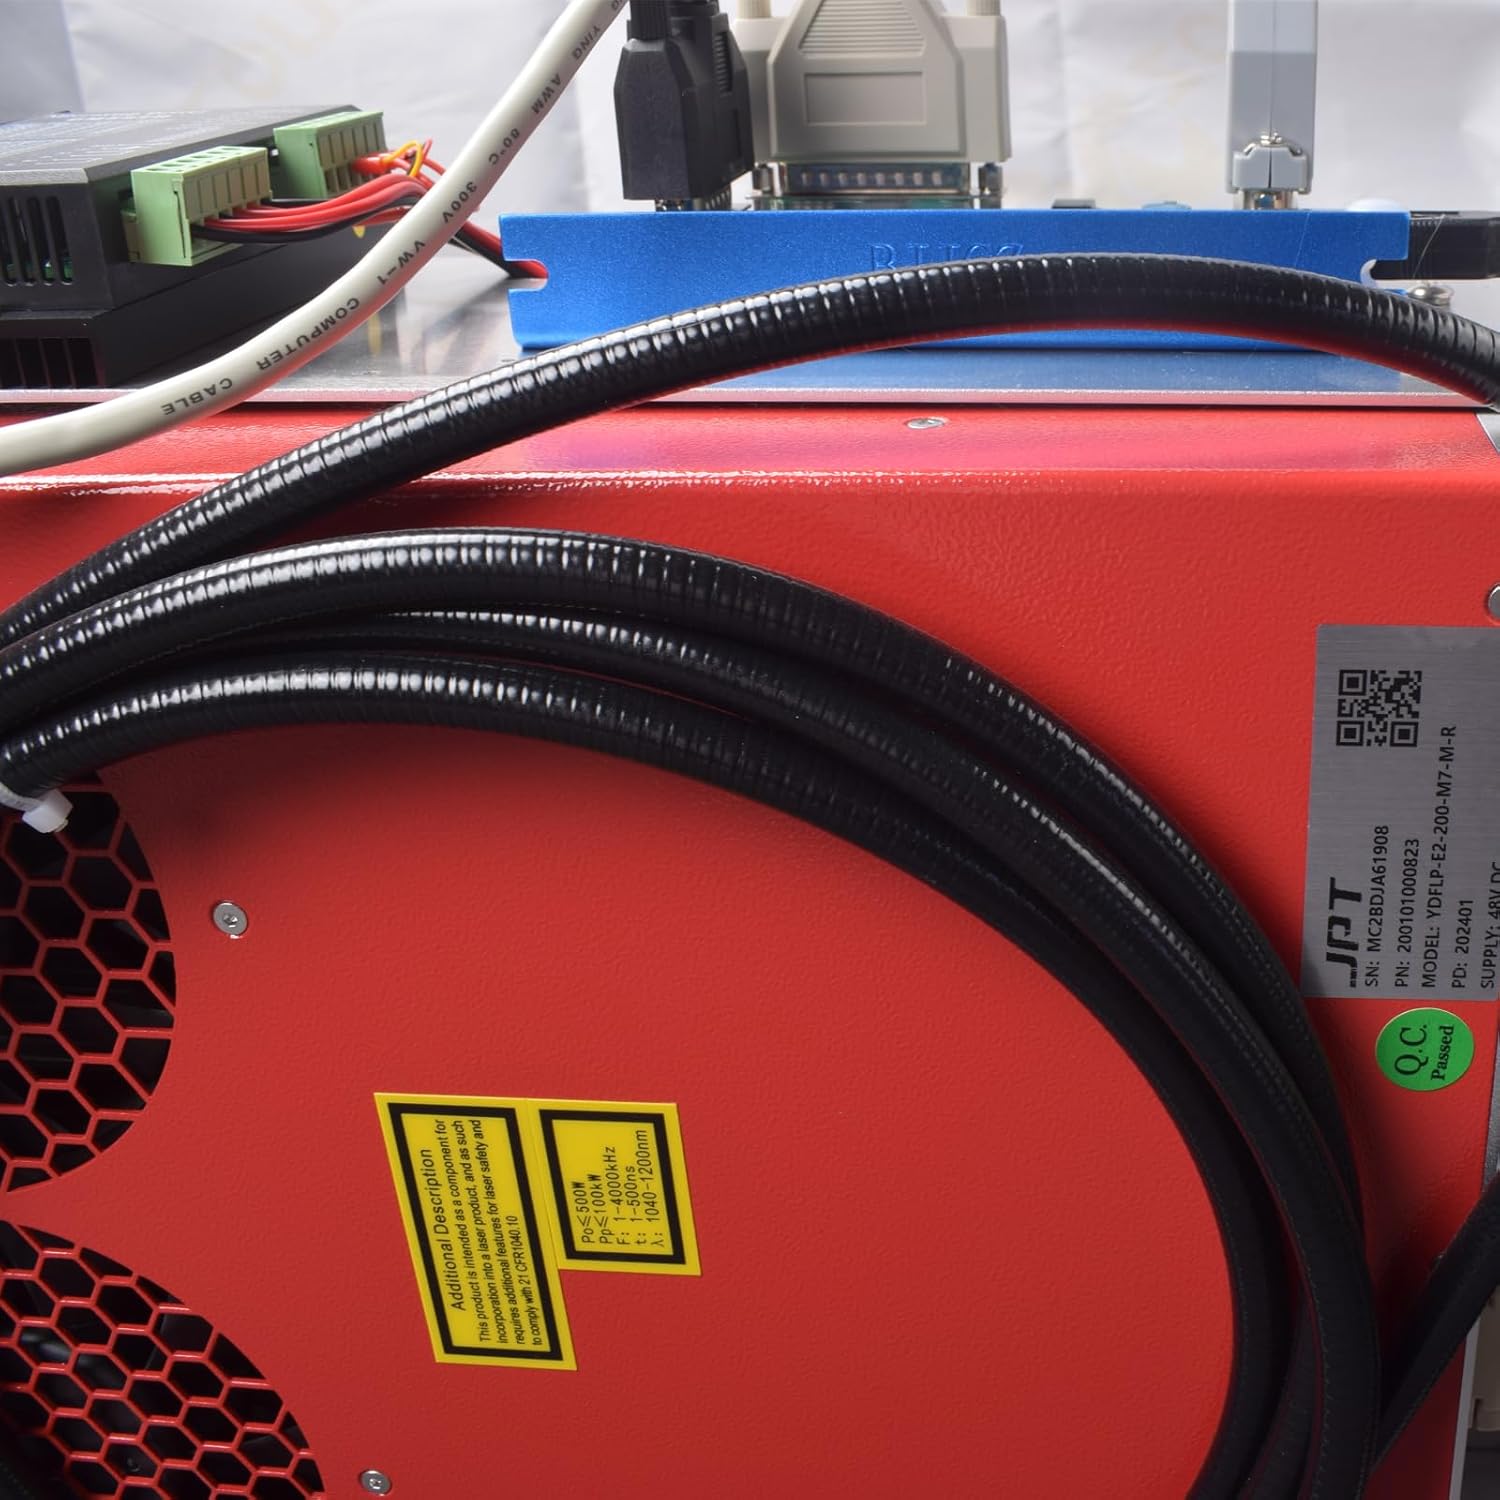
Figure 4: Close-up view of the laser galvo scanner head.
4.3 Control Board (BJJCZ)
The main control unit, compatible with EZCAD Lite software.

Figure 5: The BJJCZ main control board, compatible with EZCAD Lite.
4.4 D80 Rotary Axis
An optional accessory for engraving cylindrical or curved objects.

Figure 6: The D80 Rotary Axis for engraving curved surfaces.
5. Setup Instructions
Follow these steps for initial setup of your laser engraving machine.
- Unpacking: Carefully remove all components from the packaging. Retain packaging for future transport or storage.
- Assembly: Place the main laser unit on a stable, level surface. Connect the laser source to the main unit using the provided cables. Ensure all connections are secure.
- Rotary Axis (Optional): If using the D80 Rotary Axis, connect it to the designated port on the machine. Refer to the rotary axis specific manual for detailed setup.
- Power Connection: Connect the power cable to the machine and then to a grounded electrical outlet.
- Computer Connection: Connect the machine to your computer using the supplied USB data cable.
- Software Installation: Insert the USB flash drive into your computer and install the EZCAD Lite software. Drivers may also be included and require installation.
6. Software and Operation
The machine is compatible with EZCAD Lite and LightBurn software for design and control.
6.1 EZCAD Lite Software
EZCAD Lite is the primary software for controlling the laser machine. It supports various graphic formats and allows for text, barcode, and QR code marking.
Figure 7: EZCAD Lite software working page showing design and parameter settings.
- Supported Operating Systems: Windows XP/Vista/7/8/10/11.
- Supported Formats: Coreldraw, AutoCAD, Photoshop; PLT, PCX, DXF, BMP, etc.
- Features: Supports SHX, TTF fonts, automatic encoding, serial number printing, batch number, date, barcode, QR code, automatic jump number.
6.2 LightBurn Compatibility
The machine is compatible with LightBurn software, offering advanced features for vector graphics and image processing.

Figure 8: LightBurn software interface demonstrating design capabilities.
- Supported Operating Systems: Apple macOS, Linux, Windows.
- Features: Import artwork in various common vector graphic and image formats. Arrange, edit, and create new vector shapes. Apply settings like power, speed, number of passes, cut order, brightness & contrast, dithering mode.
6.3 Basic Operation Steps
- Design: Create or import your design in EZCAD Lite or LightBurn.
- Material Placement: Place the material to be engraved on the work platform. Use the positioning strips for accurate placement.
- Focus Adjustment: Adjust the laser head height to achieve proper focus on the material surface.
- Parameter Settings: Set appropriate laser parameters (power, speed, frequency, pulse duration) based on the material and desired effect.
- Preview: Use the software's preview function to ensure the design is correctly positioned.
- Start Engraving: Initiate the engraving process. Always wear safety goggles.

Figure 9: Examples of engraving on stainless steel, copper, silver, metal, mirror, stone, leather, wood, and rock.
7. Maintenance
Regular maintenance ensures optimal performance and extends the lifespan of your machine.
- Lens Cleaning: Periodically clean the F-theta lens with a specialized lens cleaning solution and lint-free wipes. Avoid touching the lens surface with bare hands.
- Dust Removal: Keep the machine free from dust and debris, especially around the laser source and galvo scanner. Use compressed air or a soft brush.
- Cable Inspection: Regularly check all cables for signs of wear or damage. Replace any damaged cables immediately.
- Work Area: Maintain a clean and organized work area to prevent accidents and ensure efficient operation.
8. Troubleshooting
This section addresses common issues you might encounter.
- No Laser Output:
- Check power connections to the machine and laser source.
- Ensure the emergency stop button is not engaged.
- Verify software settings and laser parameters.
- Poor Engraving Quality:
- Check laser focus. Adjust the Z-axis height.
- Clean the F-theta lens.
- Adjust laser power, speed, and frequency settings for the material.
- Ensure the material is flat and securely positioned.
- Software Connection Issues:
- Verify USB cable connection.
- Reinstall software drivers from the provided USB drive.
- Restart the computer and the laser machine.
9. Specifications
| Feature | Specification |
|---|---|
| Brand | Ovsuqu |
| Model Number | FL-100W |
| Laser Source | JPT MOPA M7 |
| Laser Power | 200W |
| Laser Class | Class II (0.874mW Output Power) |
| Repetition Rate Frequency | 1-4000kHz |
| Pulse Duration | 2-500ns |
| Max. Pulse Energy | 1.5mJ |
| Marking Speed | Up to 7m/s |
| Electrical-Optical Conversion Rate | Up to 70% |
| Engraving Area (Standard Lens) | 110x110mm (4.33x4.33") |
| Engraving Area (Optional Lens) | 300x300mm (11.8x11.8") |
| Material | Aluminum, Metal, Stainless Steel |
| Color | Silver |
| Item Weight | 60 Kilograms (132 pounds) |
| Operation Mode | Manual |
| Power Source | AC |
| UPC | 798386723544 |
10. Warranty and Support
For warranty information and technical support, please refer to the documentation included on the USB flash drive or contact Ovsuqu customer service directly. Ensure you have your product model number (FL-100W) and purchase details available when seeking support.
For additional resources and updates, you may visit the Ovsuqu Store on Amazon.


