1. Introduction
This manual provides essential information for the safe and effective operation of your Ovsuqu JPT MOPA 100W E2 Fiber Laser Engraver. Please read this manual thoroughly before operating the machine to ensure proper setup, usage, and maintenance. Retain this manual for future reference.
2. Safety Information
WARNING: This product contains a Class II laser. Improper use can result in serious injury.
- Laser Class II: The laser output power is 0.874mW. Always exercise caution when operating.
- Eye Protection: Always wear the provided OD7+ Goggles or equivalent certified laser safety glasses when the machine is in operation to protect against laser radiation.
- FDA Accession Number: 2420799-000.
- Ventilation: Ensure adequate ventilation in the work area to dissipate fumes and particles generated during engraving.
- Flammable Materials: Do not operate the laser near flammable liquids, gases, or materials.
- Emergency Stop: Familiarize yourself with the location and function of the E-Stop switch for immediate shutdown in emergencies.
- Supervision: Never leave the machine unattended during operation.
3. Product Overview and Components
The Ovsuqu JPT MOPA 100W E2 Fiber Laser Engraver is designed for precise marking and engraving on various materials. Below is an overview of the machine's main components and their functions.

Figure 3.1: Front and back view of the laser engraver with key components labeled. The front view shows the laser source light path, galvo head, double red light pointer, E-Stop switch, chassis, focus wheel, laptop holder, 0-50cm ruler, fiber protect cable, 80D Rotary axis, and work bench. The back view shows the USB cable port, power port, rotary axis port, foot pedal port, power switch, and cooling fan.
3.1. Packing List
Verify that all items listed below are included in your package. If any items are missing or damaged, contact customer support immediately.

Figure 3.2: Contents of the Ovsuqu JPT MOPA 100W E2 Fiber Laser Engraver package. Items include: JPT Fiber laser machine, JPT laser source, D80 Rotary AXIS, OD7+ Goggles, Foot Switch, Power cable, U disk (with Software & manual), Wrench & position strip, and Data line.
4. Setup and Installation
Follow these steps to set up your laser engraver:
- Unpacking: Carefully remove all components from the wooden crate. Inspect for any shipping damage.
- Placement: Place the machine on a stable, level surface in a well-ventilated area. Ensure sufficient space around the machine for operation and maintenance.
- Component Assembly: Connect the JPT laser source to the main machine unit. Attach the D80 Rotary Axis if required for your application.
- Power Connection: Connect the power cable to the machine and a grounded electrical outlet.
- Software Installation: Insert the provided U disk into your computer. Install the EzCad Lite software. The U disk also contains the user manual and parameter files.
- Computer Connection: Connect the machine to your computer using the USB cable.
- Initial Calibration: While the machine is factory calibrated, minor adjustments may be needed after transport. Refer to the software manual for calibration procedures.
5. Software and Compatibility
The Ovsuqu JPT MOPA 100W E2 Fiber Laser Engraver is compatible with industry-standard software and file formats.
5.1. EzCad Lite Software
The machine comes with EzCad Lite software, which is compatible with Windows XP/Vista/7/8/10/11. It supports various file formats and functionalities.
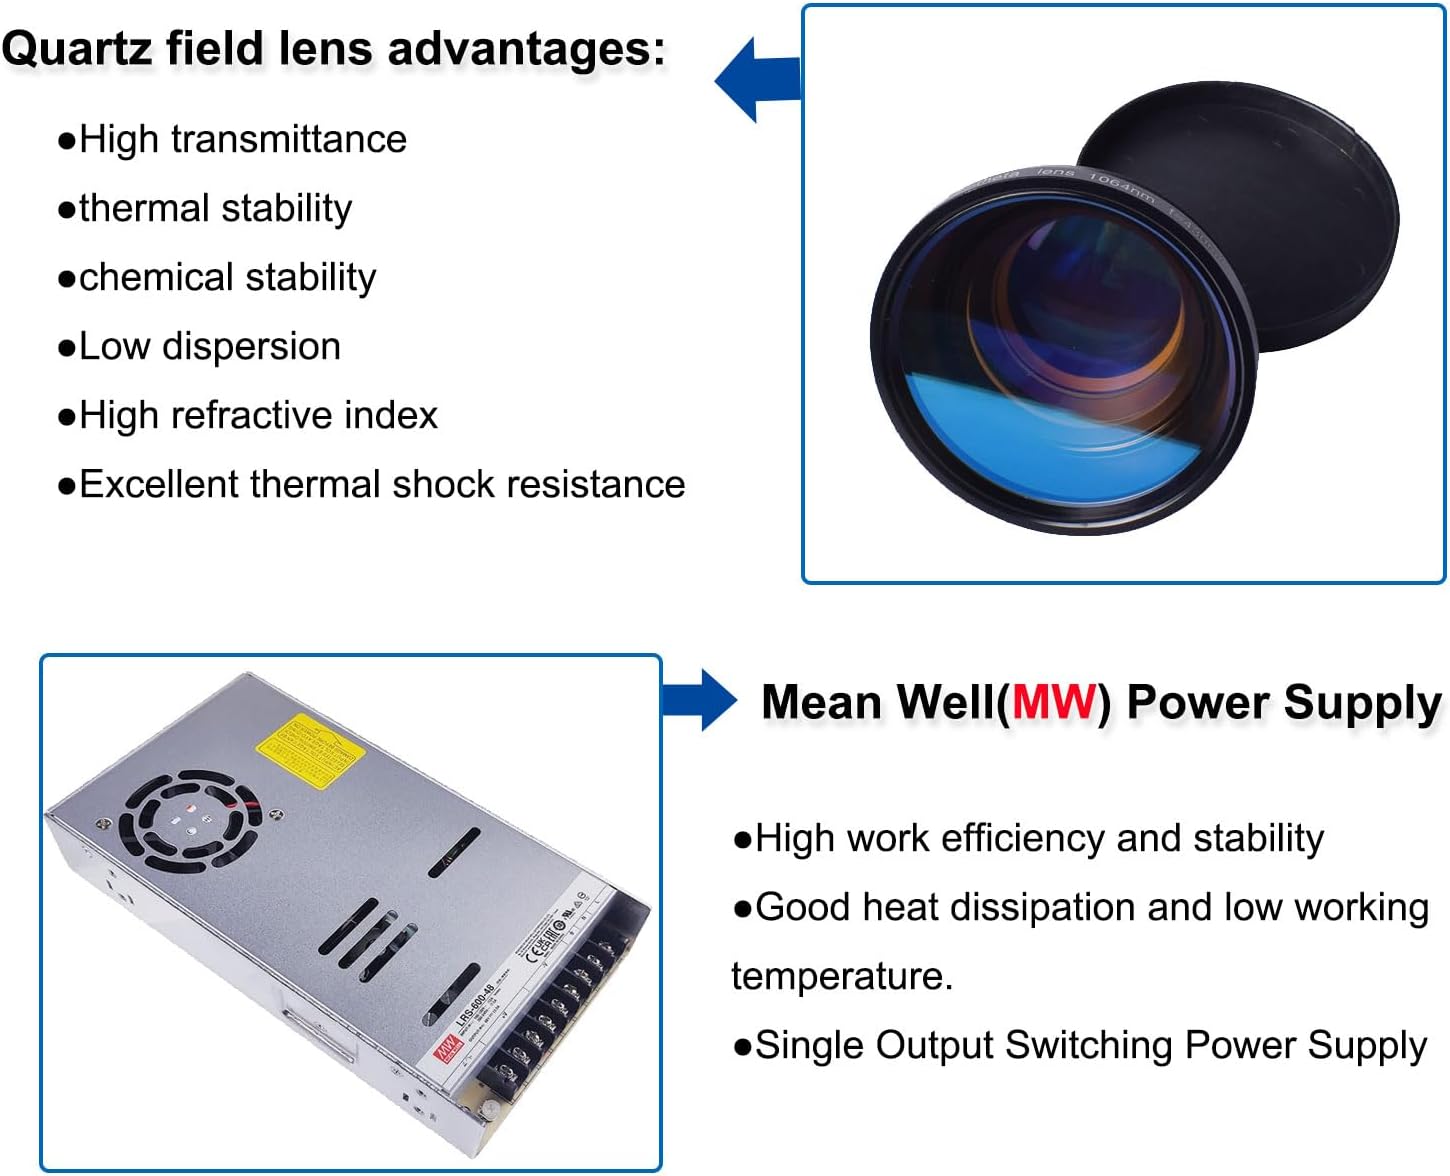
Figure 5.1: The Original BJJCZ main board and a screenshot of the EzCad software working page. EzCad Lite supports Coreldraw, AutoCAD, Photoshop files (PLT, PCX, DXF, BMP, etc.), SHX, TTF fonts, automatic encoding, printing serial numbers, batch numbers, dates, barcodes, and automatic jump numbers.
5.2. LightBurn Compatibility
The laser engraver is also compatible with LightBurn software, offering additional features for vector graphic and image processing.

Figure 5.2: The JPT MOPA M7 Laser Source and LightBurn software running on a laptop. LightBurn supports importing various vector graphic and image formats, arranging, editing, creating new vector shapes, and applying settings like power, speed, number of passes, cut order, brightness, contrast, and dithering mode.
6. Operation
This section outlines general operational guidelines for your fiber laser engraver.
6.1. Material Compatibility
The machine is suitable for engraving on a wide range of materials:
- Metals: Carbon Steel, Aluminum, Stainless Steel, Brass, Copper, Gold, Silver, etc.
- Non-metals: Some non-metals such as nylon, light buttons, ABS, PVC, PES, etc.
6.2. Lens Selection and Work Area
The choice of lens affects engraving depth and work area:
- The higher the laser power, the deeper the engraving with the same lens.
- A smaller lens allows for deeper engraving at the same power, but reduces the engraving area.
- A larger lens provides a larger engraving area but may result in weaker light intensity and shallower engraving.

Figure 6.1: Quartz field lens advantages include high transmittance, thermal stability, chemical stability, low dispersion, high refractive index, and excellent thermal shock resistance. Also shown is a Mean Well (MW) Power Supply, known for high work efficiency, stability, good heat dissipation, low working temperature, and single output switching power supply.
6.3. Engraving Process
- Design Preparation: Create or import your design using EzCad Lite or LightBurn software.
- Material Placement: Place the material to be engraved on the workbench. For cylindrical objects, use the D80 Rotary Axis.
- Focus Adjustment: Use the focus wheel to adjust the laser focus. The double red light pointer assists in finding the correct focal length.
- Parameter Settings: Adjust laser parameters (power, speed, frequency, pulse duration) in the software according to the material and desired engraving effect.
- Preview: Use the red light preview function to check the engraving area before starting.
- Start Engraving: Initiate the engraving process from the software. Monitor the machine during operation.
6.4. Factory Tested Examples
The machine is capable of various engraving tasks, including deep carving, color marking, and rust removal.

Figure 6.2: Examples of engraving on copper, stainless steel, and iron (0.3mm thick) with a JPT 100W Fiber laser at 500mm/s speed, 70KHz frequency, and 60 cutting times. Also shown is brass deep engraving (0.8mm depth) at 2000mm/s speed, 80ns pulse width, 110x110mm working lens, 25 marking times, 80KHz frequency, and 0.025mm line distance. An example of rust removal on iron using a JPT 100W Fiber laser at 2000mm/s speed, 400ns pulse width, 80KHz frequency, and 0.04mm line distance is also displayed.
7. Maintenance
Regular maintenance ensures the longevity and optimal performance of your laser engraver.
- Cleaning Lenses: Periodically clean the field lens and protective window with a specialized lens cleaning solution and lint-free wipes. Avoid touching optical surfaces with bare hands.
- Dust Removal: Keep the machine free of dust and debris, especially around the cooling fans and optical components. Use compressed air for hard-to-reach areas.
- Cable Inspection: Regularly check all cables (power, USB, fiber protect cable) for wear, damage, or loose connections.
- Rotary Axis Maintenance: If using the rotary axis, ensure its moving parts are clean and lubricated as per its specific instructions.
- Software Updates: Keep your EzCad Lite or LightBurn software updated to the latest version for performance improvements and bug fixes.
8. Troubleshooting
This section addresses common issues you might encounter. For problems not listed here, contact customer support.
- No Laser Output:
- Check power connections and ensure the machine is turned on.
- Verify the E-Stop button is not engaged.
- Ensure the software is properly connected and sending commands.
- Poor Engraving Quality:
- Check laser focus. Incorrect focus is a common cause of poor quality.
- Adjust laser parameters (power, speed, frequency) for the specific material.
- Clean the field lens and protective window.
- Ensure the material is flat and securely placed.
- Software Connection Issues:
- Verify USB cable connection.
- Restart both the machine and the computer.
- Reinstall the software drivers if necessary.
- Rotary Axis Not Functioning:
- Ensure the rotary axis is correctly connected to the machine's rotary axis port.
- Check software settings for rotary axis activation and parameters.
9. Specifications
Detailed technical specifications for the Ovsuqu JPT MOPA 100W E2 Fiber Laser Engraver.

Figure 9.1: Specifications table for Chinacnczone Fiber Laser Marking Machines, including JPT MOPA 60W, 100W, 200W, and 300W models. This manual pertains to the JPT MOPA 100W E2 model.
| Feature | Specification |
|---|---|
| Model | JPT MOPA 100W E2 |
| Item Model Number | FL-30W |
| Laser Source | JPT MOPA M7 Series |
| Power | 100W |
| Maximum Pulse Energy | 1.5mJ |
| Pulse Repetition Rate Range | 1-4000KHz |
| Controller Board | SZLI-B-V4 (BJJCZ) |
| Software | EzCad Lite (compatible with LightBurn) |
| Rotary Holder | Optional (80mm Rotary Axis included) |
| Galvo Brand & Model | SINO SG7110 SI |
| Marking Speed | 6000mm/s |
| Marking Area | 200x200mm (300x300mm optional) |
| Red Light Preview | Yes |
| Double Red Dot Position | Yes |
| Color Marking | Yes |
| Pulse Duration | 2-500ns |
| Supply DC Voltage (VDC) | 48V |
| Central Emission Wavelength | 1064nm |
| Supported Windows System | Windows 7, Windows 10, Windows 11 |
| Product Dimensions | 18.9 x 22.44 x 30.31 inches |
| Item Weight | 138.6 pounds |
| Manufacturer | ChinaCNCzone |
10. Warranty and Support
Ovsuqu is committed to providing excellent customer service and support for your product.
- After-Sales Team: Ovsuqu has a professional after-sales team available for consultation and support.
- Installation Videos: Comprehensive installation videos are available to assist with setup.
- User Manuals: Detailed user manuals are provided (including on the U disk).
- Accessory Warranties: Information regarding warranties for accessories can be obtained by contacting customer support.
- Lifetime Remote Assistance: Lifetime remote assistance is offered for technical support.
- Contact: If you are dissatisfied with our products or service, please contact us for assistance.


