1. Introduction
This manual provides comprehensive instructions for the installation, operation, and maintenance of the Generic Camera Module Replacement, specifically designed for the E88Pro and E88 RC Quadcopters. Please read this manual thoroughly before attempting any installation or use to ensure proper functionality and safety.
2. Product Overview
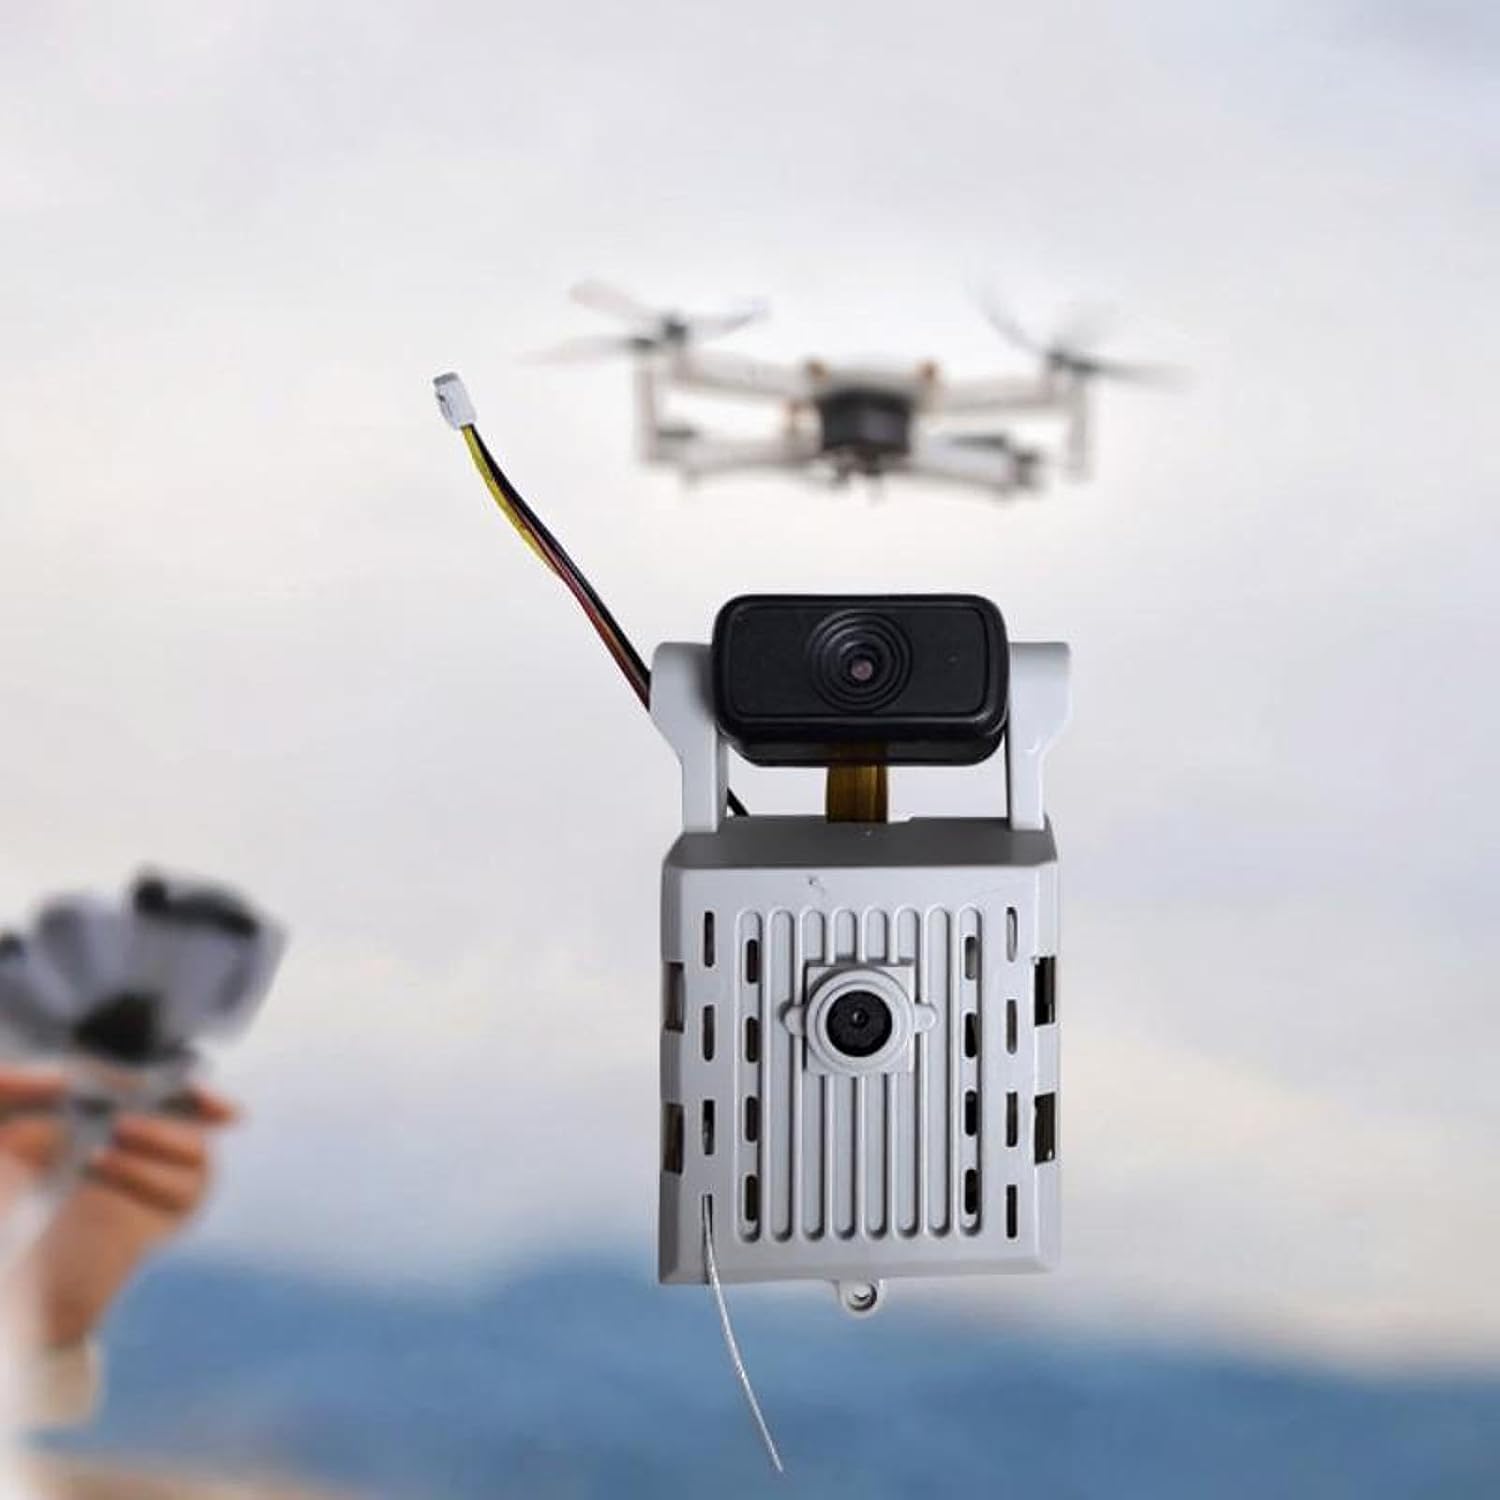
The camera module is a direct replacement part for your E88Pro or E88 RC quadcopter. It features a compact and lightweight design, constructed from durable PP material and essential electronic components, ensuring a smooth flight experience and reliable image capture.


3. Setup and Installation
This camera module is designed for straightforward installation. Follow these steps carefully to replace your drone's camera module.
3.1. Required Tools
- Small Phillips head screwdriver (not included)
3.2. Installation Steps
- Power Off Drone: Ensure your E88Pro or E88 RC Quadcopter is completely powered off and the battery is removed before beginning any installation procedures.
- Locate Existing Camera Module: Identify the current camera module on your drone. It is typically situated on the underside or front section of the drone body.
- Remove Old Module: Carefully disconnect any wiring harnesses attached to the old camera module. Then, unscrew or unclip the old module from the drone frame. Pay attention to the orientation of the wiring for correct re-connection.
- Connect New Module: Align the new Generic Camera Module Replacement with the drone's designated mounting points. Connect the wiring harness from the drone to the new camera module. Ensure the connection is secure and correctly oriented to avoid damage.
- Secure New Module: Fasten the new camera module to the drone frame using the original screws or clips. Verify that it is firmly attached and does not exhibit any looseness or wobble.
- Reinsert Battery and Power On: Reinsert the drone battery and power on the drone to test the functionality of the newly installed camera module.
4. Operation
Once the camera module is successfully installed, its operation is integrated with your E88Pro or E88 RC Quadcopter's existing control system. This module functions as a direct replacement, utilizing the drone's native camera controls.
4.1. Verifying Functionality
- After installation, power on your drone and establish a connection with its remote control or companion mobile application.
- Access the camera view through the app to confirm a live video feed is being transmitted.
- Test photo and video recording functions to ensure proper operation and image capture.

5. Maintenance
Proper maintenance ensures the longevity and optimal performance of your camera module. Adhere to these guidelines for best results.
- Cleaning: Gently wipe the camera lens with a soft, dry, lint-free cloth to remove any dust or smudges. Avoid using abrasive materials, harsh chemicals, or excessive force, which can scratch the lens.
- Storage: When not in use, store the drone and camera module in a clean, dry environment, away from direct sunlight, extreme temperatures, and high humidity.
- Inspection: Periodically inspect the wiring and connections for any signs of wear, fraying, or damage. Address any issues promptly to prevent further complications.
6. Troubleshooting
If you encounter issues with your camera module, refer to the following common problems and their potential solutions.
6.1. Common Issues and Solutions
- No Video Feed:
- Ensure the camera module is securely connected to the drone's wiring harness.
- Verify that the drone battery is fully charged.
- Check your drone's companion app settings for camera activation and connection status.
- Poor Image Quality:
- Clean the camera lens for any dust, fingerprints, or smudges.
- Ensure adequate lighting conditions for optimal photo and video capture.
- Module Not Recognized:
- Perform a power cycle on the drone (turn off, remove battery, reinsert, then turn on).
- Re-check all connections for proper seating and ensure no pins are bent or damaged.
- Consult your E88Pro or E88 drone's main user manual for specific camera troubleshooting steps or firmware updates.
7. Specifications
The following table outlines the key specifications for the Generic Camera Module Replacement.
| Feature | Detail |
|---|---|
| Model Compatibility | E88Pro, E88 RC Quadcopter |
| Material | PP Electronic Component |
| Package Size | 10cm x 10cm x 2cm (3.94inch x 3.94inch x 0.79inch) |
| Item Weight | 0.05 Kilograms (approx. 1.76 ounces) |
| Video Capture Format | MP4 |
| Optical Sensor Technology | CMOS, CCD |
| Wireless Communication | Wi-Fi, RF |
| Included Components | RC Drone Double Camera Module |

8. Warranty and Support
For warranty information or technical support regarding this Generic Camera Module Replacement, please refer to the retailer or manufacturer's official support channels. It is recommended to retain your purchase receipt as proof of purchase for any warranty claims.


