
1. Introduction
Welcome to the world of STEM building with the DIEBA 2-in-1 kit. This set allows you to construct either a high-performance RC supercar or a versatile construction robot, offering dual play experiences. Designed to enhance problem-solving skills, hand-eye coordination, and creativity, this kit provides an engaging learning experience for users aged 6 and up.

The main product image displays the assembled RC car and robot models, along with the remote controller and product packaging, illustrating the dual build options.
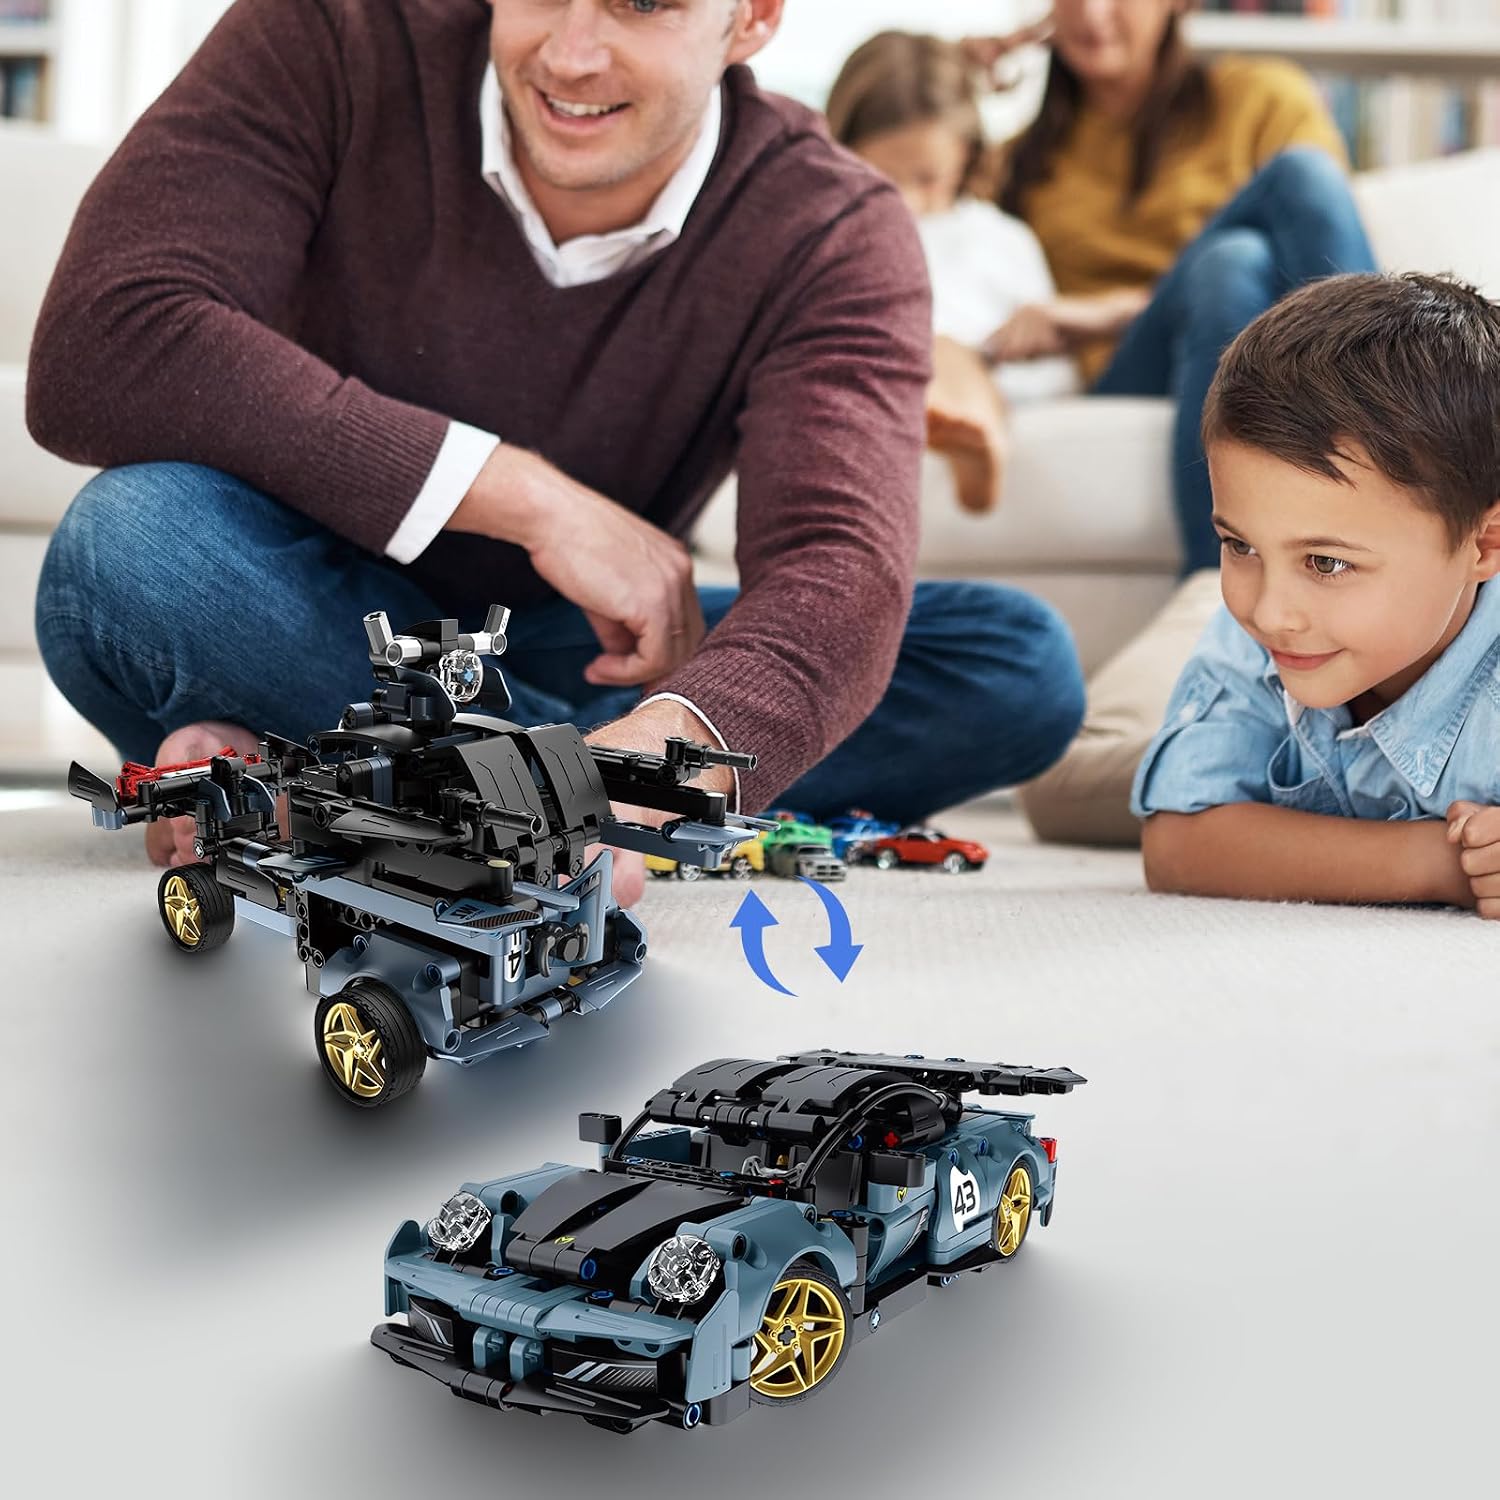
An adult and child interact with the 2-in-1 model, demonstrating the transformation capability between the RC car and construction robot configurations.
2. Safety Information
For external use only. Please observe the following safety guidelines to ensure safe operation and prevent injury or damage:
- Adult supervision is recommended during assembly and play, especially for younger users.
- Keep small parts away from children under 3 years old to prevent choking hazards.
- Do not mix old and new batteries. Do not mix alkaline, standard (carbon-zinc), or rechargeable (nickel-cadmium) batteries.
- Ensure batteries are inserted with correct polarity (+/-).
- Remove batteries from the product and remote controller when not in use for extended periods to prevent leakage.
3. Package Contents
Please verify that all components are present before beginning assembly. If any parts are missing or damaged, please contact customer support.
- Building Blocks for 2-in-1 Model (RC Car / Construction Robot)
- Remote Controller
- High-Speed Motor
- Responsive Steering Motor
- 3.7V/350mAh Rechargeable Li-ion Battery (x2)
- USB Charging Cable
- Instruction Manual (this document)
- Small Screwdriver (for battery compartment)
This image highlights key components: the rechargeable battery, a detailed gold emulation wheel, and the 2.4 GHz remote control, essential for operating the models.
4. Assembly Instructions
This kit allows for the construction of two distinct models: a Supercar (Model A) and a Battle Robot (Model B). Refer to the included detailed instruction manual for step-by-step guidance.
- Unpack Components: Carefully open all packaging bags and sort the building blocks. It is recommended to organize pieces by type or color to facilitate the building process.
- Follow Manual: Use the provided printed instruction manual to assemble your chosen model. Each step is illustrated to guide you through the construction.
- Motor and Wiring: During assembly, ensure the high-speed motor and steering motor are correctly integrated according to the manual. Pay attention to wiring connections.
- Battery Compartment: Install the rechargeable Li-ion battery into the designated compartment. Ensure it is securely connected.
- Remote Controller Setup: Open the battery compartment of the remote controller and insert 3 AAA batteries (not included), observing correct polarity.
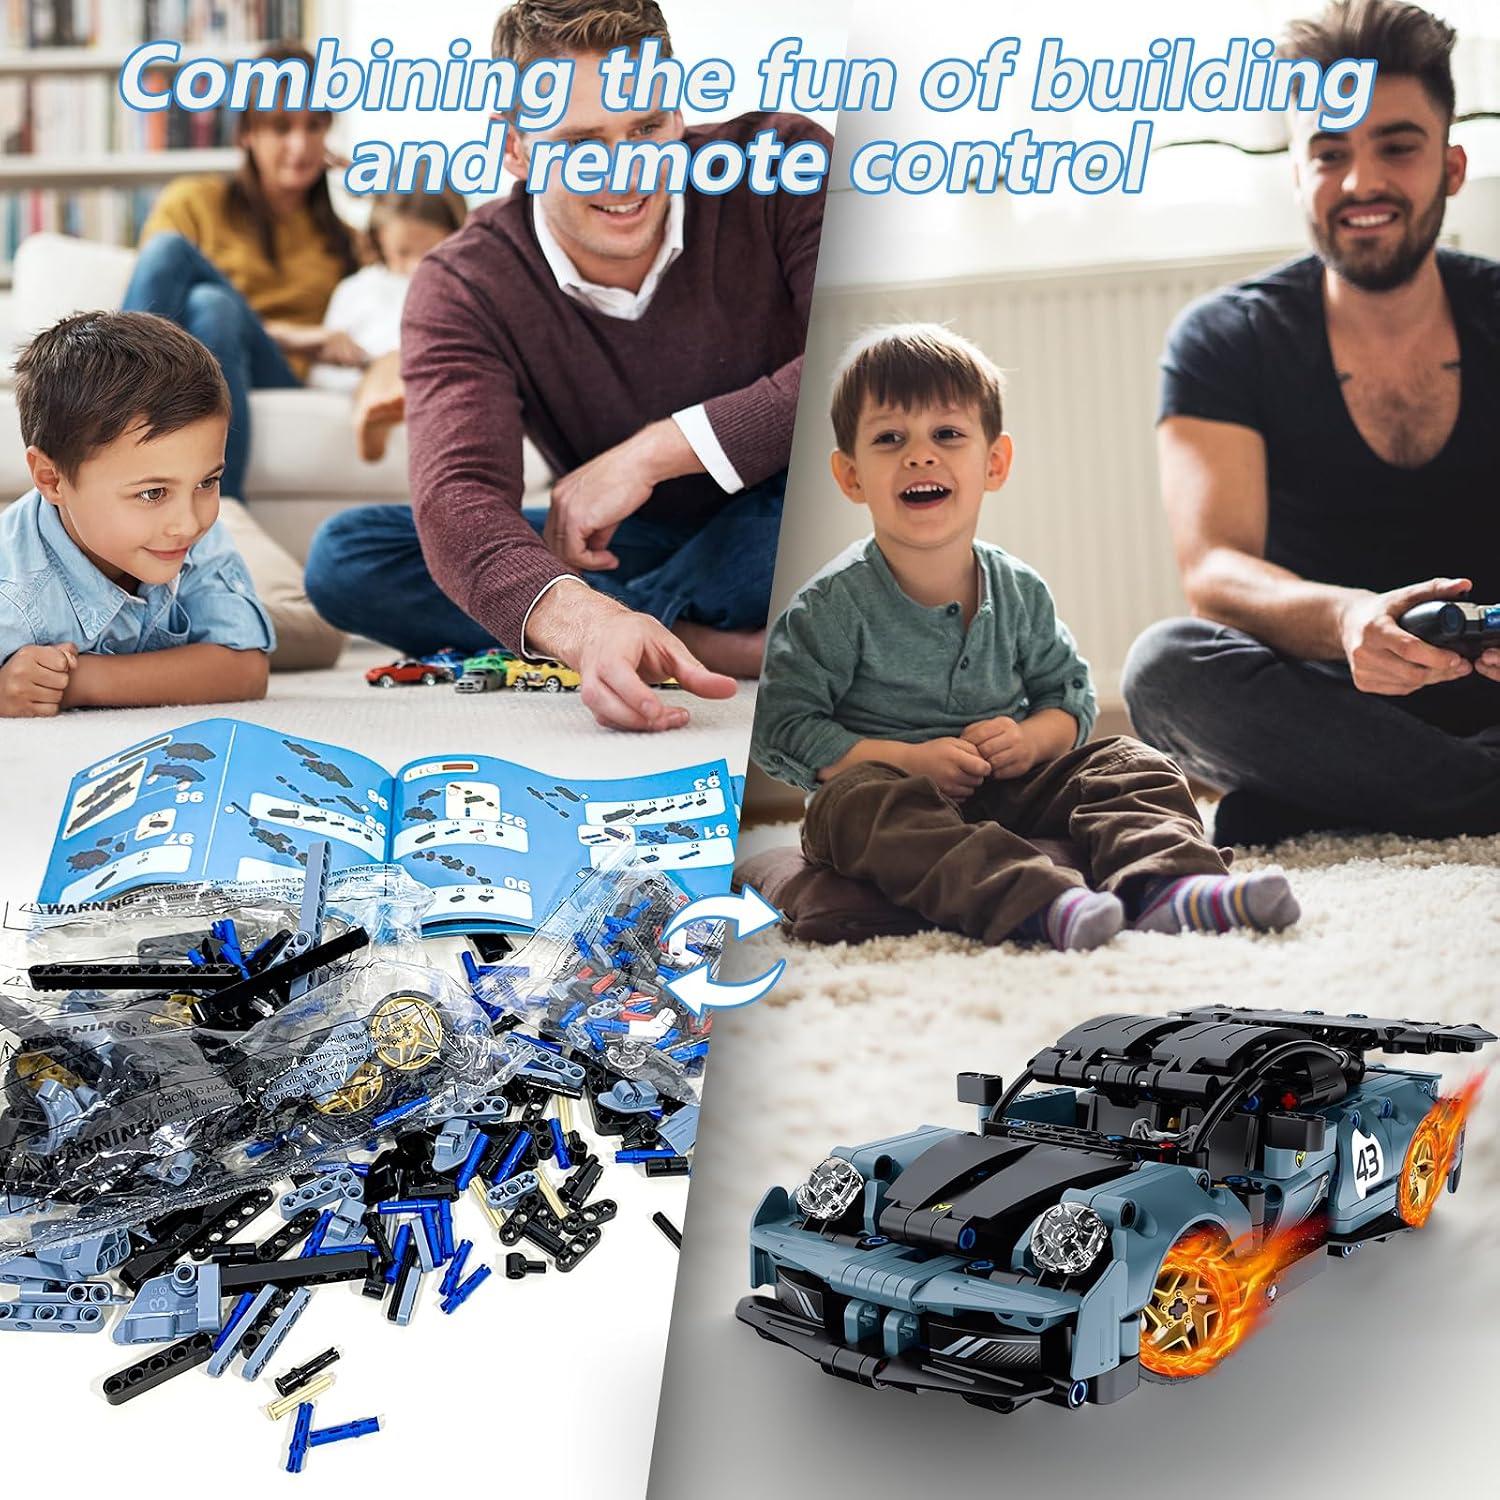
A visual representation of the 2-in-1 transformation, illustrating how the building blocks can form either a sleek RC car or a robust construction robot.

An adult and child are engaged in the assembly process, with the instruction manual and various building blocks laid out, emphasizing the hands-on building experience.
5. Setup
5.1 Battery Installation and Charging
- Rechargeable Battery: The 3.7V/350mAh Li-ion battery for the model may come disconnected. Unscrew the battery compartment on the model using the provided screwdriver, connect the battery, and securely close the compartment.
- Charging: Connect the rechargeable battery to the USB charging cable. Plug the USB cable into a compatible USB power source (e.g., computer, wall adapter). The charging indicator will typically show a red light during charging and turn green when fully charged.
- Remote Controller Batteries: Insert 3 AAA batteries (not included) into the remote controller's battery compartment, ensuring correct polarity (+/-).

A visual guide demonstrating the process of installing and charging the rechargeable battery for the model, with an adult assisting a child.
6. Operating Instructions
Your DIEBA 2-in-1 model can be controlled via the included remote controller or a dedicated smartphone application.
6.1 Remote Control Operation
- Power On: Ensure both the model and the remote controller are powered on.
- Pairing: The remote control and model should automatically pair upon powering on. If pairing issues occur, refer to the specific pairing instructions in the printed manual.
- Movement: Use the joysticks and buttons on the remote to control forward/backward movement, turning left/right, and any specific functions of the robot model (e.g., swinging arms).

This diagram illustrates the remote control's functionality, showing how to control forward/backward movement and left/right turns for both the car and robot models, including the robot's arm swing.
6.2 APP Control Operation
- Download App: Scan the QR code provided in the printed manual or search for the official DIEBA control app on your smartphone's app store.
- Connect: Open the app and follow the on-screen instructions to connect to your model via Bluetooth. Ensure Bluetooth is enabled on your device.
- Control Modes: The app offers various control modes for enhanced play:
- Remote Mode: Standard virtual joystick control.
- Gravity Mode: Control movement by tilting your smartphone.
- Path Mode: Draw a path on the screen for the model to follow automatically.
- STEM Programming Mode: Program sequences of movements and actions to learn basic coding principles.

This image illustrates a child operating the construction robot model via a smartphone application, showcasing the app's interface and control capabilities.

A screenshot of the control application interface, displaying the different modes available for operating the model, including remote, gyro, driving, path, and programming modes.
7. Maintenance
Proper maintenance ensures the longevity and optimal performance of your DIEBA STEM kit.
- Cleaning: Wipe the model with a soft, dry cloth to remove dust and debris. Avoid using water or harsh chemicals, which can damage electronic components or plastic parts.
- Storage: Store the kit in a cool, dry place away from direct sunlight and extreme temperatures when not in use.
- Battery Care: Remove batteries from both the model and remote controller if storing for extended periods (more than a few weeks) to prevent potential leakage and damage. Recharge the Li-ion battery periodically (e.g., every 3 months) if not used for a long time to maintain its health.
- Inspection: Periodically check for any loose connections, damaged blocks, or worn parts. Replace or re-secure as necessary.
8. Troubleshooting
If you encounter any issues with your DIEBA STEM kit, refer to the table below for common problems and solutions.
| Problem | Possible Cause | Solution |
|---|---|---|
| Model does not move | Batteries are low or incorrectly installed. Not paired. | Check battery levels in both model and remote. Ensure correct polarity. Re-pair if necessary by turning both devices off and on. |
| Remote control not responding | Remote batteries are low or dead. | Replace the 3 AAA batteries in the remote controller. |
| App connection issues | Bluetooth not enabled. App not updated. | Ensure Bluetooth is active on your device. Update the app to the latest version. Restart both the model and your smartphone. |
| Loose parts during play | Blocks not fully pressed together during assembly. | Re-examine the affected section and firmly press blocks into place until they click. |
| Model moves slowly | Rechargeable battery is low. | Recharge the model's Li-ion battery fully using the provided USB cable. |
9. Specifications
- Model Number: 8043
- Product Dimensions: 11 x 8.7 x 2.6 inches
- Item Weight: 1.5 pounds
- Recommended Age: 6 years and up
- Power Source (Model): 3.7V/350mAh Rechargeable Li-ion Battery (x2, included)
- Power Source (Remote): 3 x AAA batteries (not included)
- Control Method: 2.4G Remote Control, Smartphone APP Control
- Manufacturer: DIEBA

A diagram illustrating the dimensions of both the assembled RC car and construction robot models, along with the product packaging measurements.
10. Warranty and Support
DIEBA products are manufactured to high-quality standards. For any questions, concerns, or assistance with your product, please contact our customer support.
While specific warranty details are not provided in this manual, please retain your proof of purchase for any warranty claims. Our customer service team is available to assist you with troubleshooting, replacement parts, or general inquiries.
Contact Information: Refer to the product packaging or the official DIEBA website for the most current customer support details.