1. Introduction
This manual provides essential information for the safe and efficient operation of your HADEN 75151 700 Watt 0.7 Cubic Foot Countertop Microwave Oven. Please read these instructions thoroughly before using the appliance and retain them for future reference.
Your new microwave oven is designed for convenience and performance, featuring digital controls, multiple power levels, and specialized functions for defrosting and quick starts.
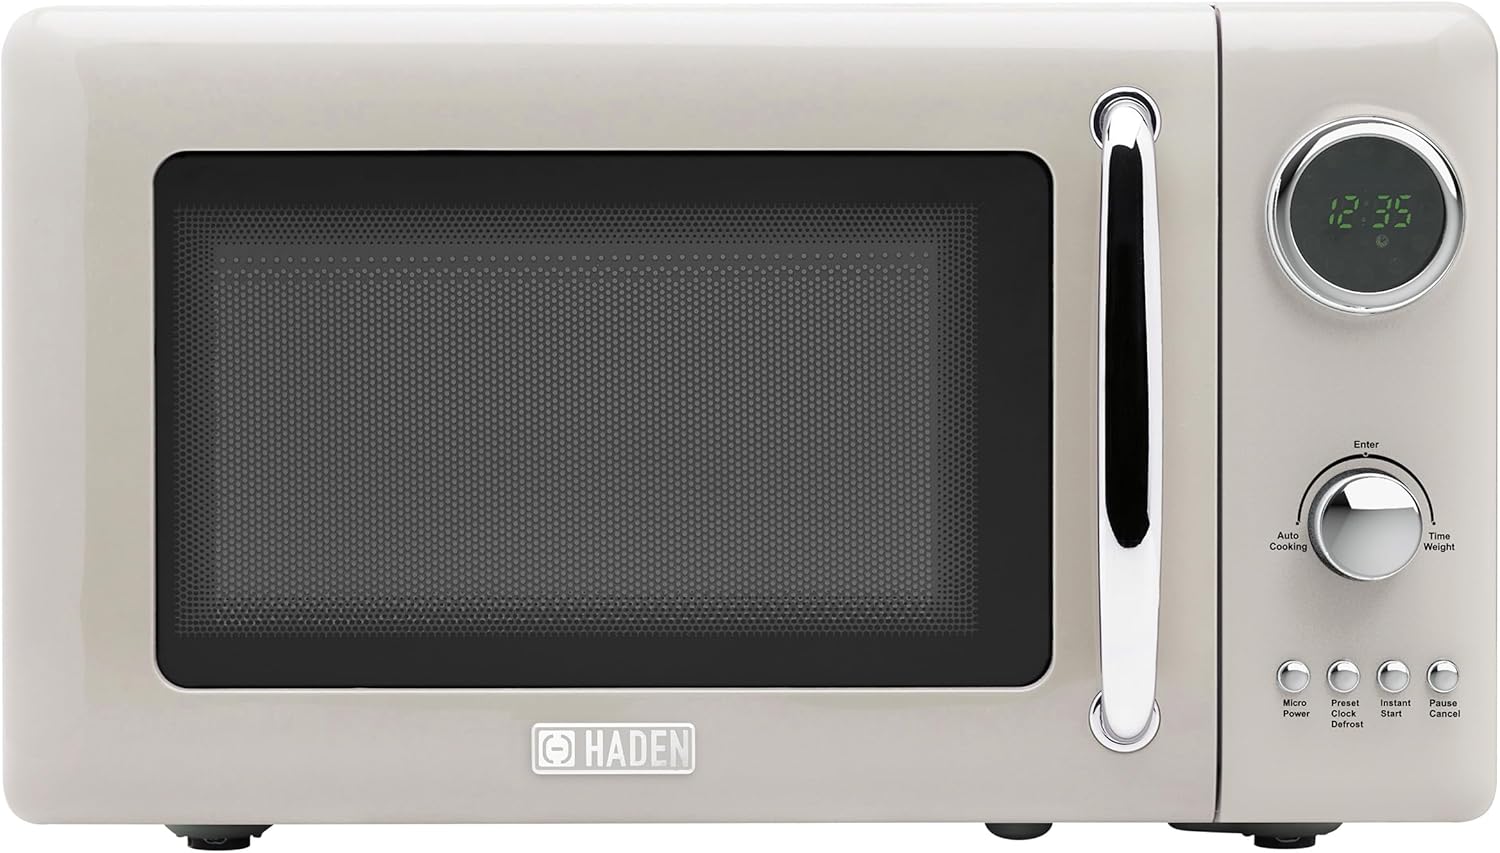
Image 1.1: HADEN 75151 Microwave Oven, front view.
2. Important Safety Instructions
When using electrical appliances, basic safety precautions should always be followed to reduce the risk of fire, electric shock, burns, or injury to persons.
- Read all instructions before using the appliance.
- Do not operate the oven if the cord or plug is damaged, if it is not working properly, or if it has been damaged or dropped.
- Do not heat liquids or other foods in sealed containers as they are liable to explode.
- Do not use corrosive chemicals or vapors in this appliance.
- Do not attempt to tamper with or make any adjustments or repairs to the door, control panel, safety interlock switches, or any other part of the oven.
- Ensure proper ventilation around the microwave. Do not block any ventilation openings.
- Always use microwave-safe cookware. Metal containers or foil can cause arcing and damage the oven.
- Supervise children closely when the microwave is in use.
- Do not overcook food.
- Do not use the oven for storage purposes. Do not leave paper products, cooking utensils, or food in the oven when not in use.
- Liquids such as water, coffee, or tea can be overheated beyond the boiling point without appearing to boil. This can result in very hot liquids suddenly boiling over when a spoon or other utensil is inserted into the liquid. Exercise caution.
3. Product Overview
3.1 Included Components
The following items are included with your HADEN 75151 Microwave Oven:
- Microwave Oven Unit
- Glass Turntable
- Rotating Ring
- User Guide (this document)
3.2 Control Panel and Features
The microwave oven features a digital display and intuitive controls for various cooking functions.

Image 3.1: Control Panel Detail.
- Digital Display: Shows time, cooking settings, and status.
- Dial: Used to adjust cooking time, weight, or select menu options.
- Micro Power Button: Selects microwave power levels.
- Clock/Preset Button: Sets the clock or programs delayed start.
- Instant Start Button: Initiates quick cooking at full power.
- Defrost Button: Activates defrost functions (by time or weight).
- Pause/Cancel Button: Stops cooking, clears settings, or activates child lock.
- Enter Button: Confirms selections.

Image 3.2: Key Features.
4. Setup and Installation
4.1 Unpacking
Carefully remove the microwave oven and all packing materials from the carton. Check the oven for any damage, such as dents or a misaligned door. Do not operate the oven if it is damaged. Remove any protective film from the cabinet surface.
4.2 Placement
Place the microwave oven on a flat, stable surface that can support its weight and the heaviest food item likely to be cooked in it. Ensure there is adequate space for ventilation:
- Leave a minimum of 3 inches (7.5 cm) of space on the top, back, and sides for proper airflow.
- Do not place the oven near heat sources or in a damp area.

Image 4.1: Product Dimensions.
4.3 Electrical Requirements
The microwave oven requires a standard 120V, 60Hz AC outlet with a dedicated circuit. Do not use extension cords or adapters.
4.4 Turntable Assembly
Place the rotating ring in the center of the oven cavity. Position the glass turntable securely on top of the rotating ring. Ensure the turntable rotates freely.
5. Operating Instructions
5.1 Setting the Clock
- Plug in the microwave. The display will show '0:00'.
- Press the Clock/Preset button once.
- Turn the dial to set the hour (1-12 for 12-hour format). Press Enter.
- Turn the dial to set the minutes (0-59). Press Enter. The clock is now set.
5.2 Basic Microwave Cooking
- Place food in a microwave-safe container on the glass turntable. Close the door.
- Press the Micro Power button repeatedly to select the desired power level (e.g., P100 for 100% power, P80 for 80%, etc.). There are 5 power levels.
- Turn the dial to set the cooking time.
- Press Enter to start cooking.
5.3 Defrost Function
The microwave offers defrosting by time or by weight.
Defrost by Weight:
- Press the Defrost button once. The display will show 'dEF1'.
- Turn the dial to select the weight of the food (e.g., 0.1 kg to 2.0 kg).
- Press Enter to start defrosting.
Defrost by Time:
- Press the Defrost button twice. The display will show 'dEF2'.
- Turn the dial to set the defrosting time.
- Press Enter to start defrosting.
5.4 Instant Start
For quick cooking at 100% power:
- Press the Instant Start button repeatedly to add cooking time in 30-second increments (up to 95 minutes).
- The oven will start immediately.
5.5 Child Lock
To prevent unintended operation, especially by children:
- To activate: Press and hold the Pause/Cancel button for 3 seconds. A lock indicator will appear on the display.
- To deactivate: Press and hold the Pause/Cancel button for 3 seconds again. The lock indicator will disappear.
5.6 Multi-Sequence Cooking
This feature allows you to program two consecutive cooking stages with different power levels and times.
- Program the first cooking stage (e.g., Micro Power, set time, Enter).
- Immediately program the second cooking stage (e.g., Micro Power, set time). Do not press Enter after the first stage.
- Press Enter to start the multi-sequence cooking. The oven will automatically proceed from the first stage to the second.
6. Care and Maintenance
6.1 Cleaning the Interior
Regularly clean the oven interior to prevent food particles from accumulating. Wipe with a damp cloth and mild detergent. For stubborn stains, place a bowl of water with lemon juice inside and microwave for a few minutes to loosen residue before wiping.
6.2 Cleaning the Exterior
Wipe the exterior surfaces with a soft, damp cloth. Avoid abrasive cleaners or solvents that could damage the finish.
6.3 Turntable Care
The glass turntable and rotating ring can be removed for cleaning. Wash them in warm, soapy water or in the dishwasher. Ensure they are completely dry before placing them back in the oven.
7. Troubleshooting
If you encounter issues with your microwave oven, refer to the table below for common problems and solutions.
| Problem | Possible Cause | Solution |
|---|---|---|
| Oven does not start | Power cord not securely plugged in; Door not closed properly; Circuit breaker tripped. | Check power connection; Ensure door is fully latched; Reset circuit breaker. |
| Food not heating | Incorrect cooking time/power level; Microwave-safe cookware not used; Door not closed properly. | Adjust time/power; Use appropriate cookware; Ensure door is fully latched. |
| Unusual noise during operation | Turntable not correctly seated; Foreign object in oven cavity; Normal magnetron operation (some noise is expected). | Re-seat turntable and rotating ring; Check for obstructions; If noise is excessive or new, contact support. |
| Door does not close properly | Food debris obstructing the latch; Door mechanism issue. | Clean door seals and latch area; If issue persists, contact customer support. |
| Display shows error or random numbers | Temporary electrical glitch; Internal malfunction. | Unplug the oven for 1 minute, then plug back in; If error persists, contact customer support. |
8. Specifications
| Feature | Specification |
|---|---|
| Brand | HADEN |
| Model Number | 75151 |
| Capacity | 0.7 Cubic Feet (20 Liters) |
| Wattage | 700 Watts |
| Voltage | 120 Volts |
| Product Dimensions (D x W x H) | 13.5 x 17.5 x 10 inches |
| Item Weight | 21.8 Pounds |
| Installation Type | Countertop |
| Material Type | Painted Metal (Exterior), Glass (Interior/Turntable) |
| Special Features | Turntable, Digital Controls, Auto Defrost, Child Lock, End-of-cooking signal |
| Included Components | Microwave, Glass Turntable, Rotating Ring, User Guide |
9. Warranty and Support
This HADEN microwave oven typically comes with a manufacturer's warranty. Please refer to the warranty card included with your product for specific terms and conditions, including the warranty period and coverage details. For technical support, service, or warranty claims, please contact HADEN customer service through their official website or the contact information provided in your product packaging.


