
MiLESEEY PF210
Contents
Mileseey Professional Laser Golf Rangefinder User Manual
Model: PF210
Introduction
The Mileseey Professional Laser Golf Rangefinder is a versatile and accurate device designed for precise distance measurement in various outdoor activities, including golf, hunting, forestry surveys, and engineering measurements. Utilizing advanced TOF (Time of Flight) technology, it provides reliable distance, angle, and speed measurements with 6X magnification for clear viewing.

Image: The Mileseey Professional Laser Golf Rangefinder in blue, shown with its protective carrying case.
Its compact and lightweight design, coupled with a non-slip rubber exterior, ensures comfortable handling and portability. Key features include slope compensation for accurate uphill/downhill shots, fast flagpole lock, and multiple measurement modes to enhance your outdoor experience.

Image: The rangefinder held in a hand, demonstrating its compact size and ergonomic design, alongside its carrying pouch.
Setup
Package Contents
Before first use, please verify that all items are present in the package:

Image: Contents of the Mileseey Rangefinder package, including the device, carrying case, lens cloth, and battery.
- Mileseey Golf Rangefinder
- Portable Carrying Case
- Mountaineering Buckle
- Lens Cleaning Cloth
- CR2 Battery (1 included)
- User Manual
Battery Installation
The device requires one CR2 battery. Ensure the battery is inserted with the correct polarity.
- Locate the battery compartment on the side of the rangefinder.
- Open the battery compartment cover.
- Insert the CR2 battery, ensuring the positive (+) and negative (-) terminals align correctly with the markings inside the compartment.
- Close the battery compartment cover securely.

Image: Illustration of the user-friendly battery compartment design, showing the insertion of a CR2 battery.
Notice: Please remove the protective film from the battery before use.
Adjusting the Eyepiece
To achieve a clear view through the eyepiece, rotate the eyepiece knob to adjust the diopter until the display and target appear sharp.

Image: Diagram illustrating the 6X magnification and the rotating eyepiece adjuster for clear vision.
Operating Instructions
Device Overview and Controls

Image: Labeled diagram of the rangefinder showing the Measure Key, Mode/Unit Change button, Eyepiece Knob, Objective Lens, Laser Receiving Lens, and Battery Compartment.
- Measure Key/ON/OFF: Short press to switch on the device or initiate a measurement.
- Measure Mode/Unit Change: Short press to change the measurement mode. Press and hold for 2 seconds to change the unit between meters (M) and yards (Yd).
- Eyepiece Knob: Rotate to adjust diopter for clear vision.
Changing Measurement Units (M/Yd)
To switch between meters (M) and yards (Yd), press and hold the "Mode" button for 2 seconds. The display will show the updated unit.

Image: Illustration demonstrating how to long press the "Mode" button to switch between meter (M) and yard (Yd) measurement units.
Measurement Modes
The rangefinder offers several measurement modes. Short press the "Mode" button to cycle through them.

Image: Visual representation of the different display modes: Golf Slope Adjusted Mode, Speed Measuring Mode, and Flag Locking Mode.
1. Golf Slope Adjusted Mode
This mode provides the angle-compensated distance, which is crucial for uphill and downhill shots in golf. It calculates the "play as" distance based on the actual distance and the slope angle.

Image: Diagram explaining the Golf Slope Adjusted Mode, showing how angle compensation provides the exact distance for uphill and downhill shots.

Image: Visual demonstration of Golf Slope Compensation, showing how the rangefinder calculates adjusted distance over varied terrain.
2. Flagpole Lock (Scanning) Mode
This feature allows for quick and accurate locking onto the nearest target, such as a flagpole, even with background objects. The device will vibrate slightly when the flagpole is locked, providing confidence in your measurement. Flagpole locking is effective up to 200 yards.
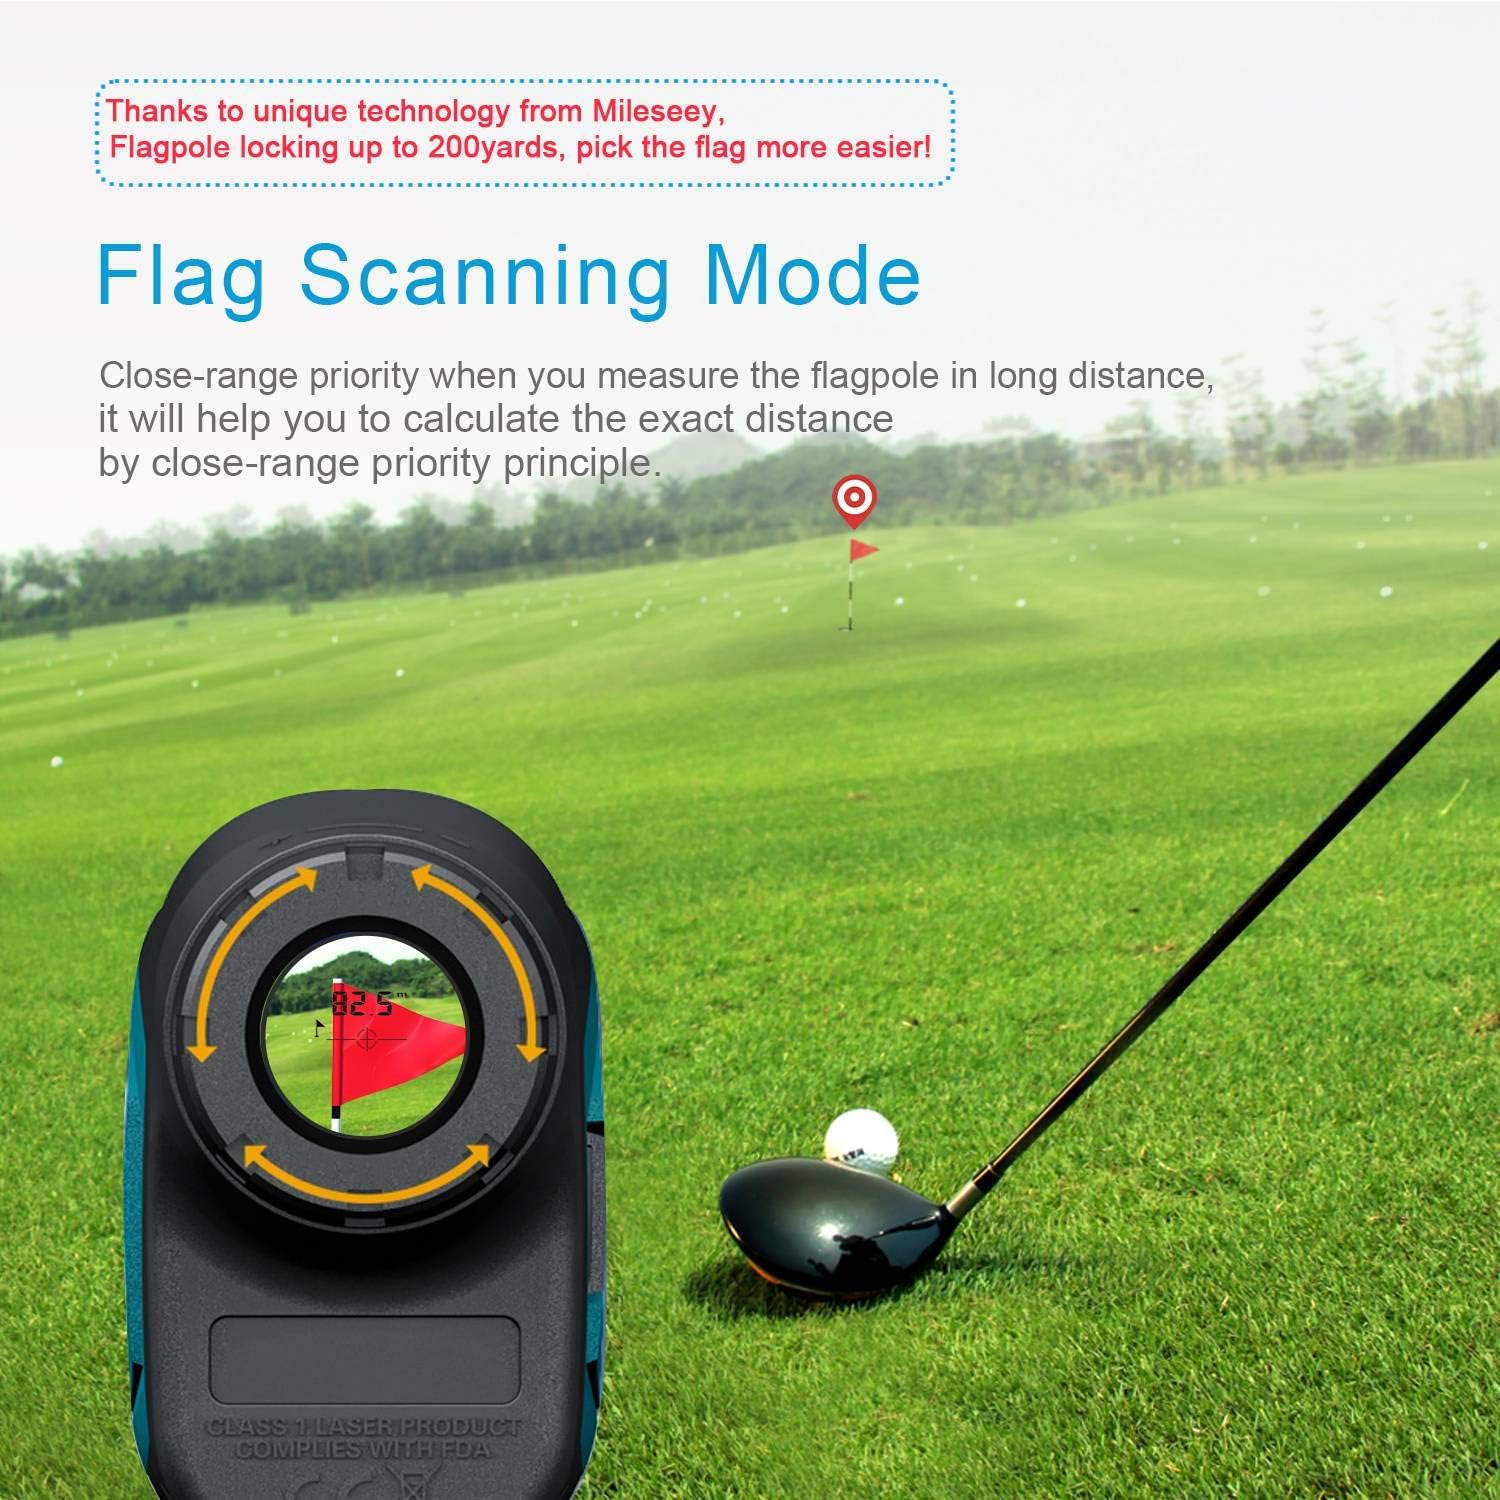
Image: Illustration of the Flag Scanning Mode, demonstrating how the rangefinder prioritizes and locks onto the flagpole for accurate distance measurement.

Image: Comparison of flag lock up to 350 yards and flagpole lock up to 250 yards in Golf Flag Scan Mode.
3. Speed Measurement Mode
The rangefinder can also measure the speed of a moving object within its range. The speed measuring range is 18 to 300 km/h.
To use this mode, aim at the moving object and press the measure button. The device will display the speed.
Maintenance
Cleaning
- Use the provided lens cleaning cloth to gently wipe the objective lens and eyepiece. Avoid using abrasive materials or harsh chemicals.
- For the body of the rangefinder, use a soft, damp cloth to wipe away dirt or smudges.
- Ensure the device is dry before storing.
Battery Replacement
When the battery indicator on the display shows low power, replace the CR2 battery following the installation steps outlined in the Setup section.
Storage
- Store the rangefinder in its protective carrying case when not in use to prevent scratches and damage.
- Keep the device in a cool, dry place, away from direct sunlight and extreme temperatures.
- If storing for an extended period, it is recommended to remove the battery to prevent leakage.
Troubleshooting
| Problem | Possible Cause | Solution |
|---|---|---|
| Device does not power on. | Battery is dead or incorrectly installed. | Check battery polarity, replace battery if necessary. Ensure protective film is removed. |
| Inaccurate readings. | Lens is dirty; target is too far or too small; environmental interference (e.g., fog, heavy rain). | Clean lenses with provided cloth. Ensure target is within range and clearly visible. Avoid use in extreme weather conditions. |
| Display is blurry. | Eyepiece diopter not adjusted. | Rotate the eyepiece knob to adjust the focus until the display is clear. |
| Device turns off too quickly. | Automatic power-off feature. | This is a normal power-saving feature. Press the measure button to reactivate the device. |
Specifications
| Feature | Detail |
|---|---|
| Model Number | PF210 |
| Measurement Range | Up to 600m / 660 yards |
| Accuracy | ±1 yard |
| Magnification | 6X |
| Diopter Adjustment | ±5D |
| Field Angle | 7 degrees |
| Speed Measuring Range | 18 ~ 300 km/h |
| Battery Type | 1 x CR2 (included) |
| Product Dimensions | 11 x 6.5 x 3.8 cm (4.33 x 2.56 x 1.5 inches) |
| Weight | 168 g (5.92 oz) |
| Material | Plastic with non-slip rubber |
| Water Resistance | Water Resistant |
Warranty and Support
Mileseey products are designed for durability and performance. In the event of a product defect or malfunction, please refer to your purchase documentation for specific warranty terms and conditions. Many users have reported positive experiences with warranty replacements, indicating good manufacturer support.
For technical assistance, troubleshooting beyond this manual, or warranty claims, please contact Mileseey customer support directly through their official website or the retailer from whom you purchased the product. Keep your proof of purchase handy when contacting support.
For more information, visit the official MiLESEEY Store on Amazon.
Documents and downloads
Ask a question about this manual
Ask about setup, troubleshooting, compatibility, parts, safety, or missing instructions. Manuals+ will review the question and use this page’s manual context to help answer it.