
Browning 6DCLN
Contents
Browning Trail Cameras Dark Ops Pro DCL Nano (BTC-6DCLN) User Manual
Model: BTC-6DCLN
Introduction
The Browning Dark Ops Pro DCL Nano (BTC-6DCLN) is a compact and advanced trail camera designed for capturing high-quality images and videos of wildlife and for outdoor security monitoring. This manual provides detailed instructions for setting up, operating, and maintaining your camera to ensure optimal performance.

Image: Front view of the Browning Dark Ops Pro DCL Nano trail camera, showcasing its compact design and effective camouflage pattern, ideal for blending into natural environments.
Safety Information
Please read all safety instructions before using the camera. Failure to follow these instructions may result in damage to the camera or personal injury.
- Do not expose the camera to extreme temperatures or direct sunlight for prolonged periods.
- Ensure the battery compartment is securely closed to prevent water ingress.
- Use only recommended battery types (AA Lithium or Alkaline). Do not mix old and new batteries or different battery types.
- Keep the camera away from strong magnetic fields.
- Dispose of batteries according to local regulations.
Package Contents
Verify that all items are present in your package:
- Browning Dark Ops Pro DCL Nano Trail Camera (BTC-6DCLN)
- Tree Mount Strap
- Instruction Manual (this document)
Note: Batteries and SD card are sold separately.
Setup
1. Battery Installation
The Dark Ops Pro DCL Nano camera operates on 6 AA batteries. For best performance and battery life, we recommend using lithium batteries.
- Open the camera housing by releasing the latch on the side.
- Locate the battery compartment.
- Insert 6 AA batteries, ensuring correct polarity (+/-) as indicated inside the compartment.
- Close the battery compartment securely.
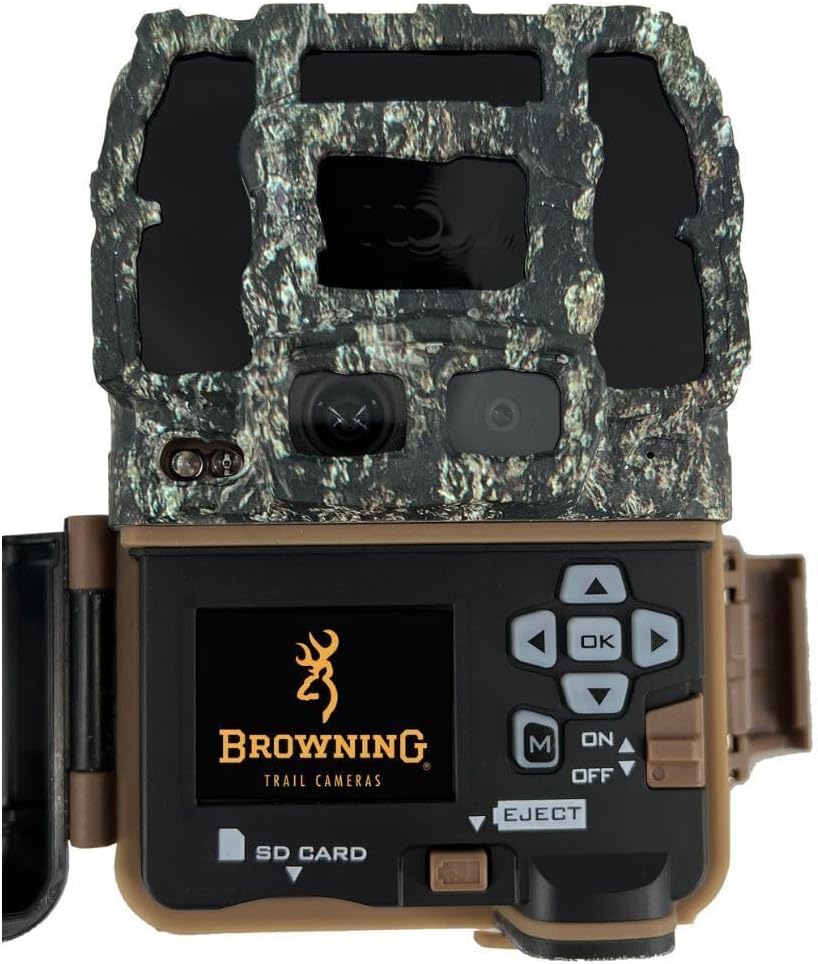
Image: The Browning trail camera with its front panel opened, showing the internal display screen, navigation buttons, and the slot for the SD card, along with the battery compartment.
2. SD Card Installation
A Class 10 SD card (up to 512GB) is required to store images and videos.
- With the camera housing open, locate the SD card slot.
- Insert the SD card with the label facing forward until it clicks into place.
- To remove, push the card in until it clicks, then release to eject.
3. Mounting the Camera
The camera can be mounted using the included tree strap or a Browning camera mount.
- Using the Tree Strap: Thread the strap through the slots on the back of the camera and secure it around a tree or post. Ensure the camera is stable and pointed towards the desired area.
- Using a Camera Mount (Sold Separately): Attach the camera to a compatible mount using the 1/4"-20 tripod socket on the bottom of the camera.
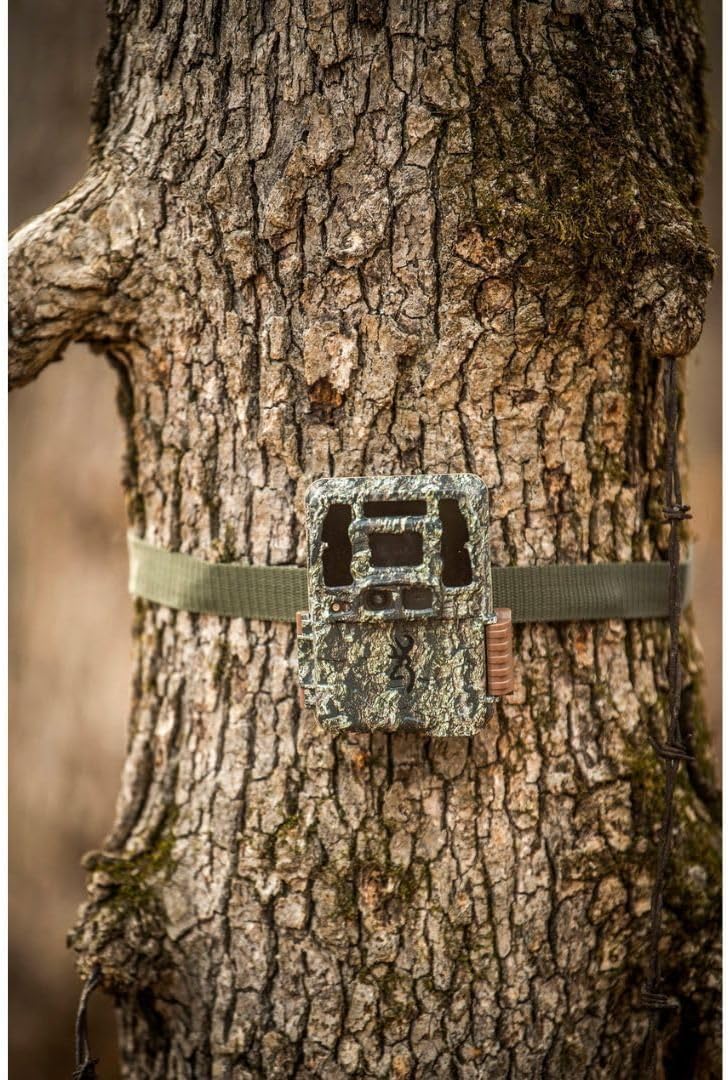
Image: The Browning trail camera securely attached to a tree trunk with a green mounting strap, demonstrating its discreet placement in a natural setting.
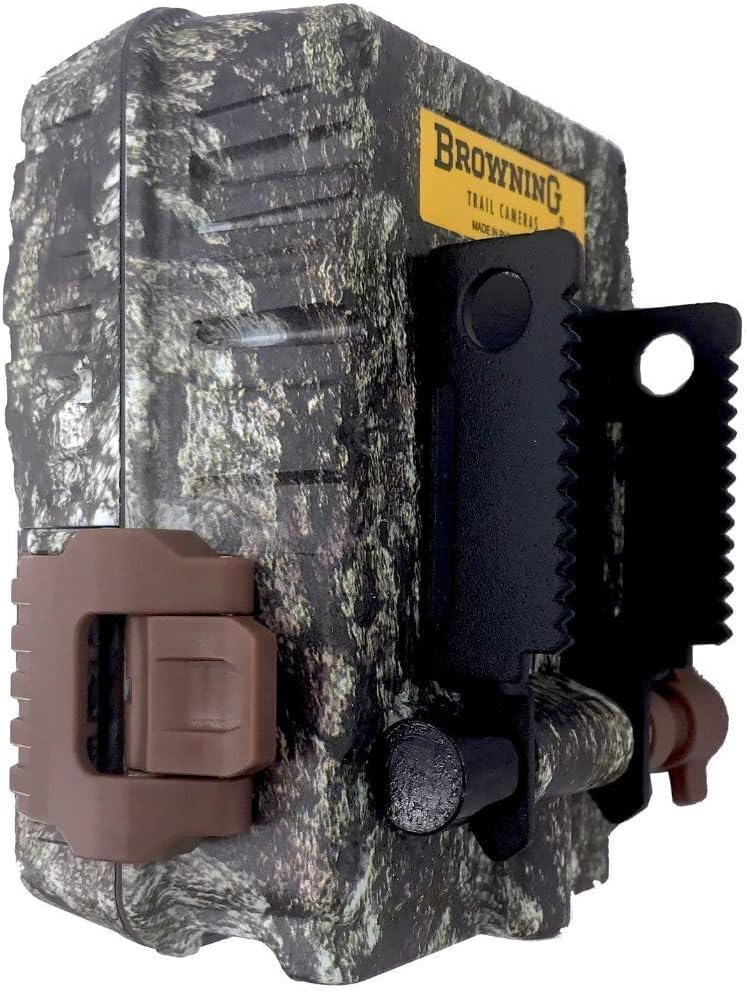
Image: Side profile of the Browning trail camera, showing the durable latch that secures the housing and the integrated mounting bracket for attachment to various surfaces.
4. Initial Power On
Once batteries and SD card are installed, slide the power switch to the "ON" position. The camera will perform a self-check and display the main menu.
Operating the Camera
Menu Navigation
Use the control buttons (OK, Up, Down, Left, Right, M) to navigate through the camera's menu options. The internal screen will display settings and previews.
- OK: Confirms selection.
- Up/Down: Navigates through menu options.
- Left/Right: Changes values or settings.
- M (Mode): Switches between different operating modes (e.g., Photo, Video, Time Lapse).
Setting Date and Time
It is crucial to set the correct date and time for accurate timestamping of your captured media.
- From the main menu, navigate to "Date/Time" settings.
- Use the Up/Down buttons to adjust values and Left/Right to move between fields.
- Press OK to confirm and save the settings.
Configuring Capture Settings
Customize your camera's behavior for optimal results:
- Mode: Select Photo, Video, or Photo+Video.
- Photo Resolution: Choose from available resolutions (e.g., 10MP, 8MP). Higher resolution results in larger file sizes.
- Video Resolution: Select video quality (e.g., 1080p, 720p).
- Detection Delay: Set the delay between detections before the camera triggers again.
- Night IR Mode: Adjust settings for night vision (e.g., Long Range, Fast Motion).
Viewing Captured Media
You can review images and videos directly on the camera's internal screen or by removing the SD card.
- On Camera: In playback mode, use the navigation buttons to scroll through files. Press OK to view a photo or play a video.
- Via SD Card: Eject the SD card and insert it into a computer or card reader to transfer and view files.
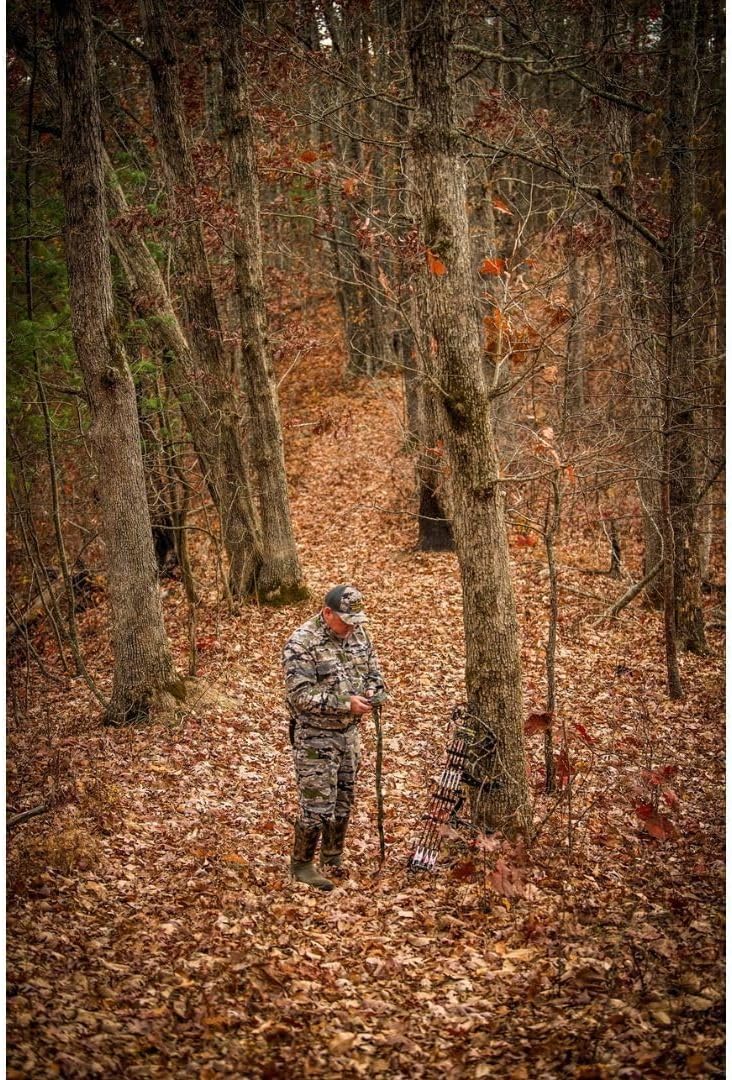
Image: A person dressed in camouflage attire is shown in a wooded area, observing a trail camera attached to a tree, illustrating the common application of the device in its natural environment.
Maintenance
- Cleaning: Use a soft, dry cloth to clean the camera lens and PIR sensor window. Do not use abrasive cleaners.
- Battery Replacement: Replace all batteries simultaneously when the low battery indicator appears. Do not mix old and new batteries.
- SD Card Management: Regularly format your SD card using the camera's format function to ensure optimal performance and prevent data corruption. Back up important files before formatting.
- Firmware Updates: Check the Browning Trail Cameras website periodically for firmware updates. Follow the instructions provided with the update carefully.
Troubleshooting
| Problem | Possible Cause / Solution |
|---|---|
| Camera not powering on. |
|
| No images/videos captured. |
|
| Poor image/video quality. |
|
| SD card error. |
|
Specifications
| Feature | Detail |
|---|---|
| Model | BTC-6DCLN (6DCLN) |
| Image Resolution | Up to 10 MP |
| Video Resolution | 1080p (MP4 format) |
| Power Source | 6 AA Batteries (12V) |
| Storage | SD Card (up to 512GB, Class 10 recommended) |
| Dimensions (L x W x H) | 1 x 1 x 1 inches (approximate) |
| Weight | 0.005 ounces (approximate) |
| Connectivity | Wireless (for certain features, if applicable) |
| Usage Environment | Outdoor |
Warranty and Support
Browning Trail Cameras offers a limited warranty on its products. For specific warranty terms and conditions, please refer to the warranty card included with your purchase or visit the official Browning Trail Cameras website.
For technical support, troubleshooting assistance, or to inquire about replacement parts, please contact Browning Trail Cameras customer service:
- Website: www.browningtrailcameras.com
- Phone: Refer to the website for current contact numbers.
- Email: Refer to the website for current email support options.
When contacting support, please have your camera model (BTC-6DCLN) and serial number ready.
Ask a question about this manual
Ask about setup, troubleshooting, compatibility, parts, safety, or missing instructions. Manuals+ will review the question and use this page’s manual context to help answer it.