
1. Introduction
This manual provides detailed instructions for the installation, operation, and maintenance of your VONLUCE 52-inch ceiling fan with integrated lighting. This fan features 5 blades, a silent DC motor, 6 adjustable speeds, 3-level LED lighting, and a convenient remote control. It is designed for indoor use in various rooms such as living rooms, bedrooms, and offices.
Key features include a reversible motor for year-round comfort, a memory function for light and fan speed settings, and versatile installation options for different ceiling types.
2. Safety Information
Please read all safety instructions carefully before beginning installation and retain this manual for future reference. Failure to follow these instructions may result in electric shock, fire, or personal injury.
- Ensure the power is disconnected at the circuit breaker before installation or servicing.
- All electrical wiring must be performed by a qualified electrician and comply with local codes and regulations.
- The mounting structure must be capable of supporting the weight of the fan (approximately 5.8 kg).
- Do not connect the fan to a dimmer switch or variable speed control other than the provided remote control.
- Ensure fan blades are at least 7 feet (2.1 meters) from the floor.
- Do not insert objects into the path of the fan blades.
- Use only original replacement parts as specified by VONLUCE.
3. Package Contents
Verify that all components are present and undamaged before proceeding with installation. If any parts are missing or damaged, contact customer support.
- 5 x Fan Blades
- 1 x Fan Motor Assembly
- 1 x Mounting Bracket
- 1 x Cowl (Canopy)
- 1 x Lampshade
- 1 x LED Lighting Kit
- 1 x Receiver
- 1 x Remote Control
- 1 x 12.5 cm (5 inch) Down Bar
- 1 x 25 cm (10 inch) Down Bar
- 1 x Clutch Cover
- 1 x Grommet
- 1 x Safety Cable
- 1 x Hardware Pack (screws, washers, wire nuts)
- 1 x User Manual

Image: All components included in the VONLUCE ceiling fan package, laid out for inspection.
4. Specifications
| Feature | Specification |
|---|---|
| Model Number | CFN-13E9-00 |
| Blade Width | 132 cm (52 inches) |
| Total Height (with 12.5cm down bar) | 30.2 cm |
| Total Height (with 25cm down bar) | 43 cm |
| Distance from Blade to Ceiling (with 12.5cm down bar) | 23 cm |
| Distance from Blade to Ceiling (with 25cm down bar) | 35.7 cm |
| Cowl Diameter | 15 cm |
| Maximum Tilt Angle | 10° |
| Fan Speeds | 6 |
| Timer Settings | 1, 2, 4, 8 hours |
| Maximum Noise Level | 35 dB |
| Integrated LED Power | 20W |
| LED Color Temperature | 3000K (Warm White), 4500K (Neutral White), 6500K (Cool White) |
| Suitable Room Size | Up to 25 m² |
| Net Weight | 5.8 kg |
| Material | Copper, Metal, Aluminum, MDF, Acrylic |
| Color | Matte Black, Rustic Brown Blades |

Image: Detailed dimensions of the ceiling fan and available down bar lengths (13 cm and 25 cm), along with illustrations for flat and inclined ceiling mounting (max 10°).
5. Installation (Setup)
Professional installation by a qualified electrician is recommended. Ensure all power is off at the circuit breaker before starting.
5.1 Mounting the Bracket
- Locate a suitable ceiling joist or outlet box capable of supporting the fan's weight.
- Secure the mounting bracket to the ceiling using appropriate screws and washers from the hardware pack. Ensure it is firmly attached.
5.2 Assembling the Down Bar and Motor
- Choose either the 12.5 cm or 25 cm down bar based on your ceiling height and preference.
- Feed the electrical wires from the motor through the chosen down bar.
- Attach the down bar to the fan motor assembly, securing it with the provided pin and screw.
- Slide the cowl (canopy) and clutch cover over the down bar.
5.3 Hanging the Fan and Wiring
- Carefully lift the fan assembly and hang it onto the mounting bracket hook.
- Connect the electrical wires from the fan to the household wiring according to the wiring diagram in the full instruction manual (Live to Live, Neutral to Neutral, Ground to Ground). Use the provided wire nuts.
- Install the safety cable to a secure point on the ceiling structure.
- Insert the receiver into the mounting bracket. Connect the receiver wires to the fan and household wires as per the diagram.
5.4 Attaching Blades and Light Kit
- Attach each fan blade to the motor housing using the screws provided. Ensure they are securely fastened.
- Connect the LED lighting kit to the fan motor's designated connector.
- Attach the lampshade to the light kit.
5.5 Final Steps
- Carefully push the cowl up to the ceiling and secure it to the mounting bracket with the provided screws.
- Restore power at the circuit breaker.
- Test the fan and light functions using the remote control.
6. Operation
Your VONLUCE ceiling fan is operated using the included remote control. Ensure batteries are correctly installed in the remote.
6.1 Fan Speed Control
The fan offers 6 speed settings. Use the speed buttons on the remote control to adjust the airflow. Speed 1-2 provides a gentle breeze, 3-4 for natural wind, and 5-6 for strong air circulation.
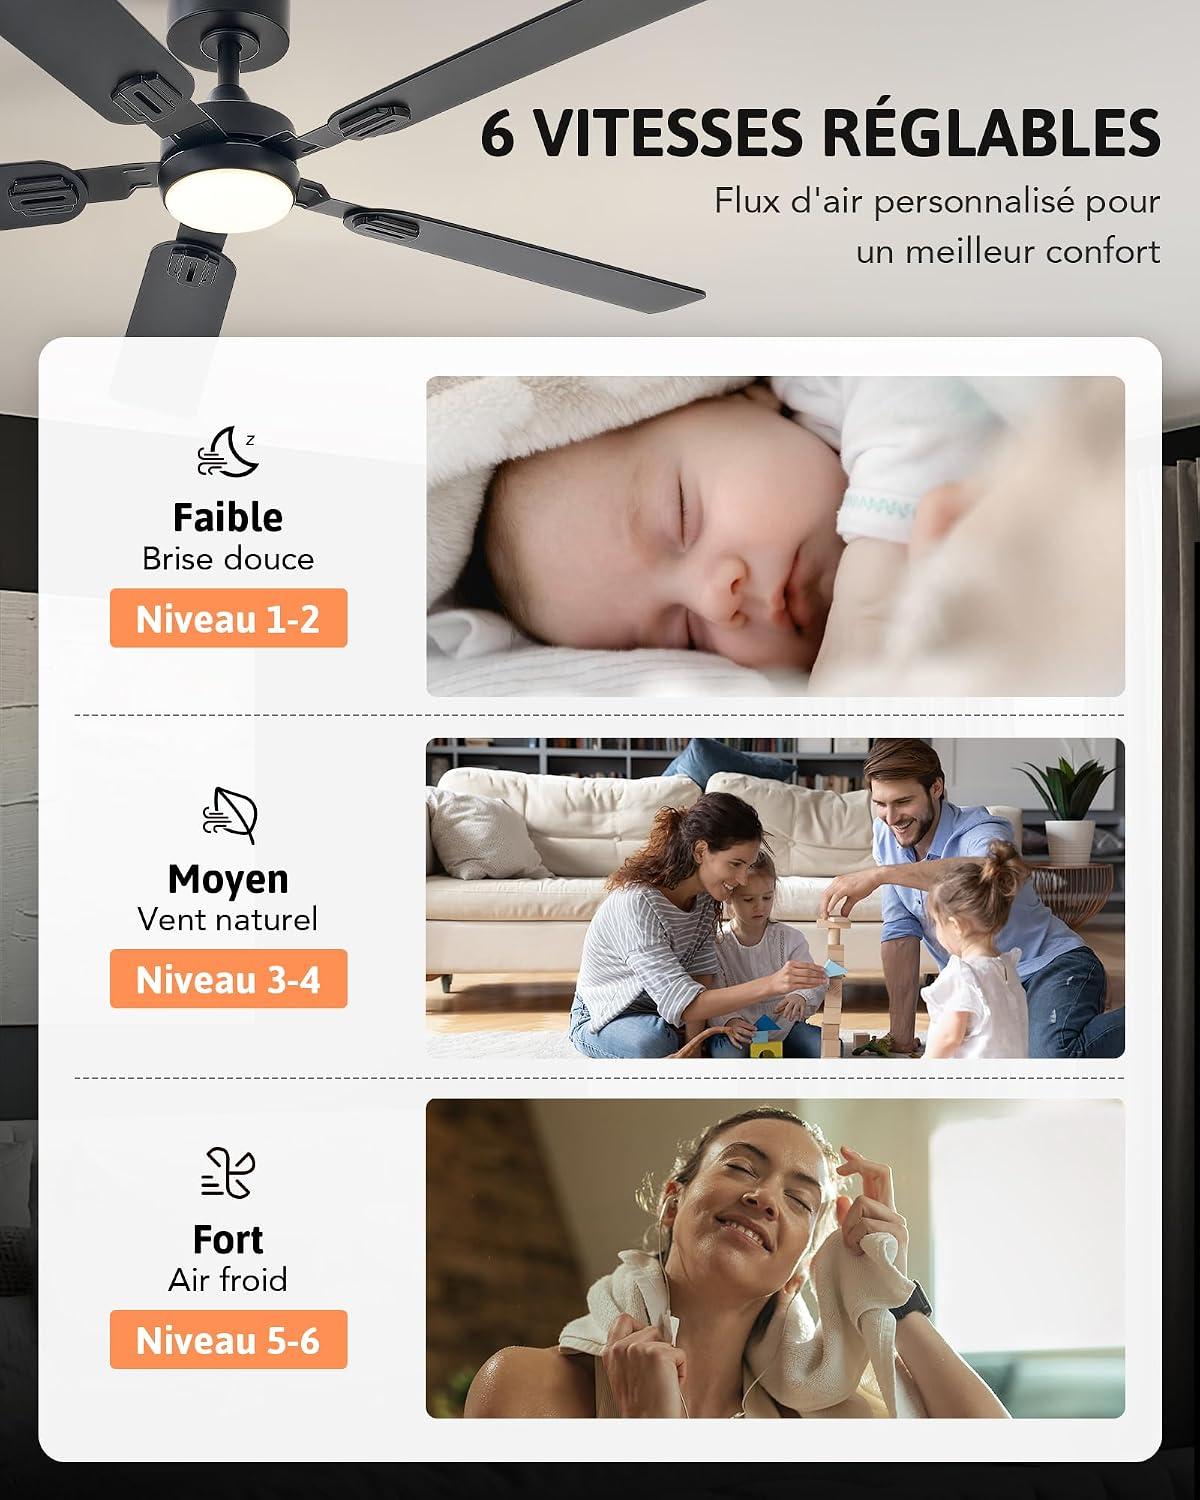
Image: Illustration of the 6 adjustable fan speeds, categorized into gentle breeze (1-2), natural wind (3-4), and strong air (5-6).
6.2 Lighting Control
The integrated LED light offers 3 color temperatures: 3000K (warm white), 4500K (neutral white), and 6500K (cool white). Use the light button on the remote to cycle through these settings and to turn the light on/off.

Image: Visual representation of the three adjustable LED light color temperatures: 3000K (warm), 4500K (neutral), and 6500K (cool).
6.3 Reversible DC Motor
The fan features a reversible DC motor for year-round use. A button on the remote control allows you to switch the direction of the blades:
- Downward Airflow (Summer Mode): Blades rotate counter-clockwise to create a cooling breeze.
- Upward Airflow (Winter Mode): Blades rotate clockwise to circulate warm air trapped near the ceiling, helping to distribute heat more evenly.

Image: Diagram illustrating the reversible DC motor function, showing downward airflow for cooling in summer and upward airflow for circulating warm air in winter.
6.4 Timer Function
Set the fan to automatically turn off after 1, 2, 4, or 8 hours using the timer buttons on the remote control.
6.5 Memory Function
The fan includes a memory function. If the fan and light are on for at least 10 seconds before being turned off, they will resume the last used speed and light color temperature settings when reactivated with the remote control.
6.6 Silent Operation
The high-quality DC motor ensures quiet operation, with a maximum noise level of 35 dB, making it suitable for bedrooms and other quiet environments.

Image: A person reading in a quiet living room with the VONLUCE ceiling fan operating silently, highlighting its low noise level (less than 35 dB).
7. Maintenance
Regular maintenance helps ensure the longevity and optimal performance of your ceiling fan.
- Cleaning: Always turn off the power at the circuit breaker before cleaning. Use a soft, damp cloth to wipe down the fan blades and motor housing. Do not use abrasive cleaners or solvents.
- Blade Inspection: Periodically check that all blade screws are tight. Loose blades can cause wobbling and noise.
- Light Kit: The LED light kit is integrated and generally does not require bulb replacement. If the light malfunctions, contact customer support.
- Remote Control: Replace batteries in the remote control when its range decreases or it stops responding.
8. Troubleshooting
If you encounter issues with your ceiling fan, refer to the following common problems and solutions:
| Problem | Possible Cause | Solution |
|---|---|---|
| Fan does not start | No power supply; Loose wiring; Remote control battery low/dead; Receiver issue. | Check circuit breaker; Ensure all wire connections are secure; Replace remote control batteries; Contact customer support if receiver is faulty. |
| Light does not work | No power supply; Loose wiring; LED kit malfunction. | Check circuit breaker; Ensure light kit wiring is secure; Contact customer support for LED kit issues. |
| Fan wobbles | Loose blade screws; Unbalanced blades; Loose mounting bracket. | Tighten all blade screws; Ensure blades are balanced (refer to full manual for balancing kit instructions if needed); Verify mounting bracket is securely fastened. |
| Remote control not working | Dead batteries; Incorrect pairing with receiver; Obstruction. | Replace batteries; Refer to full manual for remote pairing instructions; Ensure clear line of sight to receiver. |
| Fan is noisy | Loose screws; Rubbing components; Motor issue. | Check and tighten all screws; Ensure no wires or components are touching the fan blades or housing; Contact customer support if motor noise persists. |
For more detailed troubleshooting or issues not listed here, please consult the comprehensive user manual included with your product or contact VONLUCE customer support.
9. Warranty and Support
VONLUCE products are manufactured to high-quality standards and are backed by a limited warranty. Please refer to the warranty card included in your product packaging for specific terms and conditions, including the warranty period and coverage details.
For technical assistance, replacement parts, or warranty claims, please contact VONLUCE customer support through the contact information provided in your product documentation or on the official VONLUCE website. When contacting support, please have your model number (CFN-13E9-00) and purchase date readily available.