
Arcmira SD-01
Contents
Arcmira 2 in 1 Nut Milk Maker Instruction Manual
Model: SD-01 | Brand: Arcmira
1. Introduction
The Arcmira 2 in 1 Nut Milk Maker is a versatile appliance designed to create fresh, homemade plant-based milks and non-dairy beverages from nuts, seeds, grains, and beans. With a 27oz (800mL) capacity, it offers an economical and additive-free alternative to store-bought options. This machine features multiple functions including Room Temperature, Warm (140℉), Hot (212℉), Boil Water, Keep Warm (2 hours), Delay Start (up to 12 hours), and a convenient Self-Clean function. Its 8-blade stainless steel design ensures smooth blending for a creamy beverage every time.
2. Important Safety Instructions
- Read all instructions before using the appliance.
- Do not immerse the main unit (containing electrical components) in water or other liquids.
- Ensure the lid is properly aligned and closed before operation to prevent spills and steam burns.
- Keep hands and utensils out of the pitcher while blending to prevent injury.
- Unplug from outlet when not in use and before cleaning. Allow to cool before putting on or taking off parts, and before cleaning the appliance.
- Do not operate any appliance with a damaged cord or plug, or after the appliance malfunctions or has been dropped or damaged in any manner.
- Use only attachments recommended or sold by the manufacturer.
- Do not use outdoors.
- Do not let cord hang over edge of table or counter, or touch hot surfaces.
- Do not place on or near a hot gas or electric burner, or in a heated oven.
- Extreme caution must be used when moving an appliance containing hot liquids.
3. Package Contents
Please check the box for the following items:
- Milk Maker Machine
- User Manual
- Cleaning Brush
- Measuring Cup
- Recipe Book
4. Product Overview

Figure 4.1: Front view of the Arcmira Nut Milk Maker, highlighting its intuitive LED control panel and sleek design.

Figure 4.2: Multifunction Milk Maker with its top-mounted LED display for easy program selection.
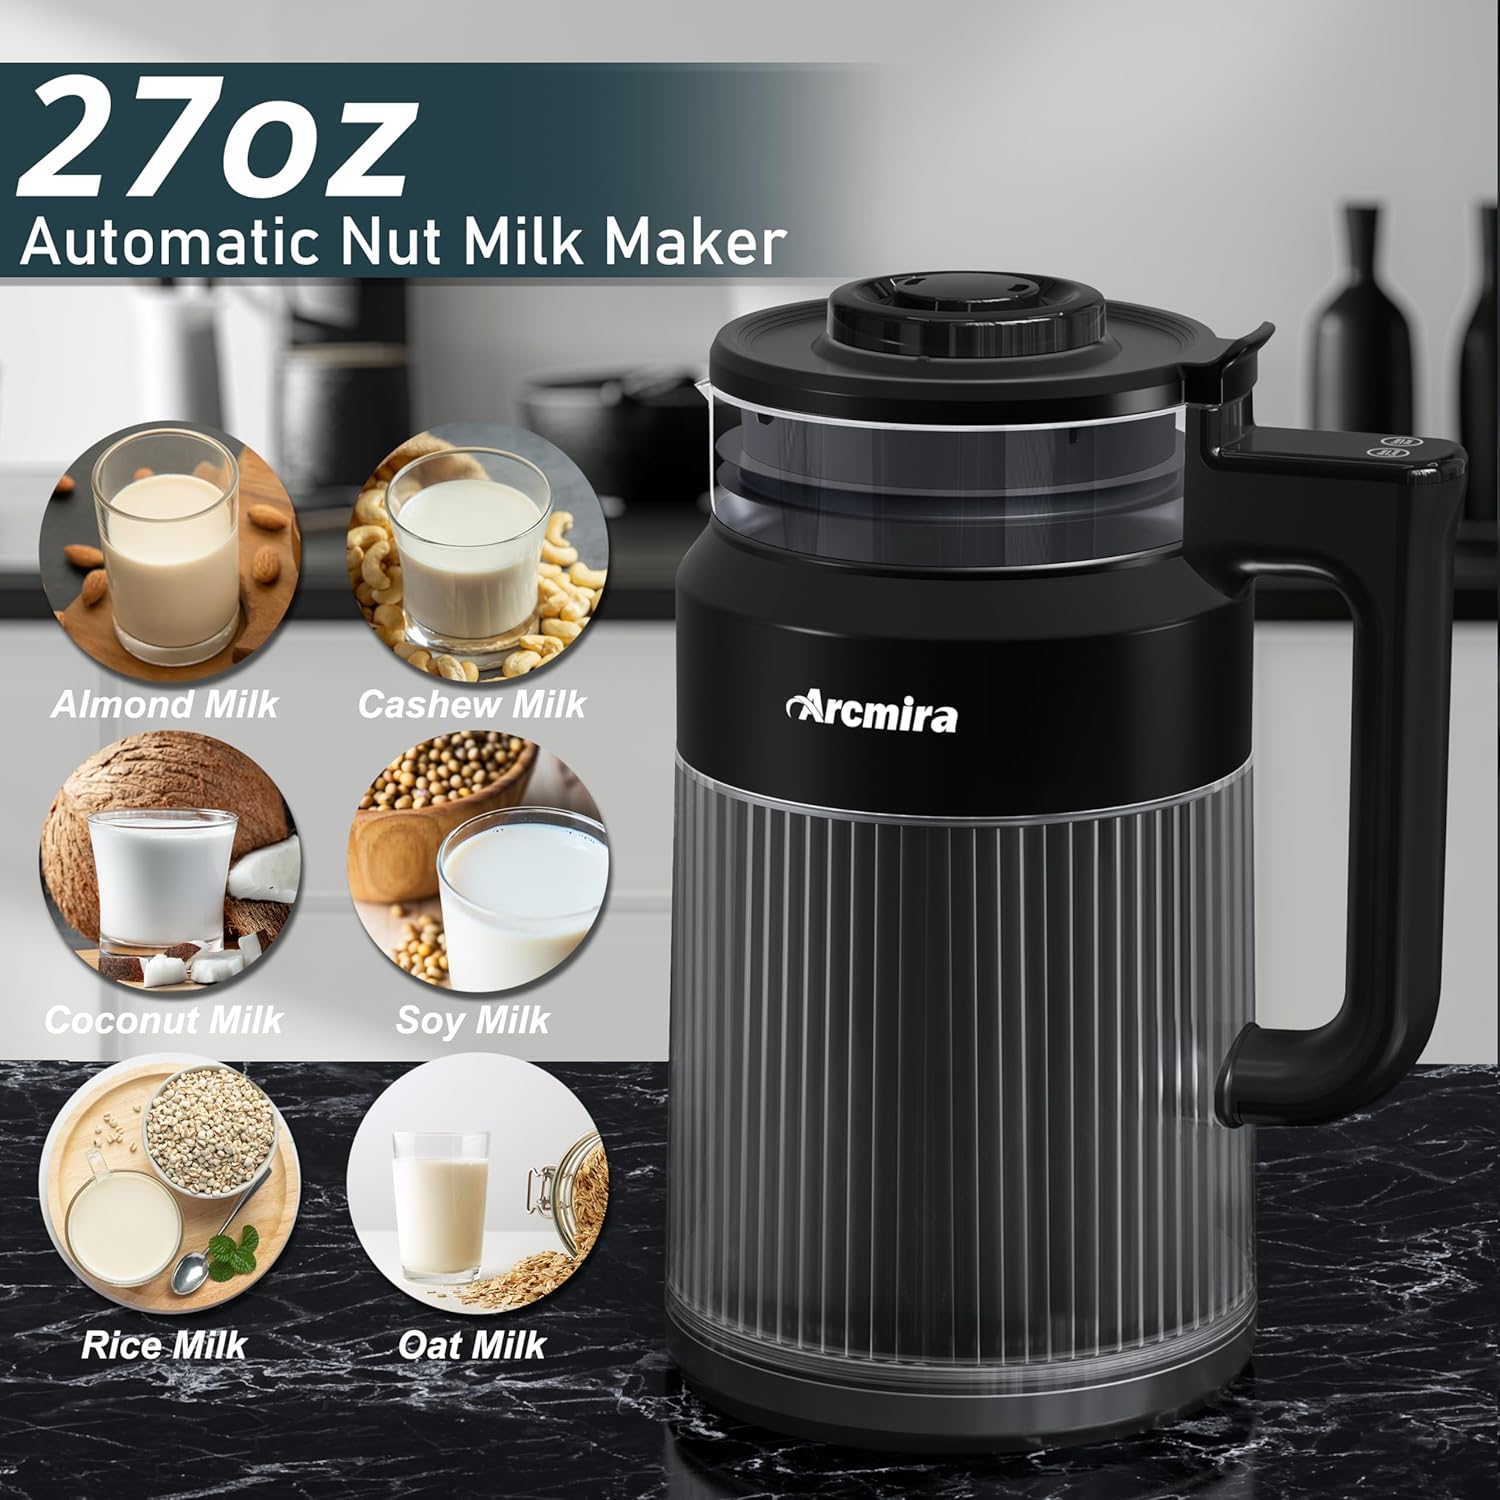
Figure 4.3: The 27oz Automatic Nut Milk Maker capable of producing a variety of plant-based milks.
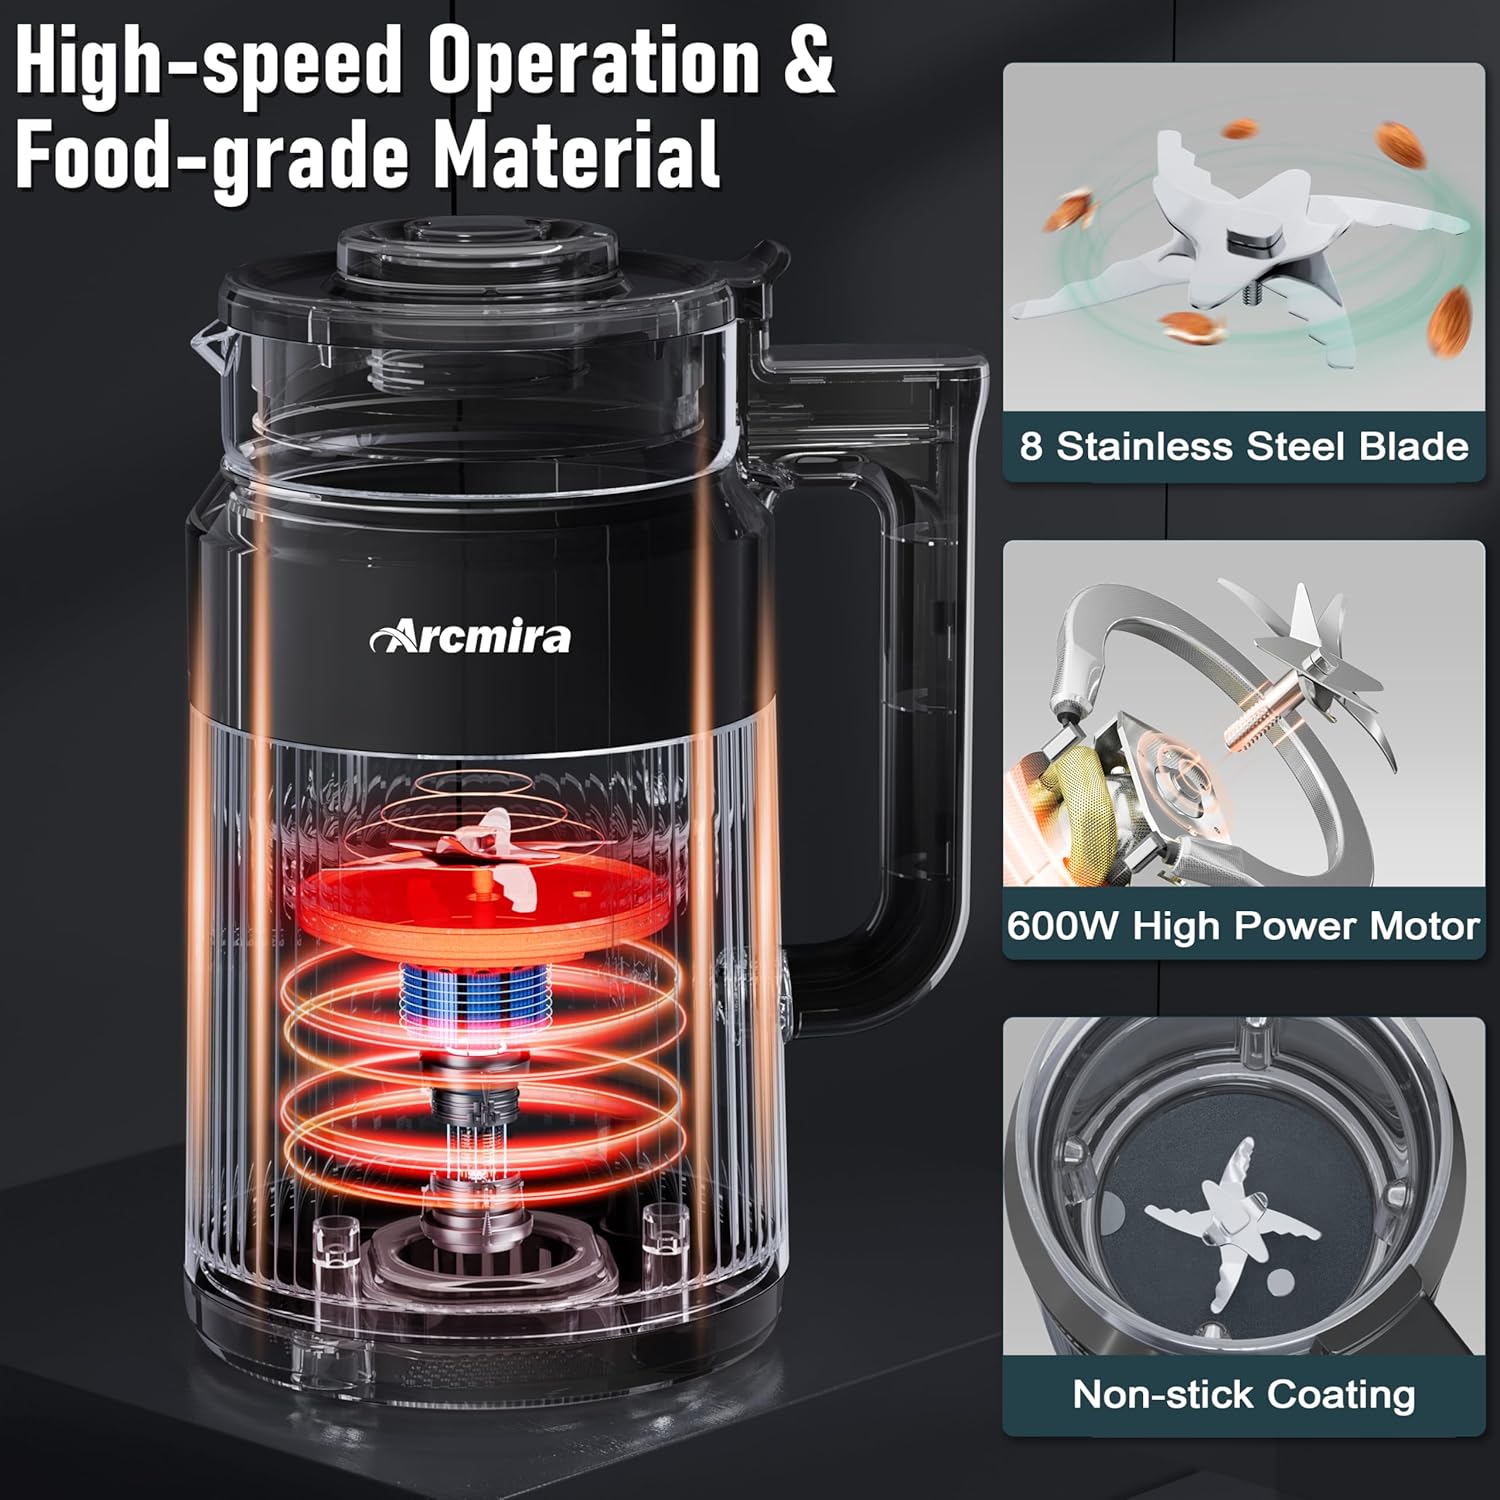
Figure 4.4: High-speed operation and food-grade materials, featuring an 8-blade system and 600W motor for efficient blending.

Figure 4.5: Achieving smooth and tasty nut milk with the efficient blending mechanism.

Figure 4.6: The convenient Delay Start function, allowing preparation up to 12 hours in advance.

Figure 4.7: Easy self-cleaning feature with non-stick coating for hassle-free maintenance.
5. Setup
Before first use, ensure all packaging materials are removed. Wash the glass pitcher and lid thoroughly with warm, soapy water. The main unit should be wiped clean with a damp cloth. Ensure all parts are completely dry before assembly.
For a visual guide on unpacking and initial setup, please refer to the official product video below:
Video 5.1: Official Arcmira Nut Milk Maker overview, demonstrating unpacking, components, and basic operation. (Duration: 0:59)
6. Operating Instructions
6.1 Basic Operation
- Add Ingredients: Place your desired nuts, seeds, grains, or beans into the pitcher. The machine is designed to work without pre-soaking for convenience.
- Add Water: Pour water into the pitcher, ensuring it is between the minimum and maximum fill lines indicated on the glass.
- Secure the Lid: Place the lid onto the pitcher and align the lid handle with the panel to lock it securely. An "E2" error will be displayed if the lid is not correctly aligned for safety.
- Select Mode: Plug in the machine. Use the control panel to select your desired function:
- Room Temperature: For chilled plant-based milks like almond milk.
- Warm (140℉): For warm beverages.
- Hot (212℉): Ideal for making soy milk and rice milk.
- Boil Water: For boiling water.
- Start Operation: Press the Start button. The machine will begin processing.
- Completion: The machine will emit beep sounds when the program is finished. It will then automatically switch to Keep Warm mode if applicable.

Figure 6.1: Visual guide for adding ingredients, water, and selecting the desired mode.

Figure 6.2: Important safety reminder: Ensure the lid is correctly aligned to prevent an "E2" error and ensure safe operation.
6.2 Delay Start Function
The Delay Start function allows you to program the machine to start at a later time, up to 12 hours in advance. This is ideal for preparing fresh milk to be ready when you wake up or return home.
- Power On: Plug in the machine.
- Choose a Mode: Select your desired milk-making mode (e.g., Room Temp, Warm, Hot).
- Set Delay Time: Press the "Delay Start" button and adjust the time from 1 to 12 hours.
- Confirm: Wait for 3 seconds, and the LED display will begin counting down the delay time.

Figure 6.3: Steps for setting the Delay Start function.
6.3 Keep Warm Function
After certain hot programs, the machine can automatically keep your beverage warm for up to 2 hours. The insulation temperature is approximately 60°C (140°F).
7. Recipes
Your Arcmira Nut Milk Maker comes with a dedicated recipe book to help you get started with various plant-based milks. Here's a simple recipe for homemade almond milk:
7.1 Homemade Almond Milk
Ingredients:
- 3 scoops of raw almonds (using the included measuring cup)
- 800mL of water (fill to the max line)
- Optional: 1-2 dates (pitted), 1/2 teaspoon vanilla extract, pinch of ground cinnamon.
Directions:
- Put all ingredients in the machine.
- Add water between the two water level lines in the cup.
- Close the lid and plug in.
- Select the "Room Temp" function by pressing the Menu button.
- Let it run until it finishes.
- Enjoy your fresh almond milk. For a smoother texture, you may strain the milk using a fine-mesh sieve or a nut milk bag after blending.
8. Maintenance and Cleaning
The Arcmira Nut Milk Maker features a convenient self-cleaning function and a non-stick coating for easy maintenance.
8.1 Self-Clean Function
After use, add a small amount of water and a drop of dish soap to the pitcher. Select the "Self Clean" function on the control panel. The machine will run a short cleaning cycle. After the cycle, rinse the pitcher thoroughly with clean water.
Figure 8.1: The self-cleaning function simplifies post-use cleanup.
8.2 General Cleaning
- Always unplug the appliance before cleaning.
- The pitcher and lid are recommended for hand washing only. Use the included cleaning brush to reach difficult areas around the blades.
- Wipe the exterior of the main unit with a soft, damp cloth. Do not immerse the main unit in water.
- Ensure all parts are completely dry before storing.
9. Troubleshooting
| Problem | Possible Cause | Solution |
|---|---|---|
| Machine does not turn on. | Not plugged in; power outage; lid not properly secured. | Ensure the power cord is securely plugged in. Check the power outlet. Verify the lid is correctly aligned and locked. |
| "E2" error displayed. | Lid is not properly aligned or locked. | Align the lid handle with the panel and ensure it clicks into place. |
| "E3" (Hot Plate dry burning) or "E5" (Abnormal heating alarm) error displayed. | Overheating or insufficient liquid. | Unplug the machine and allow it to cool down completely. Ensure sufficient water/liquid is added according to the fill lines. If the problem persists, contact customer support. |
| Milk has a grainy or gritty texture. | Ingredients not fully blended; preference for smoother texture. | Ensure ingredients are within recommended quantities. For an extra smooth result, strain the milk through a fine-mesh sieve or a nut milk bag after blending. |
| Beep sounds after program finishes. | Normal operation. | This indicates the program has completed successfully. |
10. Specifications
| Brand | Arcmira |
| Model Name | Automatic Nut Milk Maker (SD-01) |
| Color | Black |
| Material | Metal (with glass pitcher) |
| Capacity | 800 Milliliters (27 Ounces) |
| Power Source | Corded Electric |
| Wattage | 600 watts |
| Special Features | Keep Warm, Delay Start, Non-Stick, Self-Cleaning |
| Product Care Instructions | Hand Wash Only |
| Item Weight | 1.69 pounds (27 Ounces) |
| Package Dimensions | 12.36 x 10.08 x 7.95 inches |
| Date First Available | June 12, 2024 |
11. Warranty and Support
Arcmira is committed to providing high-quality products. For any questions, concerns, or warranty claims regarding your Nut Milk Maker, please contact Arcmira customer support. Refer to the product packaging or the official Arcmira website for the most up-to-date contact information.
Each item has a unique code that we verify before shipping, ensuring product authenticity and quality.
Ask a question about this manual
Ask about setup, troubleshooting, compatibility, parts, safety, or missing instructions. Manuals+ will review the question and use this page’s manual context to help answer it.