
1. Introduction
The MUSE M-179 P Alarm Clock Radio is designed to provide reliable timekeeping and audio entertainment. This device features an FM PLL radio with the capacity to store 20 preset stations. It includes a time projection function, allowing you to adjust both the angle and rotation of the projected image for optimal viewing. As an alarm clock, it offers a dual alarm system, enabling you to wake up to either your preferred radio station or a standard buzzer. Additional functions include a snooze feature for extra sleep and a sleep timer for falling asleep to music.
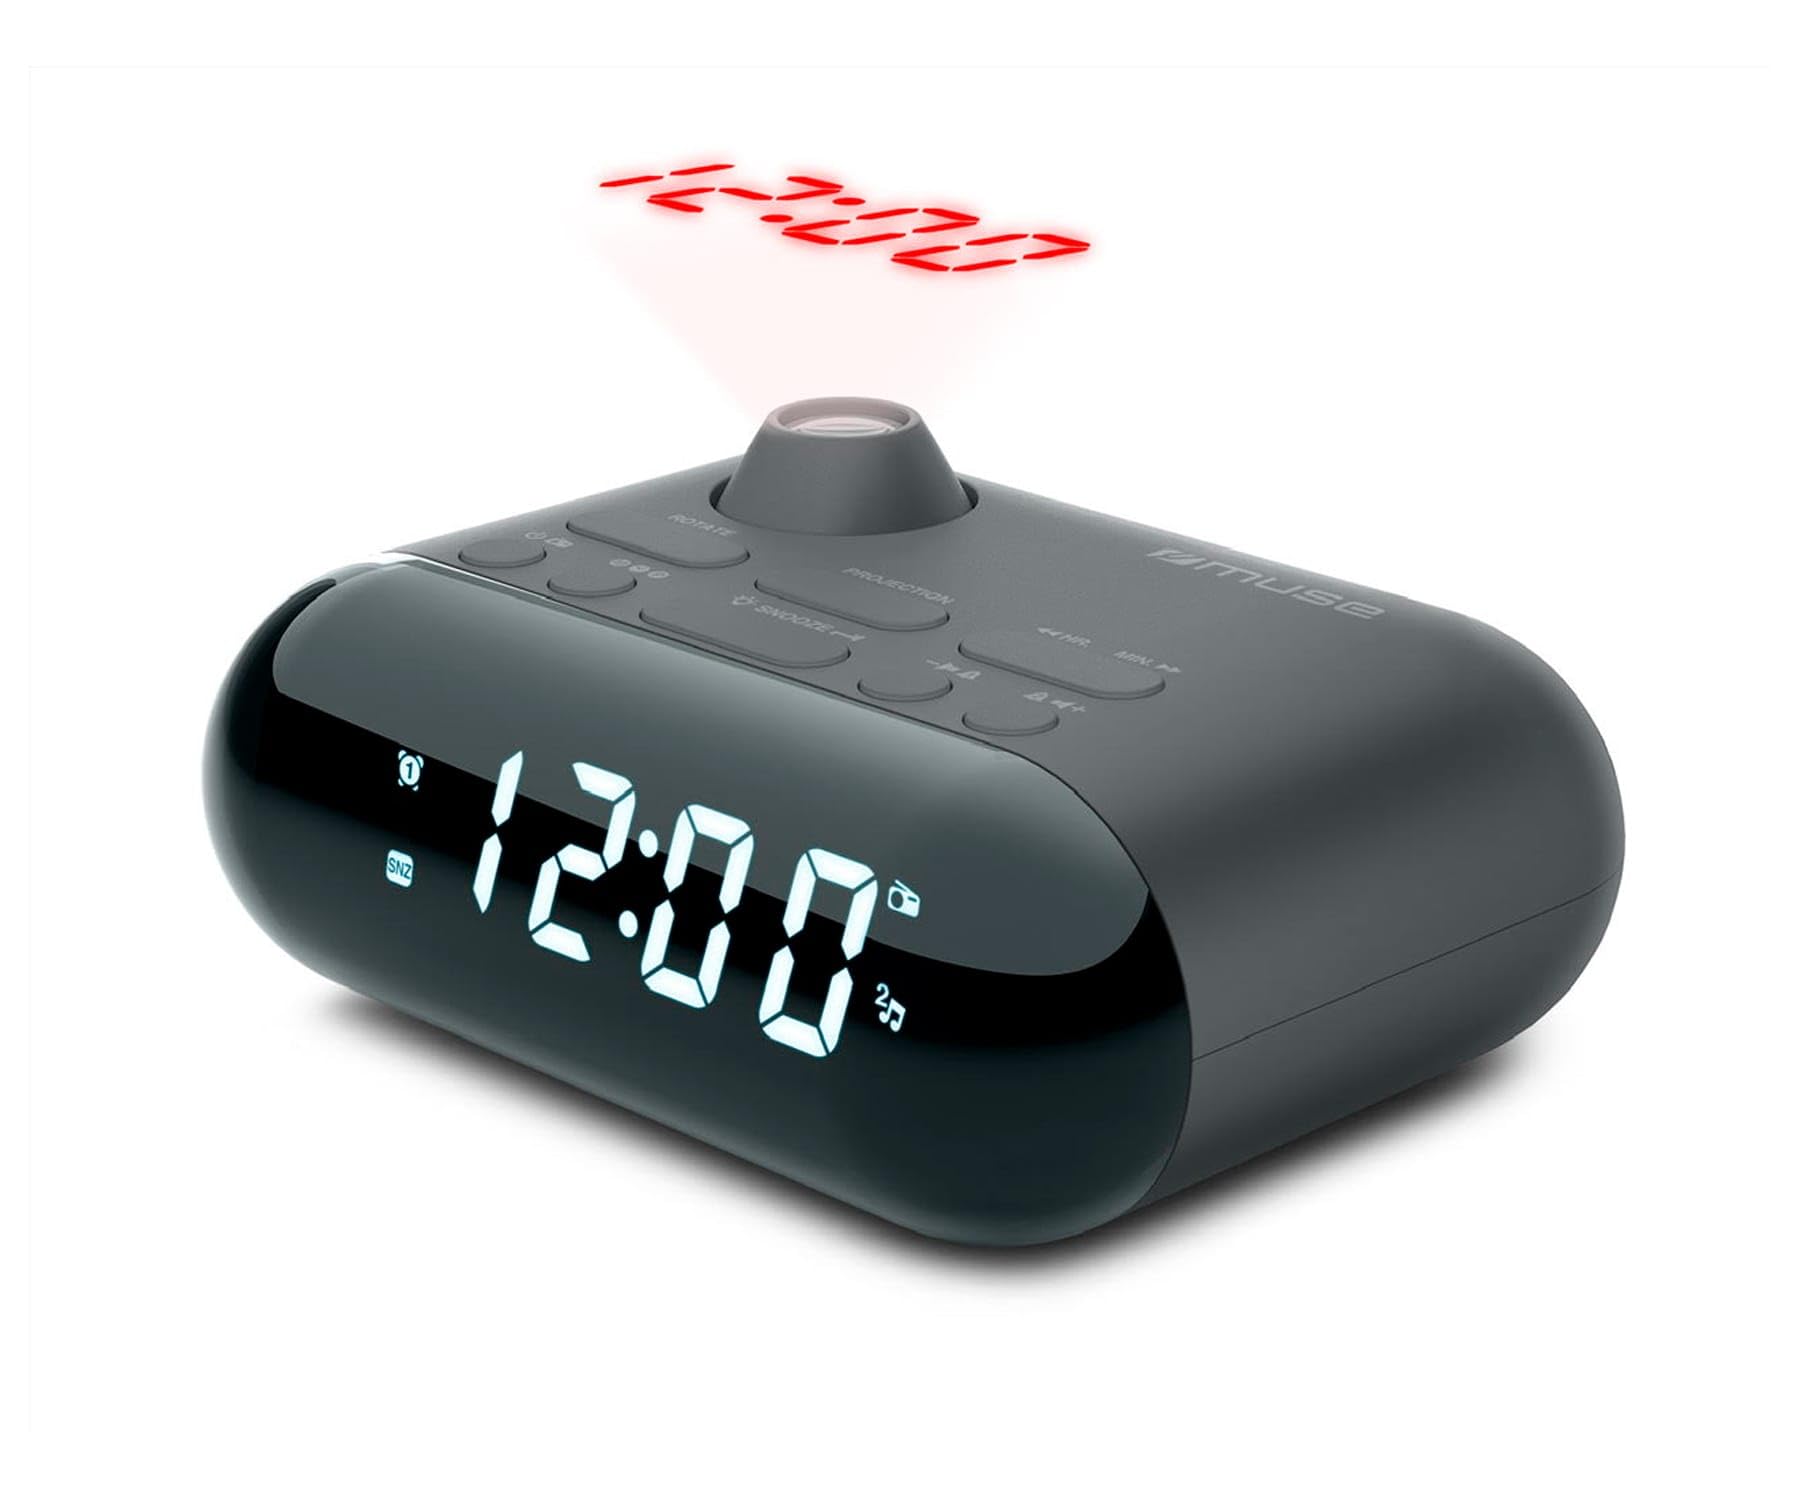
Image showing the front of the MUSE M-179 P Alarm Clock Radio, featuring the LED display and control buttons.
2. Safety Instructions
- Read all instructions carefully before operating the device.
- Keep this manual for future reference.
- Do not expose the unit to dripping or splashing water.
- Ensure proper ventilation; do not block any ventilation openings.
- Do not place the unit near heat sources such as radiators, heat registers, stoves, or other apparatus (including amplifiers) that produce heat.
- Use only attachments/accessories specified by the manufacturer.
- Dispose of used batteries responsibly according to local regulations.
- Do not attempt to disassemble or modify the unit. Refer all servicing to qualified service personnel.
3. Package Contents
Please check that the following items are included in your package:
- MUSE M-179 P Alarm Clock Radio Unit
- 1 x AA Battery (for backup or primary power, depending on model)
- User Manual (this document)
4. Product Features
- Alarm Clock Radio: Integrated alarm and radio functions.
- Time Projection: Projects the current time onto a wall or ceiling.
- Dual Alarm: Set two independent alarms.
- Wake-up Options: Choose to wake up to FM radio or a buzzer sound.
- PLL FM Radio: Digital tuning for stable radio reception.
- 20 FM Presets: Store up to 20 of your favorite FM radio stations.
- Snooze Function: Temporarily pause the alarm.
- Sleep Timer: Fall asleep to radio with automatic shut-off.
- Built-in Clock: Accurate timekeeping.
- Portable Design: Compact and easy to move.
5. Controls and Display
The MUSE M-179 P features an intuitive layout for easy operation. While specific button labels may vary, common controls include:
- LED Display: Shows current time, alarm status, and radio frequency.
- Time Set Button: For adjusting hours and minutes.
- Alarm 1/Alarm 2 Buttons: To set and activate individual alarms.
- Snooze/Sleep Button: Activates snooze or sets the sleep timer.
- Radio/Tuning Buttons: For scanning and selecting radio stations.
- Volume Control: Adjusts audio output.
- Projector On/Off & Adjustment: Controls the time projection feature.
6. Setup
6.1. Power Connection
- Open the battery compartment, usually located on the bottom or back of the unit.
- Insert 1 AA battery, ensuring correct polarity (+/-). This battery powers the unit.
- Close the battery compartment securely.
6.2. Initial Time Setting
- When the unit is first powered on, the display may flash or show a default time.
- Press and hold the TIME SET button (or similar) until the hour digits begin to flash.
- Use the HOUR and MINUTE buttons (or tuning buttons) to adjust the hour. Pay attention to AM/PM indicators if present.
- Press TIME SET again to confirm the hour and move to minute adjustment.
- Adjust the minutes using the appropriate buttons.
- Press TIME SET one last time to save the current time.
7. Operating Instructions
7.1. Setting Alarms
The M-179 P features two independent alarms (Alarm 1 and Alarm 2).
- Press and hold the ALARM 1 button until the alarm hour digits flash.
- Use the HOUR and MINUTE buttons to set the desired alarm time.
- Press ALARM 1 again to confirm the time and select the wake-up source (radio or buzzer). Use the tuning buttons to toggle between options.
- Press ALARM 1 once more to save the settings. The alarm indicator will light up on the display.
- Repeat the process for ALARM 2 using the ALARM 2 button.
7.2. Using the FM Radio
- Press the RADIO ON/OFF button to turn on the radio.
- Use the TUNE +/- buttons to manually adjust the frequency.
- To auto-scan for stations, press and hold the TUNE +/- button. The radio will stop at the next strong signal.
- To save a preset station: Tune to the desired station, then press and hold the PRESET button (or MEM). The preset number will flash. Use TUNE +/- to select a preset number (1-20), then press PRESET again to save.
- To recall a preset station: Press the PRESET button repeatedly to cycle through saved stations.
- Adjust the volume using the VOLUME +/- buttons.
7.3. Time Projection
- Locate the PROJECTOR ON/OFF switch or button. Turn it on to activate the time projection.
- Adjust the projection angle by physically rotating the projector lens housing.
- If available, use the IMAGE ROTATION button or dial to flip the projected time display 180 degrees for optimal viewing on a ceiling or wall.
- Adjust the focus of the projected image by rotating the focus ring around the projector lens.
7.4. Snooze Function
When an alarm sounds, press the SNOOZE button. The alarm will temporarily stop and sound again after a few minutes (typically 5-9 minutes, depending on the model's default setting).
7.5. Sleep Timer
- While the radio is playing, press the SLEEP button.
- Repeatedly press the SLEEP button to cycle through available sleep timer durations (e.g., 90, 60, 30, 15 minutes, or OFF).
- The radio will automatically turn off after the selected duration.
8. Maintenance
8.1. Cleaning
- Wipe the unit with a soft, dry cloth.
- Do not use abrasive cleaners, waxes, or solvents.
8.2. Battery Replacement
- When the display dims or the unit malfunctions, it may be time to replace the battery.
- Open the battery compartment and replace the old AA battery with a new one, observing correct polarity.
- Dispose of the old battery according to local environmental regulations.
9. Troubleshooting
| Problem | Possible Cause | Solution |
|---|---|---|
| Unit does not turn on. | Battery is dead or incorrectly inserted. | Replace battery or check polarity. |
| Poor radio reception. | Antenna not extended or poor signal area. | Extend the FM antenna fully. Reposition the unit for better reception. |
| Alarm does not sound. | Alarm not activated or set incorrectly. | Ensure alarm is set and activated (alarm indicator visible). Check alarm volume. |
| Time projection is blurry. | Focus not adjusted. | Rotate the focus ring on the projector lens until the image is clear. |
| Projected time is upside down. | Image rotation needs adjustment. | Press the IMAGE ROTATION button or adjust the dial to flip the display. |
10. Specifications
- Brand: MUSE
- Model Number: M-179 P
- Power Source: Battery powered (1 AA battery required)
- Display Type: LED
- Connectivity Technology: Auxiliary (3.5 mm Audio Interface)
- Tuner Type: FM
- Radio Bands Supported: FM
- Special Features: Built-in clock, Portable
- Product Dimensions (L x W x H): 15 cm x 12.4 cm x 6.8 cm
- Water Resistance Level: Waterproof (Note: This specification should be interpreted with caution for electronic devices. Avoid direct exposure to water.)
- Internal Material: Plastic
- Recommended Uses: For indoor use
- Compatible Devices (Auxiliary): Headphones, Speaker, MP3 player, Laptop
11. Warranty and Support
This product is covered by a standard manufacturer's warranty. For detailed warranty information, please refer to the warranty card included in your product packaging or visit the official MUSE website. For technical support, troubleshooting assistance, or to inquire about spare parts, please contact MUSE customer service through their official channels.
Please retain your proof of purchase for any warranty claims.


