1. Introduction
This manual provides essential information for the safe and efficient operation, installation, and maintenance of your Mitsubishi MSZ-HR25VF, MSZ-HR35VF, and MXZ-2HA40V dual split air conditioning system. Please read this manual thoroughly before using the unit and retain it for future reference.
The Mitsubishi HR series is designed for optimal comfort and energy efficiency, featuring compact indoor and outdoor units suitable for various residential and commercial spaces.
2. Safety Information
Always observe the following safety precautions to prevent injury or damage to the unit.
- Installation must be performed by a qualified service person in accordance with local regulations and this manual.
- Ensure the power supply matches the unit's specifications.
- Do not insert fingers or objects into the air inlet/outlet.
- Do not attempt to repair or modify the unit yourself. Contact qualified service personnel.
- Turn off the power supply before cleaning or performing any maintenance.
- The refrigerant used in this unit is R32. Handle with care and ensure proper ventilation during installation and servicing.
3. System Components
The Mitsubishi dual split system consists of the following main components:
- Indoor Units: MSZ-HR25VF and MSZ-HR35VF (one 9000 BTU and one 12000 BTU unit). These units are responsible for air distribution and temperature regulation inside the conditioned space.
- Outdoor Unit: MXZ-2HA40VF. This unit houses the compressor and heat exchanger, responsible for rejecting or absorbing heat from the outside environment.
- Remote Controls: Each indoor unit is typically controlled by its own wireless remote control.
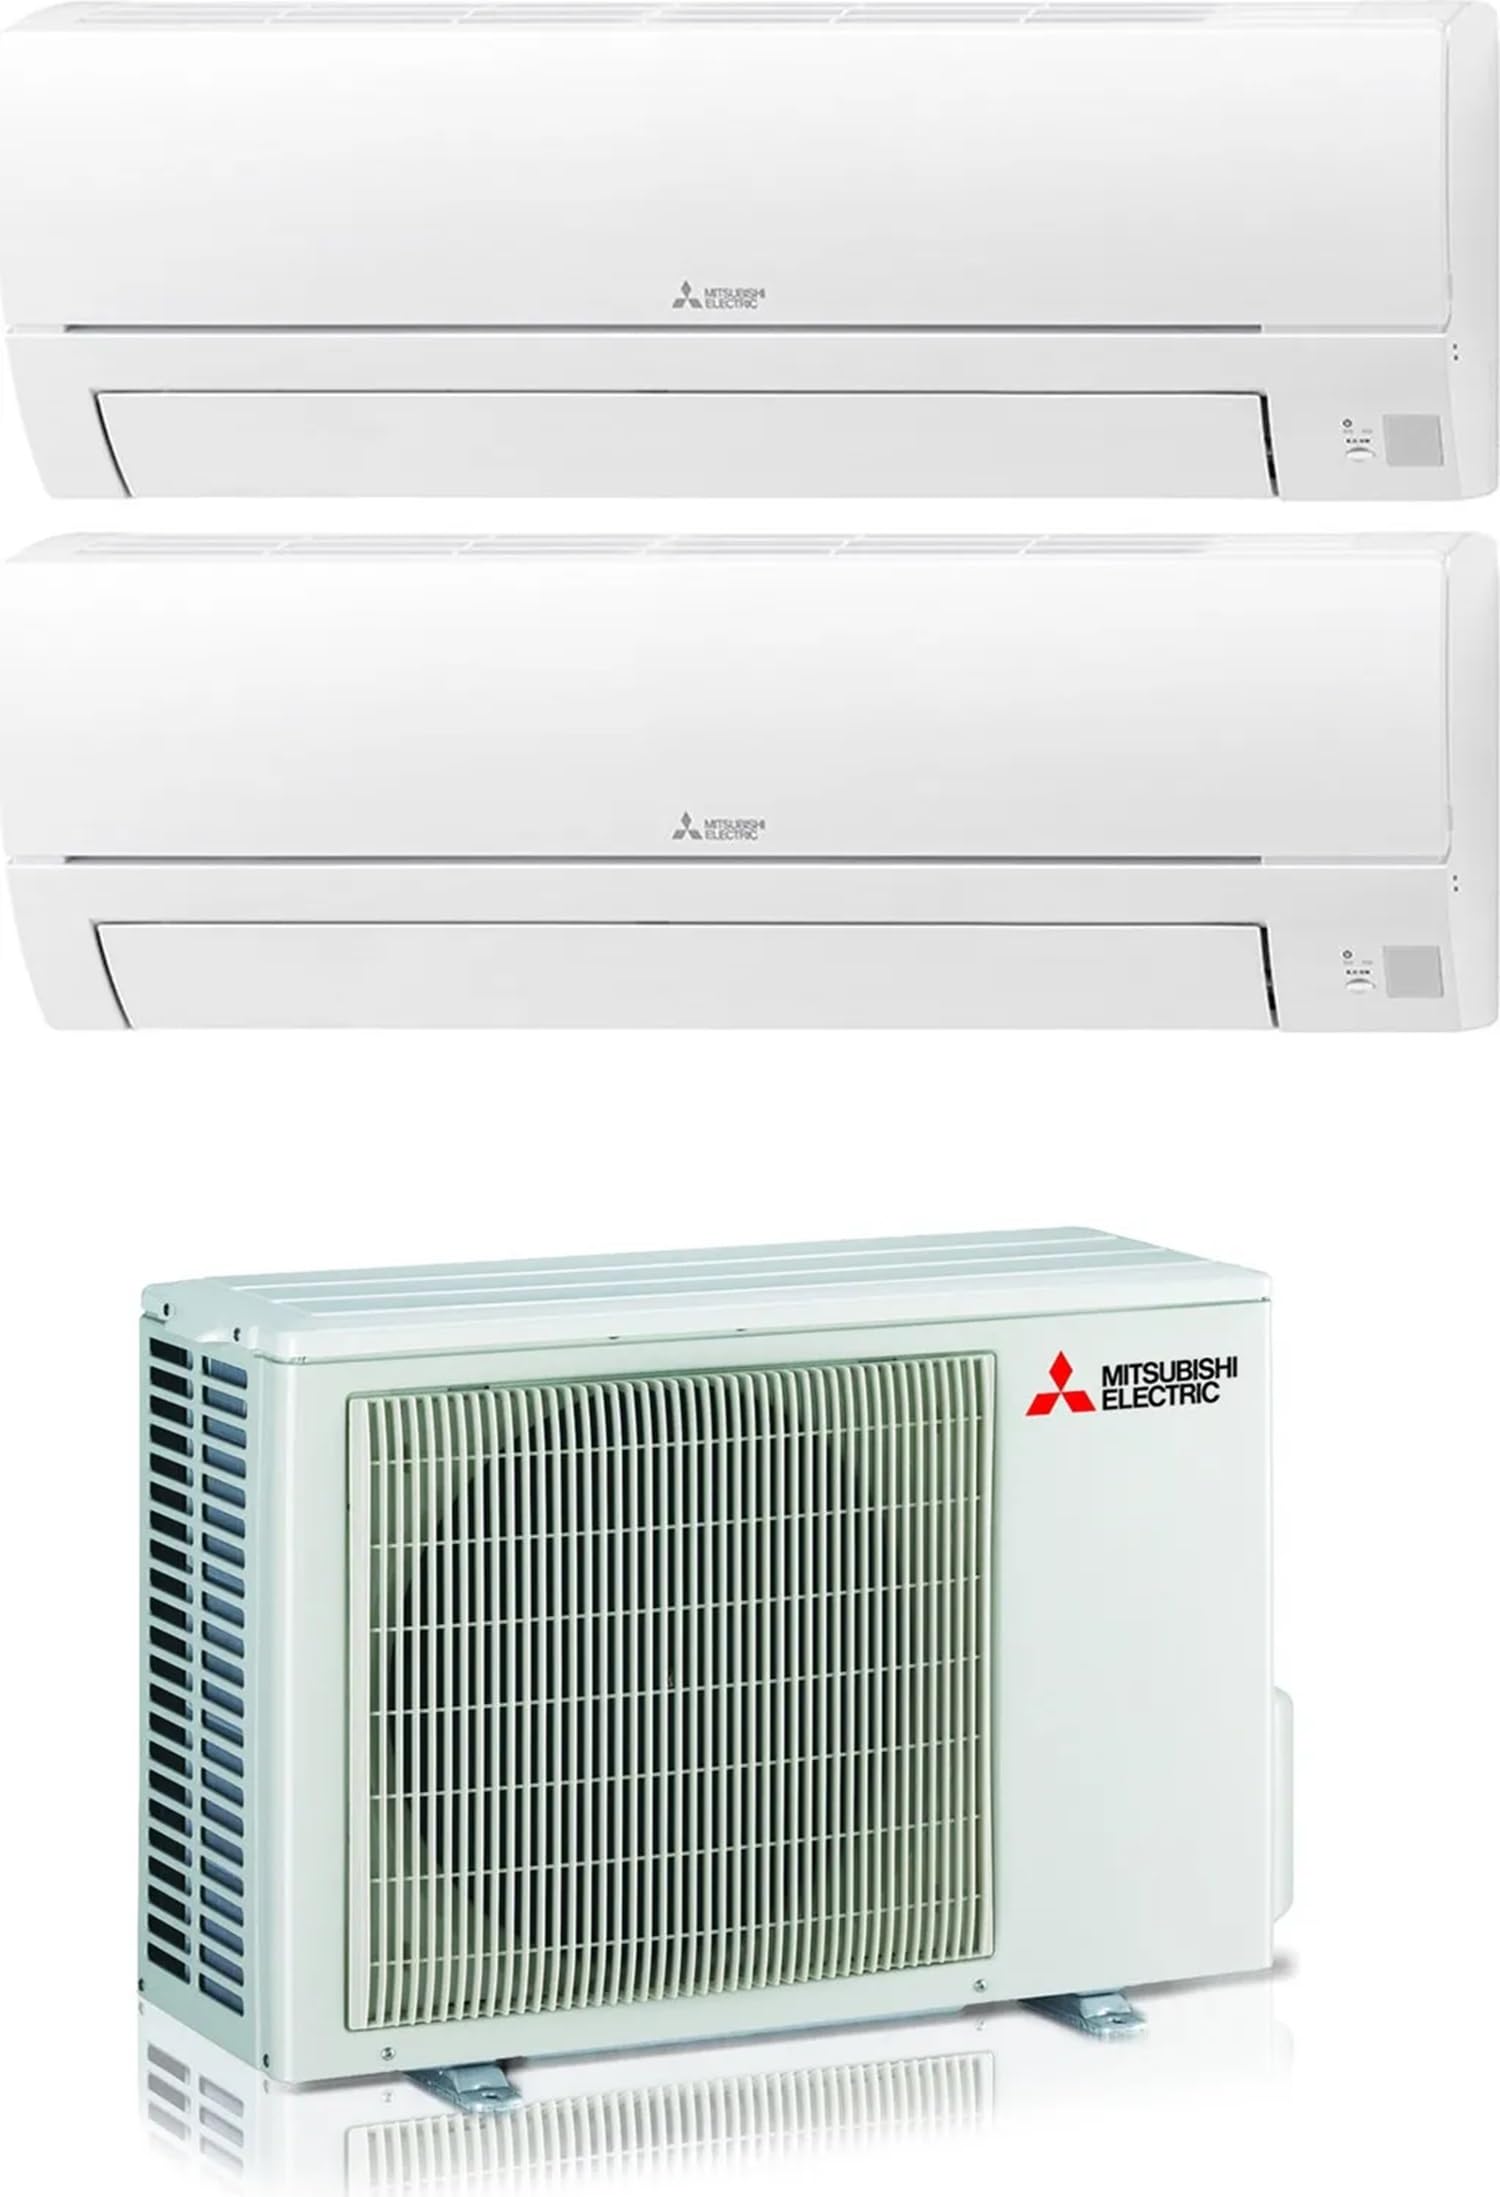
Image 1: Overview of the Mitsubishi Dual Split Air Conditioner System, showing both indoor and outdoor units.
4. Setup and Installation
Installation of this air conditioning system requires specialized knowledge and tools. It must be performed by a certified HVAC technician to ensure proper functioning, safety, and compliance with warranty conditions.
4.1. Pre-Installation Checks
- Verify that the installation site meets the space requirements for both indoor and outdoor units.
- Ensure adequate power supply is available and correctly rated for the system.
- Confirm that all necessary components and accessories are present.
4.2. General Installation Guidelines (for qualified technicians)
- Mounting Indoor Units: Securely mount the MSZ-HR25VF and MSZ-HR35VF units on a wall, ensuring proper clearance for airflow and maintenance.
- Mounting Outdoor Unit: Install the MXZ-2HA40VF unit on a stable, level surface, away from direct sunlight or obstructions, ensuring proper ventilation.
- Refrigerant Piping: Connect the refrigerant lines between the indoor and outdoor units. The system uses R32 refrigerant. Maximum pipe length is 30m, with a maximum vertical difference of 10m.
- Electrical Wiring: Connect the power supply and communication wiring according to the wiring diagram provided with the unit. Ensure proper grounding.
- Drainage: Install condensate drain lines to ensure proper removal of condensed water from the indoor units.
- Vacuuming and Charging: Evacuate the refrigerant lines to remove air and moisture, then charge the system with the correct amount of R32 refrigerant.
- Test Run: Perform a test run to verify proper operation of all modes and functions.
5. Operating Instructions
Each indoor unit is controlled by its dedicated wireless remote control. Familiarize yourself with the remote control functions for optimal use.
5.1. Basic Functions
- Power ON/OFF: Press the ON/OFF button to start or stop the unit.
- Mode Selection: Use the MODE button to cycle through operating modes:
- COOL: For cooling the room.
- HEAT: For heating the room (heat pump function).
- DRY: For dehumidification.
- FAN: For air circulation only.
- AUTO: The unit automatically selects the operating mode based on the room temperature.
- Temperature Adjustment: Use the TEMP ▲/▼ buttons to set the desired temperature.
- Fan Speed: Adjust the fan speed using the FAN SPEED button (Auto, Low, Medium, High).
- Vane Control: Use the SWING or VANE buttons to adjust the airflow direction.
5.2. Energy Saving Tips
- Set the temperature to a comfortable level and avoid extreme settings.
- Use the timer function to operate the unit only when needed.
- Keep doors and windows closed while the unit is operating.
- Clean air filters regularly to maintain efficiency.
6. Maintenance
Regular maintenance ensures optimal performance and extends the lifespan of your air conditioning system. Always turn off the power supply to the unit before performing any maintenance.
6.1. Air Filter Cleaning
The indoor units are equipped with pre-filters that should be cleaned regularly (approximately every two weeks, or more often depending on usage and air quality).
- Open the front panel of the indoor unit.
- Gently remove the air filters.
- Clean the filters using a vacuum cleaner or wash them with lukewarm water. If washing, allow them to dry completely in a shaded area before re-installing.
- Re-install the dry filters and close the front panel.
6.2. Outdoor Unit Cleaning
Periodically check the outdoor unit for obstructions (leaves, debris) around the air inlet and outlet. Clean the coil fins gently with a soft brush if they are dirty. Do not use harsh chemicals or high-pressure water directly on the fins.
6.3. Professional Servicing
It is recommended to have your system professionally inspected and serviced by a qualified technician at least once a year. This includes checking refrigerant levels, electrical connections, and overall system performance.
7. Troubleshooting
Before contacting service personnel, please check the following common issues and solutions:
| Problem | Possible Cause | Solution |
|---|---|---|
| Unit does not operate | No power supply; Remote control batteries depleted; Timer function active. | Check circuit breaker; Replace remote control batteries; Cancel timer setting. |
| Insufficient cooling/heating | Dirty air filters; Air inlet/outlet blocked; Temperature setting incorrect; Doors/windows open. | Clean air filters; Remove obstructions; Adjust temperature; Close doors/windows. |
| Water leakage from indoor unit | Clogged drain hose; Improper installation. | Clear drain hose; Contact a qualified technician for inspection. |
| Unusual noise | Loose parts; Foreign objects; Compressor noise (normal during operation). | Check for loose parts; Remove foreign objects; If noise is excessive, contact service. |
If the problem persists after attempting these solutions, turn off the power supply and contact a qualified service technician.
8. Technical Specifications
The following specifications apply to the Mitsubishi MSZ-HR25VF + MSZ-HR35VF + MXZ-2HA40V dual split air conditioning system:
| Parameter | Value |
|---|---|
| Model Name | MSZ-HR25VF + MSZ-HR35VF + MXZ-2HA40V |
| Energy Class (Cooling) | A++ |
| Energy Class (Heating) | A+ |
| SEER (Seasonal Energy Efficiency Ratio) | 8.0 |
| SCOP (Seasonal Coefficient of Performance) | 4.3 |
| Cooling Capacity | 4.0 kW (Total for both indoor units) |
| Heating Capacity | 4.3 kW (Total for both indoor units) |
| Power Input (Cooling) | 1.0 kW |
| Power Input (Heating) | 0.9 kW |
| Refrigerant Type | R32 |
| Power Supply | 220~240V / 50Hz / 1 Phase |
| Max. Refrigerant Pipe Length | 30 m |
| Max. Height Difference | 10 m |
| Indoor Unit (MSZ-HR25VF) Dimensions (WxHxD) | 838x280x249 mm |
| Indoor Unit (MSZ-HR25VF) Weight | 8.5 Kg |
| Indoor Unit (MSZ-HR35VF) Dimensions (WxHxD) | 838x280x249 mm (Assumed similar to HR25VF, as not explicitly different in description) |
| Indoor Unit (MSZ-HR35VF) Weight | 8.5 Kg (Assumed similar to HR25VF, as not explicitly different in description) |
| Outdoor Unit (MXZ-2HA40VF) Dimensions (WxHxD) | 800x550x285 mm |
| Outdoor Unit (MXZ-2HA40VF) Weight | 32 Kg |
9. Warranty and Support
9.1. Warranty Information
This Mitsubishi air conditioning system comes with a Limited Warranty. The specific terms and duration of the warranty may vary by region and retailer. Please refer to the warranty card included with your product or contact your authorized Mitsubishi dealer for detailed information.
Keep your purchase receipt as proof of purchase for warranty claims. The warranty typically covers manufacturing defects and does not cover damage resulting from improper installation, misuse, lack of maintenance, or unauthorized repairs.
9.2. Customer Support
For technical assistance, troubleshooting beyond this manual, or warranty service, please contact your authorized Mitsubishi dealer or the customer support provided by your retailer. Ensure you have your model number and purchase details ready when contacting support.
You can also visit the official Mitsubishi Electric website for additional resources and contact information: www.mitsubishielectric.com


