
Introduction
Thank you for choosing the Garwarm 38.7-inch Modern 6-Light Crystal Chandelier. This manual provides essential information for the safe installation, operation, and maintenance of your new lighting fixture. Please read these instructions thoroughly before beginning installation and retain them for future reference.
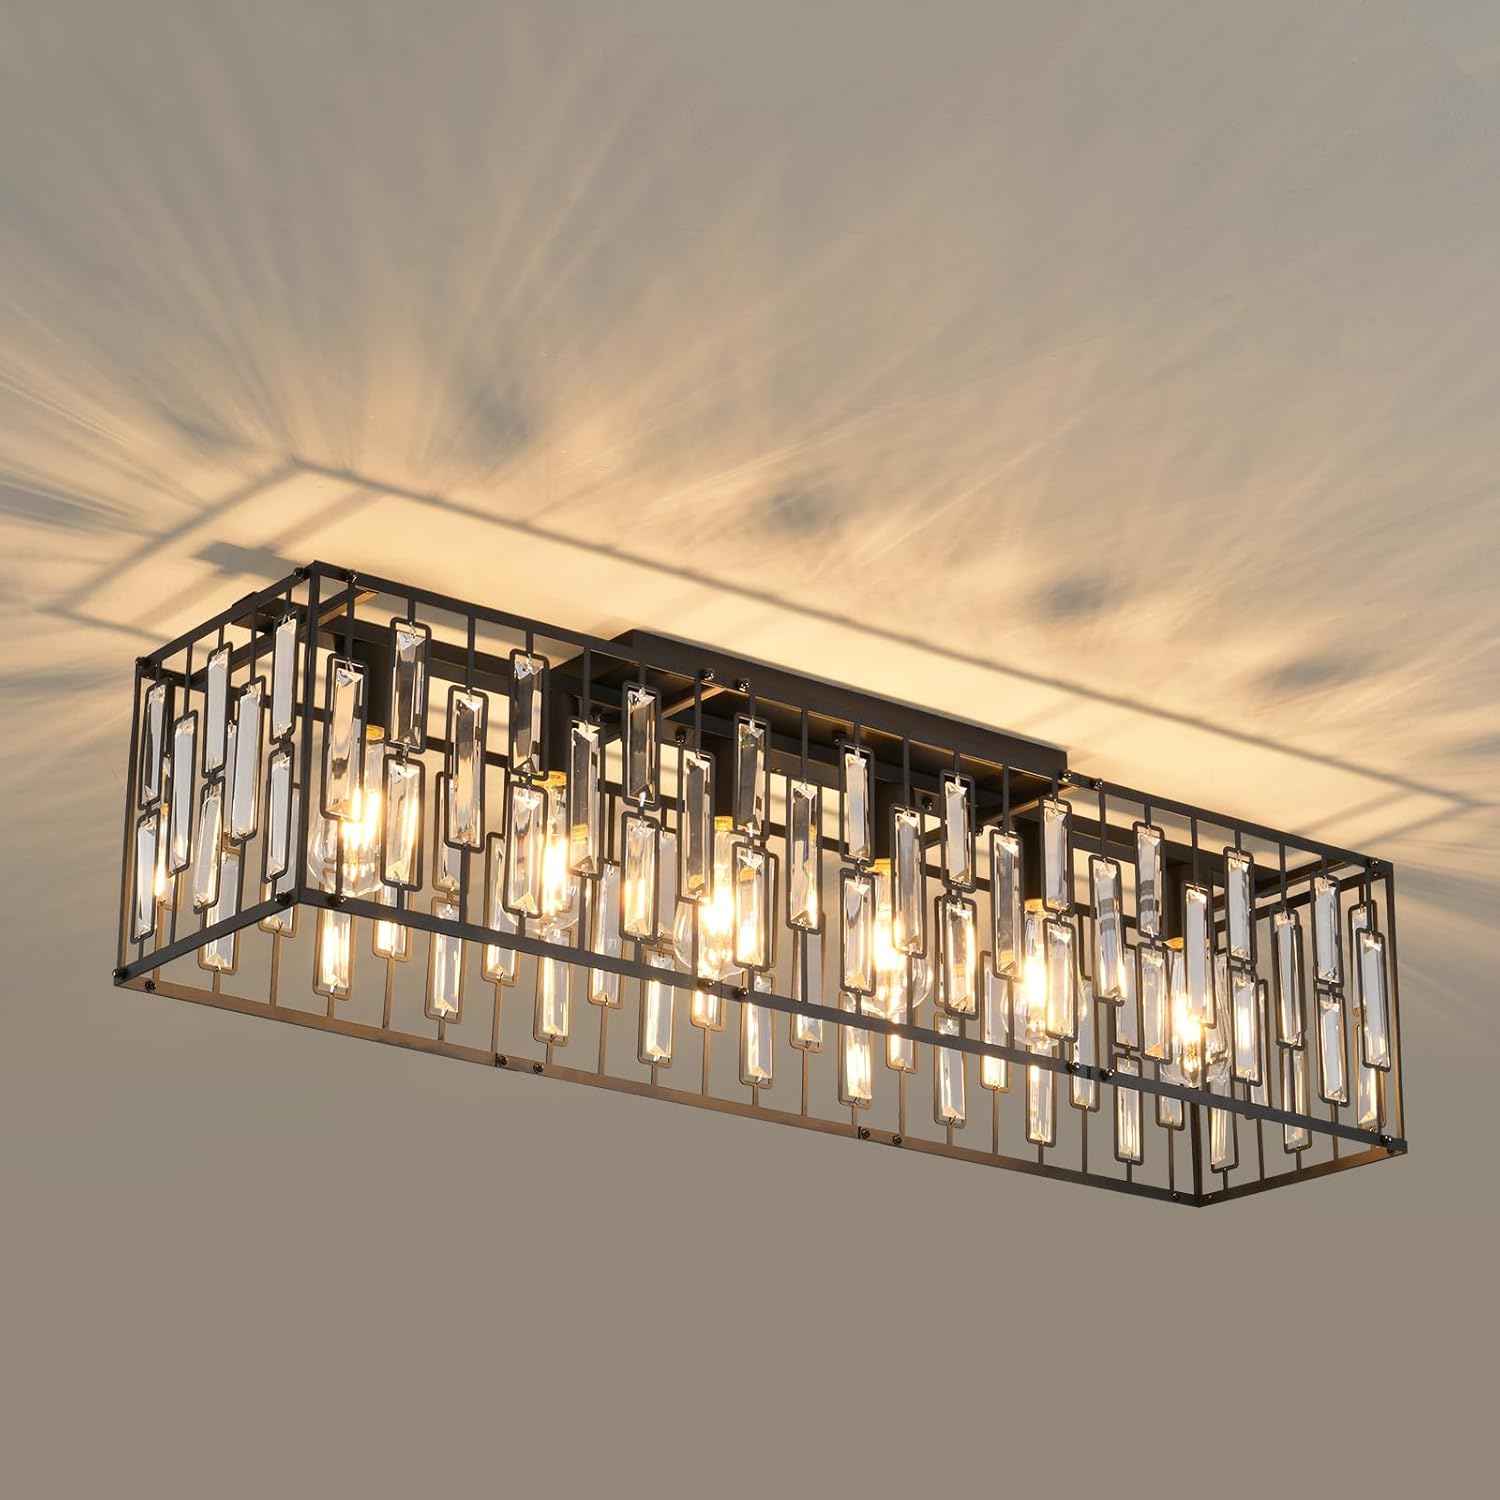
Image: The Garwarm 38.7-inch Modern 6-Light Crystal Chandelier, featuring a black rectangular frame adorned with clear K9 crystals, shown illuminated to highlight its design and light distribution.
Safety Information
WARNING: Risk of Electric Shock. Disconnect power at the circuit breaker before installation or servicing.
- Always turn off the main power supply at the circuit breaker before installing, cleaning, or performing any maintenance on the fixture.
- Consult a qualified electrician if you are unsure about the installation process.
- Ensure all electrical connections are secure and comply with local electrical codes.
- Do not exceed the maximum wattage specified for the bulbs (Max 60W per E26 bulb).
- Handle crystal components with care to prevent breakage.
- This fixture is designed for indoor use only and is not water-resistant.
Package Contents
Verify that all components are present and undamaged before proceeding with installation.
- Chandelier Frame (Black Rectangular)
- K9 Crystal Components
- Mounting Hardware (Crossbar, Screws, Wire Nuts)
- Installation Accessories
- Instruction Manual
- Note: E26 bulbs are NOT included and must be purchased separately.
Specifications
| Brand | Garwarm |
| Model Number | TT-JD1002B-6 |
| Product Dimensions | 38.7"L x 9.56"W x 10.62"H (98.3cm L x 24.3cm W x 27cm H) |
| Material | Crystal, Iron |
| Color | Black (Frame), Clear (Crystals) |
| Number of Light Sources | 6 |
| Bulb Base | E26 |
| Max Wattage per Bulb | 60W |
| Voltage | 110-120V |
| Installation Type | Flush Mount |
| Room Type | Living Room, Dining Room, Kitchen Island, Bedroom, Home Office |

Image: Detailed diagram illustrating the chandelier's dimensions (length, width, height) and showcasing its compatibility with various E26/E27 bulb types, including incandescent, LED, and smart bulbs.
Setup and Installation
Follow these steps carefully for proper installation. It is recommended to have two people for installation due to the fixture's size and weight.
- Prepare for Installation:
- Turn off power at the main circuit breaker.
- Ensure the mounting surface is structurally sound to support the fixture's weight.
- Unpack all components and lay them out on a clean, soft surface to prevent scratches.
- Install the Mounting Bracket:
- Attach the mounting crossbar to your ceiling electrical box using the provided screws. Ensure it is firmly secured.
- Installation Tip: Some electrical boxes may require a different crossbar or longer bolts for a flush fit. Adjust the length of the mounting bolts using the small nuts to ensure the canopy sits flush against the ceiling. A small piece of tape can help prevent bolts from spinning during tightening.
- Wire the Fixture:
- Connect the fixture's wires to your household electrical wires. Typically, the black wire from the fixture connects to the black (hot) wire from the ceiling, and the white wire from the fixture connects to the white (neutral) wire from the ceiling. Connect the ground wire (green or bare copper) from the fixture to the ground wire from the ceiling box.
- Secure connections with wire nuts. Ensure all connections are tight.
- Wiring Note: Wires from the fixture sockets are pre-stripped. You may need a wire stripper for the household wires.
- Attach the Fixture Canopy:
- Carefully lift the fixture and align the holes in the canopy with the mounting bolts on the crossbar.
- Secure the canopy to the mounting bracket using the decorative nuts or finials.
- Install the Crystals:
- Hang the K9 crystal components onto the designated hooks or slots on the fixture frame. Refer to the assembly diagram for correct placement.
- Handle crystals by their edges to avoid fingerprints.
- Install Bulbs:
- Screw six E26 base bulbs (not included, Max 60W each) into the sockets.
- Recommendation: For 3-color changing functionality, use compatible 3-color changing E26 LED bulbs.
- Restore Power:
- Once installation is complete, turn the power back on at the circuit breaker.
- Test the light fixture.

Image: Close-up details of the chandelier's construction, showing the durable metal material of the frame, the sparkling K9 crystals, and the standard E26/E27 lamp base for bulb installation.
For a visual guide, you may find an installation video by scanning the QR code provided in the physical manual, if available.
Operating Instructions
This chandelier operates like a standard light fixture, controlled by a wall switch. For enhanced functionality, consider using specific bulb types.
- Power On/Off: Use your standard wall switch to turn the chandelier on or off.
- 3-Color Changing Functionality: If you use 3-color changing E26 LED bulbs (not included), you can cycle through warm light (2700K), neutral light (4500K), and cool light (6000K) by toggling your wall switch.
- Dimmable Feature: The fixture is fully dimmable when used with dimmable E26 bulbs and a compatible dimmer switch (both not included). Ensure your bulbs and switch are rated for dimming.

Image: A visual comparison demonstrating the chandelier's appearance when the lights are turned off (top) and when they are turned on (bottom), highlighting the illumination effect.
Maintenance
Regular cleaning will help maintain the appearance and performance of your chandelier.
- Cleaning the Frame: Ensure the power is off. Use a soft, dry cloth to gently wipe the metal frame. Avoid abrasive cleaners or solvents that could damage the finish.
- Cleaning the Crystals: Ensure the power is off. The K9 crystals can be cleaned with a soft, lint-free cloth dampened with a mild glass cleaner or water. Avoid spraying cleaner directly onto the fixture; spray onto the cloth first.
- Bulb Replacement: Always turn off the power before replacing bulbs. Allow bulbs to cool completely before handling.
Troubleshooting
If you encounter issues with your chandelier, refer to the following common problems and solutions:
| Problem | Possible Cause | Solution |
|---|---|---|
| Light does not turn on. | No power, loose wiring, faulty bulb. | Check circuit breaker. Ensure all wire connections are secure. Replace bulbs. |
| Light flickers. | Loose bulb, incompatible dimmer switch, loose wiring. | Tighten bulbs. Ensure dimmer switch is compatible with bulbs. Check wiring connections. |
| Fixture not flush with ceiling. | Mounting bolts too short or misaligned. | Adjust the length of the mounting bolts on the crossbar. Ensure the crossbar is correctly installed. |
| Crystals appear dull. | Dust or residue buildup. | Clean crystals with a soft, damp cloth and mild cleaner. |
Warranty and Support
Garwarm provides a one-year after-sales service for this product. If you encounter any problems with installation or use, please contact Garwarm customer support for assistance.
For further support or inquiries, please refer to the contact information provided with your purchase documentation or visit the official Garwarm website.
Product Application Examples
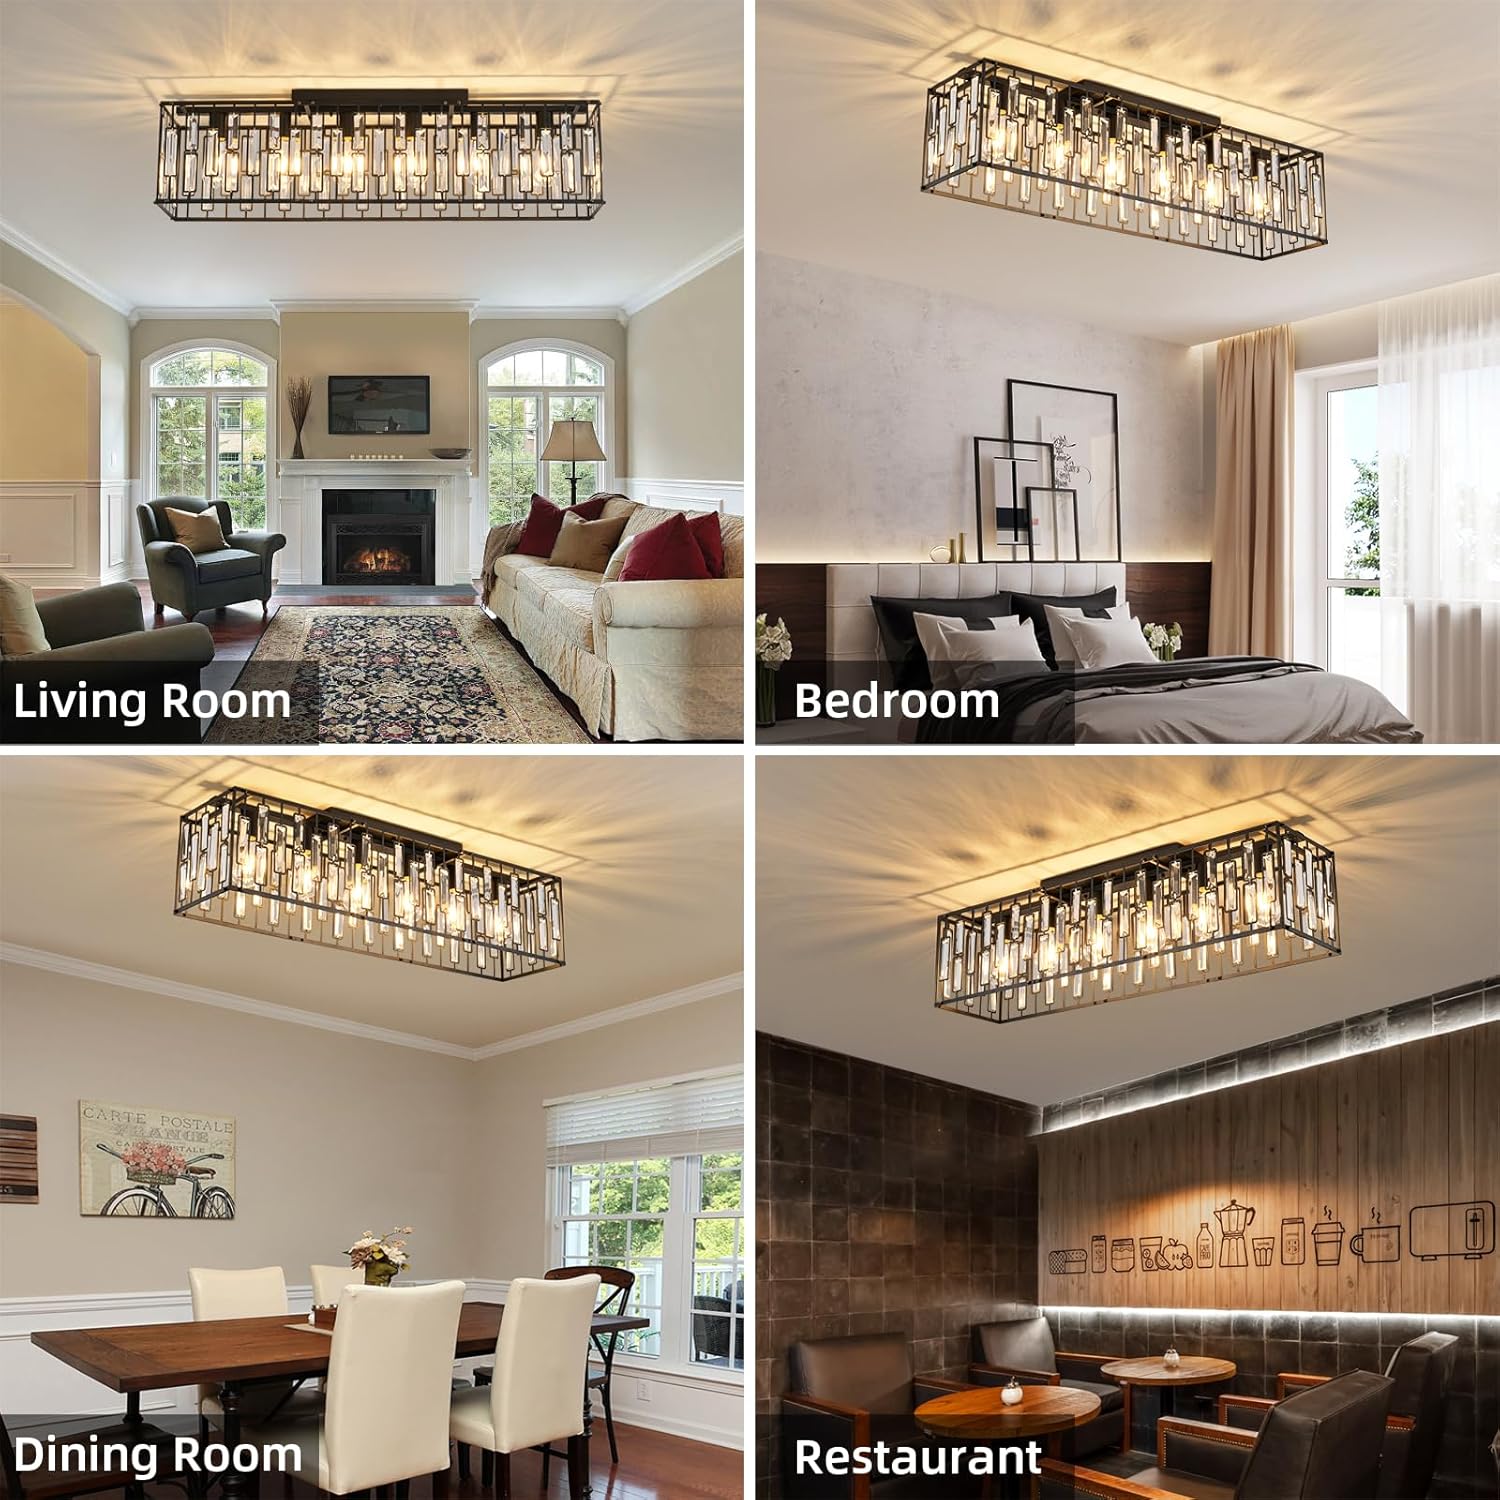
Image: A collage showcasing the Garwarm chandelier's versatility, installed in various interior spaces including a living room, bedroom, dining room, and a restaurant, demonstrating its aesthetic appeal in different environments.