
Keychron M7-A1-Mouse
Keychron M7 Wireless Gaming Optical Mouse User Manual
Model: M7-A1-Mouse
Introduction
The Keychron M7 is a high-performance wireless gaming optical mouse designed for versatility and precision. Featuring tri-mode connectivity (2.4 GHz, Bluetooth 5.1, and USB wired), it offers seamless transitions between different usage scenarios. Equipped with the advanced PixArt 3395 sensor, it delivers exceptional accuracy with up to 26,000 DPI. Its ergonomic and lightweight design ensures comfort during extended use, while the Keychron Engine software provides extensive customization options for buttons, macros, and performance settings.

Image: The Keychron M7 mouse in black, shown with its accompanying USB-C and USB-A wireless receivers.
Setup
Package Contents
- Keychron M7 Wireless Gaming Optical Mouse
- USB-C 2.4 GHz Receiver
- USB-A 2.4 GHz Receiver
- USB-C to USB-A Cable (for wired connection and charging)
- User Manual (this document)
Connecting Your Mouse
The Keychron M7 supports three connection modes: 2.4 GHz wireless, Bluetooth 5.1, and USB wired.
2.4 GHz Wireless Connection
- Locate the 2.4 GHz receiver (either USB-C or USB-A) from the package.
- Plug the receiver into an available USB port on your computer.
- On the underside of the mouse, slide the switch to the "G" position (2.4 GHz mode).
- The mouse should automatically connect to your computer.

Image: The Keychron M7 mouse positioned next to a laptop, with the USB-A 2.4 GHz receiver plugged into the laptop's USB port, demonstrating wireless connectivity.
Bluetooth 5.1 Connection
- On the underside of the mouse, slide the switch to the "B" position (Bluetooth mode).
- The mouse will enter pairing mode (indicator light may flash).
- On your computer, open Bluetooth settings and search for new devices.
- Select "Keychron M7" from the list of available devices to pair.
USB Wired Connection
- Connect one end of the provided USB-C to USB-A cable to the front port of the mouse.
- Connect the other end of the cable to an available USB-A port on your computer.
- The mouse will function as a wired mouse and will also charge its internal battery.
- On the underside of the mouse, slide the switch to the "OFF" position for wired-only use, or "G" or "B" to allow charging while in wireless mode.
Charging the Mouse
The Keychron M7 has an 800mAh built-in rechargeable battery, providing up to 70 hours of continuous use on a single charge. To charge the mouse, connect it to your computer using the provided USB-C to USB-A cable. The indicator light will show charging status.

Image: A visual representation highlighting the Keychron M7's impressive battery life of up to 70 hours and its 800mAh battery capacity.
Operating Instructions
DPI Adjustment
The Keychron M7 features a PixArt 3395 sensor with adjustable DPI (Dots Per Inch) up to 26,000. You can adjust DPI settings directly on the mouse without software.
On the underside of the mouse, locate the "DPI" button. Press this button to cycle through preset DPI levels. The indicator lights next to the DPI button will show the current DPI stage.
Polling Rate Adjustment
The polling rate determines how often the mouse reports its position to the computer. The M7 supports polling rates up to 1000 Hz in 2.4 GHz and wired modes.
On the underside of the mouse, locate the "RPT" (Report Rate) button. Press this button to switch among 3 levels of polling rate: 125 Hz, 500 Hz, and 1000 Hz. The corresponding indicator light will change color (White for 125Hz, Blue for 500Hz, Red for 1000Hz).

Image: A close-up view of the underside of the Keychron M7 mouse, highlighting the DPI button, Report Rate (RPT) button, and the G/OFF/B mode switch.
Keychron Engine Software Customization
For advanced customization, including remapping keys, setting shortcuts, configuring RGB lighting effects, and creating dedicated macros, download and install the Keychron Engine software from the official Keychron website. This software also allows professional settings for LOD (Lift-Off Distance), polling rate, and precise DPI adjustments.
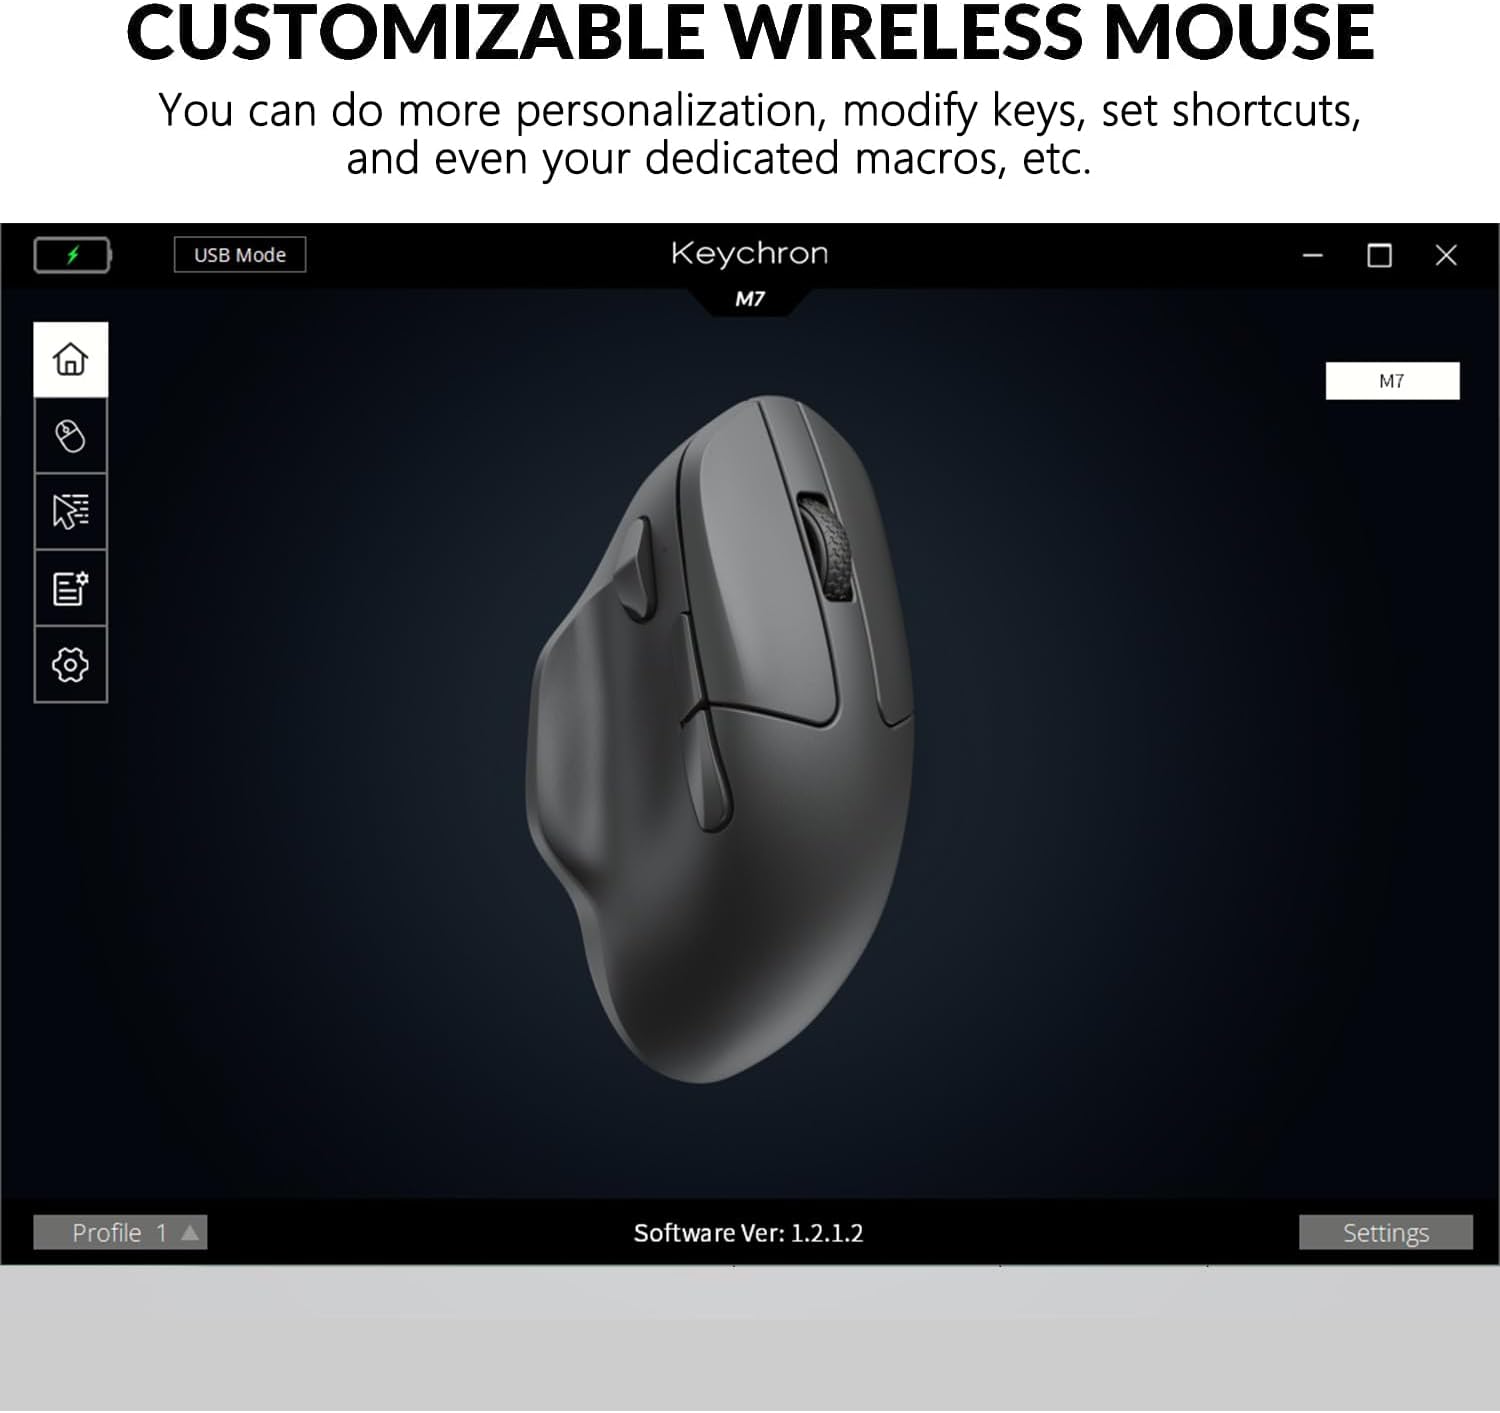
Image: A screenshot of the Keychron Engine software interface, displaying the Keychron M7 mouse and various customization options for its functions and settings.
Ergonomic Design and Lightweight Feel
The M7 is designed with an ergonomic curved shape to ensure a comfortable grip, even during long periods of use. Weighing only 63 grams, it provides a lightweight and effortless experience, reducing strain during extended gaming sessions or work. The grip pattern on both sides enhances handling.
Maintenance
- Cleaning: Use a soft, dry cloth to wipe the mouse. For stubborn dirt, slightly dampen the cloth with water or a mild cleaning solution. Avoid harsh chemicals or abrasive materials.
- Storage: Store the mouse in a cool, dry place away from direct sunlight and extreme temperatures.
- Battery Care: To prolong battery life, avoid fully discharging the mouse frequently. Charge it when the battery low indicator appears.
- Sensor Care: Keep the optical sensor on the underside of the mouse clean and free from dust or debris for optimal tracking performance.
Troubleshooting
| Problem | Possible Solution |
|---|---|
| Mouse not responding in 2.4 GHz mode. |
|
| Mouse not connecting via Bluetooth. |
|
| Mouse cursor erratic or not tracking smoothly. |
|
| Battery not charging. |
|
Specifications
| Feature | Detail |
|---|---|
| Model Number | M7-A1-Mouse |
| Connectivity | 2.4 GHz Wireless, Bluetooth 5.1, USB Wired |
| Sensor | PixArt 3395 Optical Sensor |
| DPI Range | Up to 26,000 DPI |
| IPS (Inches Per Second) | Up to 650 IPS |
| Polling Rate | Up to 1000 Hz (2.4 GHz / Wired) |
| Weight | 63 grams (approx. 2.22 ounces) |
| Dimensions (L x W x H) | 127.7 x 77.1 x 40.5 mm (approx. 4.8 x 2.95 x 1.97 inches) |
| Battery Type | Lithium Polymer |
| Battery Capacity | 800 mAh |
| Battery Life | Up to 70 hours (continuous use) |
| Switches | Huano 80M Micro Switches |
| Compatibility | Windows PC, Mac |

Image: A technical diagram illustrating the precise dimensions of the Keychron M7 mouse, including length, width, and height.
Warranty and Support
Keychron products typically come with a limited warranty. For detailed warranty information, please refer to the warranty card included with your product or visit the official Keychron website. For technical support, driver downloads (Keychron Engine software), and FAQs, please visit the Keychron support page:
Keychron Official Support Page
You can also contact Keychron customer service directly for assistance with product issues or inquiries.
Ask a question about this manual
Ask about setup, troubleshooting, compatibility, parts, safety, or missing instructions. Manuals+ will review the question and use this page’s manual context to help answer it.