
1. Introduction
The Landtek Digital Soil EC and Temperature Meter is a precision instrument designed for measuring the electrical conductivity (EC) and temperature of soil. This 2-in-1 device provides quick and accurate readings, essential for optimizing plant health and growth in various agricultural and gardening applications. Its portable design, corded sensor electrode, and backlit LCD display ensure ease of use and clear data visualization.
2. Product Features
- 2-in-1 Soil Tester: Measures both Electrical Conductivity (EC) and Temperature, providing crucial insights into soil salt content and thermal conditions.
- Quick and Accurate Measurement: Utilizes advanced probe detection technology for rapid and precise readings. EC measuring range of 0-4.00 mS/cm with +/- 2% F.S accuracy.
- High Definition Green Backlit LCD Display: Offers clear and intuitive digital display of measured values, enhancing readability and reducing data errors.
- IP67 Waterproof Electrode: The soil tester probe is rated IP67, ensuring robust protection against water and dust ingress, suitable for outdoor and challenging weather conditions.
- Ready-to-Use Design: Simple operation requires inserting the probe into the soil and waiting 10-15 seconds for accurate readings.
3. Components Overview
Familiarize yourself with the main components of your Landtek Digital Soil EC and Temperature Meter:

- LCD Screen: Displays EC, temperature, and other indicators.
- EC Button: Toggles the display to show Electrical Conductivity.
- Temperature Unit Switch (C/F Button): Switches between Celsius and Fahrenheit temperature units.
- Calibration / Power Button: Used to power the device on/off and initiate calibration.
- Electrode: The corded sensor probe for insertion into the soil.
- Lanyard Hole: For attaching a lanyard for portability.
- Battery Compartment: Houses 3 AAA 1.5V batteries.
4. Setup
4.1 Battery Installation
- Locate the battery compartment cover on the back of the device.
- Open the cover and insert 3 AAA 1.5V batteries, ensuring correct polarity.
- Securely close the battery compartment cover.
4.2 Initial Power On
Press the Calibration / Power Button to turn on the device. The backlit LCD display will illuminate.
5. Operating Instructions
5.1 Preparing for Measurement
- Ensure the sensor electrode is clean. Wipe it with a clean cloth or rinse with distilled water if necessary.
- For optimal accuracy, ensure the soil is moist. If the soil is dry, water it thoroughly and wait 10-15 minutes before testing.
5.2 Taking a Measurement
- Gently insert the sensor electrode into the soil to the desired depth (typically 3-5 inches or 2/3 of its length), avoiding hard objects that could damage the probe.
- Wait approximately 10-15 seconds for the readings to stabilize on the LCD display.
- The display will show the Electrical Conductivity (EC) and Temperature simultaneously.
5.3 Interpreting Readings
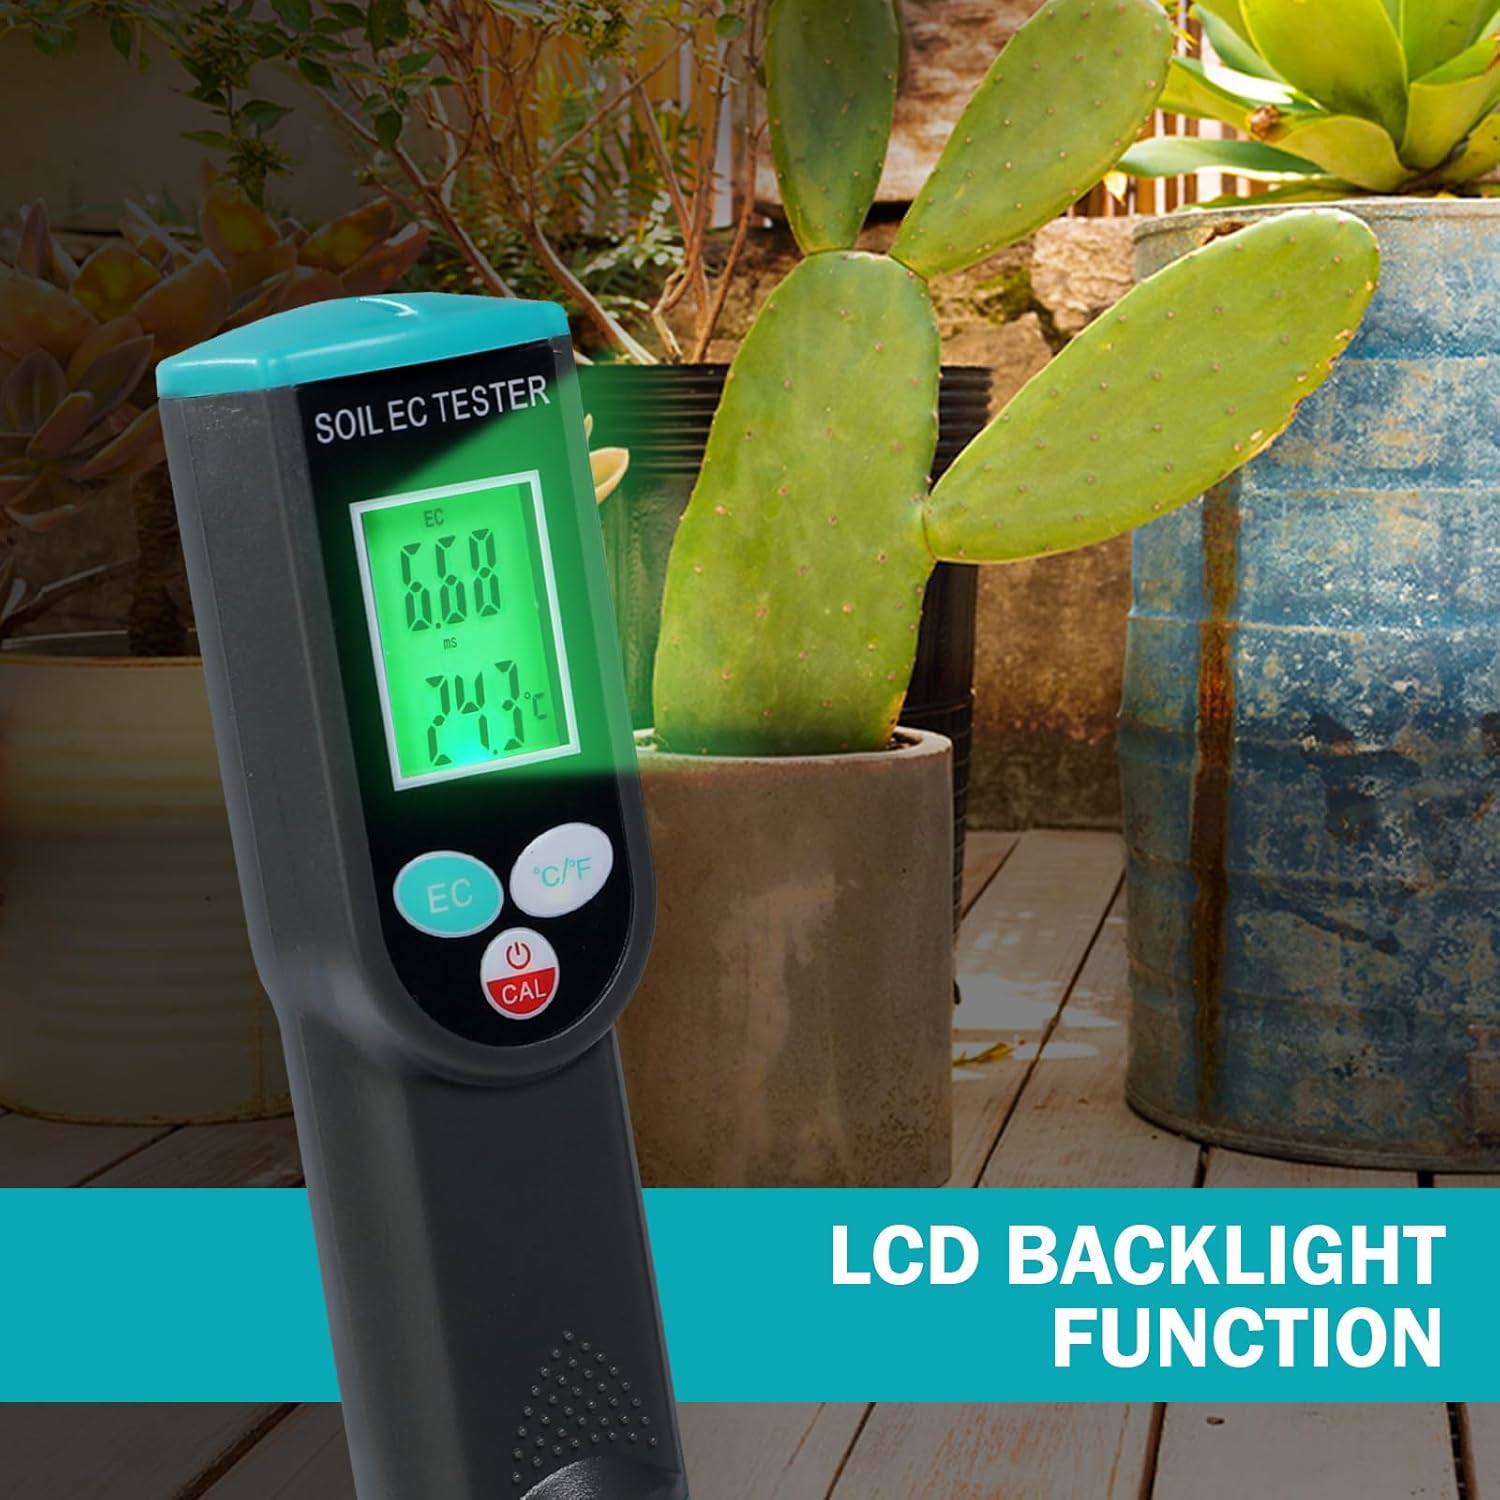
- EC Value: Displayed in mS/cm. This indicates the concentration of soluble salts in the soil. Optimal EC levels vary by plant type.
- Temperature Value: Displayed in Celsius (°C) or Fahrenheit (°F).
5.4 Switching Temperature Units

Press the Temperature Unit Switch (C/F Button) to toggle between Celsius (°C) and Fahrenheit (°F) temperature readings.
5.5 Calibration
The device features Automatic Temperature Compensation (ATC) for accurate readings. For manual calibration, refer to the detailed instructions provided in the full product manual. Regular calibration ensures the long-term accuracy of your meter.
6. Maintenance
6.1 Cleaning the Electrode
After each use, clean the sensor electrode thoroughly with distilled water to prevent contamination from previous readings and ensure optimal performance. Wipe it dry with a soft cloth.
6.2 Storage
Store the meter in a cool, dry place away from direct sunlight and extreme temperatures. Ensure the electrode is clean and dry before storage.
6.3 Battery Replacement
Replace the AAA batteries when the low battery indicator appears on the display to maintain accurate operation.
7. Troubleshooting
- No Display/Faint Display: Check battery installation and replace batteries if necessary.
- Inaccurate Readings: Ensure the electrode is clean. Calibrate the device if readings remain inconsistent. Ensure soil is adequately moist for testing.
- Slow Response: Ensure the electrode is fully inserted into moist soil and allow sufficient time for stabilization.
8. Specifications

| Parameter | Range | Resolution | Accuracy |
|---|---|---|---|
| EC | 0 - 4.00 mS/cm | 0.01 mS/cm | ±2% F.S |
| Temperature | 0°C - 50°C (32°F - 122°F) | 0.1°C | ±1°C (±2°F) |
- Power Supply: 3 x AAA 1.5V Batteries
- Product Dimensions: 20.68 x 3.18 x 3.58 cm
- Weight: 80 g