
1. Product Overview
This manual provides detailed instructions for the assembly, operation, and maintenance of your HOMCOM Modern Accent Chair. Please read all instructions carefully before assembly and use to ensure safe and correct operation.
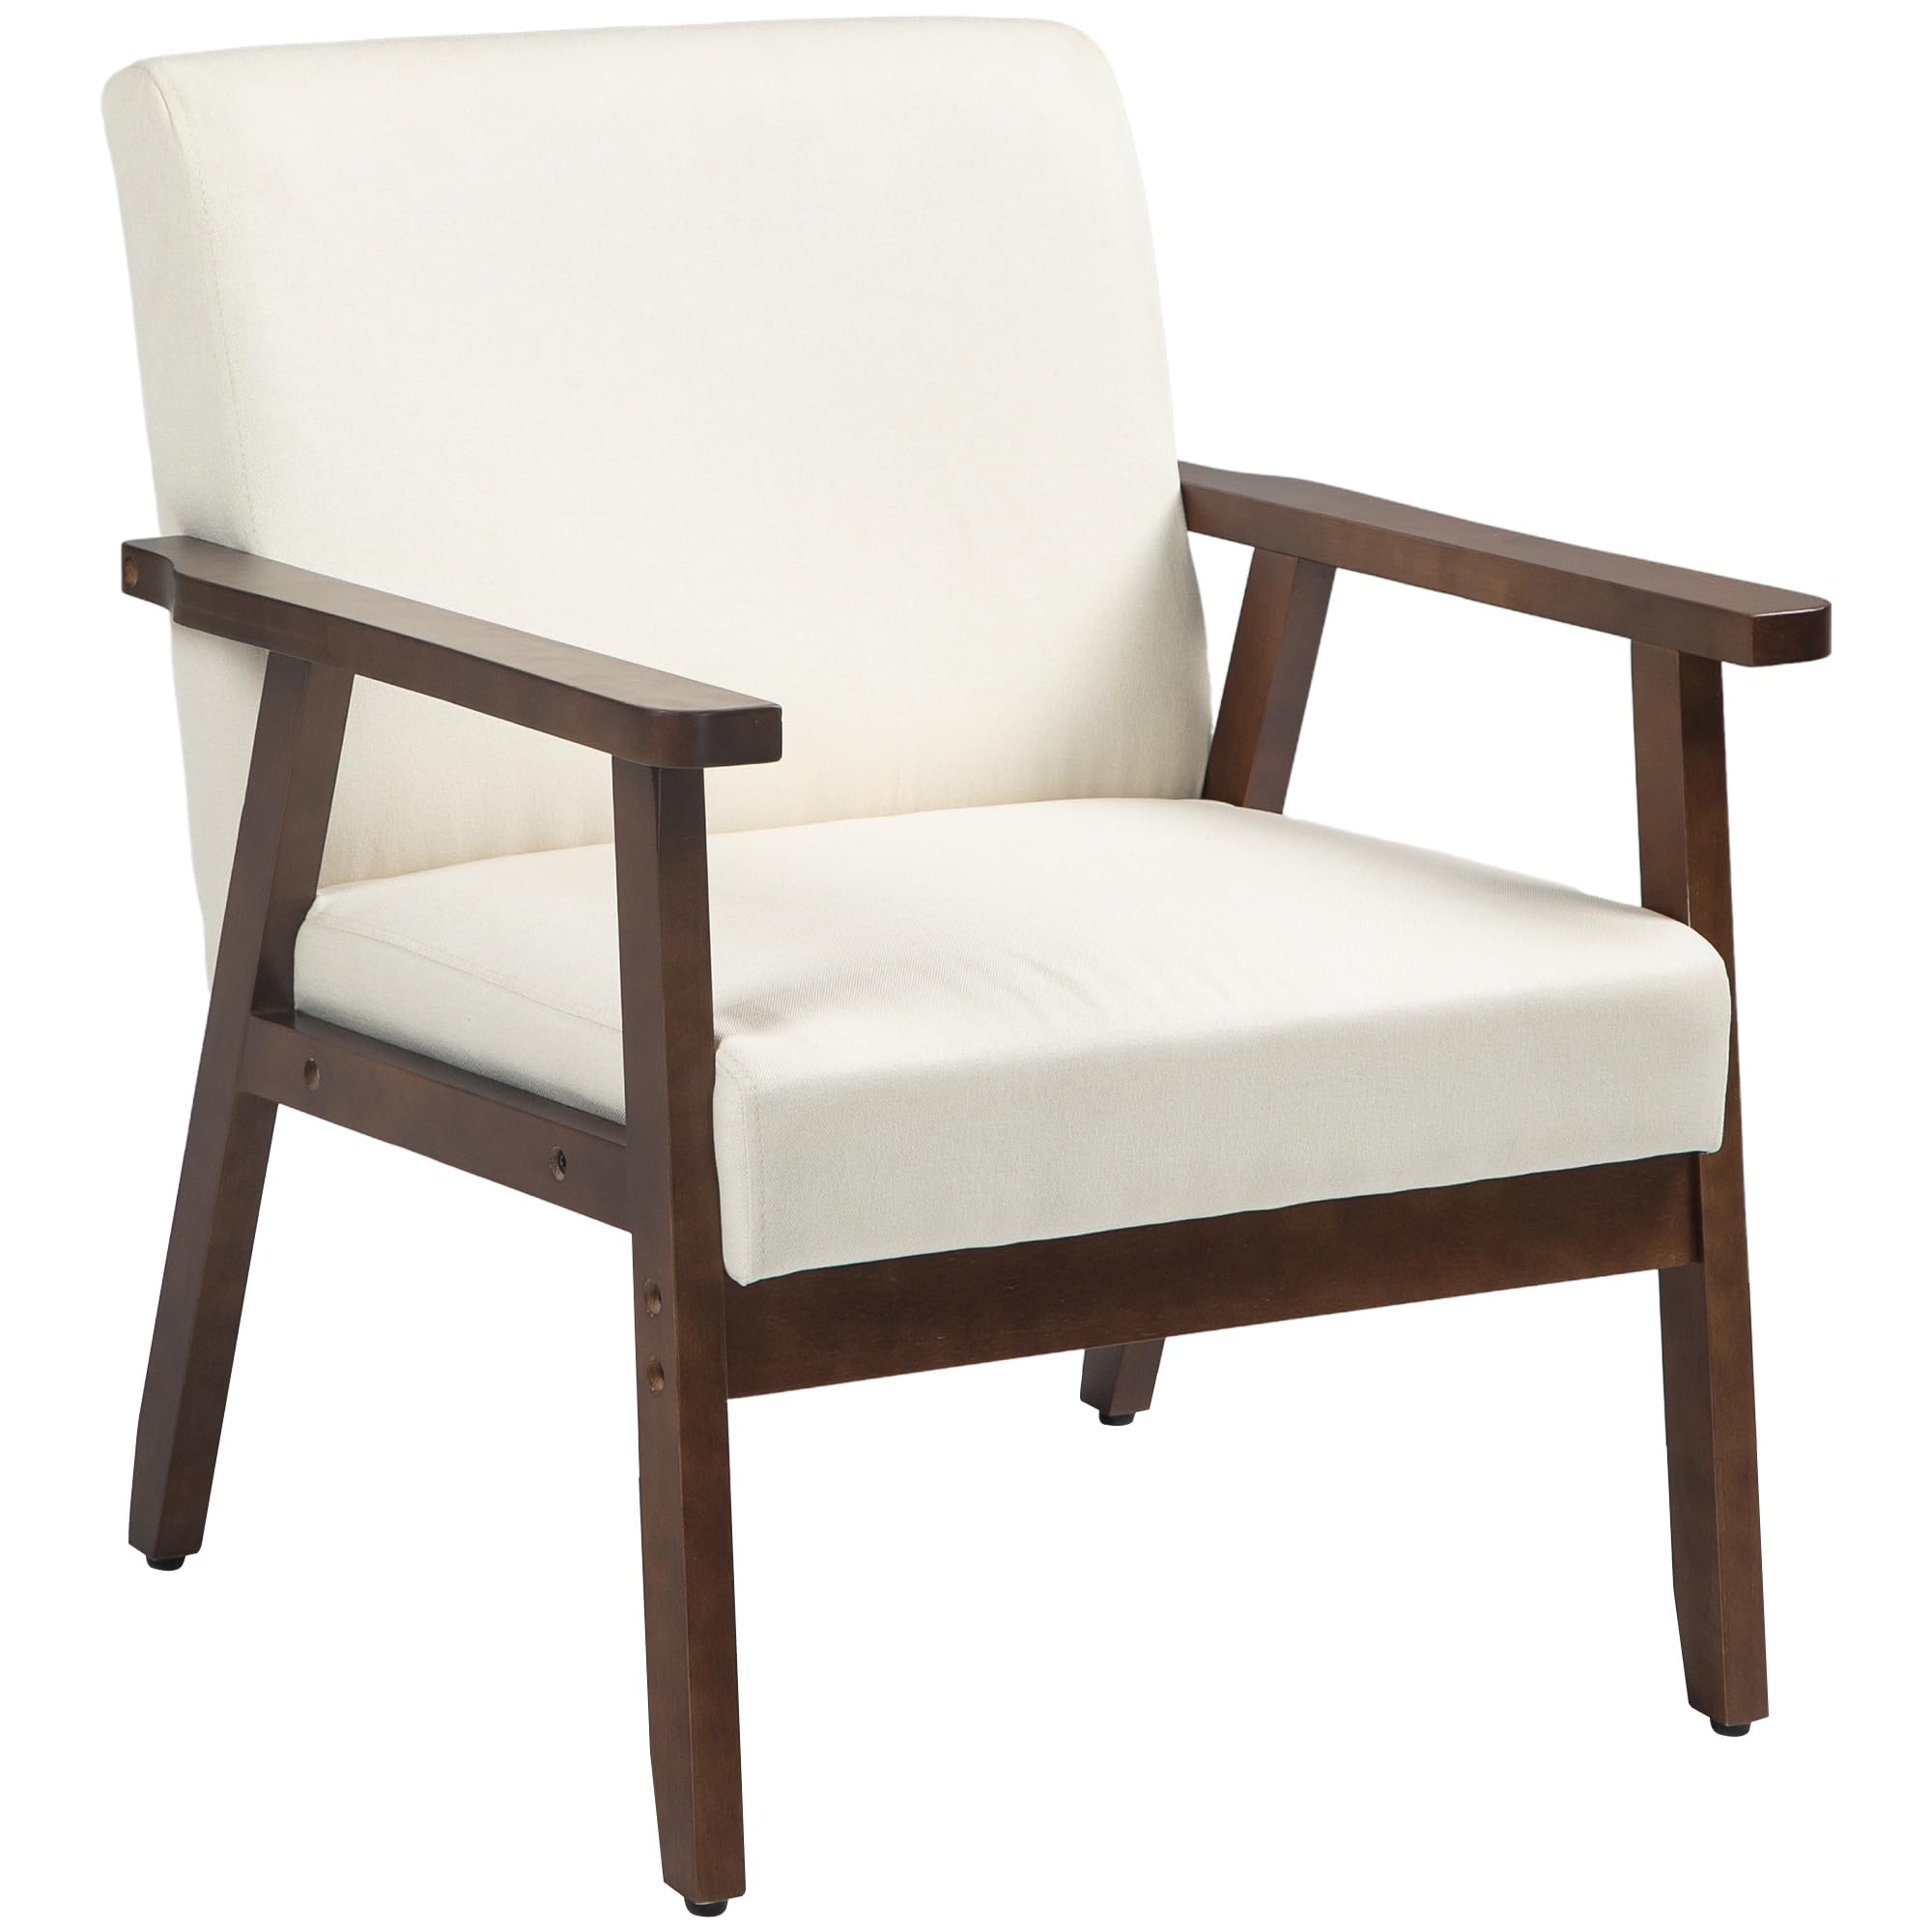
Figure 1: Fully assembled HOMCOM Modern Accent Chair in Cream White.
The HOMCOM Modern Accent Chair (Model 839-481V00CW) is designed to offer comfort and style to various indoor spaces such as living rooms, bedrooms, or home offices. It features a cushioned seat, upholstered linen-feel fabric, and a sturdy rubberwood frame with wood arms.
2. Safety Information
- Always assemble the chair according to the provided instructions.
- Do not exceed the maximum weight capacity of 330 lbs (150 kg).
- Use the adjustable feet to level the chair on uneven floors to prevent instability.
- Keep the chair away from heat sources and sharp objects to prevent damage to the fabric and frame.
- Ensure all bolts and screws are securely tightened before use and periodically check for tightness.
3. Package Contents
Verify that all components are present before beginning assembly. If any parts are missing or damaged, please contact customer support.

Figure 2: Product packaging indicating one package.
Included Components:
- Seat Cushion
- Backrest
- Armrests (2)
- Legs (4)
- Hardware Pack (screws, washers, Allen key)
4. Setup and Assembly
Assembly is required for this accent chair. It is recommended to have two people for easier assembly. Please follow these steps carefully:
- Unpack Components: Carefully remove all parts from the packaging and lay them out on a clean, soft surface to prevent scratches.
- Attach Legs: Secure the four legs to the underside of the seat frame using the provided screws. Important: Do not fully tighten screws at this stage. Leave them slightly loose to allow for adjustment.
- Connect Backrest to Seat: Locate the Velcro flap on the underside of the seat cushion. Lift this flap to reveal the bolt holes for attaching the backrest. Align the backrest with the seat and secure it using the appropriate screws. Note: This step often requires careful alignment. Ensure the Velcro flap is lifted to access the connection points.
- Attach Armrests: Connect the armrests to the sides of the seat and backrest using the remaining screws. Ensure they are properly aligned.
- Final Tightening: Once all components are loosely assembled, place the chair upright on a level surface. Apply gentle pressure to ensure all parts are seated correctly, then systematically tighten all screws until secure. Do not overtighten.
- Adjust Feet: Use the adjustable foot pads on the bottom of the legs to level the chair and prevent wobbling on uneven floors.

9. Warranty and Support
Warranty: This product comes with a 90-day warranty against manufacturer defects. Please retain your proof of purchase for warranty claims.
Customer Support: For any questions, missing parts, or warranty inquiries, please contact Aosom Canada customer service.
- Manufacturer: Aosom Canada
- Contact Information: Markham, Ontario, CA
- Telephone: 1-416-792-6088
Ask a question about this manual
Ask about setup, troubleshooting, compatibility, parts, safety, or missing instructions. Manuals+ will review the question and use this page’s manual context to help answer it.