1. Product Overview
The alacrity Pet Microchip is designed for reliable animal identification, ensuring your pet can be safely returned if lost. Each microchip is universally scannable by all FDX-B, 134.2Khz microchip scanners and comes with a unique ICAR registered ID number for lifetime registration.
This product includes 10 individually packaged, sterile microchip injectors, each with an extremely fine injection needle for ease of operation.

Image: The alacrity Pet Microchip injector, showing the fine needle and the "10PCS" label, indicating a 10-piece pack.
2. Safety Information
Your pet's safety is paramount. Please read and understand all safety guidelines before proceeding with microchip implantation.
- All alacrity microchips undergo 100% testing to ensure proper scanning functionality.
- The microchips are manufactured under strict production standards to ensure safety and compatibility with animals.
- Each injector features an anti-drop device to prevent the microchip tag from falling off before implantation.
- The coated glass microchip tag is designed to prevent movement under the animal's skin after implantation.
- Each microchip is sterile and individually wrapped. Ensure the packaging is intact before use.
- It is highly recommended that microchip implantation be performed by a qualified professional, such as a veterinarian, to ensure proper placement and minimize risk to the animal.
3. Setup and Preparation
Before implantation, ensure you have all necessary items and the environment is suitable.
- Verify Product Integrity: Inspect each individually wrapped microchip injector. Do not use if the sterile packaging is compromised.
- Prepare the Animal: Ensure the animal is calm and restrained appropriately. Consult with a veterinarian for best practices regarding animal handling during this procedure.
- Identify Implantation Site: The standard implantation site for dogs and cats is subcutaneously between the shoulder blades. Consult with a veterinarian for precise guidance.
- Clean the Area: Clean the implantation site with an antiseptic solution as recommended by a veterinary professional.
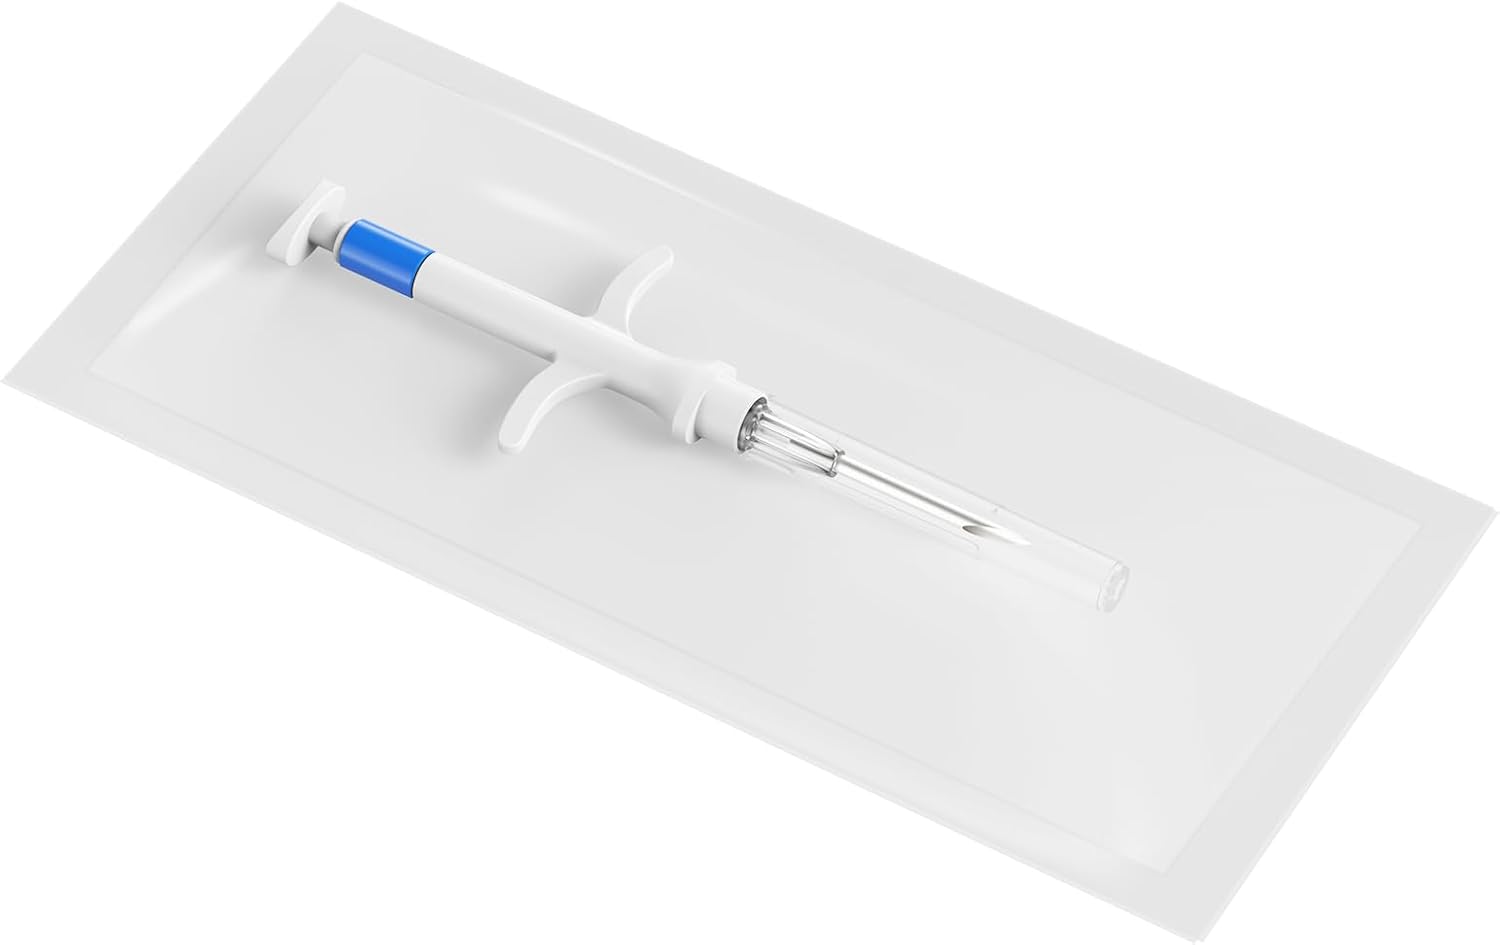
Image: An alacrity Pet Microchip injector sealed within its sterile packaging, ready for use.
4. Operating Instructions (Implantation and Registration)
4.1 Implantation Procedure
While the alacrity microchip is designed for ease of use, professional administration is strongly recommended.
- Remove from Packaging: Carefully open the sterile packaging and remove the microchip injector.
- Prepare Injector: The injector is pre-loaded. No assembly is required.
- Insert Needle: Gently lift the skin at the prepared implantation site (typically between the shoulder blades). Insert the fine gauge needle subcutaneously at an appropriate angle, as advised by veterinary guidelines.
- Inject Microchip: Depress the plunger fully to implant the microchip.
- Withdraw Needle: Carefully withdraw the needle. Apply gentle pressure to the site if necessary.
- Confirm Placement: Immediately after implantation, use a compatible FDX-B scanner to confirm the microchip's presence and readability at the implantation site.
- Dispose: Dispose of the used needle and injector safely in a sharps container.

Image: A professional demonstrating the microchip injection process on a cat.

Image: A professional demonstrating the microchip injection process on a dog.
4.2 Microchip Registration
After implantation, it is crucial to register the microchip's unique ID number online. This links your contact information to your pet's microchip, enabling their return if lost.
- Each alacrity microchip has a unique ICAR (International Committee for Animal Recording) registered ID number.
- You can register your pet's microchip on various online pet registries. Some registries offer free lifetime registration, such as freepetchipregistry.com.
- Follow the instructions on your chosen registry's website to enter your pet's microchip ID and your contact details.
- Keep your registration information updated, especially if your contact details change.
- While online registries are valuable, your local veterinarian is often the first point of contact for found pets and can assist with scanning and identification.
5. Maintenance
The alacrity pet microchip requires minimal maintenance once implanted and registered.
- Regular Scans: It is advisable to have your pet's microchip scanned annually during routine veterinary check-ups to ensure it is still functioning correctly and readable.
- Update Registration: Periodically review and update your contact information with the microchip registry, especially if you move or change phone numbers. This is critical for your pet's safe return.
- Monitor Implantation Site: Occasionally check the implantation site for any signs of irritation, swelling, or discomfort, although issues are rare.
6. Troubleshooting
Most issues related to pet microchips are associated with registration or scanning.
| Problem | Possible Cause | Solution |
|---|---|---|
| Microchip not scanning | Microchip has migrated; Scanner incompatibility; Microchip malfunction (rare) | Have a veterinarian scan your pet thoroughly, including areas beyond the shoulder blades. Ensure the scanner is FDX-B compatible (134.2Khz). If confirmed faulty, consult with a vet about re-chipping. |
| Cannot find pet's registration information | Microchip not registered; Registered on a different database; Outdated contact information | Verify that the microchip was registered. Try searching on multiple universal pet microchip lookup websites. Contact the registry where you initially registered to update information. |
| Difficulty with injection | Improper technique; Animal movement | Seek assistance from a qualified veterinary professional for implantation. Ensure the animal is properly restrained. |
7. Specifications
- Model Number: NA-MC20
- Compliance: ISO11784/11785 FDX-B standard
- Frequency: 134.2 Khz
- Compatibility: Universally scannable by all FDX-B, 134.2Khz microchip scanners.
- Material: Coated Glass microchip tag
- Needle Gauge: Small gauge, fine injection holes
- Packaging: Sterile, individually wrapped with syringe
- Quantity: 10 pieces per pack
- Item Weight: Approximately 3.2 ounces (for the pack)
- Package Dimensions: Approximately 2.88 x 1.3 x 1.2 inches
- Manufacturer: alacrity
- Country of Origin: China

Image: A comparison table highlighting features and registration aspects of different microchips, including ISO certification and registration methods.
8. Warranty and Support
Specific warranty details for the alacrity Pet Microchip are not provided in the product information. For any product-related inquiries, technical support, or concerns, please contact the manufacturer, alacrity, directly through their official channels or the retailer from whom the product was purchased.
Always ensure to register your pet's microchip promptly after implantation to activate its identification function and ensure your contact details are linked.


