
1. Introduction
This manual provides essential information for the safe and efficient use of your Samsung ViewFinity S6 27-inch QHD Monitor (Model LS27D604UAWXXL). Please read these instructions thoroughly before operating the device and retain them for future reference.
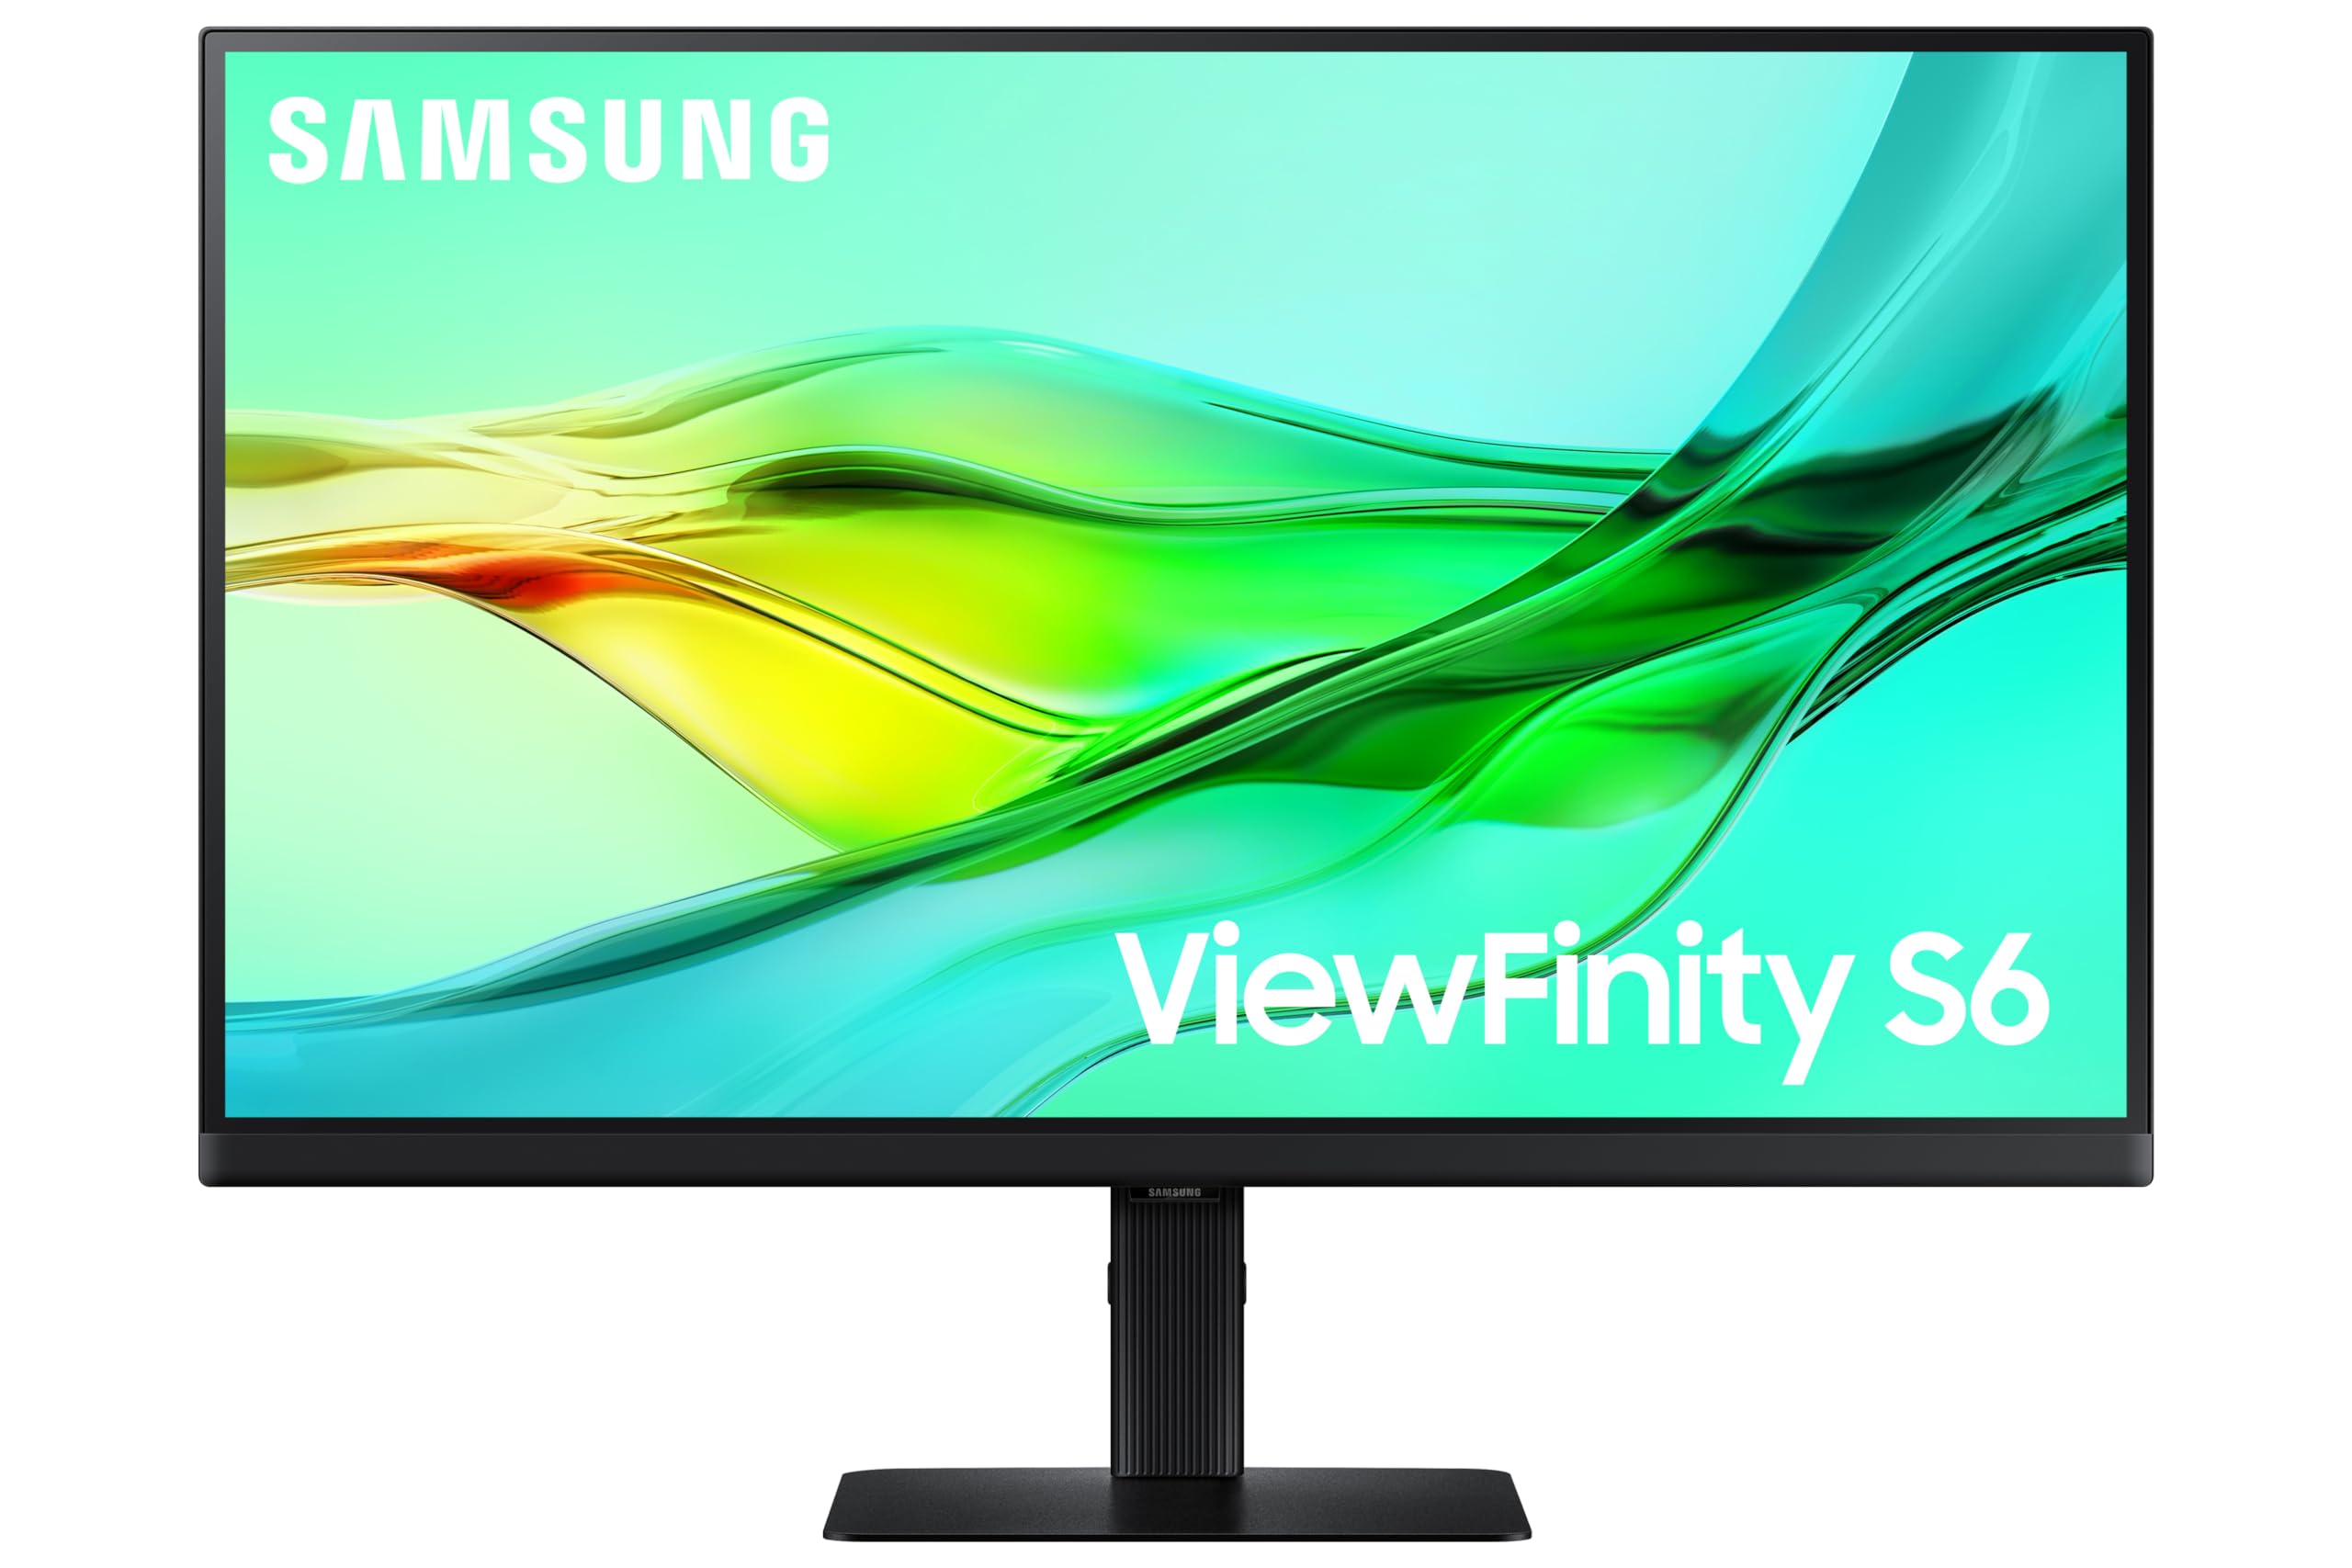
Figure 1: Samsung ViewFinity S6 27-inch QHD Monitor, front view.
2. Setup
2.1. Unboxing and Package Contents
Carefully remove all components from the packaging. Ensure all items listed below are present:
- 1 N Monitor
- 1 N Power Cable
- 1 N HDMI Cable
- USB Type-C Cable
- User Manual (this document)
2.2. Stand Assembly
The monitor features an easy setup stand designed for effortless and instant assembly without the need for tools or screws.
- Place the base of the stand on a stable surface.
- Align the stand neck with the base and secure it.
- Attach the assembled stand to the back of the monitor until it clicks into place.

Figure 2: Key features including the Easy Setup Stand.

Figure 3: Easy setup stand components for tool-free assembly.
2.3. Connecting the Monitor
Connect the monitor to your computer and other devices using the available ports.
- DisplayPort (version 1.4): For high-resolution video and audio transmission.
- HDMI (version 2): For standard video and audio connections.
- USB-C (90W Charging Power): For video, data, and power delivery to compatible devices.
- LAN Port: For wired network connectivity.
- USB Hub (3.0 Version): Three USB ports for connecting peripherals.
- Headphone Jack: For audio output.

Figure 4: Rear view of the monitor showing various input and output ports.

Figure 5: Detailed view of video and USB-C ports.
Figure 6: Detailed view of USB, headphone, and LAN ports.
2.4. Power On
Connect the power cable to the monitor and then to a power outlet. Press the power button located on the monitor to turn it on.
3. Operating the Monitor
3.1. Display Features
- QHD Resolution (2560 x 1440): Provides clear and vibrant visuals.
- 100 Hz Refresh Rate: Delivers smooth visual performance.
- IPS Panel: Offers wide viewing angles (178° horizontal and vertical).
- HDR10: Enhances contrast and color for a more dynamic image.
- 1.07 Billion Colors: Supports a wide color gamut for stunning accuracy and detail (99% sRGB Coverage).

Figure 7: Visual representation of 100Hz refresh rate and QHD resolution.
3.2. Ergonomic Adjustments
The monitor stand allows for various adjustments to optimize your viewing comfort:
- Tilt: Adjust the vertical angle of the screen.
- Swivel: Rotate the screen horizontally.
- Pivot: Rotate the screen to portrait orientation.
- Height Adjustable Stand (HAS): Raise or lower the screen to your preferred height.

Figure 8: Ergonomic adjustments for enhanced versatility.
3.3. Intelligent Eye Care
The monitor is TUV-certified for Intelligent Eye Care, designed to reduce eye strain during prolonged use.
- Eye Saver Mode: Reduces blue light emissions.
- Flicker Free: Eliminates screen flickering.

Figure 9: TUV certified Intelligent Eye Care in action, reducing screen flickering.
3.4. KVM Switch
The built-in KVM switch allows you to control two different computers with a single keyboard and mouse connected to the monitor. Switch between sources seamlessly.
3.5. Daisy Chain Support
Connect multiple monitors in a series using a single DisplayPort cable from your computer to the first monitor, and then from the first monitor to the next. This expands your workspace efficiently.

Figure 10: Expanding your creative realm with multiple monitors via Daisy Chain.

Figure 11: Connecting multiple sources and utilizing the KVM switch.
3.6. Picture-In-Picture (PIP) and Picture-By-Picture (PBP)
These features allow you to view content from two different sources simultaneously on the same screen. PIP displays one source in a smaller window over the main display, while PBP divides the screen to show two sources side-by-side.
3.7. Auto Source Switch+
The monitor automatically detects newly connected devices and switches to the correct input source, simplifying your workflow.
3.8. Adaptive Picture
This feature automatically adjusts the screen brightness and color tone based on the ambient light conditions, providing optimal viewing comfort.
4. Maintenance
To ensure the longevity and optimal performance of your monitor, follow these maintenance guidelines:
- Cleaning the Screen: Gently wipe the screen with a soft, lint-free cloth. For stubborn marks, lightly dampen the cloth with water or a screen-cleaning solution specifically designed for monitors. Do not spray liquid directly onto the screen.
- Cleaning the Casing: Use a soft, dry cloth to wipe the monitor casing. Avoid using abrasive cleaners or solvents.
- Ventilation: Ensure the ventilation openings on the monitor are not blocked to prevent overheating.
- Power Off: Always turn off the monitor and unplug it from the power outlet before cleaning or if it will be unused for an extended period.
5. Troubleshooting
If you encounter issues with your monitor, refer to the following common troubleshooting steps:
- No Power:
- Check if the power cable is securely connected to both the monitor and the power outlet.
- Verify the power outlet is functional by plugging in another device.
- No Signal/Blank Screen:
- Ensure the video cable (HDMI, DisplayPort, or USB-C) is firmly connected to both the monitor and your computer.
- Check if the correct input source is selected on the monitor (use the monitor's OSD menu).
- Try connecting the monitor to a different video output on your computer or a different computer to isolate the issue.
- USB-C Connectivity Issues:
- Ensure your device's USB-C port supports video output (DisplayPort Alternate Mode) and power delivery.
- Try using a different USB-C cable, as some cables may not support all functionalities.
- Update your computer's graphics drivers and USB-C port drivers.
- Restart both the monitor and the connected device.
- Image Quality Issues (Blurry, Distorted):
- Ensure the monitor's resolution is set to its native QHD (2560 x 1440) in your computer's display settings.
- Check the video cable for damage or loose connections.
- Reset the monitor to factory settings via the On-Screen Display (OSD) menu.
6. Specifications
| Feature | Specification |
|---|---|
| Brand | Samsung |
| Model Number | LS27D604UAWXXL |
| Screen Size | 27 Inches |
| Resolution | QHD Wide 1440p (2560 x 1440) |
| Aspect Ratio | 16:9 |
| Refresh Rate | 100 Hz |
| Display Type | LED (LCD Display Technology) |
| Panel Type | IPS |
| Image Brightness | 350 cd/㎡ (Typical) |
| Contrast Ratio | 1000:1 |
| Response Time | 5 Milliseconds (GTG) |
| Viewing Angle | 178 Degrees (Horizontal/Vertical) |
| Color Support | 1.07 Billion Colors |
| Color Gamut | 99% (Typ) sRGB Coverage |
| Video Ports | 1x DisplayPort (v1.4), 1x HDMI (v2), 1x DisplayPort Out (v1.4) |
| USB Ports | 3x USB 3.0 (Downstream), 1x USB-C (90W PD), 1x USB-B (Upstream) |
| Other Connectivity | 1x Ethernet (LAN) Port, 1x Headphone Jack |
| Power Consumption | 160 Watts (Max) |
| Voltage | 240 Volts |
| Item Dimensions (D x W x H) | 4.2D x 61.3W x 36.8H Centimeters |
| Item Weight | 3.6 Kilograms |
| Mounting Type | Wall Mount (VESA compatible) |
| Adaptive Sync | FreeSync |
| Special Features | Easy Setup Stand, Ergonomic Design (Tilt/Swivel/Pivot/HAS), USB-C, LAN Port, KVM Switch, Daisy Chain, PIP/PBP, HDR10, TUV-certified Intelligent Eye Care (Eye Saver Mode, Flicker Free), Auto Source Switch+, Adaptive Picture |
7. Warranty
This product comes with a 3-Year Warranty from the manufacturer. Please retain your proof of purchase for warranty claims. For detailed terms and conditions, refer to the warranty card included in your package or visit the official Samsung support website.
8. Support
For technical assistance, service, or further inquiries, please contact Samsung customer support:
- Importer Contact Information:
Samsung India Electronics Pvt. Ltd.
6th Floor, DLF Centre, Sansad Marg, New Delhi-110001
Contact Numbers: 180040 7267864, 1800 5 7267864 - Manufacturer Contact Information:
SAMSUNGELECTRONICS HCMC CE COMPLEX CO. LTD.
I-11,D2 ROAD, TANG NHON PHU B WARD, SAIGON HI-TECH PARK DISTRICT 9, HO CHI MINH CITY, VIETNAM-70000
You can also visit the official Samsung website for product registration, driver downloads, and additional support resources.