1. Introduction
This manual provides essential instructions for the safe and efficient installation, operation, and maintenance of your Battery Tender eCharge 48 AMP Level 2 Electric Vehicle (EV) Charger. Please read this manual thoroughly before using the product and retain it for future reference. The Battery Tender eCharge 48 is designed to provide convenient and reliable charging for most electric vehicles utilizing a J1772 plug.
2. Safety Information
Important Safety Instructions:
- Electrical Safety: Installation must be performed by a qualified electrician in accordance with all local and national electrical codes. Ensure the power supply is disconnected before any installation or maintenance.
- Grounding: The charger must be properly grounded to reduce the risk of electric shock.
- Environmental Conditions: This charger is designed for both indoor and outdoor use. However, avoid installing it in areas prone to extreme temperatures, direct sunlight for prolonged periods, or excessive moisture beyond its IP66 rating.
- Cable Handling: Always handle the charging cable and connector with care. Do not use if the cable or connector is damaged. Avoid kinking, crushing, or driving over the cable.
- Children and Pets: Keep children and pets away from the charging station during operation.
- Emergency Stop: Familiarize yourself with the location of your circuit breaker for the charging station in case of an emergency.
3. Package Contents
Verify that all items are present in the package:
- Battery Tender eCharge 48 EV Charger Unit
- Mounting Bracket and Hardware
- Charge Plug Holder
- 2 RFID Cards
4. Product Overview and Features
The Battery Tender eCharge 48 is a robust Level 2 EV charging station designed for efficient and secure electric vehicle charging.

Figure 4.1: Battery Tender eCharge 48 AMP EV Charger unit.
Key Features:
- Adjustable Charging Output: Easily select charging output amperage to optimize charging rates, providing up to 42.25 miles of charge per hour at 11kW rated power.
- Highly Visible LCD Display: The integrated LCD screen provides real-time charging information, including status, output, and error messages.
- Versatile Installation: Designed for 240V (NEMA 14-50P) connections, supporting both plug-in and hardwired installations for home or commercial use.
- J1772 Compatibility: Compatible with most Electric Vehicles that utilize a J1772 charging plug.
- RFID Secure Access: Includes RFID chip-enabled cards to provide secure charging access, ideal for managing multiple users or public access installations.
- App-Free Operation: Engineered for straightforward use without the need for a mobile application.
5. Installation
Note: For hardwired installations, professional electrical installation is required to ensure compliance with local codes and safety standards.
5.1 Mounting the Charger
- Select Location: Choose a suitable indoor or outdoor location near your vehicle's parking spot and a 240V NEMA 14-50 outlet or electrical panel. Ensure the surface is sturdy enough to support the charger's weight.
- Mounting Bracket: Use the provided mounting bracket as a template to mark drilling points on the wall. Ensure the bracket is level.
- Secure Bracket: Drill pilot holes and secure the mounting bracket to the wall using the supplied hardware. For optimal security, aim to screw into at least one wall stud.
- Attach Charger: Carefully hang the eCharge 48 unit onto the mounted bracket. Ensure it is securely seated.
- Secure Bottom: Use the short screw from the hardware packet to secure the bottom of the charger to the L-bracket, preventing accidental dislodgement.
- Install Plug Holder: Mount the charge plug holder in a convenient location near the charger to keep the J1772 connector tidy and protected when not in use.

Figure 5.1: Mounted charger with cable management.
5.2 Electrical Connection
- Plug-in Installation: If using the NEMA 14-50 plug, ensure your outlet is properly installed and rated for 240V/50A. Plug the charger into the outlet.
- Hardwired Installation: For hardwired connections, consult a qualified electrician. The charger can be configured for a permanent connection to your home's electrical system.
6. Operation
Once installed and powered, the eCharge 48 is ready for use.
6.1 Initial Power-Up and Display
Upon initial power-up, the LCD display will illuminate, showing the current status. The display provides information such as charging rate, voltage, amperage, and temperature.
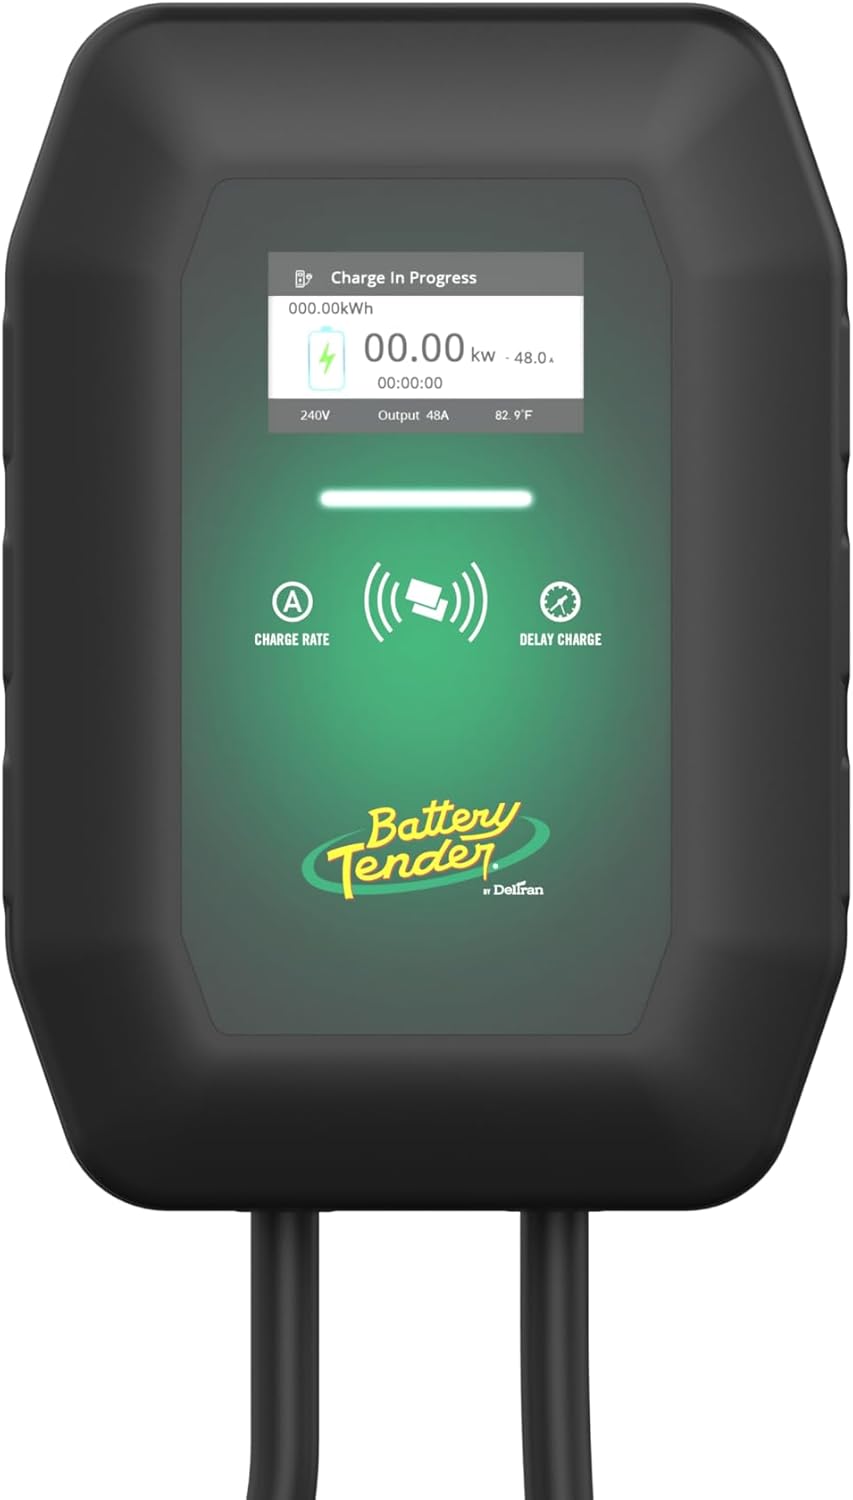
Figure 6.1: Charger LCD display showing charging information.
6.2 Charging Your Electric Vehicle
- Connect to Vehicle: Open your vehicle's charging port and firmly insert the J1772 connector from the eCharge 48. Ensure a secure connection.
- RFID Activation (if enabled): If RFID access is enabled, tap one of the provided RFID cards against the designated sensor area on the charger to initiate the charging session.
- Monitor Charging: The LCD display will show "Charge In Progress" and provide real-time charging data. Your vehicle's dashboard or app may also indicate charging status.
- Disconnect: Once charging is complete, or if you need to stop charging, safely disconnect the J1772 connector from your vehicle. Return the connector to its holder.

Figure 6.2: Charger connected to an electric vehicle.
6.3 Adjusting Charging Amperage
The eCharge 48 allows you to select the charging output amperage. Refer to your vehicle's specifications and your electrical system's capacity before adjusting. This setting can typically be adjusted via controls on the charger's interface.
7. Maintenance
Regular maintenance ensures optimal performance and longevity of your EV charger.
- Cleaning: Periodically wipe the charger unit and cable with a soft, damp cloth. Do not use harsh chemicals or abrasive cleaners. Ensure the unit is powered off before cleaning.
- Cable Inspection: Regularly inspect the charging cable and connector for any signs of wear, cuts, fraying, or damage. If damage is found, discontinue use immediately and contact customer support.
- Storage: When not in use, ensure the charging cable is neatly coiled and the J1772 connector is placed in its holder to protect it from dirt and damage.
8. Troubleshooting
If you encounter issues with your eCharge 48, refer to the following common troubleshooting steps:
| Problem | Possible Cause | Solution |
|---|---|---|
| Charger not powering on | No power from outlet/circuit breaker tripped. | Check the circuit breaker. Ensure the charger is securely plugged in or hardwired correctly. |
| Charging not starting | Connector not fully inserted; RFID not activated; Vehicle issue. | Ensure the J1772 connector is fully seated. Tap RFID card if required. Check vehicle's charging status. |
| Slow charging rate | Amperage setting too low; Vehicle limitation; Grid limitations. | Adjust charger amperage setting (if applicable). Consult vehicle manual for charging capabilities. |
| Error message on display | Internal fault; Connection issue. | Note the error code. Try power cycling the charger (unplug/turn off breaker, wait 30 seconds, restore power). If the error persists, contact customer support. |
If these steps do not resolve the issue, please contact Battery Tender customer support for further assistance.
9. Specifications
Technical specifications for the Battery Tender eCharge 48 AMP EV Charger:
| Feature | Detail |
|---|---|
| Brand | Battery Tender |
| Model | eCharge 48 |
| Item Model Number | 022-3019-DL-WH |
| Manufacturer | Deltran |
| Charging Level | Level 2 |
| Maximum Amperage | 48 AMP |
| Input Voltage | 240 Volts AC |
| Connector Type | J1772 |
| Power Plug Type | NEMA 14-50P (or Hardwired) |
| Cable Length | 25 feet |
| Product Dimensions | 4.59 x 10.15 x 14.48 inches |
| Item Weight | 6.37 pounds |
| Color | Black |
| Environmental Rating | IP66 (Weather Resistant) |
10. Warranty and Support
Warranty Information:
The Battery Tender eCharge 48 AMP EV Charger comes with a 3-Year Manufacturer Warranty. This warranty covers defects in materials and workmanship under normal use. Please retain your proof of purchase for warranty claims.
Customer Support:
For technical assistance, troubleshooting not covered in this manual, or warranty inquiries, please contact Battery Tender customer support. Refer to the official Battery Tender website or your product packaging for the most current contact information.


