
Retevis RT22
Retevis RT22 Rechargeable Walkie Talkies Instruction Manual
Model: RT22 | Brand: Retevis
1. Introduction
Thank you for choosing the Retevis RT22 Rechargeable Walkie Talkies. This manual provides essential information for the safe and efficient operation of your two-way radios. Please read it thoroughly before use and keep it for future reference.
The Retevis RT22 is a compact, lightweight, and user-friendly FRS (Family Radio Service) walkie talkie designed for clear, reliable communication. It features Type-C charging, a long-lasting battery, voice-activated transmission (VOX), and an emergency alarm function, making it suitable for various outdoor activities, travel, and professional use.
2. What's in the Box
- 4 x Retevis RT22 Walkie Talkie
- 4 x Battery
- 4 x Belt Clip
- 2 x Dual Port USB Charger Adapter & 4 x USB Cable
- 1 x User Manual
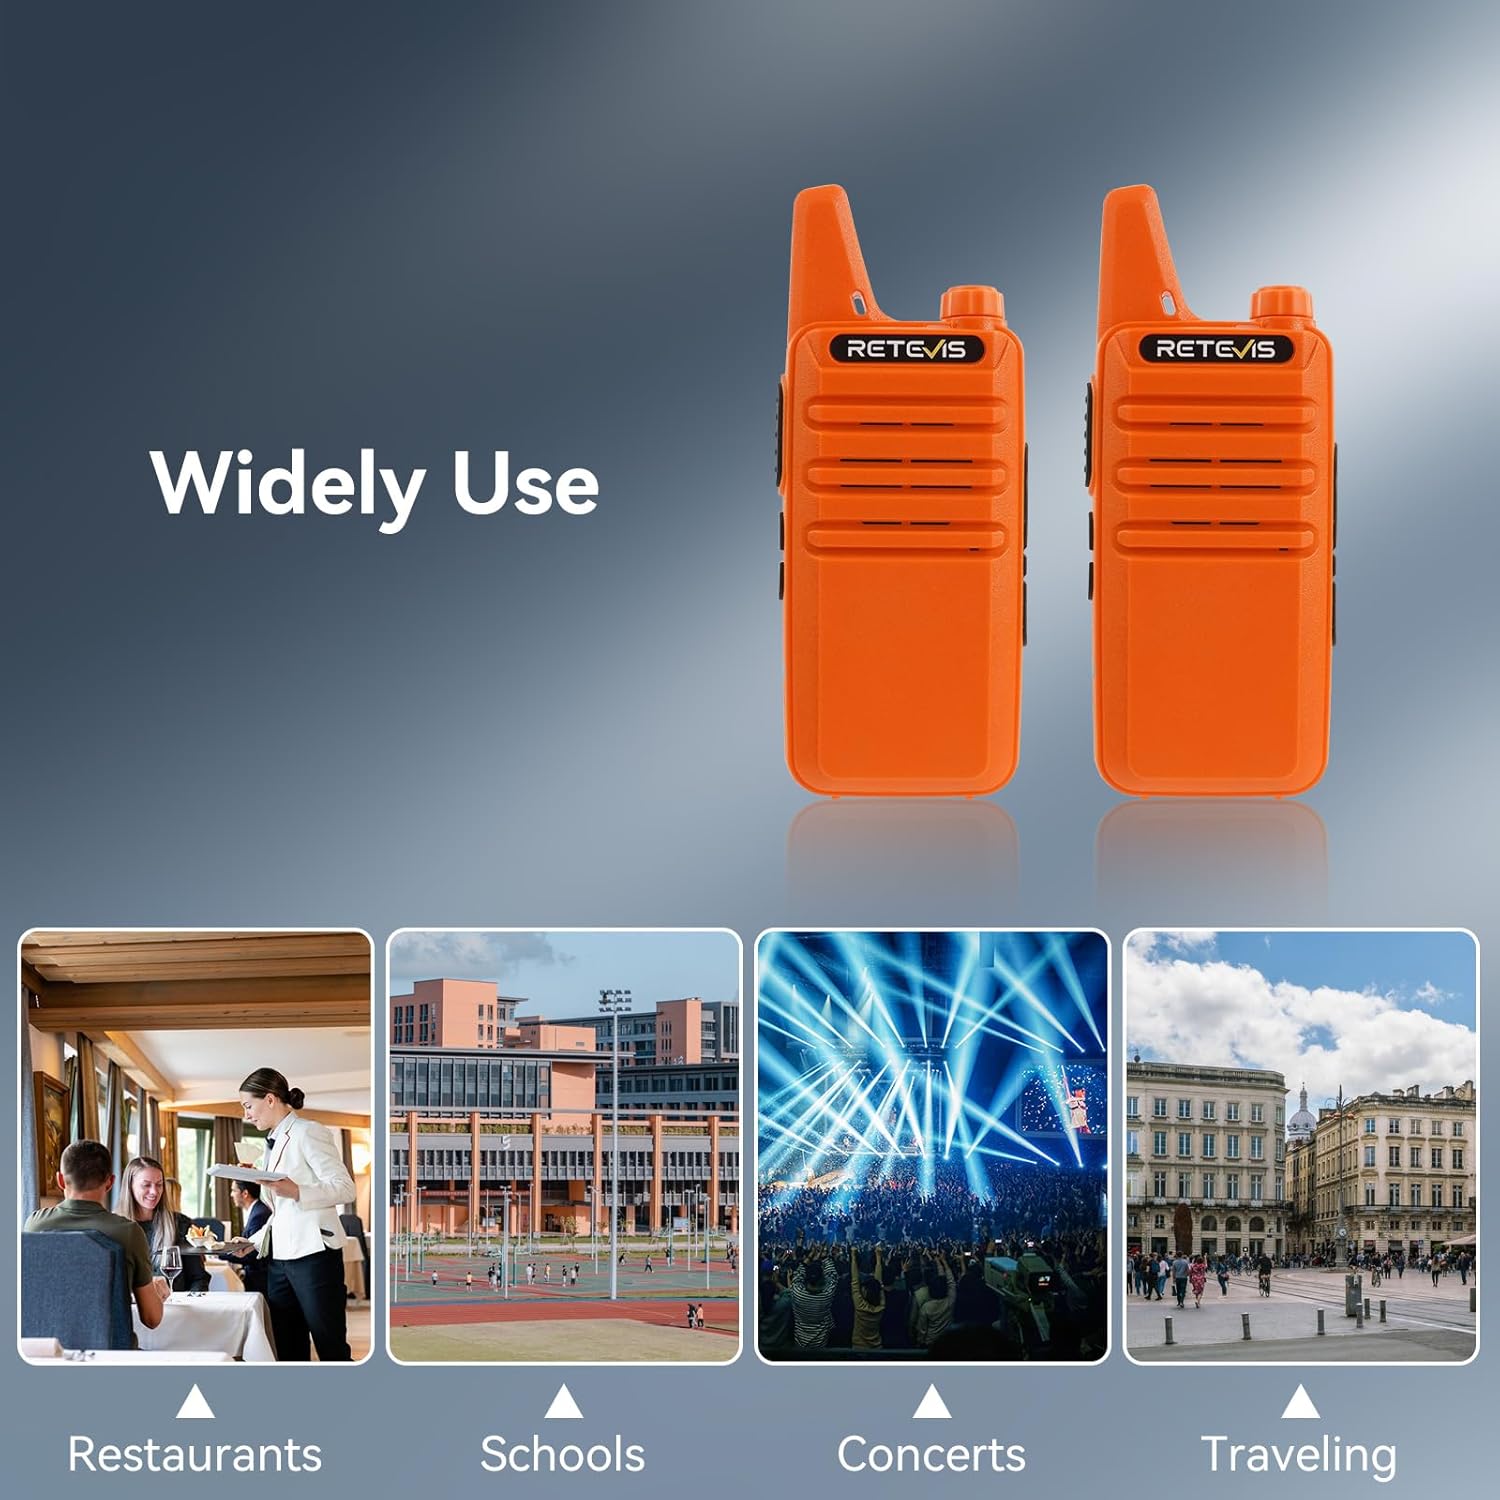
Figure 2.1: Package Contents
3. Product Overview and Features
3.1. Compact and Lightweight Design
The RT22 walkie talkies are ultra-portable and lightweight, weighing only 3.8 oz (108g) and sized like a smartphone. They easily slip into pockets or clip to belts, offering effortless mobility for various activities.
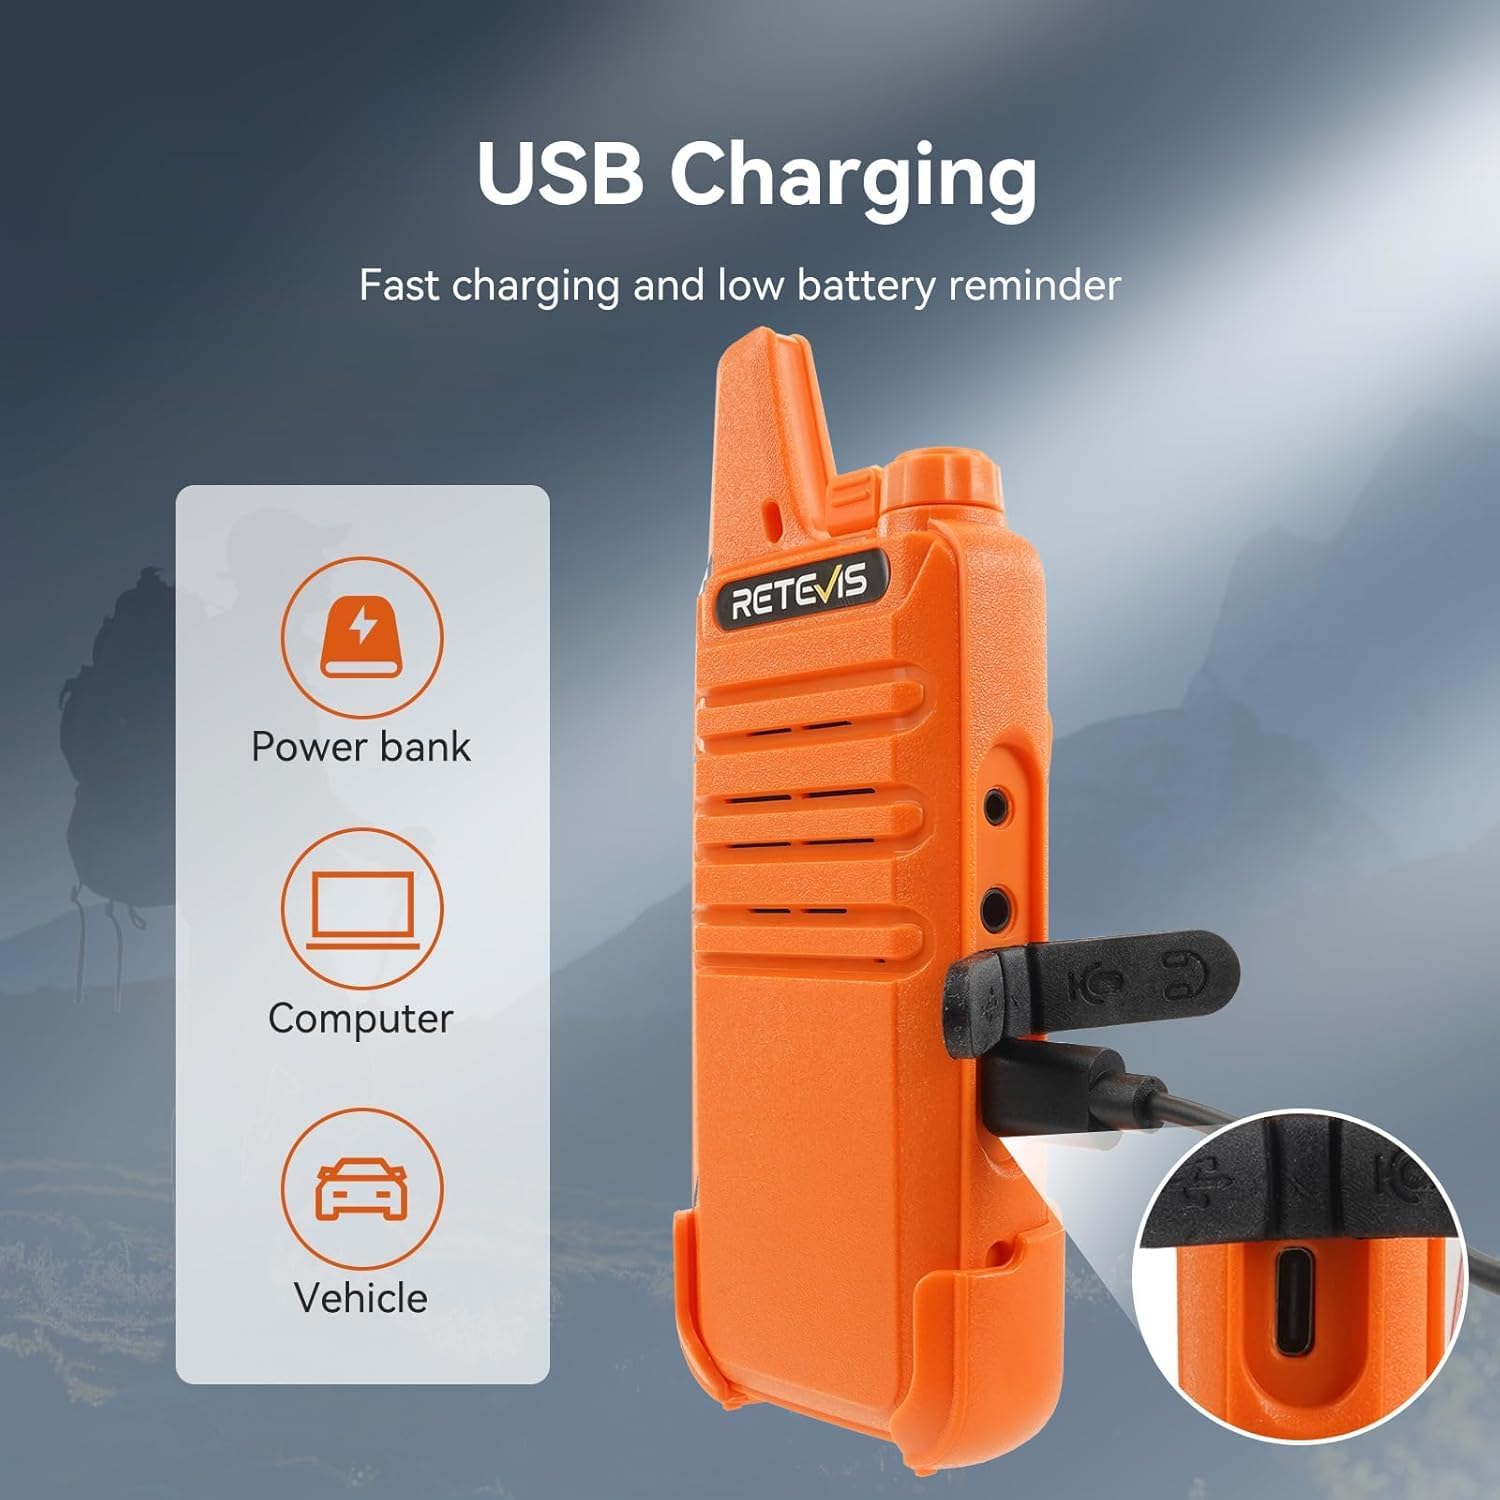
Figure 3.1: Compact Design
3.2. Clear Audio and Noise Reduction
Experience crystal-clear sound and reliable transmission distance. Equipped with a noise reduction function, the RT22 effectively minimizes background noise. Adjustable volume (0-9 levels) allows for easy adaptation to different environments, ensuring you are heard clearly in busy locations.

Figure 3.2: Clear Audio Feature
3.3. Type-C Charging and Long Battery Life
The integrated Type-C port is compatible with mobile phone and computer chargers, allowing for quick recharging anytime, anywhere. The rechargeable 1000mAh battery supports up to 10 hours of continuous use on a full charge.

Figure 3.3: USB-C Charging
3.4. Hands-free VOX (Voice Activated Transmission)
The VOX function allows for hands-free communication, enabling you to talk without pressing the PTT (Push-to-Talk) button. This is ideal for workers, skiers, or campers who need to keep their hands free.

Figure 3.4: Hands-free VOX
3.5. Emergency Alarm
The RT22 includes an emergency alarm feature for critical situations, providing an additional layer of safety.

Figure 3.5: Emergency Alarm
3.6. Fixed Antenna and Belt Clip
The radio features a fixed antenna for consistent performance and comes with a convenient belt clip for easy carrying, allowing you to keep your hands free.

Figure 3.6: Belt Clip in Use
3.7. Durable ABS Material
Constructed from rugged ABS material, the RT22 is designed for durability and resilience in various environments.

Figure 3.7: Durable Construction
4. Setup
4.1. Installing and Removing the Battery
To install the battery, align the battery contacts with the terminals inside the radio's battery compartment. Gently press the battery into place until it clicks securely. To remove, locate the small arrow or latch on the battery cover, use your fingernail to slide the cover off, and then carefully lift the battery out.

Figure 4.1: Battery Installation
4.2. Attaching and Removing the Belt Clip
The belt clip easily slides onto the back of the radio and clips over the edge for secure attachment. To remove, simply slide it off.
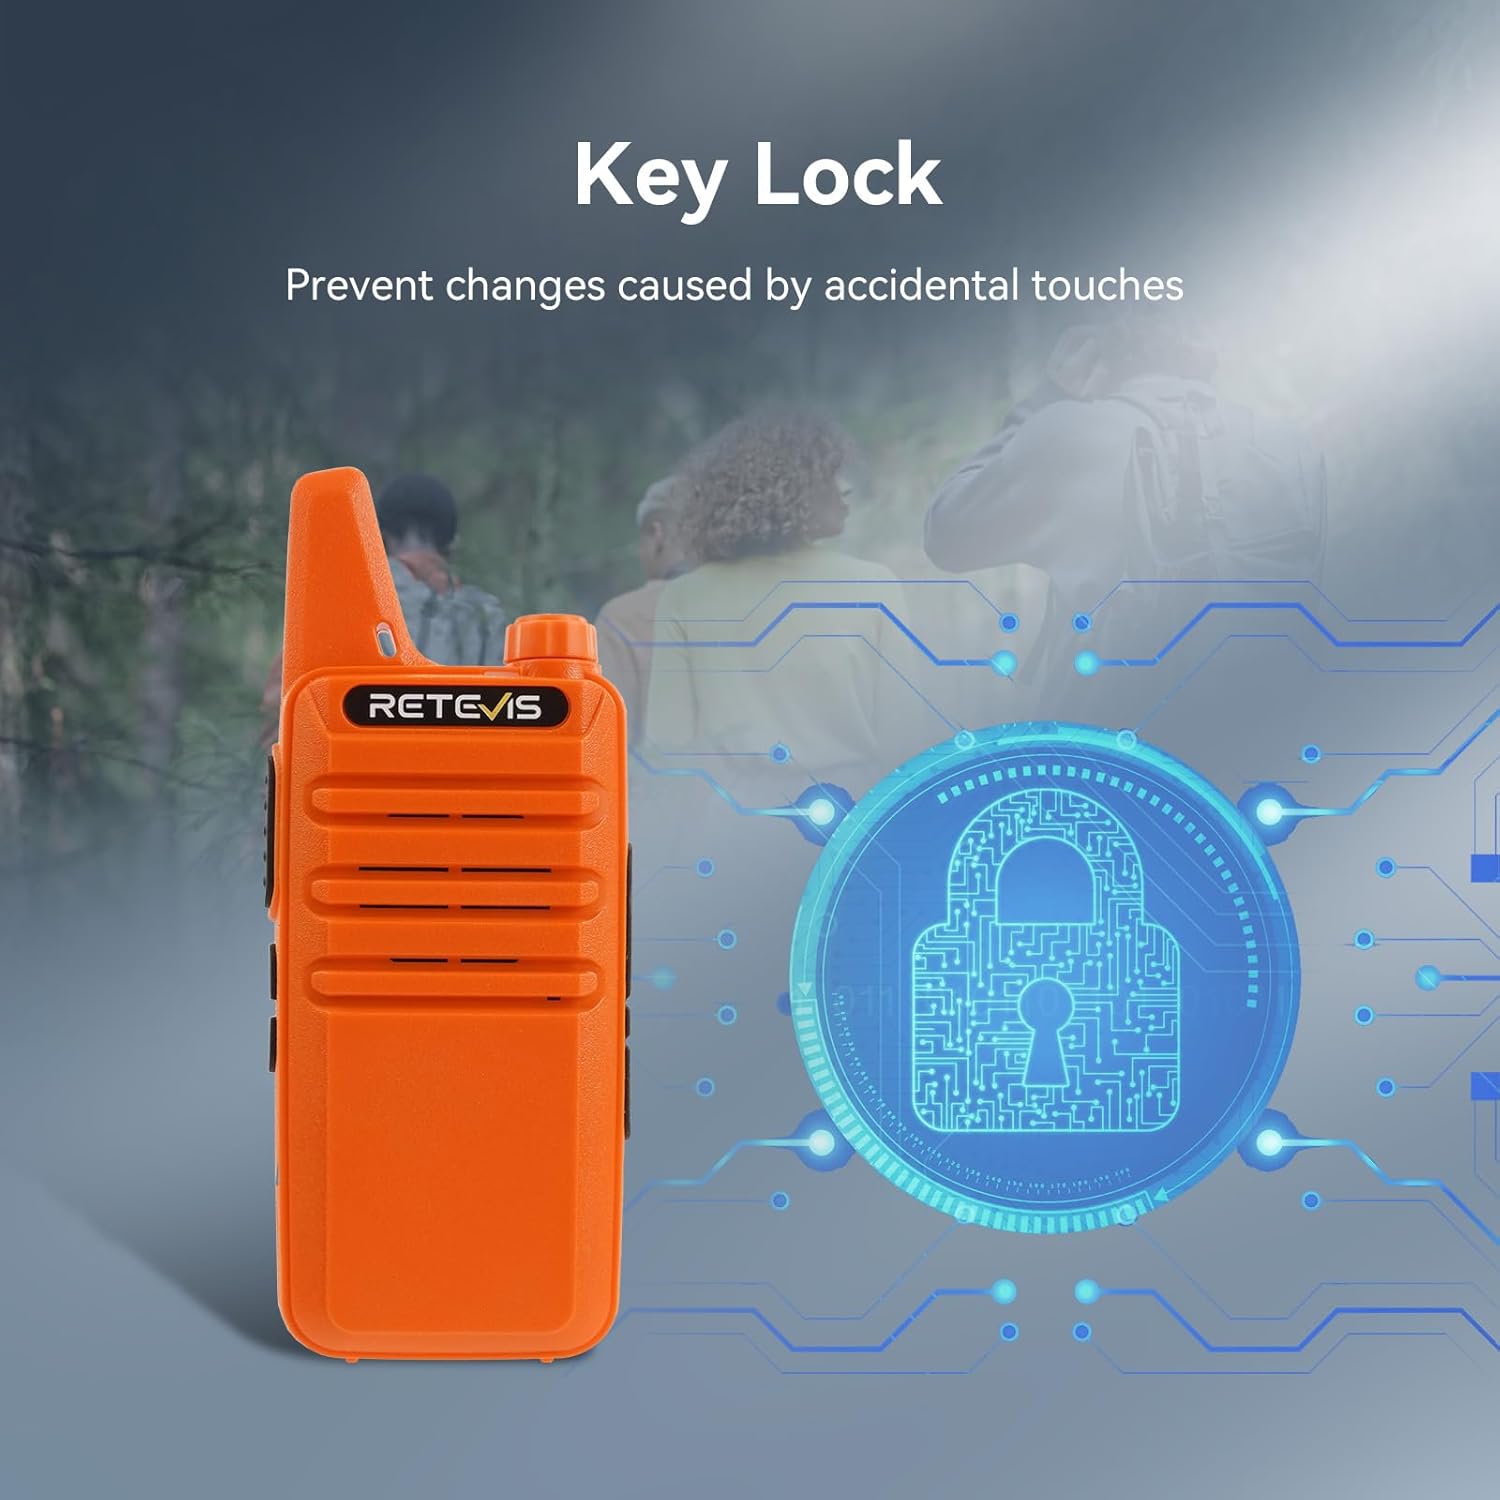
Figure 4.2: Belt Clip Attachment
4.3. Charging the Radios
Connect the provided USB cable to the Type-C charging port on the side of the walkie talkie. Plug the other end into the dual-port USB charger adapter or any compatible USB power source (e.g., power bank, computer, vehicle). The indicator light will show red while charging and turn green when fully charged. The dual-port adapter allows charging of two radios simultaneously.

Figure 4.3: Battery Life and Detachable Battery
Video 4.1: Charging and Battery Installation Demonstration (from 2:03 to 3:57)
This video demonstrates how to connect the USB-C charging cable to the walkie talkie and how to install and remove the rechargeable battery. It also shows the charging indicator light.
5. Operating Instructions
5.1. Power On/Off
To power on the radio, rotate the top knob clockwise until you hear a click and a voice prompt announcing "Power On" and the current channel number. To power off, rotate the knob counter-clockwise until you hear a click.
Video 5.1: Power On/Off Demonstration (from 5:14 to 5:30)
This video illustrates how to turn the walkie talkie on and off using the top knob, including the voice prompt for power status and channel.
5.2. Adjusting Volume
Rotate the top knob clockwise to increase the volume and counter-clockwise to decrease it. The radio will announce the current volume level.
Video 5.2: Volume Adjustment Demonstration (from 5:30 to 5:37)
This video shows how to adjust the volume by rotating the top knob, with voice feedback on the volume level.
5.3. Selecting Channels
Use the '+' and '-' buttons on the side of the radio to cycle through the 16 available FRS channels. The radio will announce the selected channel number.
Video 5.3: Channel Selection Demonstration (from 5:43 to 6:00)
This video demonstrates how to change channels using the side buttons, with voice announcements for each channel number.
5.4. Push-to-Talk (PTT)
To transmit, press and hold the large PTT button on the side of the radio. Speak clearly into the microphone. Release the button to listen.
5.5. VOX (Voice Activated Transmission)
The VOX function allows you to transmit by speaking without pressing the PTT button. Refer to the full user manual for detailed instructions on activating and adjusting VOX sensitivity.
5.6. Key Lock Function
To prevent accidental channel changes, you can lock the channel. Press and hold both the '+' and '-' buttons simultaneously until you hear a beep, indicating the channel is locked. Repeat the process to unlock.
Video 5.4: Key Lock Demonstration (from 6:00 to 6:28)
This video shows how to lock and unlock the channel by simultaneously pressing the '+' and '-' buttons, with audio cues for confirmation.
5.7. Emergency Alarm
The emergency alarm can be activated by a dedicated button (refer to the full user manual for exact button location and activation method). This feature sends out an alert signal to other radios on the same channel.
6. Maintenance
To ensure optimal performance and longevity of your Retevis RT22 walkie talkies, follow these maintenance guidelines:
- Cleaning: Wipe the radio with a soft, damp cloth. Do not use harsh chemicals or abrasive cleaners.
- Storage: Store the radios in a cool, dry place away from direct sunlight and extreme temperatures.
- Battery Care: If storing the radios for an extended period (e.g., over a month), it is recommended to remove the batteries to prevent discharge and potential damage.
- Avoid Water: The RT22 is not water-resistant. Avoid exposing it to rain, splashes, or submersion in water.
Video 6.1: Battery Storage Recommendation (from 4:48 to 5:06)
This video advises on removing batteries for long-term storage to prevent discharge, highlighting the importance of proper battery care.
7. Troubleshooting
If you encounter issues with your Retevis RT22 walkie talkies, try the following troubleshooting steps:
- No Power: Ensure the battery is correctly installed and fully charged.
- Cannot Transmit/Receive: Verify that both radios are on the same channel and that the volume is adjusted appropriately. Check for obstructions or excessive distance.
- Poor Audio Quality: Ensure the microphone is not obstructed and that you are speaking clearly. Move closer to the other radio if range is an issue.
- Limited Range: Range can be affected by terrain, buildings, and other obstructions. Try moving to an open area.
8. Specifications
| Feature | Specification |
|---|---|
| Product Dimensions | 0.83 x 2.2 x 5.35 inches |
| Item Weight | 1.83 pounds (for 4-pack) |
| Item Model Number | RT22 |
| Batteries | 4 Lithium Ion batteries required (included) |
| Special Features | Type-C Rechargeable, Good Sound Quality, License Free |
| Number of Channels | 16 |
| Frequency Range | FRS |
| Talking Range Maximum | 3 Kilometers (approx. 1.86 miles) |
| Voltage | 3.7 Volts |
| Water Resistance Level | Not Water Resistant |
9. Warranty and Support
Retevis provides a 2-year warranty for the radio body and a 1-year warranty for accessories. Within 30 days of purchase, returns are accepted for any reason. Beyond the warranty period, maintenance services are offered, with buyers responsible for associated costs. For any inquiries or support, please contact Retevis customer service via Amazon, and they will respond within 12 hours.
10. Additional Resources
Video 10.1: Retevis RT22 Walkie Talkie 4-Pack Review
This video provides a general review of the Retevis RT22 4-pack walkie talkies, highlighting key features and user experience.
Video 10.2: Compact, Durable, & Great Value Walkie Talkie
This video emphasizes the compact size, durability, and overall value of the Retevis RT22 walkie talkies, noting their license-free FRS operation.
Video 10.3: Real-World Use on a Cruise Ship
This video showcases the effective use of the Retevis RT22 walkie talkies for communication on a large cruise ship, demonstrating their range and reliability in challenging environments.
Related documentsRT22


Ask a question about this manual
Ask about setup, troubleshooting, compatibility, parts, safety, or missing instructions. Manuals+ will review the question and use this page’s manual context to help answer it.