
1. Product Overview
The Hayve Digital Magnifier HM020 is an advanced portable device designed for detailed viewing and documentation. It features a 2-inch IPS screen, up to 100X magnification, a 16MP camera, and dual lighting modes (white and purple) for various applications. This device is compatible with Windows and Mac operating systems for extended viewing and data management.
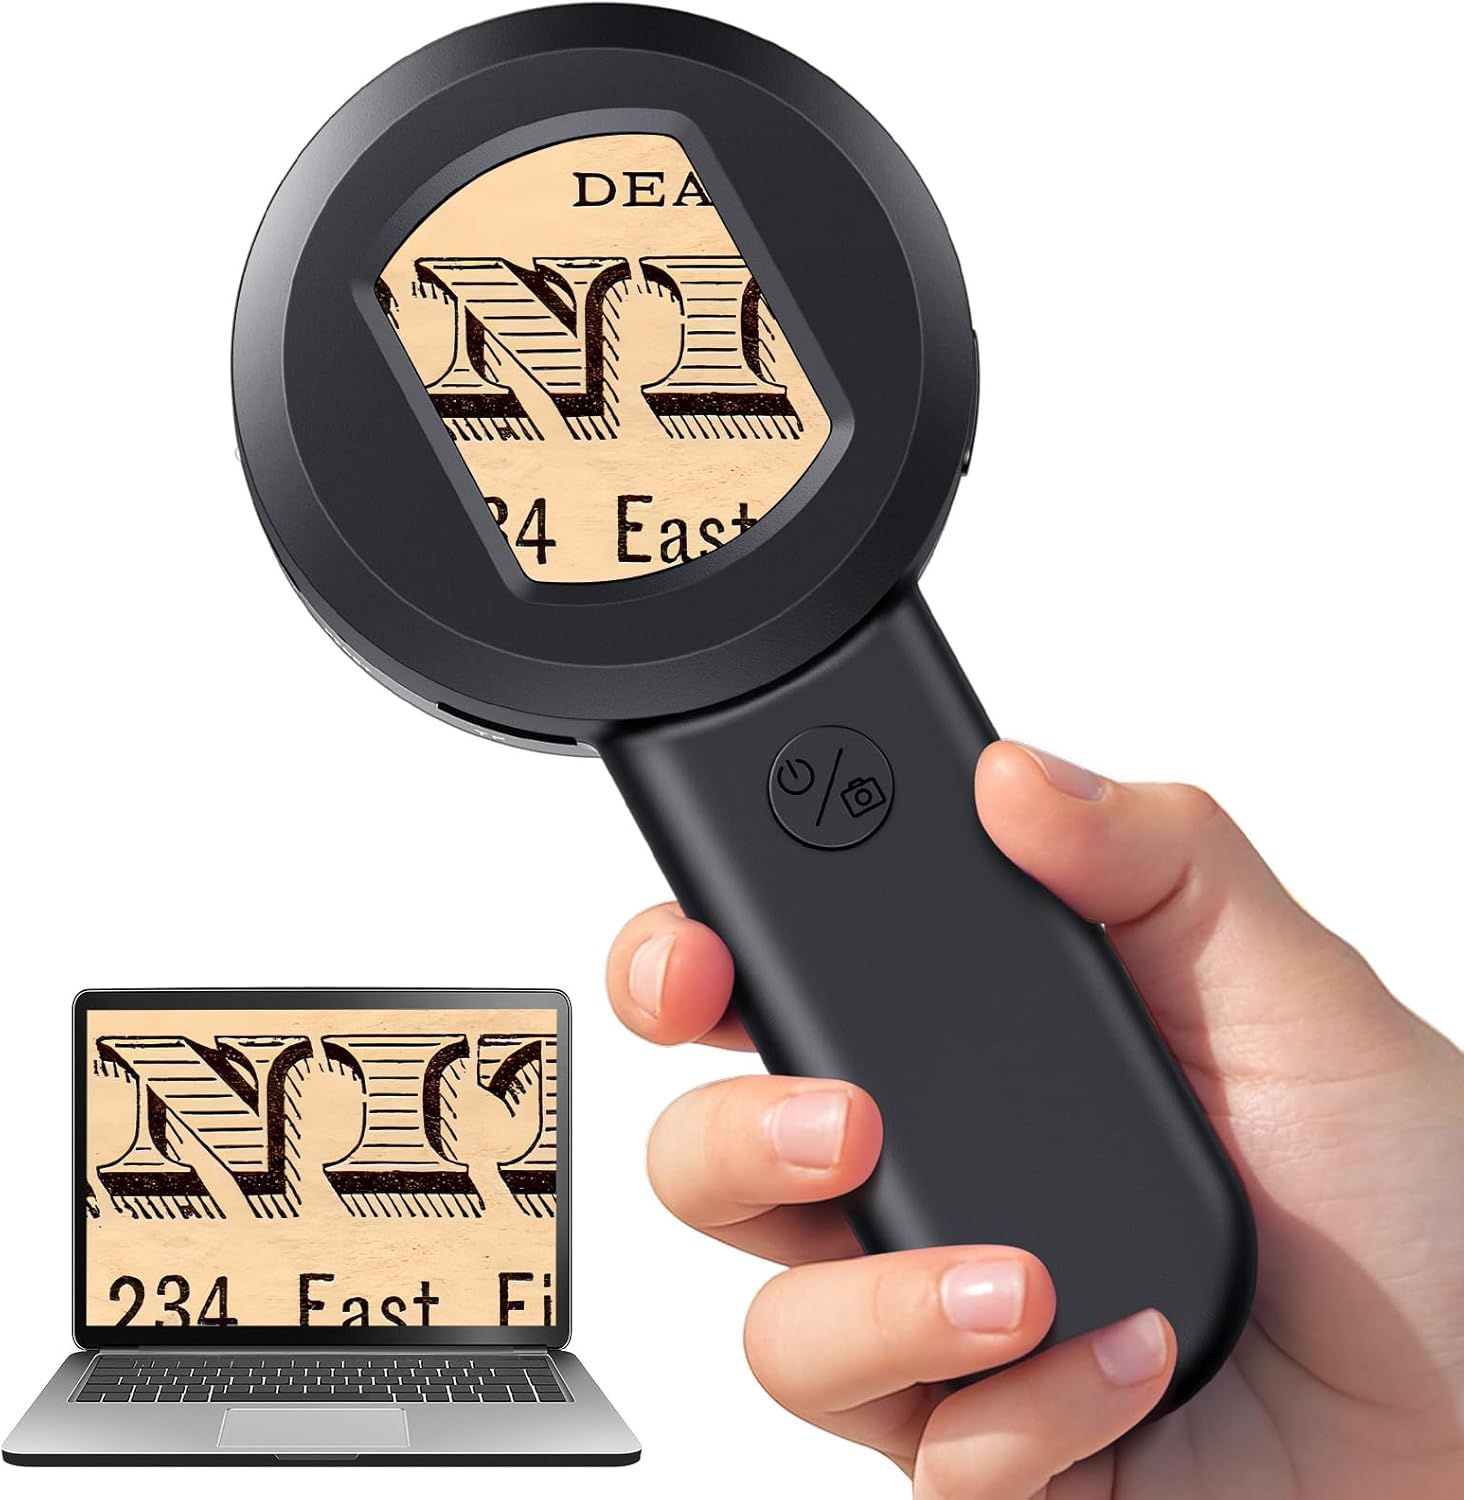
Image 1.1: The Hayve Digital Magnifier HM020, a handheld device with a built-in screen for magnified viewing.
2. Package Contents
Verify that all items are present in the package:
- Hayve Digital Magnifier (HM020) x 1
- Type-C USB Charging Cable x 1
- 32GB TF Card x 1
- User Manual x 1
3. Device Layout
Familiarize yourself with the main components and controls of your digital magnifier.

Image 3.1: The Hayve Digital Magnifier HM020, highlighting its USB-C port, power button, and photo/video button.
- 2-inch IPS Screen: Displays magnified images and menu options.
- Power Button: Turns the device on/off.
- Photo/Video Button: Captures images or starts/stops video recording.
- USB-C Port: For charging and connecting to a computer.
- TF Card Slot: For inserting the 32GB TF card to store photos and videos.
- White LED Lights: Provides bright, natural illumination for viewing.
- Purple LED Lights: Offers an alternative light source, potentially for specific material examination.
4. Setup
4.1 Charging the Device
- Connect the provided Type-C USB cable to the magnifier's USB-C port.
- Plug the other end of the cable into a standard USB power adapter (not included) or a computer's USB port.
- The charging indicator light will illuminate. A full charge typically takes approximately 1.5 hours and provides 1.5 hours of working time.
4.2 Inserting the TF Card
The device comes with a 32GB TF card for storage.

Image 4.1: Inserting the 32GB TF card into the designated slot on the magnifier.
- Locate the TF card slot on the side of the magnifier.
- Gently insert the 32GB TF card into the slot until it clicks into place. Ensure the correct orientation.
- To remove, push the card inward until it springs out.
4.3 Powering On/Off
- To Power On: Press and hold the Power button for a few seconds until the screen illuminates.
- To Power Off: Press and hold the Power button for a few seconds until the screen turns off.
5. Operating Instructions
5.1 Basic Magnification
The magnifier provides up to 100X magnification for viewing small objects or text.

Image 5.1: Proper positioning of the magnifier for optimal viewing distance over text.
- Power on the device.
- Place the magnifier directly over the object or text you wish to view.
- Adjust the distance slightly until the image on the 2-inch IPS screen is clear and in focus. The device is designed for optimal viewing without complex distance adjustments.
5.2 Adjusting Lights
The magnifier features dual lighting modes for different viewing needs.

Image 5.2: Demonstrating the white and purple light modes for illuminating objects.
- Press the Light button (often integrated with the Power or Photo button, refer to device markings) to cycle through white light, purple light, and off.
- Use white light for general viewing and true color accuracy.
- Use purple light for extended use or specific applications where a different spectrum of light is beneficial.
5.3 Taking Photos and Recording Videos
The integrated 16MP camera allows you to capture detailed images and videos.

Image 5.3: The magnifier's 16MP camera system and examples of detailed images it can capture.
- To Take a Photo: With the device powered on and viewing an object, press the Photo/Video button once. The image will be saved to the TF card.
- To Record a Video: Press and hold the Photo/Video button for a few seconds to start recording. Press again to stop. Videos will be saved to the TF card.
5.4 PC Connection for Larger View and Data Management
Connect your magnifier to a Windows or Mac computer for a larger viewing experience and to manage your captured media.

Image 5.4: Connecting the magnifier to a PC for real-time viewing and data transfer.
- Ensure the magnifier is powered on.
- Connect the magnifier to your computer using the Type-C USB cable.
- The device should be recognized as a 'PC Camera' or 'Mass Storage Device'.
- You can use compatible software on your computer to view the live feed, take photos, record videos, and perform measurements.
6. Maintenance
6.1 Cleaning
- Use a soft, lint-free cloth to clean the lens and screen. Avoid abrasive materials.
- For stubborn smudges, lightly dampen the cloth with lens cleaning solution or water. Do not spray liquids directly onto the device.
- Clean the body of the magnifier with a dry or slightly damp cloth.
6.2 Battery Care
- Charge the device regularly, even if not in frequent use, to maintain battery health.
- Avoid fully discharging the battery for extended periods.
- Store the device in a cool, dry place away from extreme temperatures.
6.3 Storage
- When not in use, store the magnifier in a protective case or pouch to prevent scratches and damage.
- Keep out of reach of children and pets.
7. Troubleshooting
| Issue | Possible Cause | Solution |
|---|---|---|
| Device does not power on | Low battery; Device malfunction | Charge the device fully. If issue persists, contact customer support. |
| Image is blurry or out of focus | Incorrect viewing distance; Dirty lens | Adjust the distance between the magnifier and the object. Clean the lens with a soft cloth. |
| Cannot save photos/videos | TF card full or not inserted correctly; TF card error | Check TF card insertion. Delete unnecessary files or format the card (backup data first). Replace TF card if corrupted. |
| No display when connected to PC | Incorrect USB connection; Driver issue | Ensure the USB-C cable is securely connected. Try a different USB port or cable. Check PC device manager for driver issues. |
8. Specifications
| Feature | Detail |
|---|---|
| Model Number | HM020 |
| Screen | 2.0-inch IPS Display |
| Magnification Strength | Up to 100X |
| Camera Resolution | 16 Megapixels |
| Storage | 32GB TF Card (included) |
| Lighting | White LED, Purple LED |
| Connectivity | USB-C (for charging and PC connection) |
| Battery | 500mAh Lithium Polymer (rechargeable) |
| Working Time | Approx. 1.5 hours |
| Lens Material | Plastic |
| Item Weight | 0.14 Kilograms (5 ounces) |
| Package Dimensions | 7.05 x 3.86 x 1.54 inches |
9. Warranty and Support
9.1 Warranty Information
Hayve products are manufactured to high-quality standards. For specific warranty details, please refer to the warranty card included in your product packaging or contact Hayve customer support. The warranty typically covers manufacturing defects under normal use.
9.2 Customer Support
If you encounter any issues or have questions regarding your Hayve Digital Magnifier HM020, please contact our customer support team. Contact information can usually be found on the product packaging, the official Hayve website, or through your purchase platform.
Please have your model number (HM020) and purchase details ready when contacting support.

