1. Introduction
This manual provides essential information for the proper installation, usage, and maintenance of your AUTEC QUANTRO alloy rims. Please read these instructions carefully before proceeding with installation or use to ensure safety and optimal performance. These rims are designed for compatibility with Peugeot Boxer vehicles, featuring a 6.5x16 inch size, ET66 offset, and 5x130 bolt pattern.
2. Product Overview and Package Contents
The AUTEC QUANTRO alloy rims are engineered for durability and performance. Each package typically includes the following components:
- 4x AUTEC QUANTRO Alloy Rims (6.5x16 ET66 5x130, Schwarz poliert finish)
- 4x Centre Rings (if required for proper fitment)
- 5x Wheel Bolts/Nuts (if different from standard vehicle hardware)
Note: Centre rings and wheel bolts/nuts are only included if specific to the rim installation and not standard vehicle components.

Image 1: A set of four AUTEC QUANTRO alloy rims, showcasing their black polished finish and five-spoke design. These rims are ready for installation on compatible vehicles.
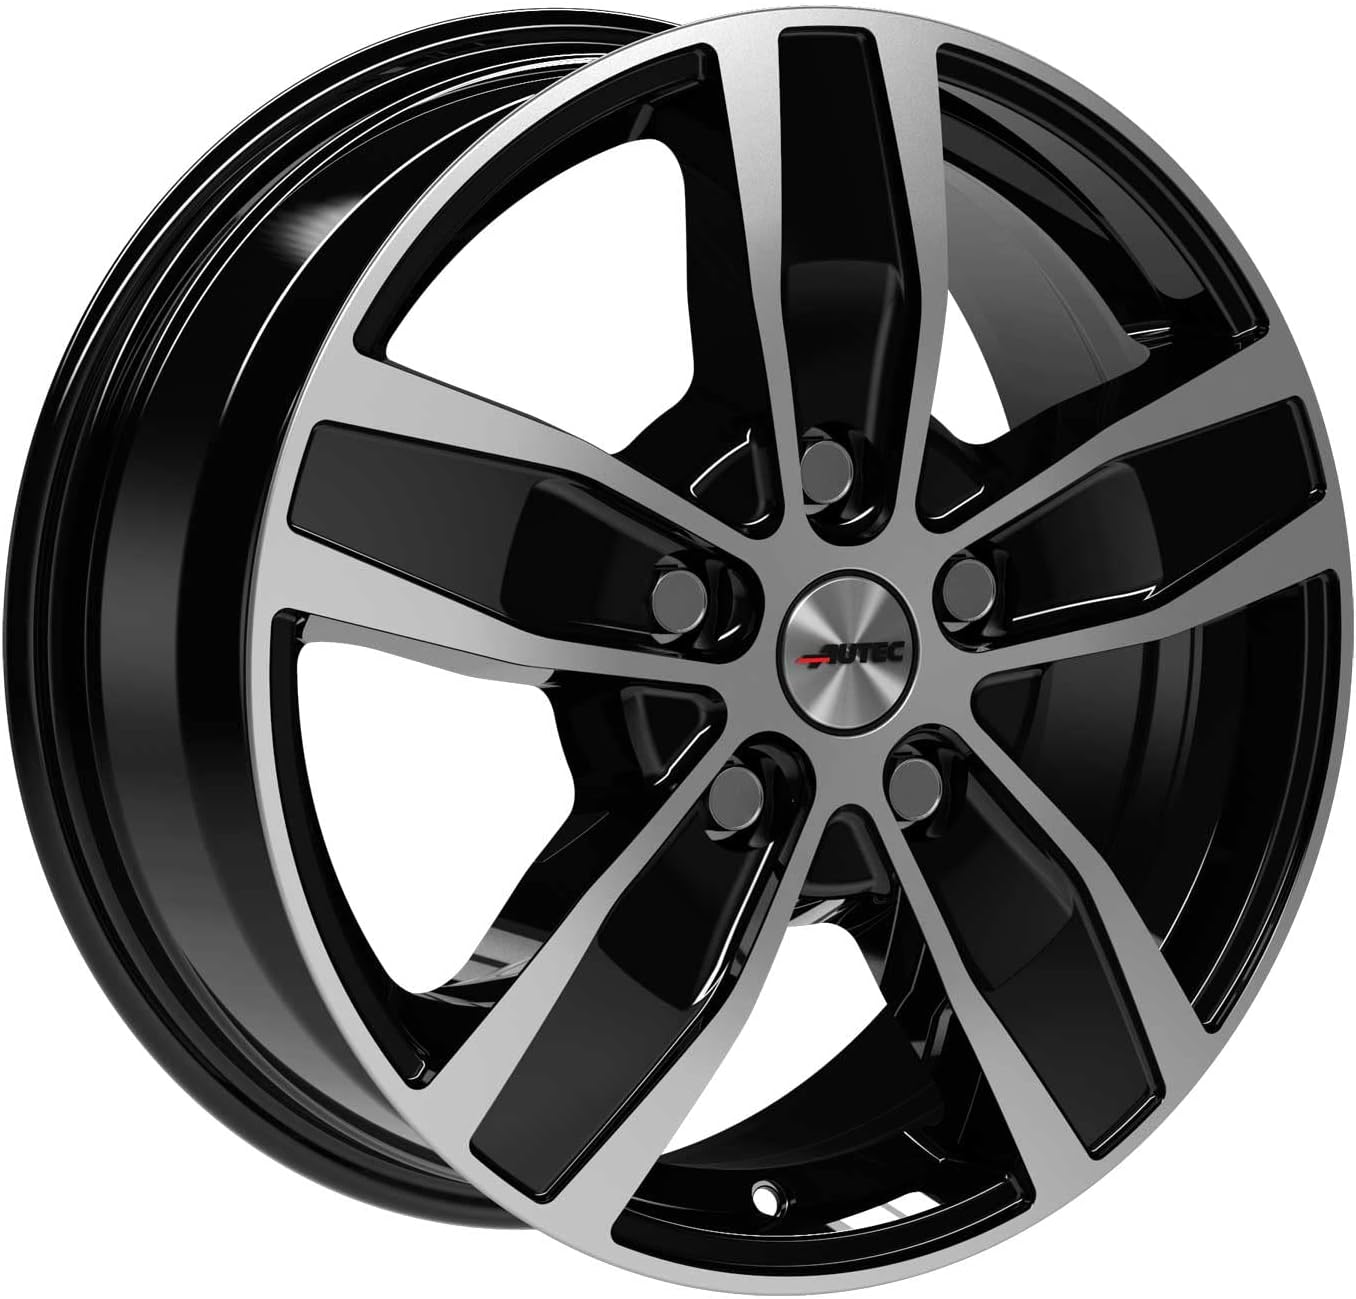
Image 2: A single AUTEC QUANTRO alloy rim, presented at an angle to highlight its design. The rim features a striking black polished finish with contrasting silver elements on the spokes, and a central hub cap with the AUTEC logo.
3. Setup and Installation
Proper installation of alloy rims is crucial for vehicle safety and performance. It is highly recommended that installation be performed by a qualified professional or an authorized service center.
3.1 Pre-Installation Checks
- Compatibility: Verify that the rim specifications (diameter, width, offset, bolt pattern, center bore) match your vehicle's requirements. These rims are 6.5x16 ET66 with a 5x130 bolt pattern, compatible with Peugeot Boxer.
- Inspection: Before mounting, thoroughly inspect each rim for any signs of damage from shipping. Do not install damaged rims.
- Components: Ensure all necessary components, including centre rings and wheel bolts/nuts (if supplied), are present and correct.
3.2 Mounting Procedure
- Tire Mounting: Have tires mounted onto the rims by a professional using appropriate equipment to avoid damage to the rim or tire.
- Balancing: Ensure the wheel and tire assembly is properly balanced to prevent vibrations and uneven tire wear.
- Vehicle Preparation: Safely lift the vehicle and remove the existing wheels. Clean the wheel hub surface to ensure proper seating of the new rim.
- Centre Rings: If supplied, install the centre rings onto the vehicle hub or into the rim's center bore as directed.
- Mounting Rims: Carefully place the new rim onto the wheel studs/bolts, ensuring it sits flush against the hub.
- Securing: Install the wheel bolts/nuts (use supplied ones if applicable) and hand-tighten them.
- Torqueing: Lower the vehicle partially so the tires just touch the ground. Using a torque wrench, tighten the wheel bolts/nuts to the vehicle manufacturer's specified torque settings in a star pattern. Refer to your vehicle's owner's manual for correct torque values.
- Final Lowering: Fully lower the vehicle.
3.3 Post-Installation Check
After driving approximately 50-100 miles (80-160 km), re-check the torque of all wheel bolts/nuts to ensure they remain securely fastened. This is a critical safety step.
4. Usage Guidelines
- Tire Pressure: Maintain correct tire pressure as specified by your vehicle manufacturer. Incorrect pressure can affect handling, tire wear, and rim integrity.
- Driving Conditions: Be mindful of road hazards such as potholes, curbs, and debris, which can cause damage to alloy rims.
- Load Capacity: Do not exceed the maximum load capacity specified for the rims and tires.
5. Maintenance
Regular maintenance will help preserve the appearance and longevity of your AUTEC QUANTRO alloy rims.
- Cleaning: Clean rims regularly using a mild car wash soap and water. Avoid harsh abrasive cleaners, wire brushes, or strong chemical solvents, as these can damage the finish.
- Drying: Dry the rims thoroughly with a soft cloth to prevent water spots.
- Inspection: Periodically inspect rims for any signs of damage, such as cracks, bends, or deep scratches. Address any damage promptly to prevent further issues.
- Winter Care: In regions where road salt is used, clean rims more frequently during winter months to prevent corrosion.
6. Troubleshooting Common Issues
While alloy rims are generally robust, certain issues may arise. Here are some common concerns and their potential solutions:
- Vibrations:
- Cause: Unbalanced wheels, loose wheel bolts, bent rim, or tire issues.
- Solution: Have wheels re-balanced. Check and re-torque wheel bolts. Inspect rims and tires for damage; replace if necessary.
- Air Loss:
- Cause: Puncture, damaged tire bead, faulty valve stem, or rim damage.
- Solution: Inspect tire for punctures. Check tire bead for proper seating. Replace valve stem if leaking. Inspect rim for cracks or bends. Seek professional assistance.
- Cosmetic Damage (Scratches/Curb Rash):
- Cause: Contact with curbs, road debris, or improper handling.
- Solution: Minor scratches can sometimes be repaired with specialized rim repair kits. For significant damage, professional repair or replacement may be necessary.
Important: For any significant issues or concerns, consult with a professional automotive technician.
7. Specifications
| Specification | Detail |
|---|---|
| Brand | AUTEC |
| Model | QUANTRO |
| Part Number | 4-Q6516665153711 |
| Rim Diameter | 16 Inches |
| Rim Width | 6.5 Inches |
| Offset (ET) | 66 Millimeters |
| Bolt Pattern (PCD) | 5x130 Millimeters |
| Centerbore | (Information not specified in product data, typically vehicle-specific or requires centre ring) |
| Finish | Schwarz poliert (Black Polished) |
| Compatibility | Peugeot Boxer |
| Item Weight (per set) | Approximately 88 pounds |
8. Warranty and Support
For specific warranty information regarding your AUTEC QUANTRO alloy rims, please refer to the documentation provided at the time of purchase or contact the authorized AUTEC dealer or seller directly. Warranty terms typically cover manufacturing defects but may not cover damage resulting from improper installation, misuse, accidents, or normal wear and tear.
For technical support or further inquiries, please reach out to your point of purchase or the official AUTEC customer service channels.


