
acetek HH-599
Instruction Manual for acetek Multi-Function Power Station
Model: HH-599 | Brand: acetek
1. Overview
The acetek Multi-Function Power Station HH-599 is a versatile and essential tool for automotive emergencies, outdoor activities, and portable power needs. It combines a powerful 2000 Amp jump starter, a 100 PSI air compressor, a 400W power inverter with multiple outlets, and bright LED lights, all designed for heavy-duty use in various conditions.

Image: The acetek Multi-Function Power Station HH-599, showcasing its various ports and features.
2. What's in the Box
Upon unboxing your acetek Multi-Function Power Station, ensure all the following components are present:
- Jump Starter x1
- DC Charging Cord x1
- AC Home Charger x1
- Valve Connector x3

Image: All components included in the product packaging.
3. Setup
Before initial use, it is crucial to fully charge the power station to activate the battery and ensure optimal performance. This process may take up to 24 hours using the AC home charger.
Initial Charging
- Connect the AC Home Charger to the charging port on the unit.
- Plug the AC Home Charger into a standard wall outlet.
- Allow the unit to charge for 24 hours before its first use.
- Alternatively, use the DC Charging Cord to charge the unit in your vehicle (do not charge for more than 8 hours).

Image: Visual representation of AC, DC, and solar charging methods.
4. Operating Instructions
4.1. Jump Starting a Vehicle
The 2000 Amp peak current jump starter is suitable for 12V vehicles with up to 10L gas and 8.5L diesel engines, operating in temperatures from -4°F to 149°F.
- Ensure the power station is fully charged.
- Locate the jump starter clamps stored on the sides of the unit.
- Connect the red clamp to the positive (+) terminal of the vehicle battery.
- Connect the black clamp to the negative (-) terminal of the vehicle battery or a non-painted metal part of the engine block away from the battery.
- Turn the jump starter switch to ON. A green indicator light confirms correct connection. A red light indicates an incorrect connection.
- Start the vehicle.
- Once the vehicle starts, turn the jump starter switch to OFF and disconnect the clamps in reverse order (black first, then red).
Note: If the vehicle does not start on the first attempt, wait 4-5 minutes before trying again. Do not repeat too many times.
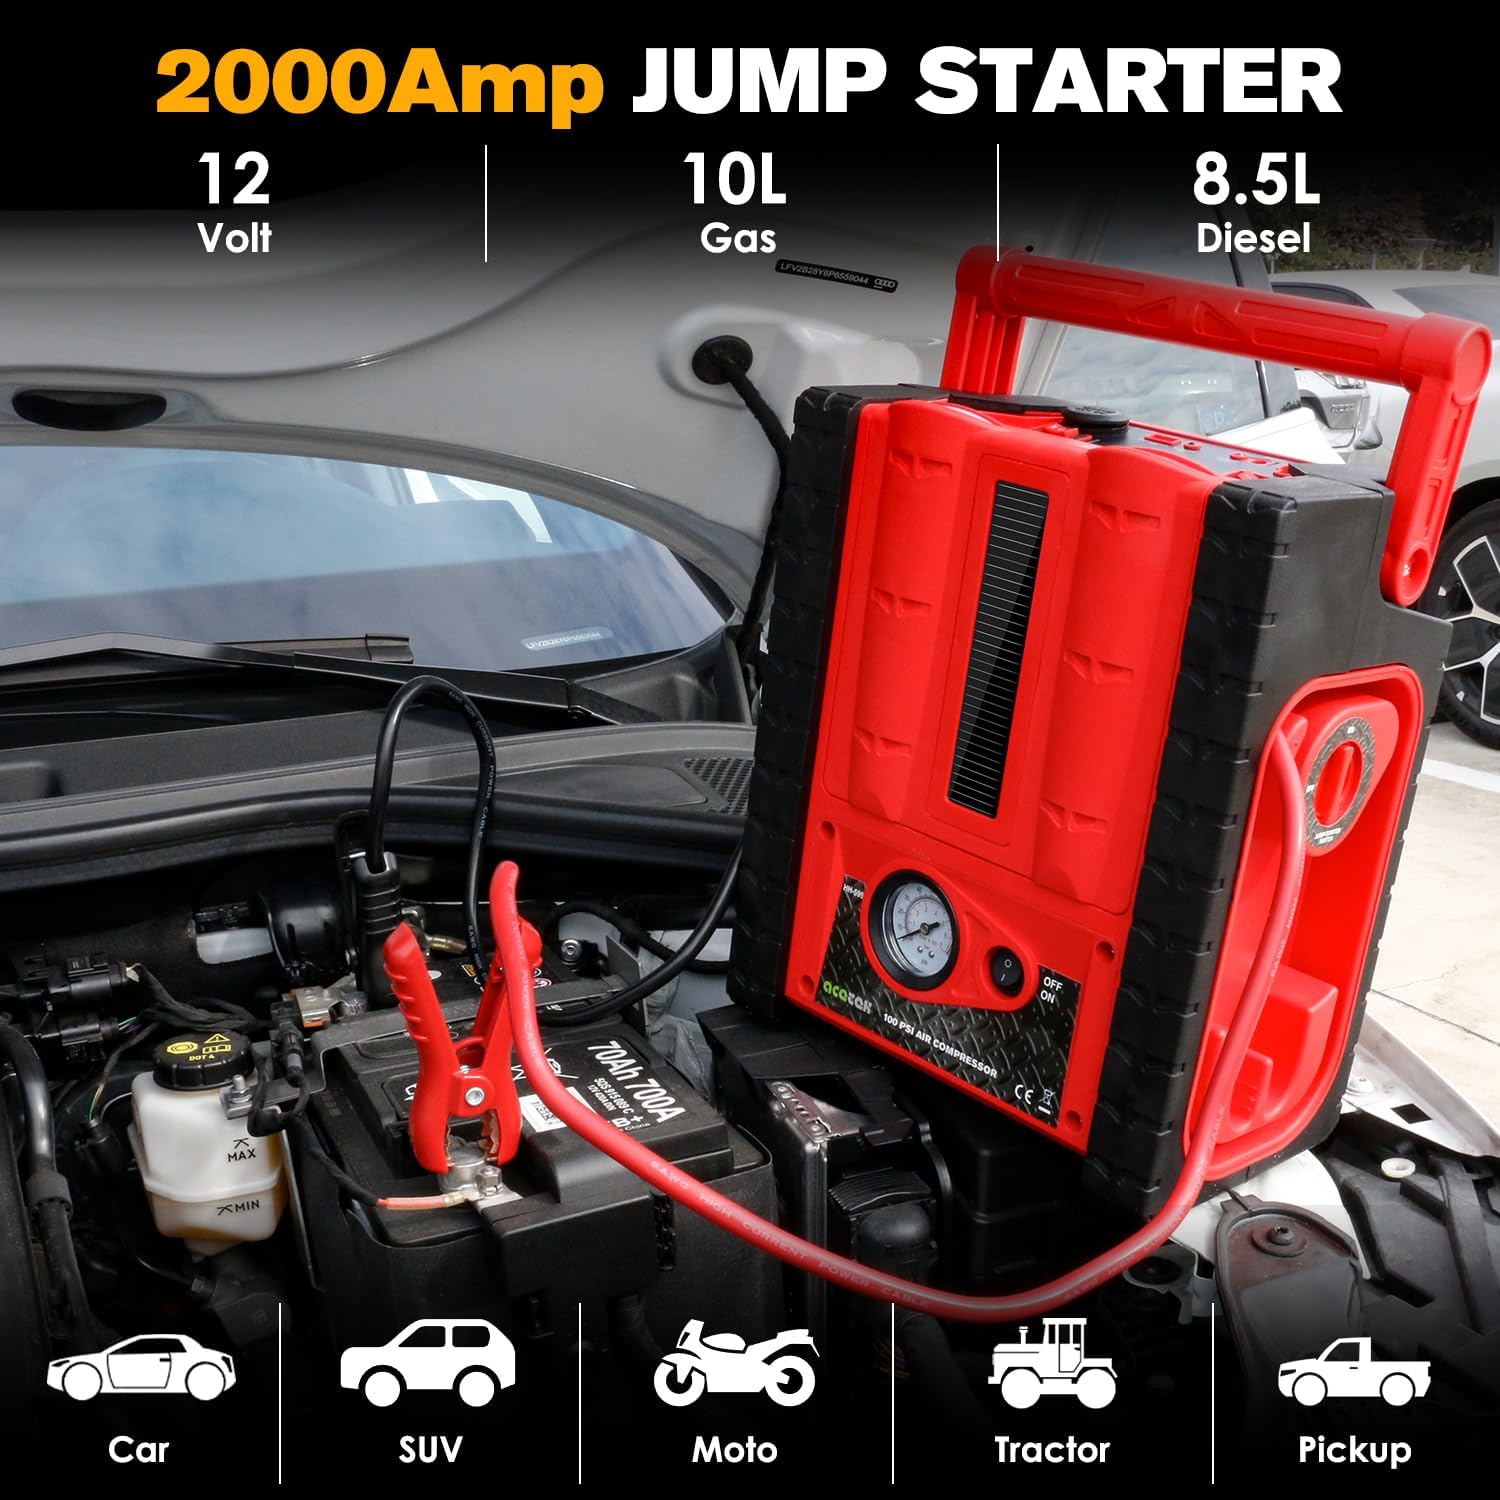
Image: The power station connected to a car battery for jump starting.

Image: Visual steps for jump starting a vehicle.
4.2. Using the Air Compressor / Tire Inflator
The 100 PSI air compressor features thicker cylinder bores for faster inflation, capable of inflating tires to 30 PSI in 2-3 minutes. It comes with three different nozzles for various inflatables like cars, bikes, swimming rings, and balls.
- Locate the air hose and appropriate valve connector stored on the back of the unit.
- Connect the air hose to the tire valve or inflatable item.
- Turn the air compressor switch to ON.
- Monitor the pressure gauge to prevent over-inflation.
- Once desired pressure is reached, turn the switch OFF and disconnect.

Image: The power station's air compressor in use, inflating a car tire.

Image: Features of the upgraded 100 PSI air compressor.
4.3. Using as a Portable Power Station
This unit functions as a 20000 mAh high-capacity power station with a built-in 400W inverter.
- 110V AC Outlet: To power small electronics (up to 400W), turn the 'Power Inverter' switch to ON.
- 12V DC Port: Use for in-car devices. Ensure the 'Output 12V' switch is ON.
- 5V 2.1A USB Port: For charging smartphones, tablets, and other USB-powered devices. Ensure the 'USB' switch is ON.
Note: The inverter socket is not suitable for higher power products.

Image: The power station providing power to a laptop, vacuum, and smartphone.

Image: Overview of the 20000mAh high capacity power station with built-in 400W inverter.
4.4. Using LED Lights
The power station is equipped with two bright LED lights for illumination.
- Locate the 'Area Light' switch on the front panel.
- Flip the switch to ON to activate the lights.
These lights are ideal for illuminating tire areas when inflating, engine compartments when jump starting, camping, or during other emergencies and power outages.
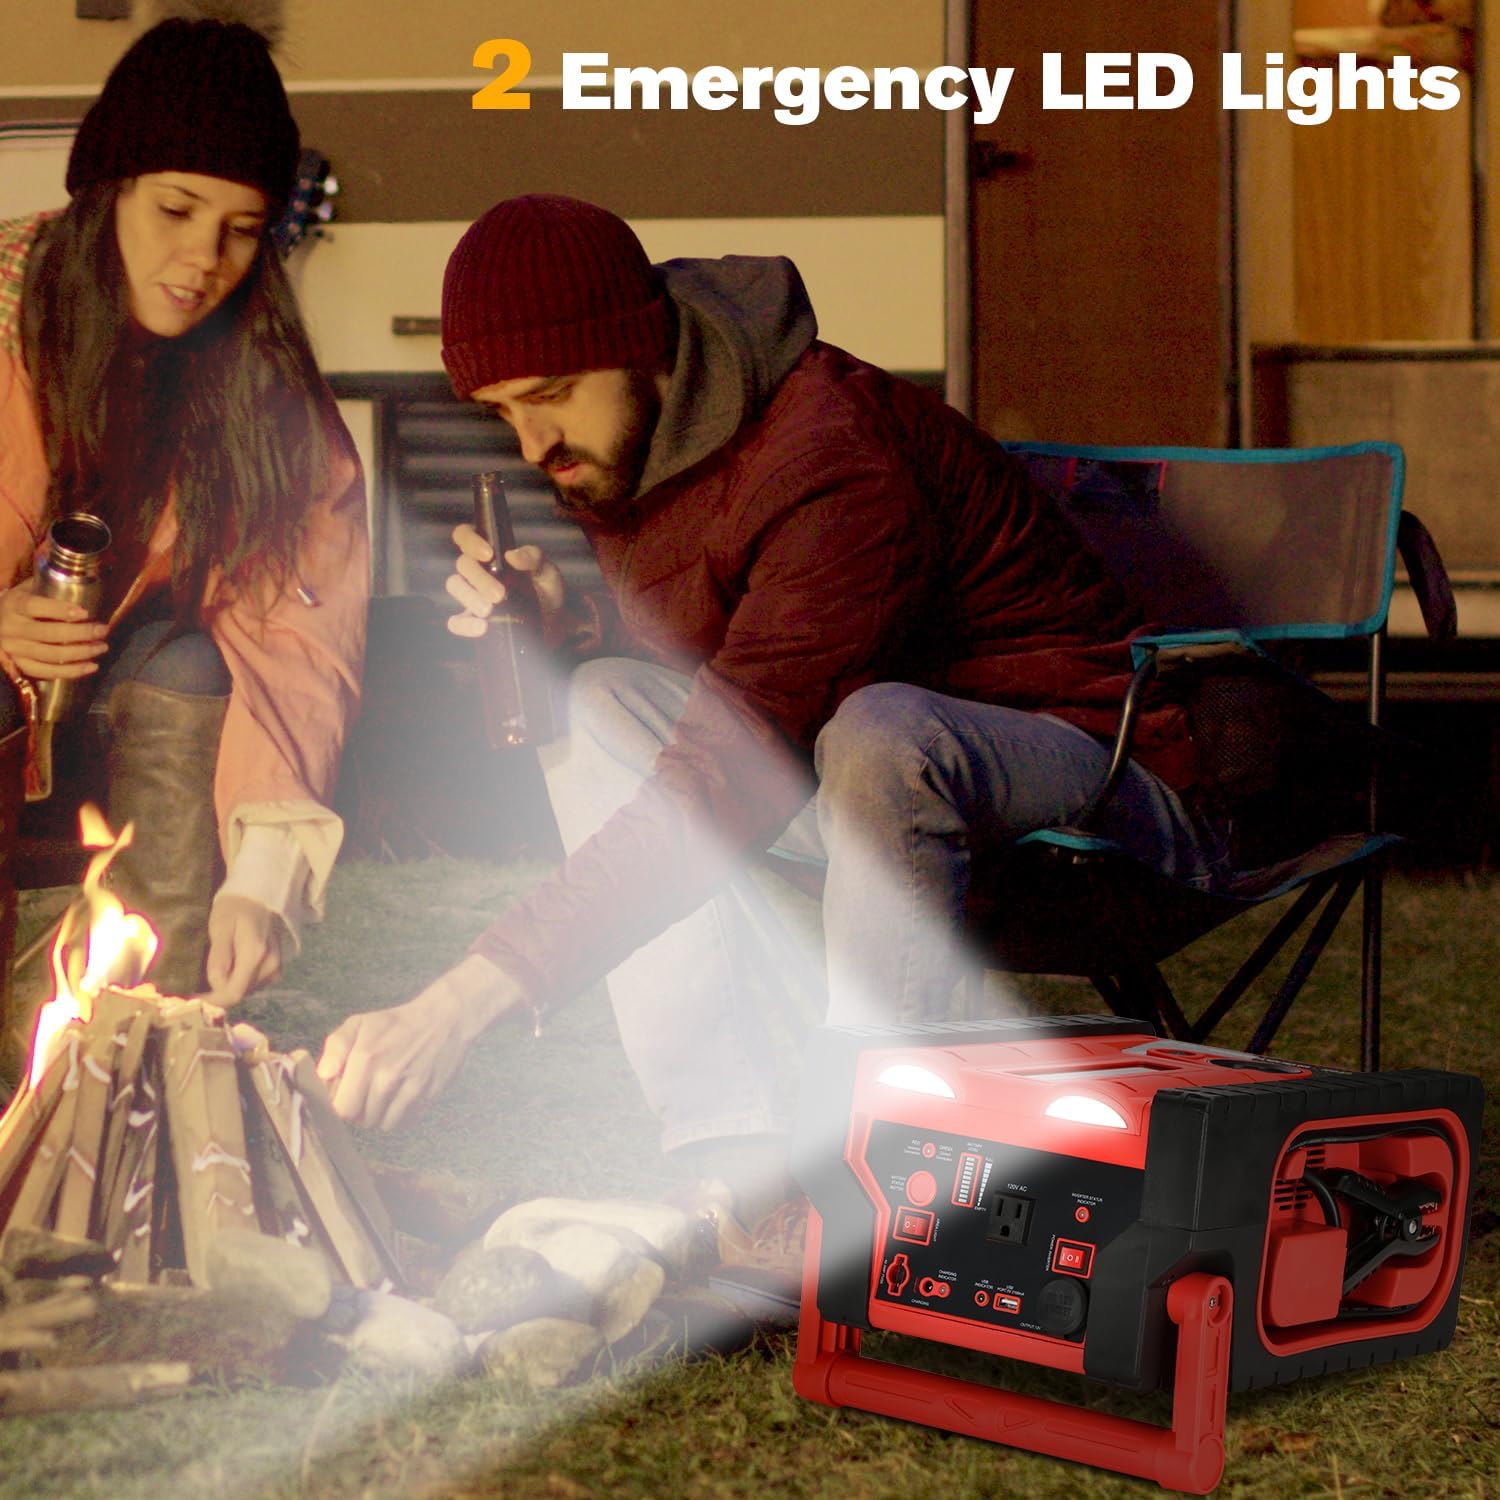
Image: The power station's LED lights providing illumination in a dark setting.
5. Safety Features
The acetek Multi-Function Power Station is designed with multiple safety protection features to ensure safe operation:
- Reverse Connection Protection: Prevents damage if clamps are connected incorrectly.
- Short Circuit Protection: Safeguards against electrical shorts.
- High Temperature Protection: Prevents overheating of the unit.
- Over Current Protection: Protects against excessive current flow.
- Over Charge Protection: Prevents battery damage from overcharging.
- Over Voltage Protection: Shields against voltage spikes.

Image: Visual representation of the multiple safety protection features.
6. Maintenance
Proper maintenance ensures the longevity and reliability of your power station:
- Charge the product after each use or at least every two months to prevent the battery voltage from becoming extremely low.
- Do not overcharge the unit.
- Store the unit in a cool, dry place away from direct sunlight and extreme temperatures. The unit is designed to work in extreme temperatures from -4°F to 149°F, but storage in moderate conditions is recommended.

Image: The power station's ability to function in extreme weather conditions.
7. Troubleshooting
If you encounter issues with your power station, refer to the following common troubleshooting tips:
- Vehicle Not Starting: If the vehicle does not start on the first attempt, wait 4-5 minutes before trying again. Do not repeat too many times. Ensure correct clamp connection (green indicator light). A red light indicates an incorrect connection.
- Air Compressor Not Working: Check the air hose connection to the unit and the tire valve. Ensure the ON/OFF switch for the air compressor is engaged.
- Devices Not Charging: Ensure the correct output port (USB, DC, AC) is selected and the corresponding power switch is ON. Check the battery level indicator to ensure the unit has sufficient charge.
- Unit Not Charging: Verify that the charging cables are securely connected to both the unit and the power source (wall outlet or car charger). Ensure the power source is active.
8. Specifications
| Specification | Value |
|---|---|
| Brand | acetek |
| Model | HH-599 |
| Item Weight | 20.5 Pounds |
| Amperage | 2000 Amps |
| Peak Output Current | 2000 Amps |
| Battery Type | 12V (included) |
| Air Compressor Pressure | 100 PSI |
| Inverter Output | 400W (110V AC) |
| USB Output | 5V 2.1A |
| DC Output | 12V |
| Solar Panel | 3W Trickle Charger |
9. Warranty and Support
acetek is committed to providing high-quality products and excellent customer service. Every product undergoes rigorous quality checks and tests before leaving the factory.
For any inquiries, technical support, or warranty claims, please contact acetek customer service directly:
Email: customerservice-321@outlook.com
Please have your product model number (HH-599) and purchase details ready when contacting support.
Related documentsHH-599

Ask a question about this manual
Ask about setup, troubleshooting, compatibility, parts, safety, or missing instructions. Manuals+ will review the question and use this page’s manual context to help answer it.