
1. Introduction
This manual provides comprehensive instructions for the safe and effective use of your PINEWORLD K1 Biometric Gun Safe. Please read this manual thoroughly before operating the safe and retain it for future reference. This safe is designed to provide secure storage for firearms and other valuable items, offering multiple access methods for quick and reliable entry.

Figure 1.1: PINEWORLD K1 Biometric Gun Safe, showcasing its interior capacity and illumination.
2. Safety Information
Always prioritize safety when handling firearms and operating the safe. Failure to follow these instructions may result in injury or damage.
- Keep the safe locked at all times when not in use, especially if firearms are stored inside.
- Store mechanical keys in a secure location away from the safe and out of reach of children. Do not store keys inside the safe.
- Ensure children do not have access to the safe or its access codes/fingerprints.
- Do not attempt to force open the safe. This may damage the locking mechanism and compromise security.
- Verify the safe is securely mounted or tethered to prevent unauthorized removal, especially when used in a vehicle or for travel.
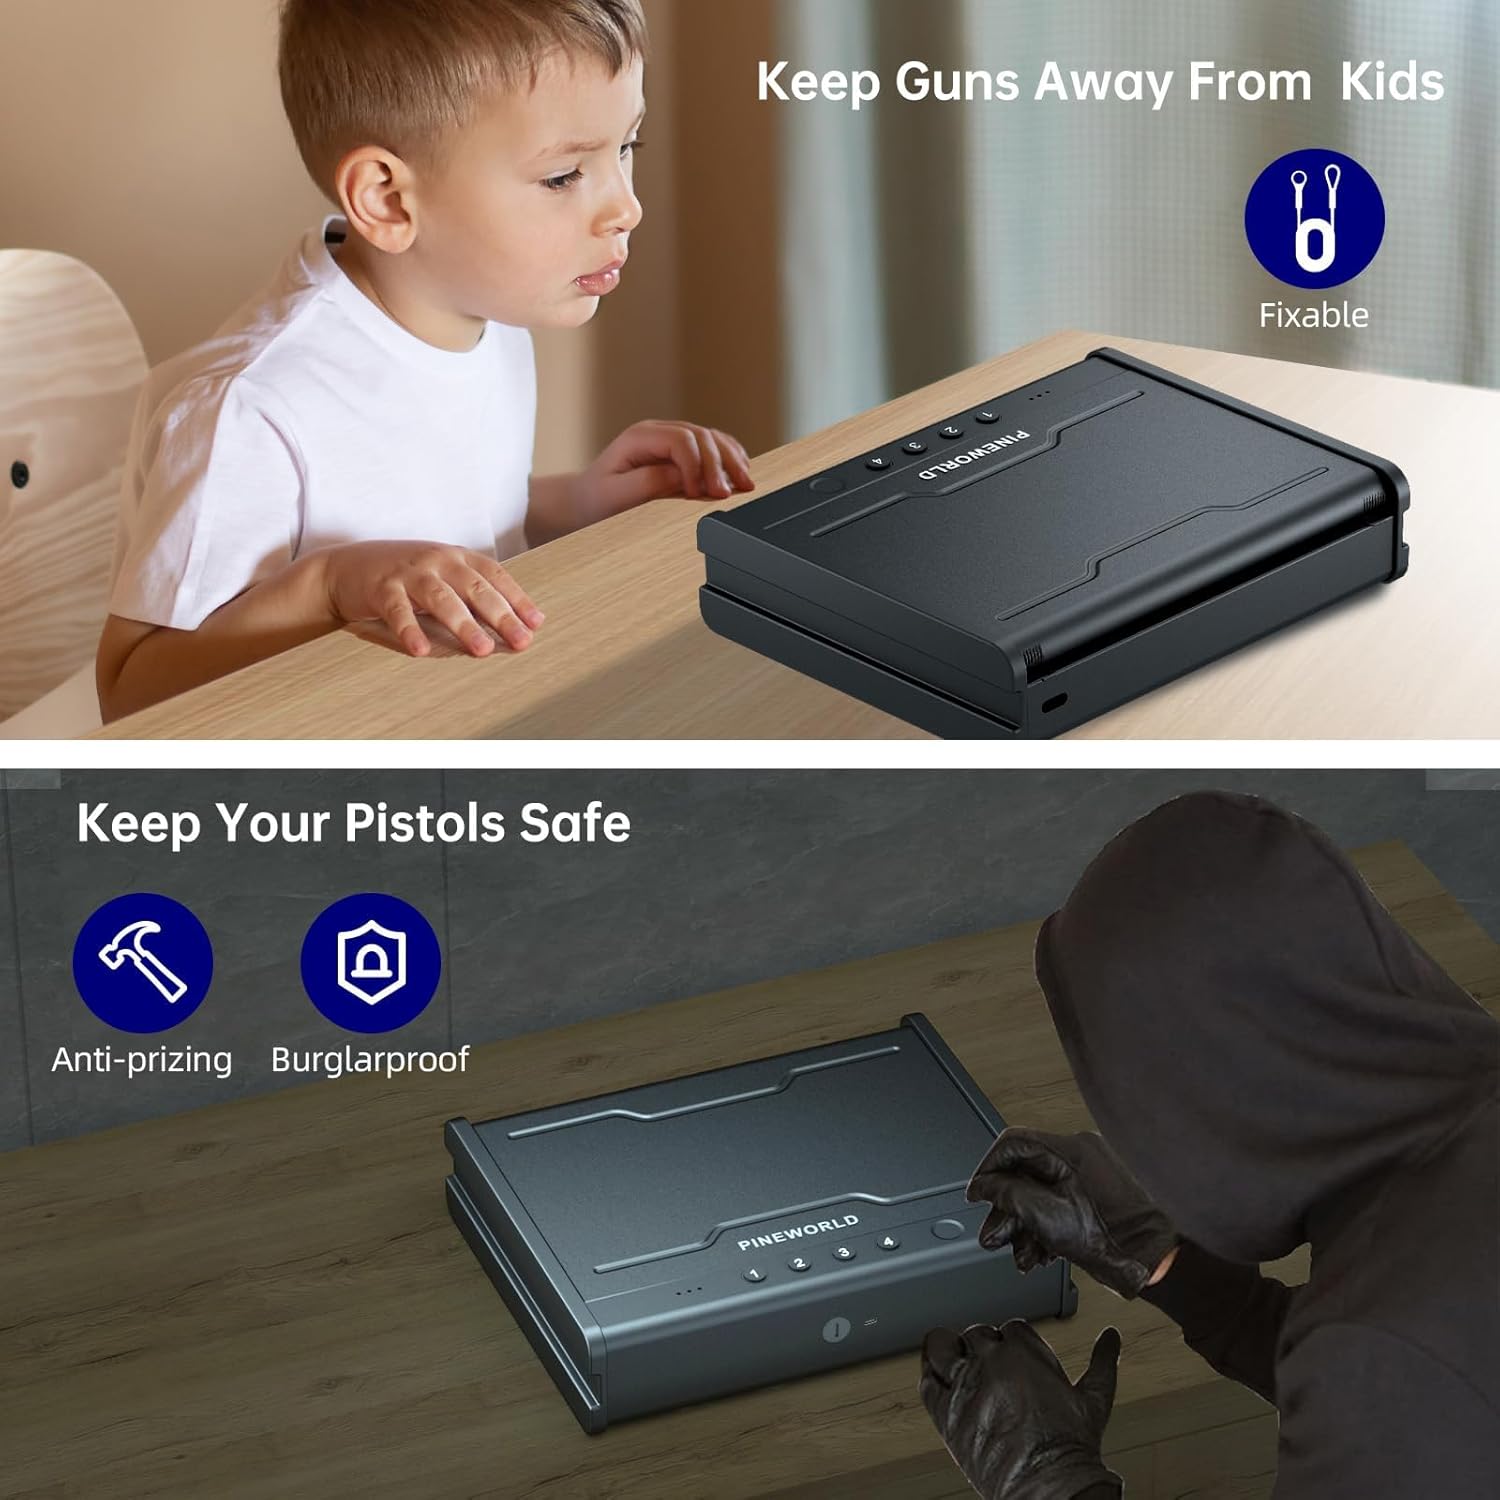
Figure 2.1: Emphasizing the importance of keeping firearms securely stored and out of reach of unauthorized individuals.
3. Package Contents
Upon opening the package, please verify that all the following items are included:
- 1 x PINEWORLD K1 Biometric Gun Safe
- 1 x Instruction Manual (this document)
- 1 x Steel Cable for securing the safe
- 2 x Mechanical Keys (for emergency access)
- 4 x AA Batteries (LR6) - Not Included

Figure 3.1: Included accessories with the PINEWORLD K1 Biometric Gun Safe.
4. Product Overview
Familiarize yourself with the key components of your PINEWORLD K1 Biometric Gun Safe:

Figure 4.1: Labeled diagram of the PINEWORLD K1 Biometric Gun Safe components.
- Fingerprint Scanner: For biometric access.
- Keypad: For passcode entry (buttons 1-4).
- Keyhole: For mechanical key access.
- 'SET' Button: Used for programming fingerprints and passcodes.
- Interior Light: Illuminates the safe's contents.
- Emergency Charging Port (Type-C): For temporary power if batteries are depleted.
- Steel Cable Entrance Hole: For securing the safe with the included steel cable.
- Shock-Proof Padding & Cap Foam: Protects stored items.
- Voice Guide Speaker: Provides audio prompts during operation.
5. Setup
5.1 Battery Installation
- Locate the battery compartment, typically on the underside or inside the safe.
- Insert 4 new LR6 (AA) batteries, ensuring correct polarity (+/-).
- Close the battery compartment securely.
Note: Batteries are not included with the safe. Always use new, high-quality batteries for optimal performance.
5.2 Initial Unlock (Mechanical Keys)
Before setting up electronic access, use the mechanical keys to open the safe for the first time. This is also the backup method if electronic access fails.
- Insert one of the mechanical keys into the keyhole on the front of the safe.
- Turn the key to unlock the safe. The lid should spring open.
- Remove the key and store it in a secure, separate location.
5.3 Mounting Options
The PINEWORLD K1 safe can be placed in various locations and secured using the included steel cable or by bolting it down (hardware not included).
- Portable Use: The compact size allows for easy placement in nightstands, drawers, desks, or car consoles.
- Steel Cable Security: Thread the steel cable through the designated hole on the safe and secure it around a fixed object (e.g., bed frame, car seat anchor) to prevent unauthorized removal.
- Permanent Mounting: The safe may have pre-drilled holes for bolting to a flat surface. Consult a professional if you are unsure about permanent installation.

Figure 5.1: Versatile placement options for the PINEWORLD K1 Biometric Gun Safe.

Figure 5.2: Securing the safe using the anti-theft steel cable.
6. Operating Instructions
6.1 Unlocking Methods
The PINEWORLD K1 offers three primary ways to unlock the safe:
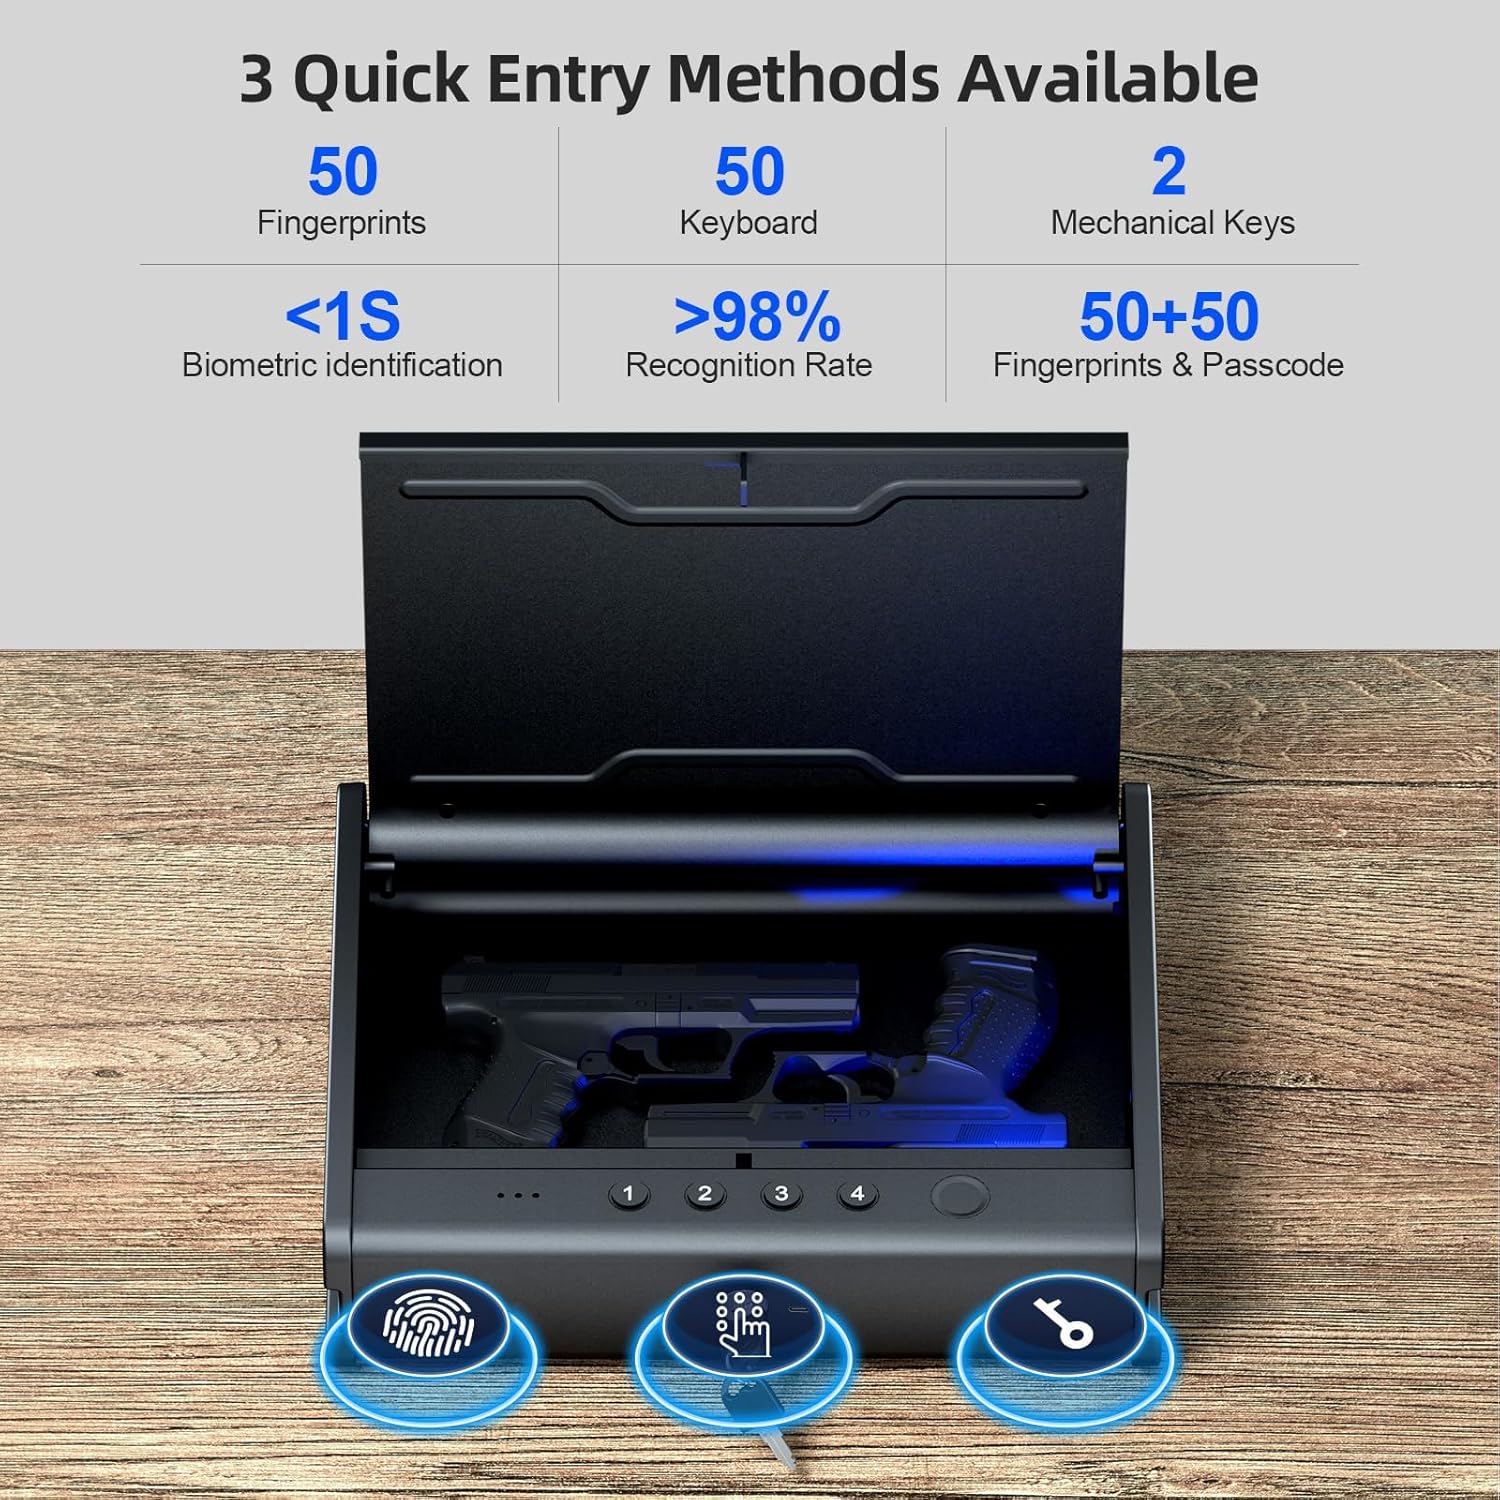
Figure 6.1: Overview of the three quick entry methods.
6.1.1 Fingerprint Access
The biometric fingerprint sensor allows for rapid, one-touch access.
- Programming Fingerprints:
- Open the safe using a mechanical key or existing access method.
- Locate and press the 'SET' button inside the safe. The safe will enter programming mode (indicated by a voice prompt or LED).
- Place your finger on the fingerprint scanner. Lift and repeat several times as prompted by the voice guide to register the fingerprint.
- The safe will confirm successful registration. You can register up to 50 fingerprints.
- Using Fingerprint Access:
- Place your registered finger firmly on the fingerprint scanner.
- The safe will unlock within 1 second if the fingerprint is recognized.
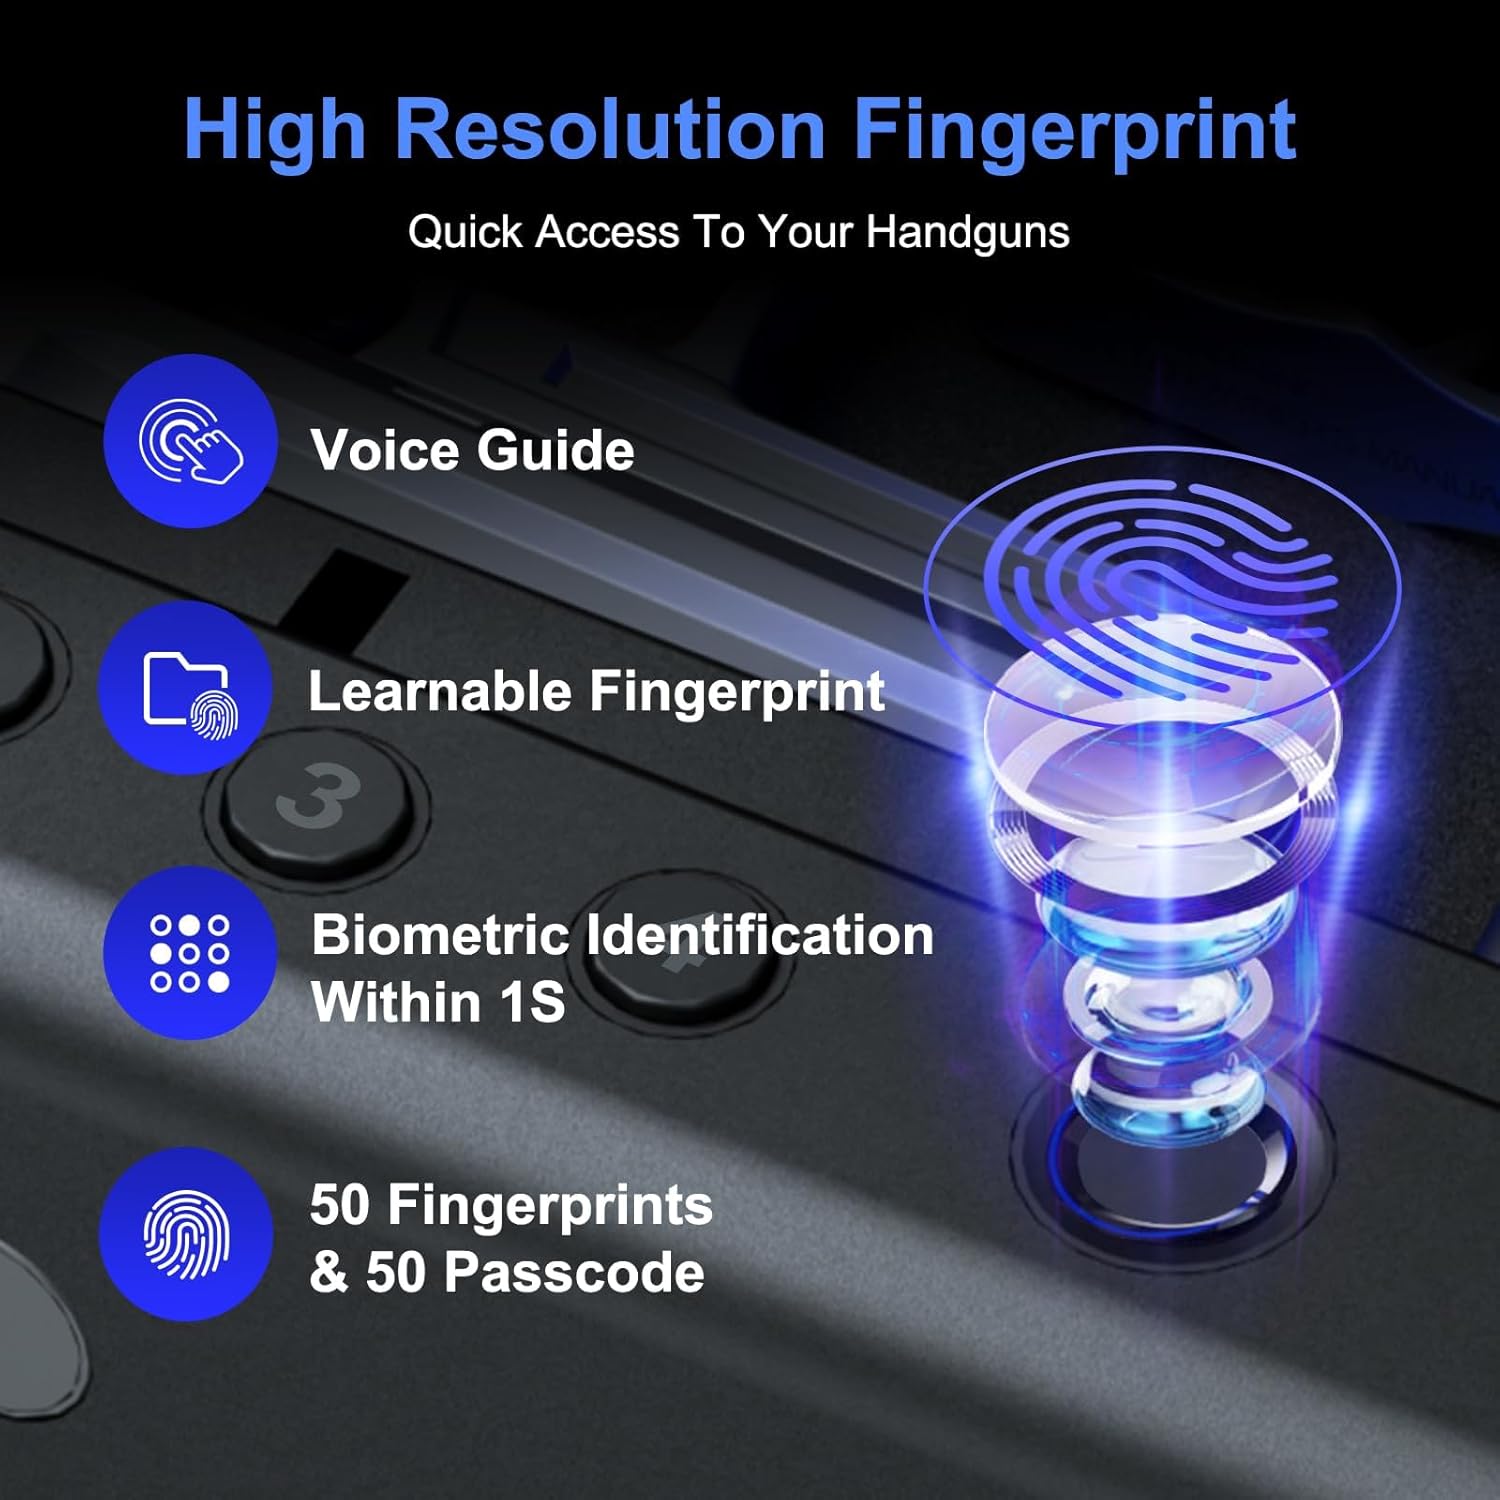
Figure 6.2: High-resolution fingerprint access for quick entry.

Figure 6.3: One-touch fingerprint unlock for immediate access.
6.1.2 Passcode Access
The backlit keypad allows for secure entry using a numerical passcode.
- Programming Passcodes:
- Open the safe using a mechanical key or existing access method.
- Locate and press the 'SET' button inside the safe. The safe will enter programming mode.
- Enter your desired 4-6 digit passcode using the keypad buttons (1-4).
- Press the '#' or 'confirm' button (refer to voice prompt for exact confirmation button).
- Re-enter the passcode and confirm again. The safe will confirm successful registration. You can register up to 50 passcodes.
- Using Passcode Access:
- Enter your registered 4-6 digit passcode on the backlit keypad.
- The safe will unlock if the passcode is correct.

Figure 6.4: Setting and using 4-6 digit passcodes.
6.1.3 Mechanical Key Access
The mechanical keys serve as a reliable backup access method, especially if batteries are depleted or electronic access is unavailable.
- Insert one of the mechanical keys into the keyhole.
- Turn the key to unlock the safe.

Figure 6.5: Using mechanical keys for access.
6.2 Mute Mode
The safe features an adjustable mute mode, allowing for silent operation when discretion is required.
- To activate/deactivate mute mode, refer to the specific instructions in the voice prompt or the detailed manual section for sound settings.
- When mute mode is active, voice prompts and keypad tones will be silenced.
6.3 Interior Light
The interior light automatically illuminates when the safe is opened, providing visibility in low-light conditions.
- The light is designed to assist in quickly locating items inside the safe.
- It will turn off automatically after a short period or when the safe is closed.
7. Maintenance
7.1 Battery Replacement
The safe will provide a low battery reminder when power is low. Replace batteries promptly to ensure continuous functionality.
- When the low battery alarm sounds, open the safe using any available method.
- Locate the battery compartment.
- Remove the old batteries and insert 4 new LR6 (AA) batteries, observing correct polarity.
- Close the battery compartment.
7.2 Cleaning
To maintain the safe's appearance and functionality:
- Wipe the exterior with a soft, damp cloth. Avoid abrasive cleaners or solvents.
- Keep the fingerprint scanner and keypad clean and free of debris for optimal performance.
- Periodically check the interior padding for wear and tear.
8. Troubleshooting
| Problem | Possible Cause | Solution |
|---|---|---|
| Safe does not open with fingerprint. | Finger not properly placed; unregistered fingerprint; dirty sensor. | Ensure full contact with sensor; register fingerprint correctly; clean sensor. |
| Safe does not open with passcode. | Incorrect passcode entered; keypad malfunction. | Re-enter correct passcode; try mechanical key. |
| Low battery alarm. | Batteries are low. | Replace all 4 AA batteries immediately. |
| Safe is locked out after multiple incorrect attempts. | 5 consecutive incorrect passcode/fingerprint attempts. | System will lock for 3 minutes. Wait for the lockout period to end. |
| Safe has no power/batteries are dead. | Batteries completely depleted. | Use mechanical keys or emergency charging port with a Type-C cable and power bank. |
8.1 Emergency Charging Port
If the internal batteries are completely depleted and you cannot open the safe electronically, use the emergency Type-C charging port:
- Connect a Type-C USB cable (not included) from a power bank or suitable power source to the emergency charging port on the safe.
- This will provide temporary power to allow electronic access (fingerprint or passcode).
- Once opened, replace the internal AA batteries.
Caution: Do not keep the safe connected to external power for long-term charging, as this may affect the service life of the safe's internal components.
9. Specifications
| Feature | Detail |
|---|---|
| Brand | PINEWORLD |
| Model Name | K1 |
| Product Dimensions (D x W x H) | 9.09"D x 11.3"W x 2.8"H |
| Lock Type | Biometric, Mechanical Code Lock, Key |
| Color | Metal Black |
| Capacity | 287 Cubic Inches |
| Material | Alloy Steel, Carbon Steel |
| Mounting Type | Tabletop/Portable/Freestanding |
| Control Type | Biometric |
| Item Weight | 5.25 Pounds |
| Alarm Features | Low Battery & Trial and Error (3 min lockout after 5 incorrect attempts) |
| Special Features | Biometric Fingerprint Sensor with Emergency Charging Port, Full Voice Prompts & Adjustable Mute Mode, Interior Light & Keypad Light, Security Steel Cable (1000N) |

Figure 9.1: Dimensions and capacity of the PINEWORLD K1 Biometric Gun Safe.
10. Warranty and Support
PINEWORLD products are manufactured with attention to quality and performance. For any questions, concerns, or support needs regarding your K1 Biometric Gun Safe, please contact PINEWORLD customer service. Refer to the contact information provided in your product packaging or on the official PINEWORLD website for assistance.