1. Introduction
This manual provides essential information for the safe and efficient installation, operation, and maintenance of your TESY 15-liter electric water heater. Please read these instructions carefully before installation and use, and retain them for future reference. Proper adherence to these guidelines will ensure optimal performance and longevity of your appliance.
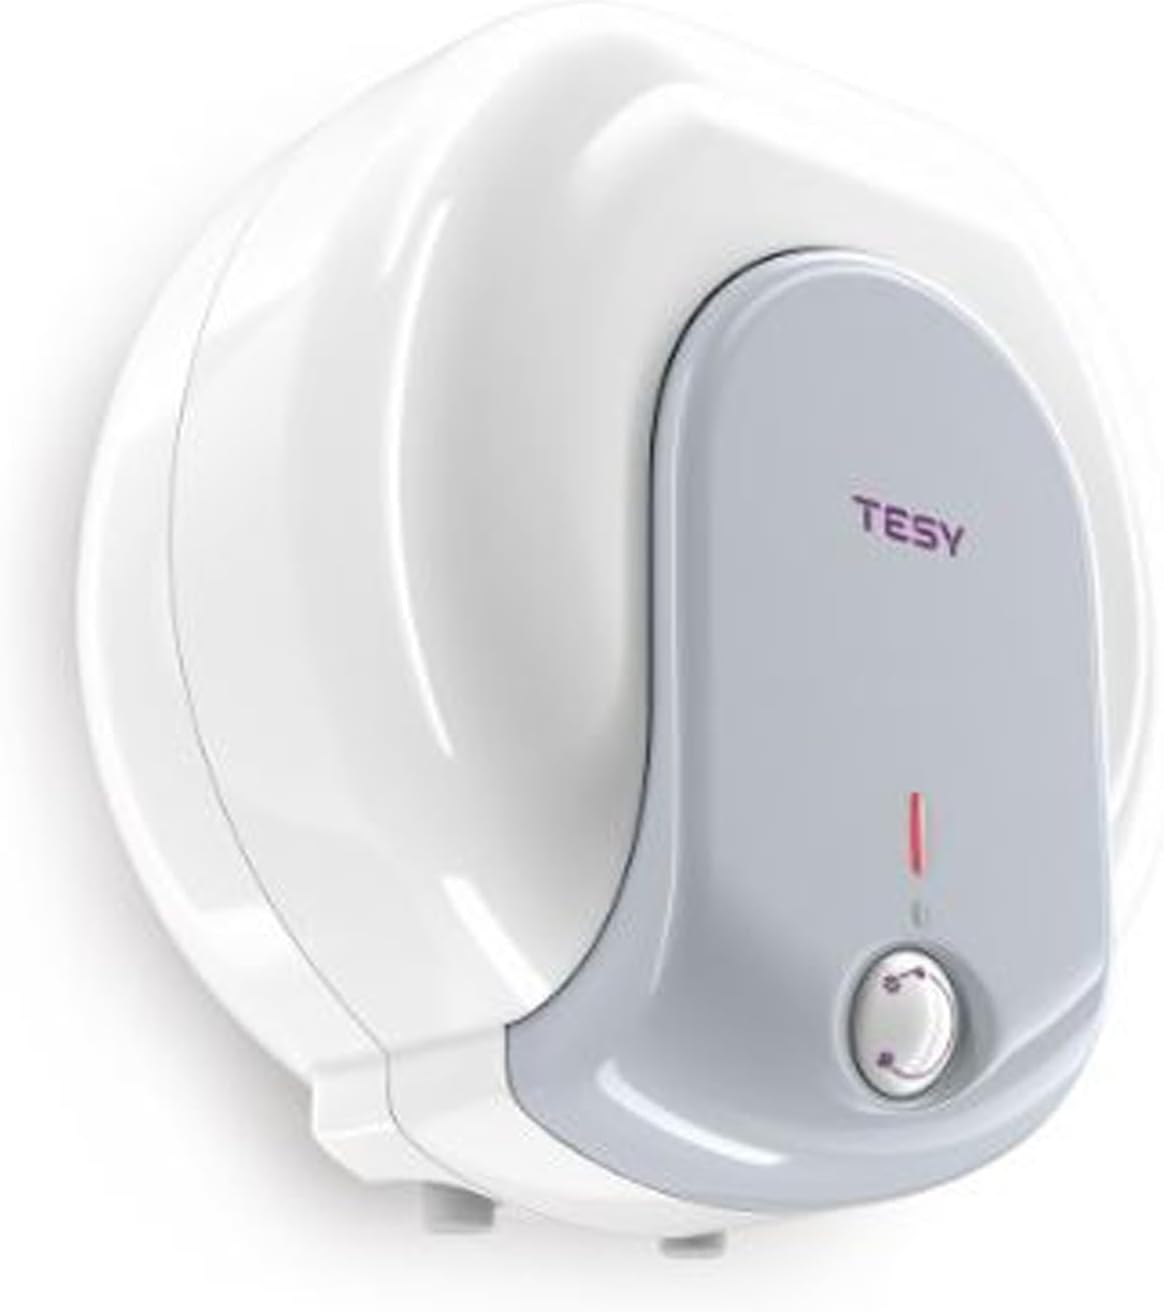
Image 1: Front view of the TESY 15-liter electric water heater, showing the control dial and indicator light.
2. Safety Information
Your safety and the safety of others are paramount. Please observe all safety warnings and precautions.
2.1 General Safety
- Installation and repairs must only be performed by qualified personnel in accordance with local regulations and this manual.
- Do not operate the appliance if it is damaged or malfunctioning.
- Keep children and unauthorized persons away from the appliance during operation.
2.2 Electrical Safety
- Always disconnect the power supply before performing any maintenance or installation work.
- The appliance requires a 220 Volt AC power supply and a dedicated 16 Amp fused spur.
- Ensure proper grounding to prevent electric shock.
- Do not use extension cords or adapters.
2.3 Water Safety
- The maximum operating pressure is 6 Bar. Ensure your water supply pressure does not exceed this limit.
- Install a pressure relief valve if required by local codes or if mains pressure is too high.
- Ensure all water connections are secure and leak-free before powering on the unit.
3. Product Overview
The TESY 15-liter electric water heater is designed to provide instant hot water efficiently. Its compact size makes it suitable for various applications, including kitchens, bathrooms, caravans, and motorhomes. Key features include a 15-liter capacity, an adjustable temperature control dial, and a hygienic glass-lined tank.

Image 2: The TESY water heater integrated into a bathroom setting, demonstrating its compact design.
4. Setup and Installation
This appliance is designed for under-counter or wall-mounted installation. Ensure the chosen location can support the weight of the unit when full (approximately 27 kg).
4.1 Placement
- Select a location that is easily accessible for maintenance and protected from freezing temperatures.
- Ensure adequate clearance around the unit for ventilation and servicing.
- The unit can be mounted on a sturdy wall or placed under a counter.

Image 3: The TESY water heater mounted on a wall, showcasing its discreet profile.
4.2 Plumbing Connections
- Connect the appliance directly to the mains cold water supply.
- The unit features 15 mm compression fittings for both cold water inlet and hot water outlet.
- Ensure all connections are sealed properly to prevent leaks.
4.3 Electrical Connection
- The appliance operates on 220 Volts and has a rated power of 1500 Watts.
- It must be connected to a dedicated 16 Amp fused spur.
- All electrical wiring must comply with local electrical codes and be performed by a qualified electrician.
5. Operating Instructions
5.1 Initial Startup
- Ensure all plumbing connections are secure and the tank is filled with water. Open a hot water tap to allow air to escape until water flows freely.
- Connect the appliance to the electrical supply via the 16 Amp fused spur.
- The indicator light on the front panel will illuminate, indicating that the heating element is active.
5.2 Temperature Adjustment
The desired water temperature can be adjusted using the control dial located on the front of the appliance. Rotate the dial clockwise to increase the temperature and counter-clockwise to decrease it. The heating time from 15°C to 60°C is approximately 31 minutes.
6. Maintenance
Regular maintenance ensures the efficient and safe operation of your water heater.
- Cleaning: Periodically clean the exterior of the appliance with a soft, damp cloth. Do not use abrasive cleaners or solvents.
- Descaling: Depending on water hardness, mineral deposits (limescale) may accumulate inside the tank and on the heating element. Descaling should be performed by a qualified technician to maintain efficiency and prevent damage. The glass-lined tank helps to reduce scale buildup.
- Inspection: Regularly check for any signs of leaks around the connections or damage to the power cord.
7. Troubleshooting
Refer to the following table for common issues and their potential solutions.
| Problem | Possible Cause | Solution |
|---|---|---|
| No hot water | No power supply Temperature dial set too low | Check fused spur and electrical connections Adjust temperature dial to a higher setting |
| Water not hot enough | Temperature dial set too low Excessive hot water demand | Increase temperature setting Allow more time for reheating |
| Water leaking from connections | Loose plumbing connections | Tighten connections (ensure power is off and water supply is closed) |
| Indicator light not on | No power supply Heating cycle complete | Check power supply This is normal if water is at set temperature |
8. Specifications
Technical data for the TESY 15-liter electric water heater.
| Feature | Specification |
|---|---|
| Model | Compact 15 |
| Real Volume | 15 L |
| Rated Power | 1500 W |
| Heating Time Δt 45K (15-60°C) | 0:31 h:min |
| Annual Electricity Consumption (AEC) | 534 kWh |
| Energy Class | A |
| Height | 0.399 m (399 mm) |
| Width | 0.377 m (377 mm) |
| Depth | 0.304 m (304 mm) |
| Pipe Connections | 15 mm |
| Voltage | 220 V |
| Maximum Pressure | 6 Bar |
| Product Weight (empty) | 12 kg |
| Special Features | Rust-proof, Anti-freeze protection, Overheat protection |
9. Warranty and Support
For technical assistance, warranty claims, or any questions regarding your TESY water heater, please contact TESY customer support. Keep your purchase receipt as proof of purchase.
TESY Customer Support: 0161 439 1400


