Introduction
Thank you for purchasing the BISSELL Little Green Portable Carpet and Upholstery Cleaner, Model 4098N. This compact and powerful spot cleaner is designed to effectively remove spills, spots, and stains from carpets, upholstery, car interiors, and other soft surfaces. Please read this manual thoroughly before operating your new cleaner to ensure safe and efficient use.
Important Safety Instructions
When using an electrical appliance, basic precautions should be observed, including the following:
- Always connect to a properly grounded outlet.
- Unplug from outlet when not in use and before cleaning or servicing.
- Do not immerse in water or liquid.
- Do not use with damaged cord or plug.
- Use only as described in this manual. Use only manufacturer's recommended attachments.
- Keep hair, loose clothing, fingers, and all parts of body away from openings and moving parts.
- Do not use to pick up flammable or combustible liquids, such as gasoline, or use in areas where they may be present.
- Do not pick up anything that is burning or smoking, such as cigarettes, matches, or hot ashes.
- Do not use without tanks in place.
- Do not allow to be used as a toy. Close attention is necessary when used by or near children.
Product Overview
The BISSELL Little Green cleaner features a compact design with separate tanks for clean and dirty water, ensuring you always clean with fresh solution. It includes a flexible hose and a specialized cleaning tool for versatile use.

Figure 1: Front view of the BISSELL Little Green cleaner, showing the clean water tank on the left and the dirty water collection tank on the right.
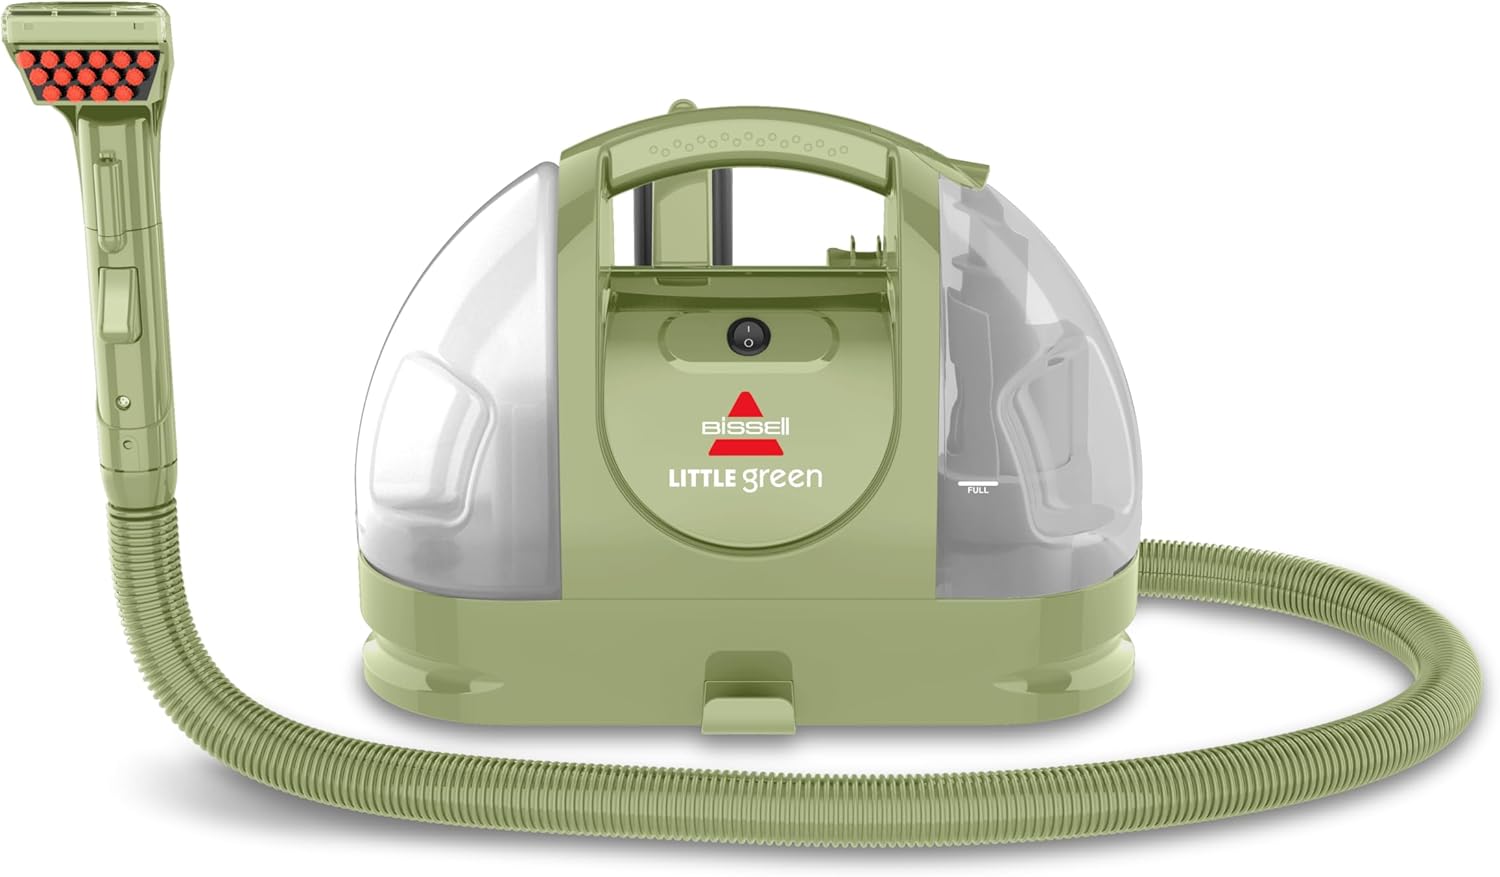
Figure 2: Side view of the cleaner with the flexible hose and cleaning tool attached, ready for use.
Setup
- Fill the Clean Water Tank: Remove the clean water tank from the unit. Unscrew the cap and fill the tank with warm tap water (up to 60°C/140°F) and the recommended BISSELL cleaning formula according to the fill lines. Replace the cap and reinsert the tank into the unit.
- Attach the Cleaning Tool: Connect the desired cleaning tool (e.g., Tough Stain Tool) to the end of the flexible hose until it clicks securely into place.
- Plug In: Plug the power cord into a grounded electrical outlet.
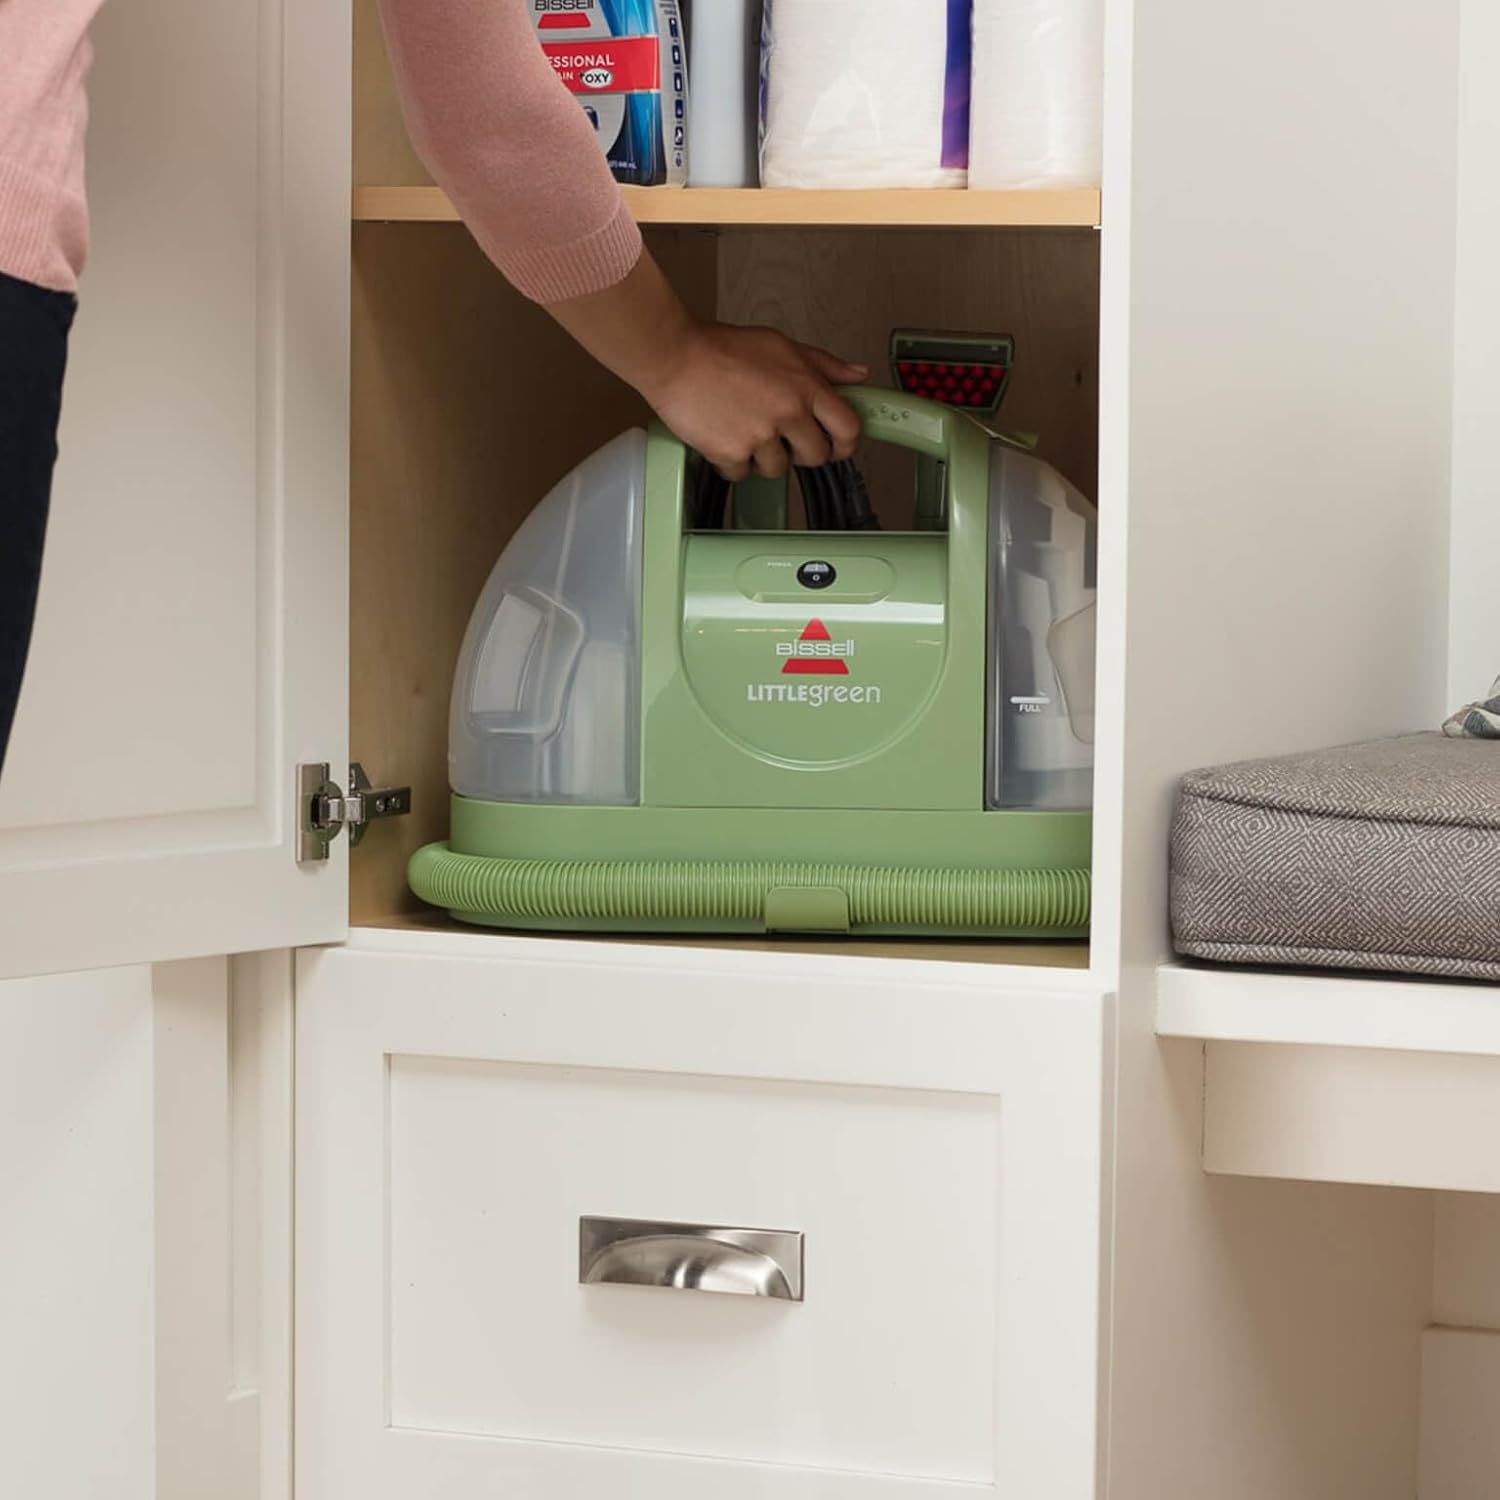
Figure 3: The compact design allows for convenient storage, such as in a cabinet, demonstrating its ease of handling during setup or storage.
Operating Instructions
Before cleaning, vacuum the area to remove loose dirt. Test a small, inconspicuous area for colorfastness.
- Power On: Press the power button located on the top of the unit.
- Spray Cleaning Solution: Hold the cleaning tool about 1 inch above the soiled surface. Press the spray trigger to apply cleaning solution.
- Scrub the Stain: Gently scrub the stained area with the brush on the cleaning tool. For tough stains, allow the solution to soak for a few minutes before scrubbing.
- Suction and Extract: Release the spray trigger and press the cleaning tool firmly onto the surface. Pull the tool slowly towards you to suction up the dirty solution. Repeat until the area is clean and no more dirty solution is being extracted.
- Rinse (Optional): For best results, you may rinse the area by filling the clean water tank with only warm water (no formula) and repeating the suction steps.

Figure 4: Visual representation of the triple-action cleaning system: spray the solution, scrub the stain with the brush, and then suction away the dirty liquid.

Figure 5: The portable design and flexible hose make it ideal for cleaning hard-to-reach areas like carpeted stairs.

Figure 6: The compact size and specialized tool are perfect for cleaning car interiors, including upholstery and floor mats.
Maintenance
- Empty and Rinse Dirty Water Tank: After each use, remove the dirty water tank. Unlatch the tank and pour out the dirty water. Rinse the tank thoroughly with clean water and allow it to air dry before reattaching.
- Clean the Cleaning Tool: Remove the cleaning tool from the hose. Rinse it under running water to remove any debris.
- Flush the Hose: To prevent odors and clogs, flush the hose by filling the clean water tank with clean water (no formula). Hold the cleaning tool over a sink or drain and spray until the water runs clear.
- Wipe Down Unit: Wipe the exterior of the unit with a soft cloth.
- Store: Wrap the power cord and hose neatly. Store the unit in a dry, protected area.
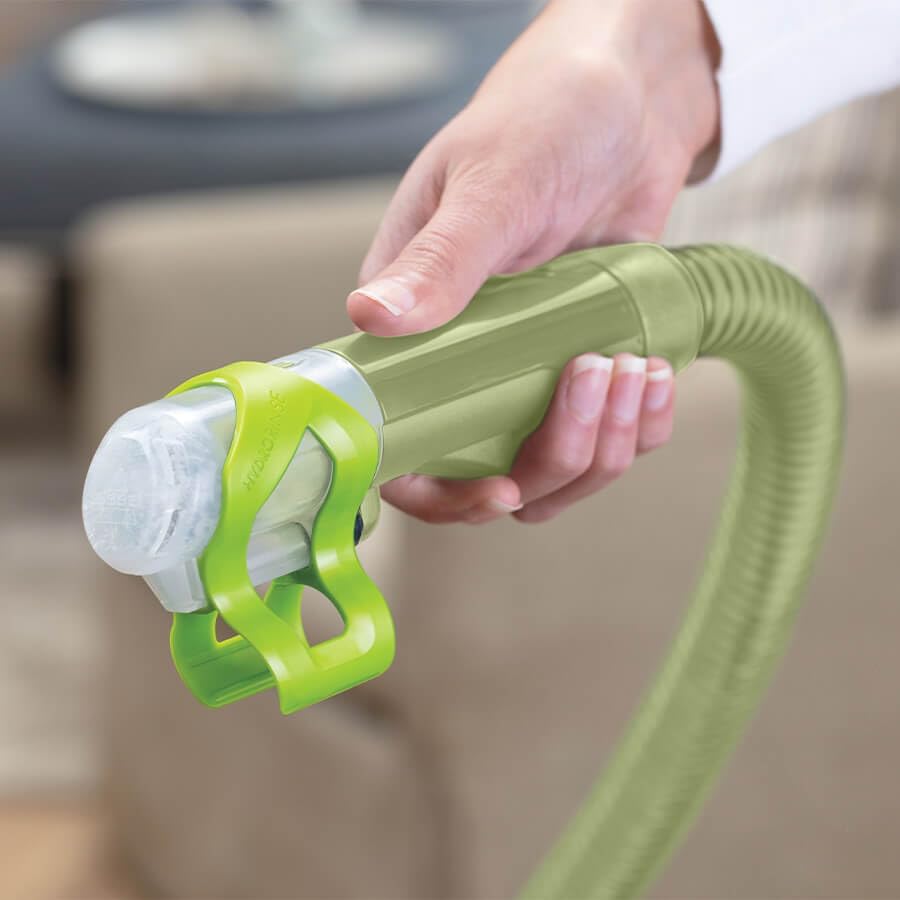
Figure 7: The hose and cleaning tool can be easily detached and rinsed under water to ensure proper hygiene and prevent residue buildup.
Troubleshooting
| Problem | Possible Cause | Solution |
|---|---|---|
| No spray | Clean water tank empty; Tank not seated properly; Pump needs priming. | Refill tank; Remove and re-seat tank; Hold tool below tank level and spray until prime. |
| Reduced suction | Dirty water tank full; Dirty water tank not seated properly; Hose or tool clogged. | Empty dirty water tank; Remove and re-seat tank; Clear any clogs from hose or tool. |
| Unit not turning on | Power cord not plugged in; No power at outlet. | Ensure cord is securely plugged in; Check circuit breaker or try another outlet. |
Specifications
| Feature | Detail |
|---|---|
| Brand | Bissell |
| Model Number | 4098N |
| Color | Green |
| Product Dimensions (L x W x H) | 45.4 x 23.6 x 34.3 cm (17.87 x 9.29 x 13.5 inches) |
| Clean Water Capacity | 1.4 Liters |
| Dirty Water Capacity | 1.1 Liters (approximate, based on feature bullets) |
| Item Weight | 4.38 Kilograms (9.66 lbs) |
| Power Source | Corded Electric |
Warranty and Support
For warranty information and customer support, please refer to the warranty card included with your product or visit the official BISSELL website. You can also contact BISSELL customer service for assistance with product registration, troubleshooting, or ordering replacement parts.