
AILINKE KC-MH-J008
Contents
AILINKE Large Room Humidifier User Manual
Model: KC-MH-J008
1. Product Overview
The AILINKE Large Room Humidifier (Model KC-MH-J008) is designed to efficiently humidify large spaces, ranging from 500 to 2000 sq.ft. With its substantial 4.2-gallon (16-liter) water tank and a maximum mist output of 1000mL/h, it can operate continuously for up to 48 hours on a single refill. This versatile unit is ideal for various environments including homes, bedrooms, plant rooms, grow tents, nurseries, and offices. It features an integrated essential oil diffuser, an extended mist tube, and convenient top-fill design for ease of use and maintenance.
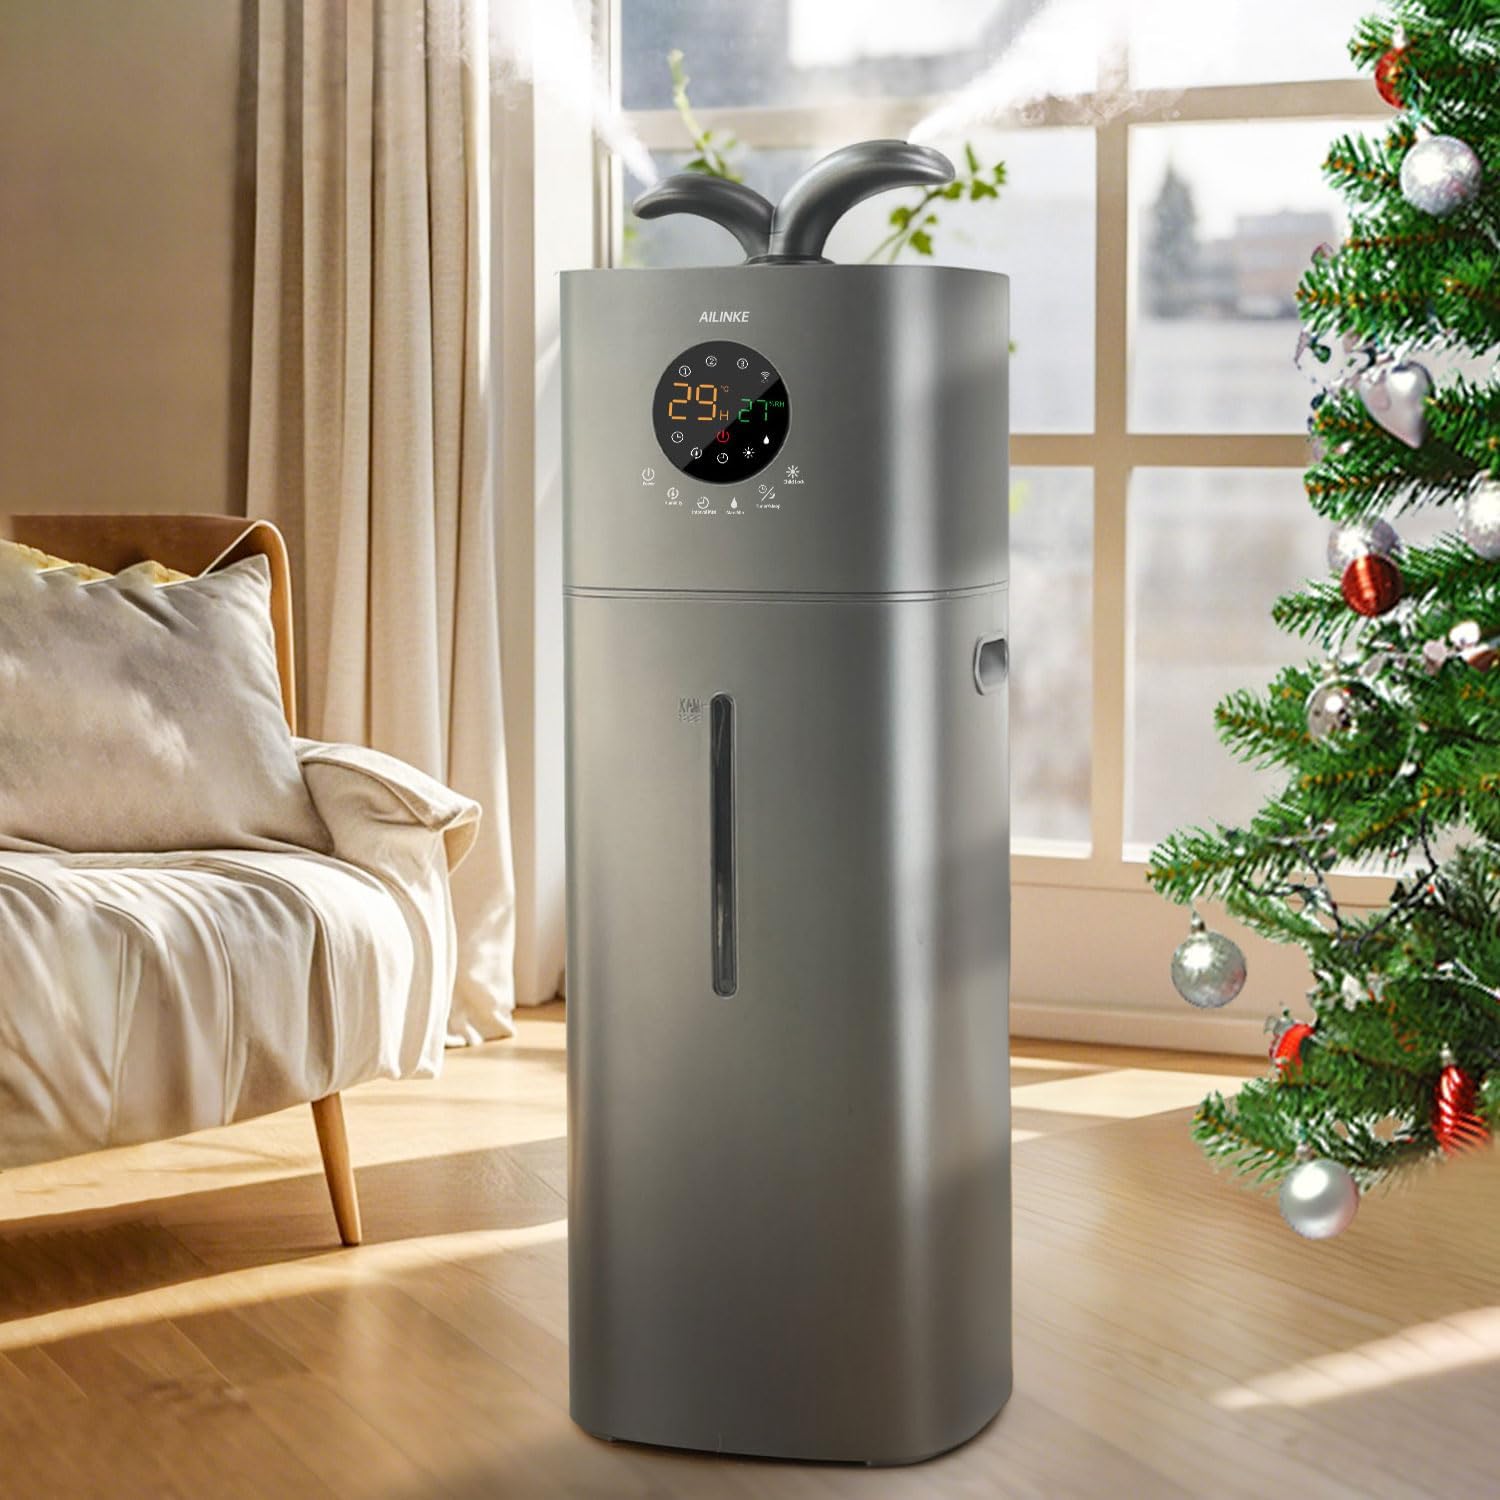
Figure 1.1: AILINKE Large Room Humidifier in a home environment, showcasing its sleek design and mist output.
2. Safety Instructions
Please read all safety instructions carefully before operating the humidifier to ensure safe and proper use. Keep this manual for future reference.
- Electrical Safety: Ensure the humidifier is plugged into a 120V AC outlet. Do not use with damaged cords or plugs. Do not operate if the unit is damaged.
- Water Safety: Use clean, cool tap water. Do not add hot water or any chemicals other than recommended essential oils to the water tank. Always unplug the unit before filling or cleaning.
- Placement: Place the humidifier on a firm, flat, water-resistant surface at least 6 inches (15 cm) away from walls and furniture. Do not place on carpet or near heat sources.
- Children and Pets: Keep out of reach of children and pets. The child lock feature can be activated for added safety.
- Maintenance: Regular cleaning is essential to prevent mineral buildup and bacterial growth. Follow the cleaning instructions carefully.
3. Product Components and Features
Familiarize yourself with the main parts and features of your AILINKE Humidifier.
- Main Unit: Houses the water tank, control panel, and internal components.
- Extended Mist Tube: Allows for higher mist dispersion, preventing floor wetting.
- Remote Control: Provides convenient operation from a distance (within 10 feet).
- Digital Screen: Displays current humidity, settings, and timer.
- Control Panel: Touch buttons for Power, Humidity, Interval Mist, Max-Min Mist, Timer/Sleep, and Child Lock.
- 360° Rotating Nozzle: Allows adjustment of mist direction.
- Essential Oil Tray: Located at the back, for adding essential oils.
- Water Level Window: Transparent strip on the front to monitor water level.
- Carrying Handle: Integrated handle for easy portability.

Figure 3.1: Key features including the 360° adjustable nozzle, digital screen, carrying handle, water level window, and essential oil tray.
4. Setup and Initial Use
- Unpacking: Carefully remove the humidifier from its packaging. Important: At first time to use, please take out the user's guide and all the accessories (including the extension pipe and remote control) from the bottom of the water tank.
- Placement: Place the humidifier on a flat, stable surface. Ensure it is not directly on carpet or near sensitive electronics.
- Filling the Water Tank:
- The AILINKE humidifier features a convenient top-fill design. Simply open the top cover and pour clean, cool tap water directly into the tank.
- Fill up to the "MAX" line indicated on the water level window. Do not overfill.

Figure 4.1: Demonstrating the easy top-filling process.
- Attach Extended Mist Tube (Optional): If desired, attach the extended mist tube to the top nozzle for higher mist dispersion.
- Power Connection: Plug the power cord into a standard 120V AC electrical outlet.
5. Operating Instructions
5.1. Power On/Off
Press the Power button on the control panel or remote control to turn the humidifier on or off.
5.2. Adjusting Humidity Levels
The humidifier allows you to customize humidity levels from 40% to 90%.
- Press the Humidity button to cycle through desired humidity percentages.
- Once the set humidity level is reached, the mist output will automatically suspend to prevent over-humidification. It will resume when humidity drops below the set level.
- The unit also features an automatic shut-off when the water tank is empty.

Figure 5.1: Smart humidity control allows setting target humidity levels for optimal comfort.
5.3. Mist Output Settings
Choose from three mist settings: Low, Medium, and High.
- Press the Max-Min button to adjust the mist intensity.
- Rotate the 360° nozzle on top to direct the mist flow as needed.

Figure 5.2: Visual representation of adjustable mist levels.
5.4. Essential Oil Diffuser
To enjoy aromatherapy, use the built-in essential oil tray:
- Locate the essential oil tray at the back of the humidifier.
- Pull out the tray and add 1-2 drops of your favorite essential oil onto the aroma pad.
- Slide the tray back into place. The mist will carry the fragrance into the air.

Figure 5.3: Adding essential oils to the dedicated tray.
5.5. Sleep Mode and Timer
- Sleep Mode: Press the Timer/Sleep button once to activate sleep mode. In this mode, the operating noise is less than 35dB, and the digital display automatically turns off to ensure a peaceful environment.
- Timer: Press the Timer/Sleep button repeatedly to set the auto-off timer for up to 12 hours. The humidifier will automatically turn off after the set time.
5.6. Child Lock
To prevent accidental changes to settings, activate the child lock:
- Press and hold the Child Lock button for a few seconds until the lock icon appears on the display.
- To deactivate, press and hold the Child Lock button again until the icon disappears.
6. Maintenance and Cleaning
Regular maintenance is crucial for the longevity and optimal performance of your humidifier. Always unplug the unit before cleaning.
6.1. Daily Maintenance
- Empty and rinse the water tank daily to prevent mineral buildup and bacterial growth.
- Wipe down the exterior of the unit with a soft, damp cloth.
6.2. Weekly Cleaning (Descaling)
- Unplug the Humidifier: Ensure the unit is disconnected from power.
- Empty Water: Remove any remaining water from the tank.
- Clean Tank: Pour 1 cup of white vinegar into the water tank. Let it sit for 30 minutes to loosen mineral deposits.
- Scrub: Use a soft brush or sponge to gently scrub the inside of the tank and the base. The top-fill design makes this process easier.
- Rinse Thoroughly: Rinse the tank and base multiple times with clean water until the smell of vinegar is gone.
- Clean Mist Nozzle: Wipe the mist nozzle and mist outlet with a damp cloth.

Figure 6.1: The wide opening and top-fill design facilitate easy cleaning of the water tank.
6.3. Storage
If storing the humidifier for an extended period, ensure it is completely dry and clean. Store in a cool, dry place.
7. Troubleshooting
If you encounter issues with your humidifier, please refer to the following common problems and solutions:
| Problem | Possible Cause | Solution |
|---|---|---|
| No Mist Output |
|
|
| Water Leakage |
|
|
| Unpleasant Odor |
|
|
| Remote Control Not Working |
|
|
8. Specifications
| Brand | AILINKE |
| Model Name | KC-MH-J008 |
| Special Features | Adjustable Humidity Control, Humidistat, Low Water Indicator, Timer, Water Level Window |
| Color | Grey |
| Filter Type | Basic |
| Floor Area Coverage | 500 to 2000 Square Feet |
| Operation Mode | Ultrasonic |
| Product Dimensions | 8"D x 8"W x 23"H |
| Item Weight | 5 Pounds |
| Room Type | Bedroom, Living Room, Office, Yoga Room |
| Included Components | Cool Mist Humidifier x 1, Extension Pipe x 1, Remote Control x 1, User Manual x 1 |
| Voltage | 120 Volts |
| 50 watts | |
| Control Method | Remote, Touch |
9. Warranty and Customer Support
AILINKE stands behind the quality of its products. Your Large Room Humidifier comes with:
- 30-Day Free Replacement: For any manufacturing defects or issues within 30 days of purchase.
- 1-Year Warranty: Covering defects in materials and workmanship for one year from the date of purchase.
For any questions, concerns, or technical assistance, please do not hesitate to contact our dedicated customer service team. We are committed to providing the best support for your AILINKE product.
Contact information (e.g., email, phone, website) would typically be provided here by the manufacturer.
Ask a question about this manual
Ask about setup, troubleshooting, compatibility, parts, safety, or missing instructions. Manuals+ will review the question and use this page’s manual context to help answer it.