
Introduction
This manual provides detailed instructions for using the Bluevua Descaling Kit to maintain your RO100ROPOT-Lite, RO100ROPOT-Lite(UV), or RO100ROPOT-Travel countertop reverse osmosis water filtration system. Regular descaling is essential to prevent mineral scale buildup, ensure optimal performance, and extend the lifespan of your unit.
What's Included
The Bluevua Descaling Kit includes the following components:
- 1 Descaling Kit (adapter for filter)
- 2 packets of descaling powder
Additionally, you will need:
- A clean towel
- A stirring stick
- A filter wrench (usually included with your RO system)
- Warm water (below 120°F / 49°C), enough to fill one tank
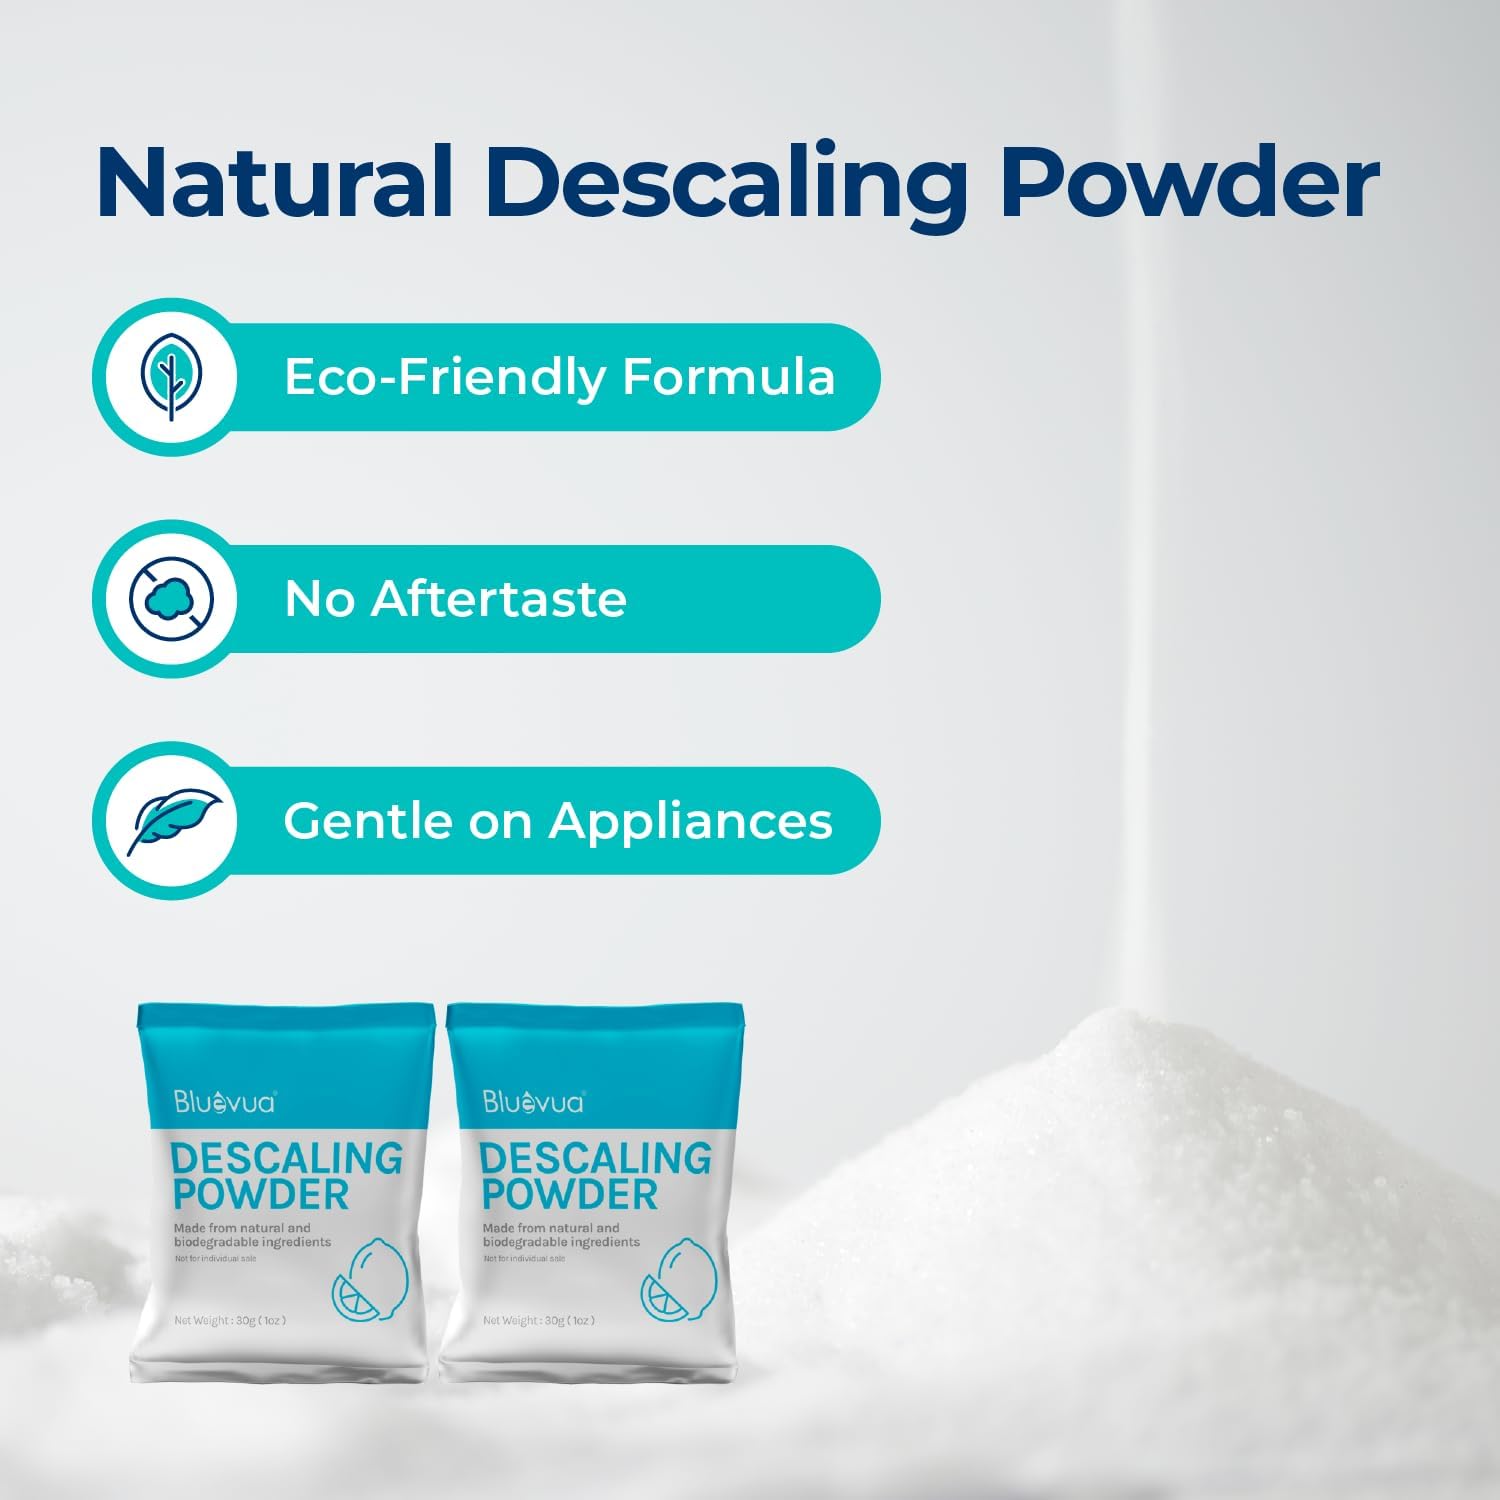
Image: Natural Descaling Powder included in the kit.
When to Descale Your System
Descaling is recommended when you observe any of the following signs:
- Filtration takes longer than usual.
- Water flow weakens.
- Water flow stops completely.
These symptoms indicate mineral scale buildup in the pump, filters, and internal tubing, which can affect water quality and system efficiency.

Image: Visual indicators for when to descale your Bluevua ROPOT-Lite, Lite(UV), or Travel system.
Descaling Procedure
Follow these steps carefully to descale your Bluevua RO system. An instructional video is also available for visual guidance.
Video: How to Descale Your ROPOT-Lite & Lite(UV) & ROPOT-Travel Systems. This video provides a step-by-step visual guide for the descaling process.
For RO100ROPOT-Lite & RO100ROPOT-Lite(UV) Systems
- Step 1: Backflush the Filter
Unplug the unit for safety. Tap the Flush button for 30 seconds to depressurize the filter. This backflushing helps prepare the filter for removal.

Image: Step 1: Tap the Flush button to backflush the filter. Then use the filter wrench to twist the filter counter-clockwise to remove.
- Step 2: Set up the Descaling Kit
Use the filter wrench to twist the filter counter-clockwise and remove it. Align the three holes on the descaling kit with the three holes on the filter to connect them. Hold the filter securely; do not use the descaling kit to hold the heavy filter. Insert the filter with the attached descaling kit back into the unit. Twist clockwise to secure it. The filter will extend slightly above its original position due to the descaling kit's height.
- Step 3: Prepare the Descaling Solution
Fill the tank with warm water (below 120°F / 49°C) to the max line. Stir in one packet of descaling powder until fully dissolved. Place the filled tank back onto the tank base.

Image: Step 3: Fill the tank with warm water (up to 120°F) to dissolve 1 packet of descaling powder.
- Step 4: Perform the Descaling
Select the largest water volume and press the water-making button to start the filtration process. Discard the water from the carafe after filtering a full carafe. Let the unit soak for 30 minutes. Then, tap the water-making button again to circulate the descaling solution. Afterward, empty both the tank and the carafe.

Image: Step 4: Select the largest water volume and run the system to circulate the descaling solution. Empty the carafe after filtering a full carafe. Let the system soak for 30 mins, then tap the water-making button to circulate again. Transfer the solution from the carafe back to the tank for the last cycle. Afterward, empty both the tank and the carafe.
- Step 5: Cleanse the System
Refill the tank with fresh water to the max line. Run the system to filter out any remaining descaling solution. Discard the solution from both the tank and the carafe. Repeat this cleaning process two times. Filter more tanks of water until the sour taste is clean.

Image: Step 5: Refill the tank, and run the system to flush out the solution. Then empty both the carafe and tank. Repeat this cleaning process 2 times. Filter more tanks of water until the sour taste is clean.
- Step 6: Detach the Descaling Kit
Rotate the filter counter-clockwise using the filter wrench and remove it from its place. Gently pull the outer buckle on the descaling kit to remove it from the filter. Reinstall the filter back into the unit by pushing down and twisting clockwise simultaneously. Put the filter housing cover back on.

Image: Step 6: Twist off the filter counter-clockwise. Pull the outer buckle to remove the descaling kit. Twist the filter clockwise to secure it into place. Please note that the water is not drinkable during the flushing process.
For RO100ROPOT-Travel Systems
The descaling process for the ROPOT-Travel system is similar but has slight variations in filter removal and reinstallation. Refer to the video above for visual instructions specific to the Travel model (starting at 4:02).
- Step 1: Backflush the Filter
Unplug and replug the unit to initiate automatic backflush. This depressurizes the filter.
- Step 2: Set up the Descaling Kit
Unplug the unit for safety. Turn the filter housing cover counter-clockwise to remove it. Use the filter wrench to twist the filter counter-clockwise and remove it. Align the three holes on the descaling kit with the three holes on the filter to connect them. Hold the filter securely; do not use the descaling kit to hold the heavy filter. Insert the filter with the attached descaling kit back into the unit. Push down and twist clockwise simultaneously to insert the filter. It's normal for the filter to extend slightly above its original position.
- Step 3: Prepare the Descaling Solution
Fill the tank with warm water (below 120°F / 49°C) to the max line. Stir in one packet of descaling powder until fully dissolved. Place the filled tank back onto the tank base.
- Step 4: Perform the Descaling
Press the water-making button. Discard the water in the bottle after filtering a full bottle. Let the unit soak for 30 minutes. Tap the water-making button again to flush the remaining descaling solution. Transfer the solution from the bottle back to the tank for the last cycle. Discard the descaling solution from both the tank and the bottle.
- Step 5: Cleanse the System
Refill the tank with fresh water to the max line. Touch the water-making button to filter out the descaling solution. Discard the solution from both the tank and the bottle. Repeat this cleaning process two times. Filter more tanks of water until the sour taste is clean.
- Step 6: Detach the Descaling Kit
Rotate the filter counter-clockwise using the filter wrench and remove it from its place. Gently pull the outer buckle on the descaling kit to remove it from the filter. Use the filter wrench again to push down and twist clockwise simultaneously to insert the filter. Put the filter housing cover back on.
Benefits of Regular Descaling
Regular descaling of your Bluevua RO system provides several key benefits:
- Improve Water Flow: Prevents blockages caused by mineral buildup.
- Restore Peak Performance: Ensures your system operates at its intended efficiency.
- Prolong Machine's Lifespan: Reduces wear and tear on internal components.

Image: Key benefits of descaling your Bluevua RO system.
Product Specifications
| Feature | Detail |
|---|---|
| Material | Polypropylene (PP), Citric Acid Anhydrous |
| Product Dimensions | 3.5"D x 2.5"W x 3.9"H |
| Item Weight | 4.8 ounces |
| External Testing Certification | WQA |
| Product Benefits | Removes Limescale |
| Model Number | RO100ROPOT-Lite & Lite(UV) Descaling Kit |
| Brand Name | Bluevua |
| Unit Count | 1.0 Count |
| Number of Items | 1 |
| Manufacturer | JSK |
| Included Components | Descaling Kit, Descaling Powders |
Troubleshooting
If you encounter issues during or after the descaling process, consider the following:
- Sour Taste After Descaling: Ensure you have completed Step 5 (Cleanse the System) thoroughly, repeating the fresh water filtration cycles until the sour taste is completely gone. This may require more than two cycles depending on the initial scale buildup.
- Filter Not Seating Properly: Double-check that the descaling kit is correctly aligned with the filter and that the filter is twisted clockwise until secure. Do not force it.
- Water Flow Issues Persist: If water flow problems continue after descaling, it may indicate a different issue with your RO system, such as a clogged filter that needs replacement, or a pump malfunction. Consult your RO system's main user manual or contact Bluevua customer support.
- Descaling Kit Damage: As noted in the instructions, avoid using the descaling kit itself to hold the heavy filter, as this can cause damage.
Warranty and Support
For warranty information, technical support, or further assistance with your Bluevua Descaling Kit or RO system, please refer to the documentation included with your main RO unit or visit the official Bluevua website. You can also contact Bluevua customer service directly through their Amazon store page: Bluevua Store.