
1. Introduction
Welcome and thank you for choosing the TELLUR Portable Jump Starter. This device is designed to provide emergency jump-starting for vehicles, act as a portable power bank for electronic devices, and offer illumination with its integrated LED light. Please read this manual carefully before use to ensure safe and optimal operation of your device.
2. Important Safety Information
To prevent personal injury or damage to your vehicle and the jump starter, always observe the following safety precautions:
- Read all instructions before using this product.
- Do not short-circuit the jumper clamps. Ensure positive (+) and negative (-) clamps do not touch each other.
- Keep the device away from children.
- Do not disassemble the jump starter. Unauthorized repairs can be dangerous and will void the warranty.
- Use the device in a well-ventilated area.
- Avoid exposing the device to extreme temperatures (above 60°C/140°F or below -20°C/-4°F), direct sunlight, or moisture.
- Ensure the jumper clamps are securely connected to the correct battery terminals before attempting to jump start.
- If the battery clamps are connected incorrectly, the device's safety features will prevent operation. Correct the connection immediately.
- Do not use the jump starter if it is damaged or leaking.
- Only use the provided smart jumper cables with this device.
3. Package Contents
Verify that all items are present in your package:
- TELLUR Portable Jump Starter Unit
- Smart Jumper Cables
- USB-A to USB-C Charging Cable
- Carrying Pouch

Image 3.1: Contents of the TELLUR Portable Jump Starter package, showing the main unit, smart jumper cables, a USB charging cable, and a black carrying pouch with the TELLUR logo.
4. Product Overview
4.1 Components
- Jump Start Port: For connecting the smart jumper cables.
- USB Output Ports (QC 3.0, 5.0V 2.4A): For charging electronic devices.
- USB-C Input Port: For charging the jump starter unit.
- LED Light: Provides illumination with multiple modes.
- Power Button: To turn the device on/off and cycle LED light modes.
- LCD Display: Shows battery percentage and operational status.

Image 4.1: Detailed view of the various ports on the side of the TELLUR Jump Starter, including the covered jump start port, USB-A output ports, and a USB-C input port.

Image 4.2: The front of the TELLUR Jump Starter, displaying a digital screen indicating 100% charge, 'IN' and 'OUT' indicators, and 'QC 3.0 5.0V 2.4A' specifications. The smart jumper cables are attached.
5. Setup
5.1 Charging the Jump Starter
Before first use, fully charge the TELLUR Portable Jump Starter. It is recommended to fully charge the device every 3-6 months to maintain battery health, even when not in use.
- Connect the provided USB-A to USB-C charging cable to the USB-C input port on the jump starter.
- Connect the other end of the USB cable to a suitable USB power adapter (not included) or a powered USB port.
- The LCD display will show the charging progress. Charge until the display indicates 100%.
6. Operating Instructions
6.1 Jump Starting a Vehicle
Ensure the jump starter is at least 50% charged before attempting to jump start a vehicle.
- Turn off your vehicle's ignition and all accessories.
- Insert the smart jumper cable connector into the jump start port on the jump starter unit. Ensure it is fully seated.
- Connect the RED positive (+) clamp to the vehicle's positive (+) battery terminal.
- Connect the BLACK negative (-) clamp to the vehicle's negative (-) battery terminal.
- Once connected, the smart cable indicator light will show green if the connection is correct and safe to proceed. If it shows red or flashes, check the connections.
- Start your vehicle's engine. If it doesn't start immediately, wait 30 seconds and try again. Do not crank for more than 3 seconds per attempt.
- Once the vehicle starts, immediately disconnect the BLACK negative (-) clamp first, then the RED positive (+) clamp.
- Remove the smart jumper cable connector from the jump starter unit.

Image 6.1: A user connecting the red positive clamp of the smart jumper cables to the positive terminal of a car battery, with the TELLUR Jump Starter unit visible.

Image 6.2: The TELLUR Jump Starter unit with its display illuminated, placed on the ground next to a car, illustrating its use in an emergency jump-start scenario.
6.2 Using as a Power Bank
The jump starter can charge various electronic devices via its USB output ports.
- Connect your device's USB charging cable to one of the USB output ports on the jump starter.
- The jump starter will automatically begin charging your device. The LCD display may show 'OUT' indicating power output.
- Disconnect your device once charging is complete.

Image 6.3: The TELLUR Jump Starter unit positioned between a smartphone and a tablet, demonstrating its capability to charge multiple devices as a power bank.
6.3 Using the LED Light
The integrated LED light provides illumination for various situations.
- Press and hold the Power Button for 3 seconds to turn on the LED light (steady mode).
- Press the Power Button again to cycle through the light modes: Steady > Strobe > SOS > Off.
- To turn off the light directly from any mode, press and hold the Power Button for 3 seconds.
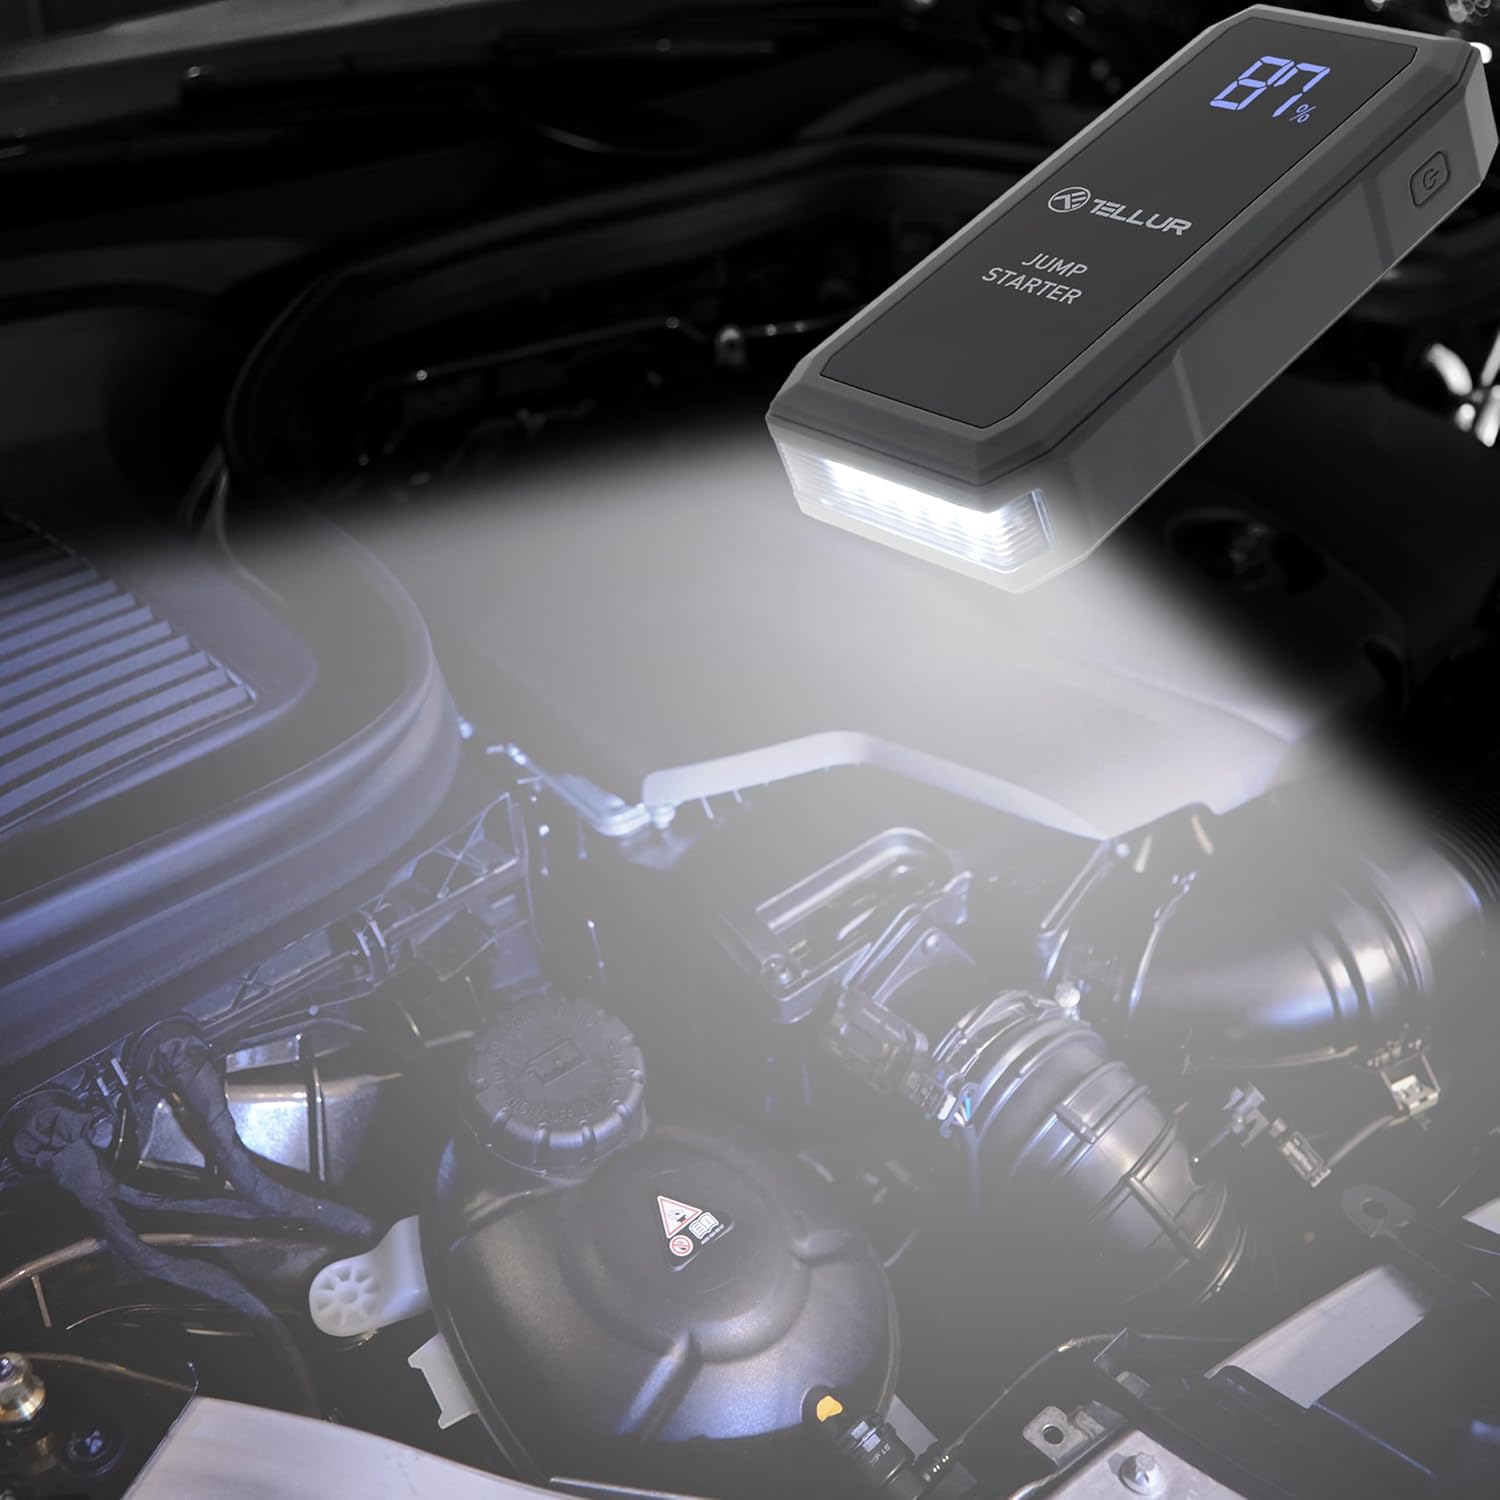
Image 6.4: The TELLUR Jump Starter unit with its powerful LED light activated, providing illumination within a car's engine compartment, useful for nighttime repairs or jump-starting.
7. Maintenance
Proper maintenance ensures the longevity and performance of your jump starter.
- Cleaning: Wipe the device with a dry, soft cloth. Do not use harsh chemicals or abrasive materials.
- Storage: Store the jump starter in its carrying pouch in a cool, dry place, away from direct sunlight and moisture. The ideal storage temperature is between 0°C (32°F) and 45°C (113°F).
- Recharging: Recharge the unit every 3-6 months, even if not used, to maintain the internal battery's health and readiness.
8. Troubleshooting
If you encounter issues with your TELLUR Portable Jump Starter, refer to the table below for common problems and solutions.
| Problem | Possible Cause | Solution |
|---|---|---|
| Jump starter does not turn on. | Battery is completely discharged. | Charge the jump starter fully. |
| Vehicle does not start after jump-starting. | Incorrect clamp connection; vehicle battery is severely damaged; vehicle has other mechanical issues. | Check clamp connections (ensure correct polarity). Ensure jump starter is sufficiently charged. If issues persist, consult a mechanic. |
| Smart cable indicator light is red or flashing. | Reverse polarity connection; short circuit; low voltage. | Disconnect clamps and reconnect with correct polarity. Ensure clamps are not touching. Charge the jump starter. |
| Electronic device not charging from USB ports. | Jump starter battery is low; faulty USB cable; device not compatible. | Charge the jump starter. Try a different USB cable. Ensure your device is compatible with USB charging. |
9. Specifications
| Parameter | Value |
|---|---|
| Brand | TELLUR |
| Model | TLL158431 |
| Battery Capacity | 16800 mAh |
| Peak Current | 1500 A |
| Voltage | 3.7 Volts |
| Vehicle Service Type | Car |
| Item Weight | 500 Grams |
| Dimensions (L x W x H) | 18 x 7 x 3 cm |
| Battery Composition | Lithium-polymer |
| USB Output | QC 3.0, 5.0V 2.4A |
10. Warranty and Support
The TELLUR Portable Jump Starter TLL158431 comes with a standard manufacturer's warranty against defects in materials and workmanship. Please refer to the warranty card included in your package for specific terms and conditions.
For technical support, warranty claims, or further assistance, please contact TELLUR customer service through the retailer where the product was purchased or visit the official TELLUR website for contact information.