1. Introduction
This manual provides essential information for the safe and efficient use of your BLOWHOT Prism 4 Burner Built-In Gas Hob. Please read these instructions carefully before installation and operation, and retain them for future reference.
The BLOWHOT Prism 4B Black is a battery-operated built-in gas hob featuring a toughened glass top and heavy Lotus brass burners, designed for modern kitchen environments.

Image 1.1: The BLOWHOT Prism 4 Burner Built-In Gas Hob, showcasing its sleek design and four burners in a kitchen environment.
2. Important Safety Instructions
Always follow basic safety precautions when using this appliance to reduce the risk of fire, electric shock, burns, or injury.
- Gas Leakage: In case of a gas leak, immediately turn off the gas supply, open windows for ventilation, and do not operate any electrical switches or ignite any flames. Contact a qualified technician.
- Ventilation: Ensure adequate ventilation in the kitchen area during operation.
- Children Safety: Keep children away from the appliance during operation and when it is cooling down.
- Flammable Materials: Do not store or use flammable materials near the hob.
- Proper Installation: Installation must be performed by a qualified technician in accordance with local regulations and the instructions in this manual.
- Hot Surfaces: The hob surface and surrounding areas become hot during use. Avoid touching hot surfaces.
- Power Supply: The automatic ignition system requires battery power. Ensure the battery is correctly installed and replaced when needed.
- Cleaning: Always allow the hob to cool completely before cleaning.
3. Product Components
Familiarize yourself with the main components of your BLOWHOT Prism 4 Burner Built-In Gas Hob.
- Toughened Glass Top: An 8mm thick bevelled toughened glass surface provides durability and a sleek appearance.
- Heavy Brass Lotus Burners:
- One 100mm Triple Ring Burner
- Two 90mm Double Ring Burners
- One 70mm Double Ring Burner
- Cast Iron Vessel Supports: Robust supports designed to hold heavy cooking vessels securely.
- Metal Knobs: Durable control knobs for precise flame adjustment.
- Battery Ignition System: Integrated automatic ignition for convenient burner lighting.
- Silicon Pads: Located beneath the glass top to prevent water seepage and enhance safety.
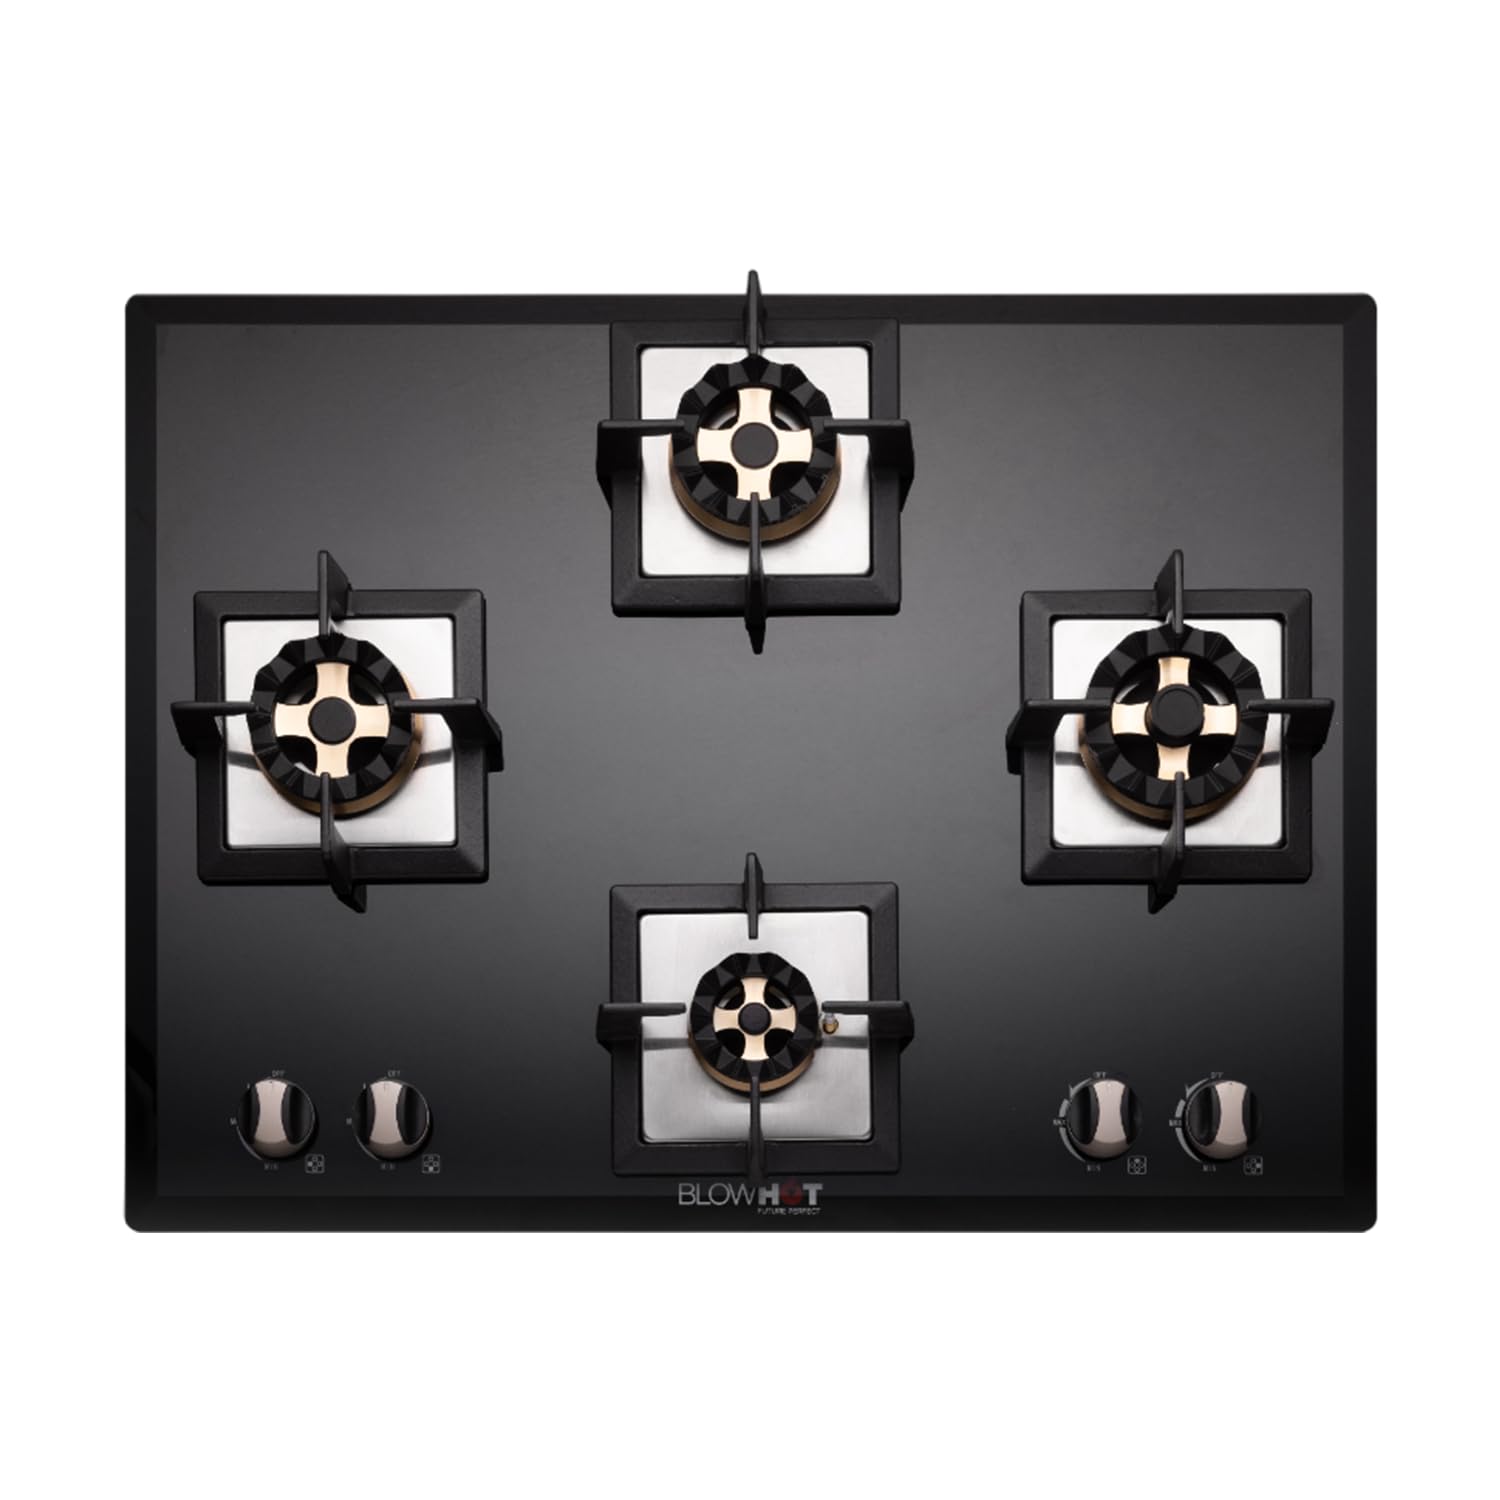
Image 3.1: Overview of the BLOWHOT Prism 4 Burner Gas Hob, highlighting the layout of the burners and control panel.

Image 3.2: Detail of a heavy brass Lotus burner, illustrating its fixed ring technology for durability and consistent flame.

Image 3.3: Features such as the toughened glass top, durable metal knobs, and the automatic battery ignition system.
4. Installation
Installation of this built-in gas hob should only be performed by a qualified and authorized technician. Incorrect installation can lead to gas leaks, fire hazards, or other serious issues.
4.1. Countertop Preparation
Ensure the countertop material is heat-resistant and stable. The cut-out dimensions for the hob are critical for proper fit and safety.
- Product Dimensions: 768 mm (Length) x 580 mm (Width) x 233 mm (Height)
- Cut-Out Dimensions: 640 mm (Length) x 475 mm (Width) x 90 mm (Height)

Image 4.1: Detailed product and cut-out dimensions for precise installation into a countertop.
4.2. Gas Connection
Connect the hob to the gas supply using appropriate fittings and flexible pipes, ensuring all connections are leak-free. Use only approved gas regulators and hoses.
4.3. Battery Installation for Ignition
Locate the battery compartment (usually at the bottom or side of the hob). Insert the required battery (typically a D-cell) according to the polarity markings. This powers the automatic ignition.
4.4. Burner Assembly
Place the burner caps and crowns correctly onto their respective burner bases. Ensure they are seated firmly and level. Then, place the cast iron vessel supports over the burners.
5. Operating Instructions
5.1. Lighting a Burner
- Ensure the gas supply valve is open.
- Push down the desired control knob and rotate it counter-clockwise to the "Ignite" or maximum flame position.
- The automatic ignition system will generate sparks, lighting the burner.
- Once the burner is lit, hold the knob down for a few seconds to allow the thermocouple (safety device) to heat up.
- Release the knob and adjust the flame to the desired intensity by rotating it further counter-clockwise (for lower flame) or clockwise (for higher flame).
- If the burner does not light, release the knob, wait a few seconds for gas to disperse, and repeat the process.
5.2. Turning Off a Burner
To turn off a burner, rotate the control knob clockwise until it clicks into the "OFF" position. Ensure the flame is completely extinguished.
5.3. Burner Usage Guidelines
- Use appropriate sized cookware for each burner to maximize efficiency and prevent heat loss.
- The 100mm triple ring burner is suitable for larger vessels and faster cooking.
- The 90mm and 70mm double ring burners are versatile for various cooking needs.
- Always ensure the flame is contained within the base of the cooking vessel.
6. Care and Maintenance
Regular cleaning and maintenance will ensure the longevity and optimal performance of your gas hob. Always ensure the hob is cool and the gas supply is turned off before cleaning.
6.1. Cleaning the Glass Top
- Wipe the toughened glass surface with a soft cloth and a mild detergent solution.
- For stubborn stains, use a non-abrasive glass cleaner.
- Avoid using abrasive pads, harsh chemicals, or sharp objects that could scratch the glass.
- The heavy silicon pads prevent water seepage, making cleaning easier and safer.
6.2. Cleaning Burners and Vessel Supports
- Remove the cast iron vessel supports, burner caps, and crowns.
- Wash these components with warm soapy water. For brass burners, avoid harsh detergents that may tarnish the finish.
- Ensure all parts are completely dry before reassembling them. Blocked burner holes can affect flame quality.
- Clean the spark tips with a dry cloth to ensure proper ignition.
6.3. Battery Replacement
If the automatic ignition becomes weak or stops working, replace the battery in the compartment. Ensure correct polarity.
7. Troubleshooting
Before contacting customer service, refer to the following table for common issues and their solutions.
| Problem | Possible Cause | Solution |
|---|---|---|
| Burner does not ignite. |
|
|
| Uneven or yellow flame. |
|
|
| Gas smell detected. |
|
|
8. Technical Specifications
| Feature | Detail |
|---|---|
| Brand | BLOWHOT |
| Model | Prism 4B Black |
| Installation Type | Built-In / Countertop |
| Fuel Type | Gas |
| Heating Elements | 4 Burners |
| Burner Configuration |
|
| Burner Material | Heavy Brass (Lotus Design) |
| Top Surface Material | 8mm Bevelled Toughened Glass |
| Vessel Supports | Cast Iron |
| Ignition Type | Automatic (Battery Operated) |
| Controls Type | Metal Knobs |
| Product Dimensions (L x W x H) | 768 mm x 580 mm x 233 mm |
| Cut-Out Dimensions (L x W x H) | 640 mm x 475 mm x 90 mm |
| Item Weight | 10 Kilograms |
| Included Components | Gas Hob, Warranty Card, User Manual |
9. Warranty and Customer Support
9.1. Warranty Information
Your BLOWHOT Prism 4 Burner Built-In Gas Hob comes with a 1-Year General Warranty. The Burner, Gas Valve, and Glass components are covered by a 2-Year Warranty.
To activate your warranty, please contact BLOWHOT within 7 days of purchase. Failure to do so may void the warranty.
9.2. Customer Support and Service
For installation, service, or any queries, please contact BLOWHOT customer support:
- Toll-Free Number: 1800-890-0998 (All India)
- Email: support@blowhotindia.com
BLOWHOT offers doorstep services with over 500+ service centers across India. Installation requests are typically addressed within 72 hours of registering a query. Standard installation charges apply (₹300).

Image 9.1: Visual representation of BLOWHOT's extensive service network across India.

