Introduction
This manual provides comprehensive instructions for the installation, operation, and maintenance of the Lian Li A3-mATX Vertical GPU Kit A3-1X. This kit is designed to enable vertical mounting of a graphics card within a compatible PC case, utilizing a PCI-e Gen 4.0 riser cable for high-speed data transfer.
Package Contents
Before beginning installation, please verify that all components listed below are present and undamaged.
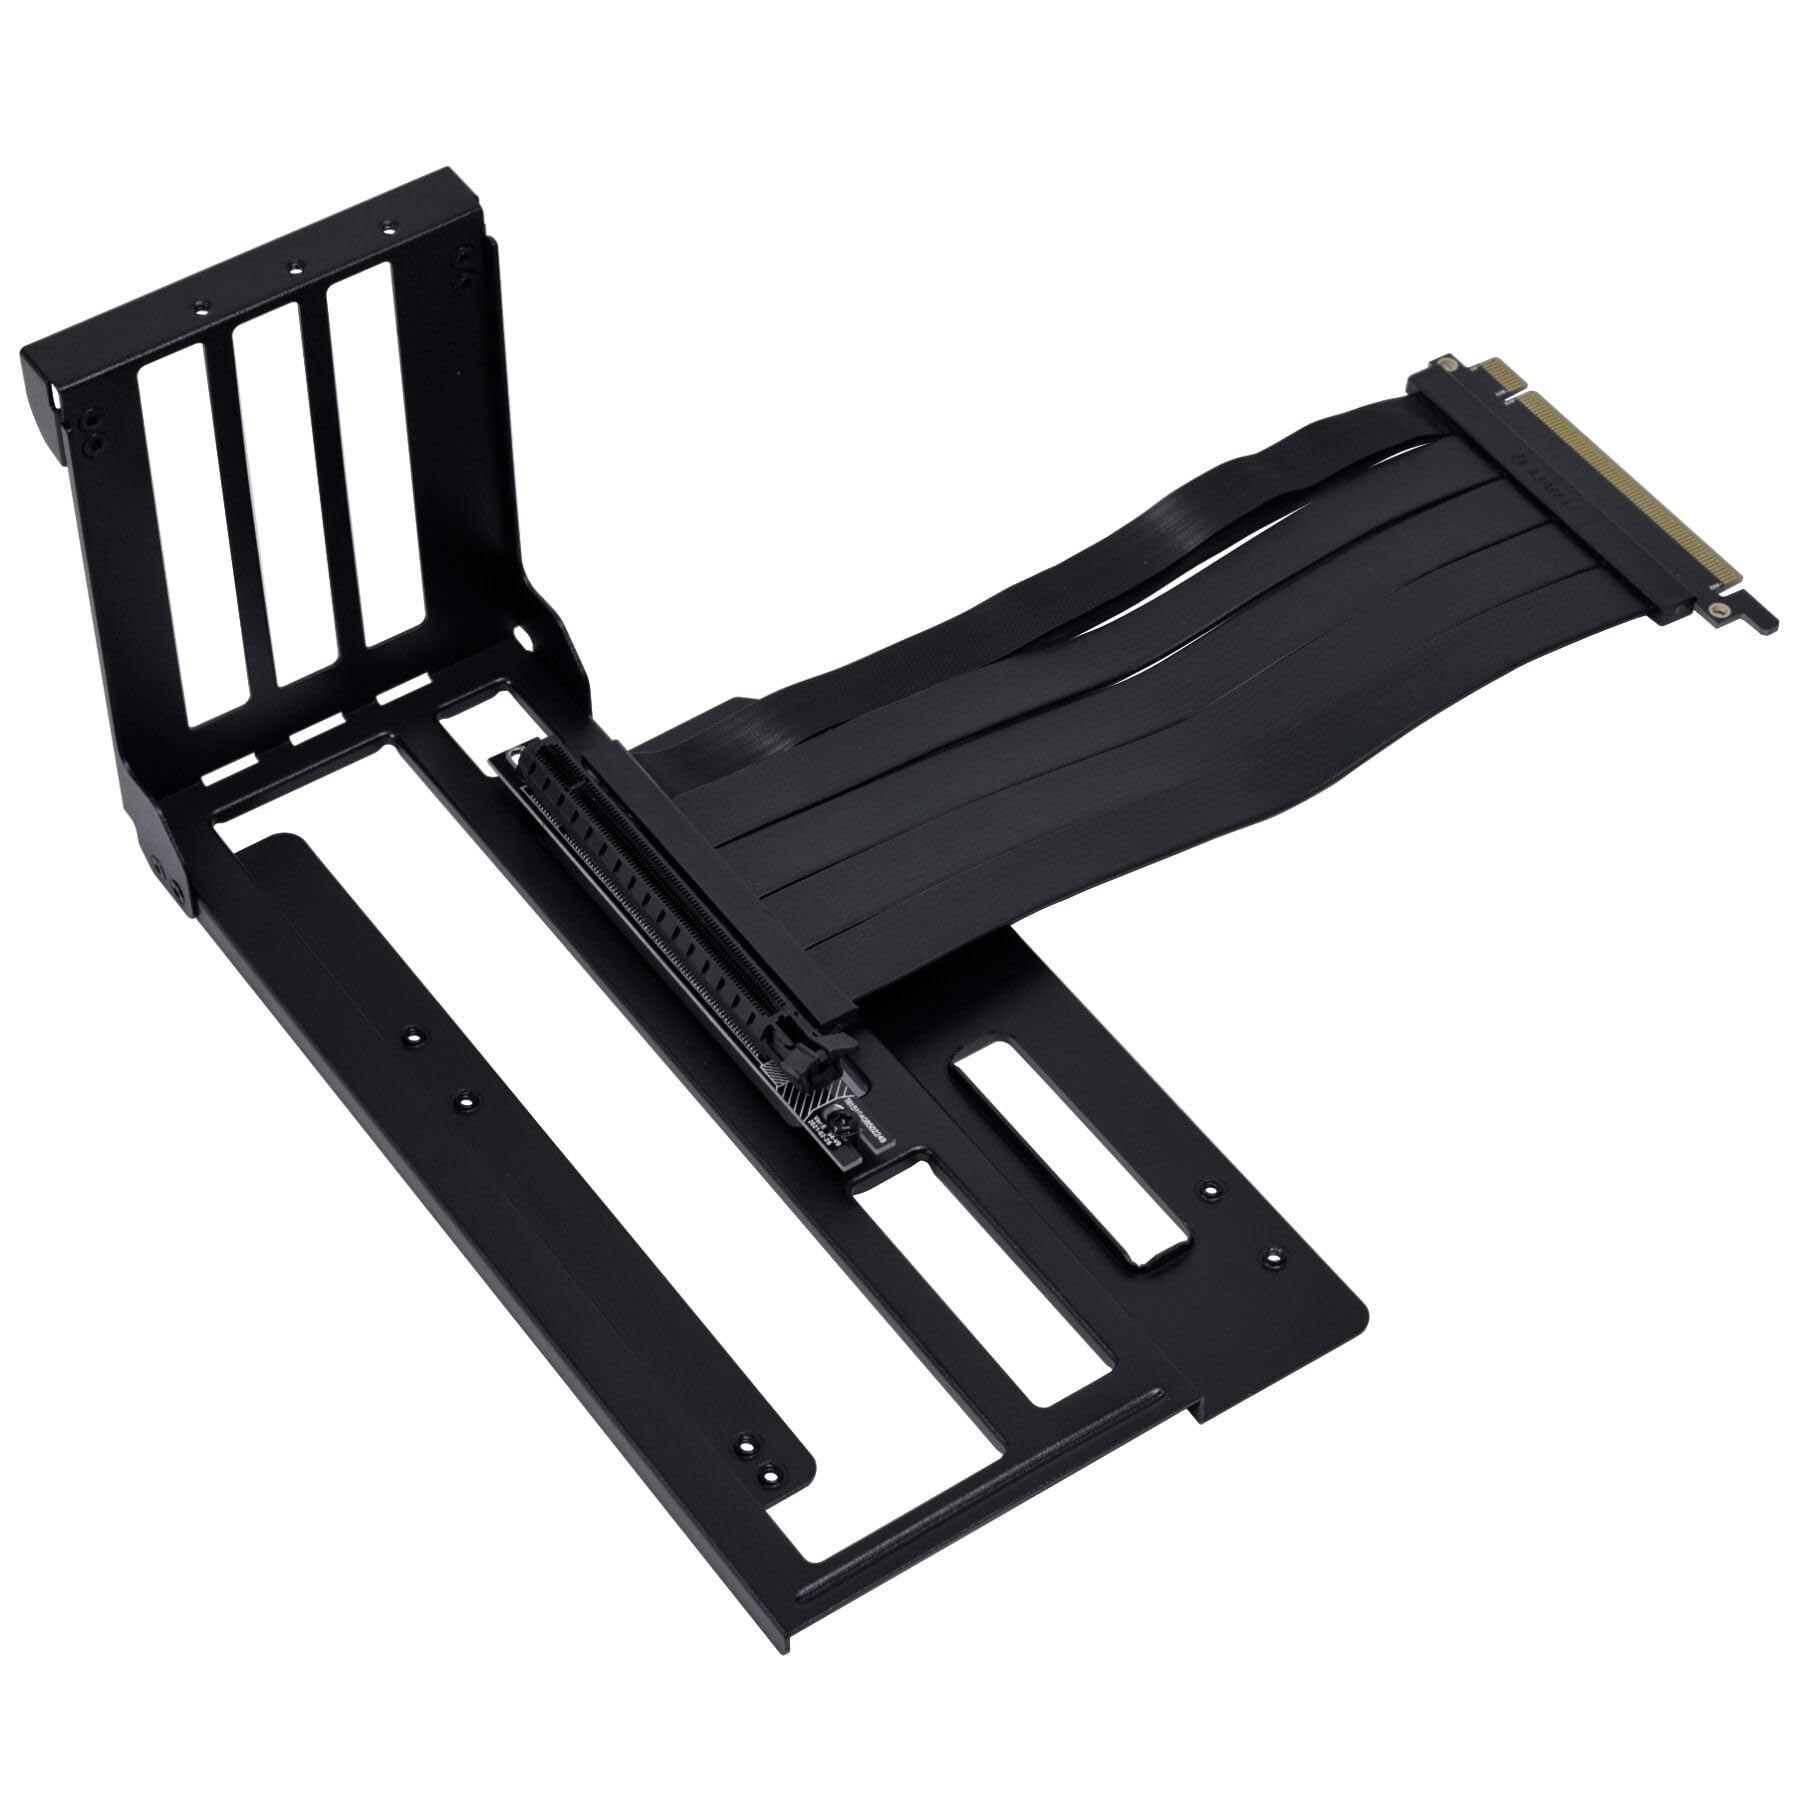
Image: The package contents include the vertical GPU bracket and a set of black mounting screws. The bracket features a central opening with a rubber grommet for cable management and multiple ventilation slots.
- Vertical GPU Bracket
- PCI-e Gen 4.0 Riser Cable (200mm length)
- Mounting Screws
Specifications
- Model: A3-1X
- Compatibility: A3-mATX cases and PCI-e Gen 4.0 graphics cards
- Riser Cable Length: 200 mm (7.9 inches)
- Material: Steel
- Expansion Slots Required: 3
- Product Dimensions (Bracket): Approximately 10.59 x 5.63 x 5.24 inches
- Item Weight: Approximately 1.25 pounds
Setup and Installation
Follow these steps carefully to install the vertical GPU kit.
- Prepare Your System: Power off your computer completely and disconnect all power and peripheral cables. Open your PC case to access the internal components.
- Remove Existing GPU (if applicable): If a graphics card is currently installed horizontally, carefully remove it. Unscrew any retaining screws securing it to the case and gently unclip the PCI-e retention tab on the motherboard slot.
- Install the Vertical GPU Bracket: Position the vertical GPU bracket in the designated area within your PC case. This typically involves aligning it with the rear expansion slots. Secure the bracket using the provided mounting screws. Ensure it is firmly attached and stable.
- Connect the Riser Cable to Motherboard: Connect one end of the PCI-e Gen 4.0 riser cable to the motherboard's primary PCI-e x16 slot. Ensure it is fully seated and clicks into place.
- Mount the Graphics Card to Bracket: Attach your graphics card to the vertical GPU bracket. Secure the graphics card to the bracket using its own mounting screws.
- Connect Riser Cable to GPU: Connect the other end of the PCI-e Gen 4.0 riser cable to the graphics card's PCI-e slot. Verify a secure and complete connection.
- Cable Management: Route any necessary power cables to the graphics card. Utilize the rubber grommet on the bracket for clean cable pass-through if appropriate for your case design.
- Final Checks: Double-check all connections for security and proper seating. Close your PC case.
Operating Instructions
After successful installation, reconnect all peripherals and power on your computer. The system should detect the graphics card automatically. Ensure your graphics card drivers are up to date for optimal performance.
- Power on the computer.
- Verify that the graphics card is recognized by the operating system.
- Install or update graphics card drivers from the manufacturer's website.
Maintenance
Regular maintenance helps ensure the longevity and optimal performance of your system and the vertical GPU kit.
- Dust Removal: Periodically clean dust from the graphics card, riser cable, and bracket using compressed air. Always ensure the system is powered off and unplugged before cleaning.
- Connection Check: Occasionally verify that the riser cable and graphics card connections remain secure and free from obstruction.
- Ventilation: Ensure that the vertical GPU setup does not impede proper airflow within your PC case. Restricted airflow can lead to increased temperatures and reduced component lifespan.
Troubleshooting
No Display Output
- Ensure the riser cable is fully seated in both the motherboard's PCI-e slot and the graphics card's PCI-e slot.
- Verify that the graphics card has all necessary auxiliary power connectors attached from the power supply.
- Test the graphics card directly in the motherboard's PCI-e slot (without the riser cable) to rule out a graphics card malfunction.
- Check your monitor's input source selection.
System Instability or Crashes
- Ensure your motherboard BIOS/UEFI is configured to PCI-e Gen 4.0 (or 'Auto') for the primary PCI-e slot. Some older motherboards may require manual adjustment.
- Update your graphics card drivers to the latest version available from the manufacturer.
- Check for proper ventilation within the PC case to prevent overheating of components.
Warranty Information
This product is covered by Lian Li's standard warranty. For detailed warranty terms and conditions, including coverage duration and claim procedures, please refer to the official Lian Li website or contact their customer support. It is recommended to retain your proof of purchase for any potential warranty claims.
Support
For technical assistance, troubleshooting guidance, or any further inquiries regarding the Lian Li A3-mATX Vertical GPU Kit A3-1X, please visit the official Lian Li website or contact their dedicated customer support department.
Official Website: www.lian-li.com


